Guide to Starting Root Vegetable Seeds
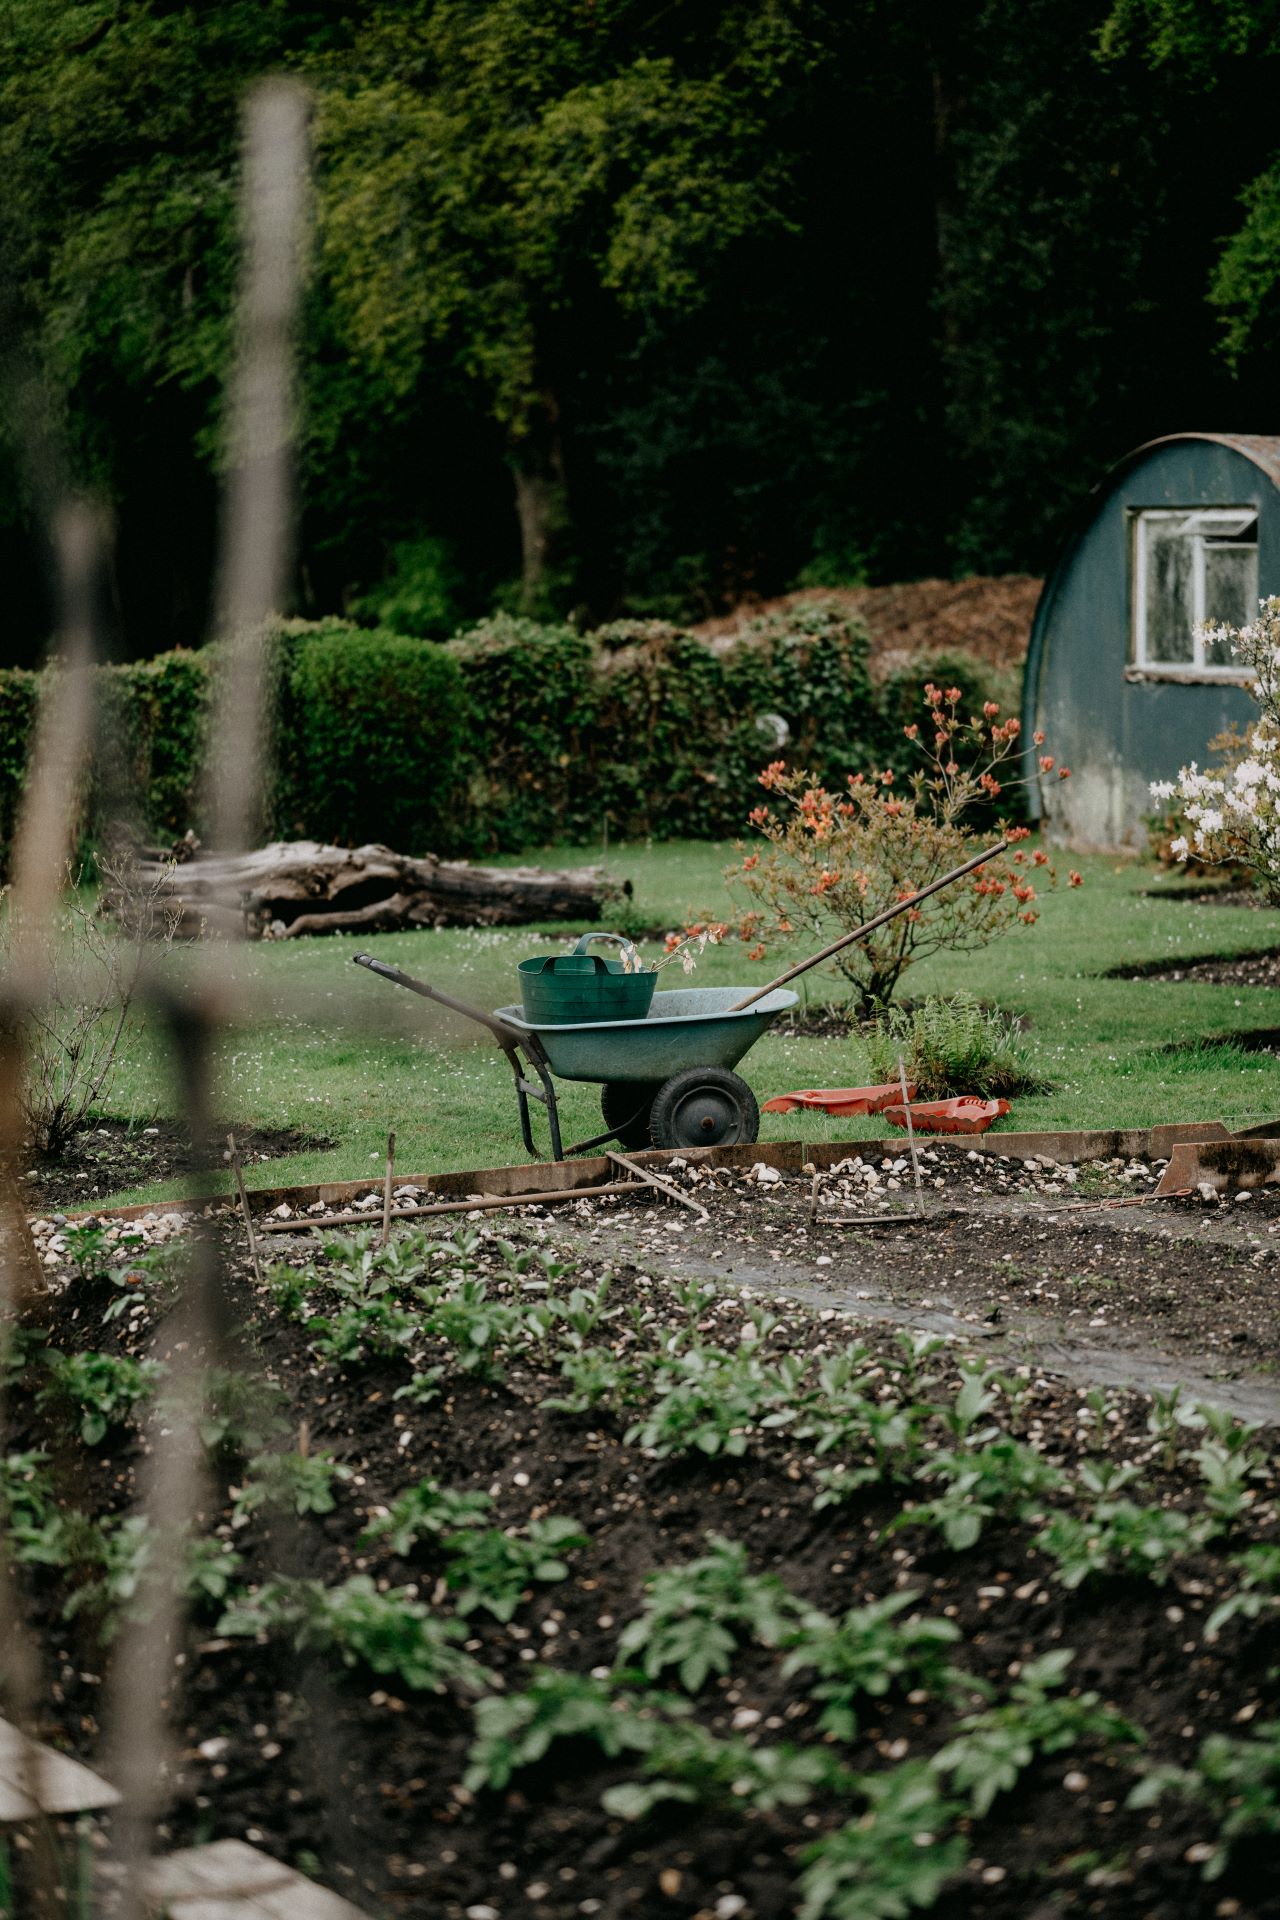
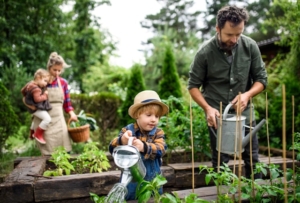
Who’s ready to start digging in the garden? Us too.
Root vegetable crops can often be planted as soon as the soil has warmed. They’re an easy addition to start your vegetable garden. Start your seedlings now and you‘ll be able to brag about your homegrown root vegetables at the first summer BBQ of the year.
In order to be successful, plant your seeds after springs last frost date according to your region. Stop by your local garden center to pick up your seeds and supplies, soon!
Here’s how to start root vegetable seeds:
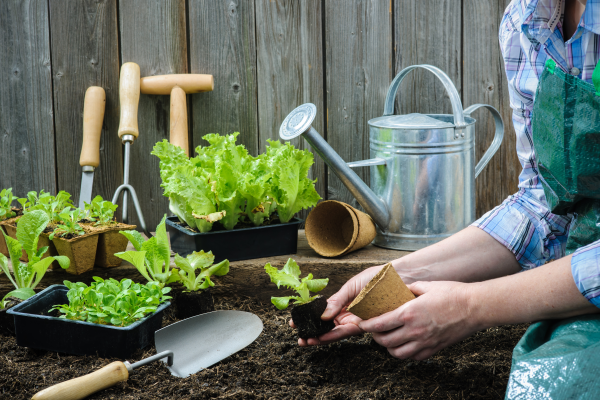
- Pick Your Soil
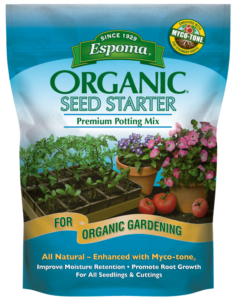
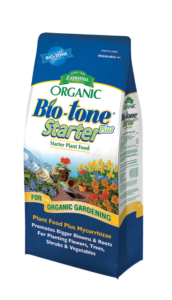
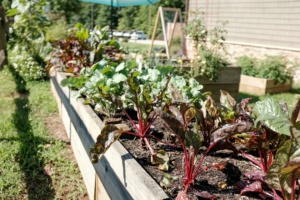
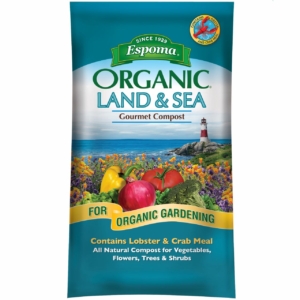
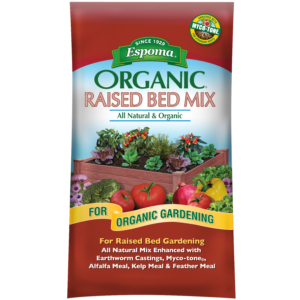
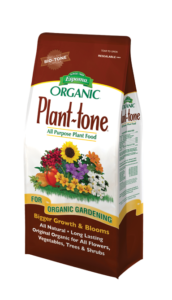
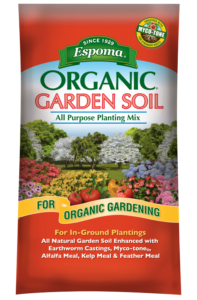
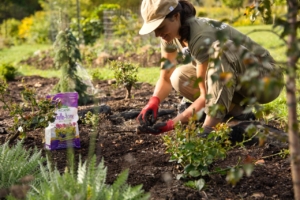
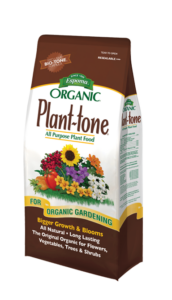
Soil for root vegetables is important as they will grow around anything intrusive buried. That will lead to deformed vegetables. They grow best in a deep, loose soil that retains moisture yet is well-drained, such as Espoma’s Organic Garden Soil. Choosing the right soil from the beginning will set up your crop for success. Prepare bed, loosen compacted soil and mix in Espoma’s Bio-tone Starter Plus, to keep roots strong.
Plant seeds after spring’s last frost date according to your region.
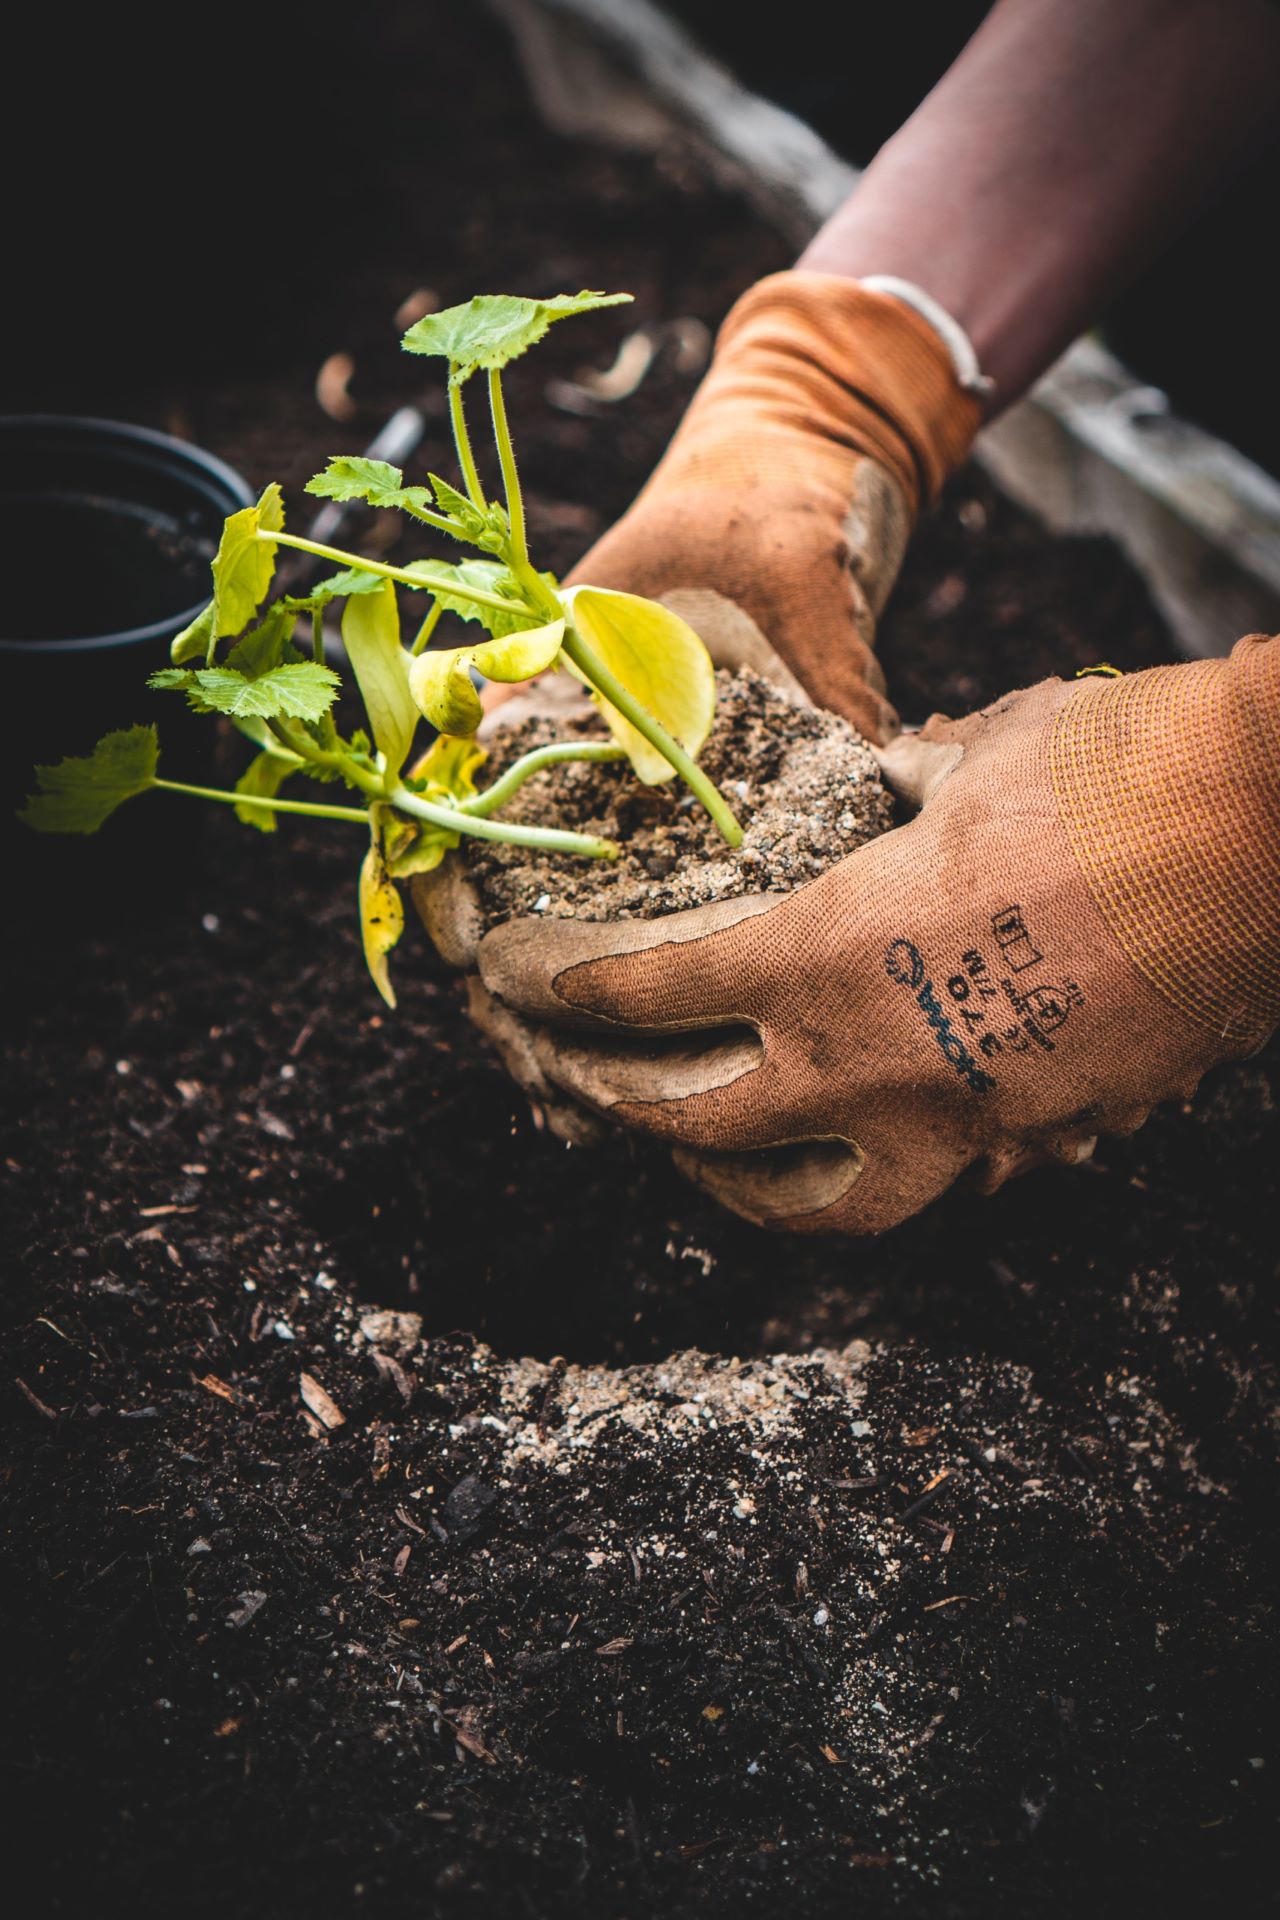
- Start Seeds
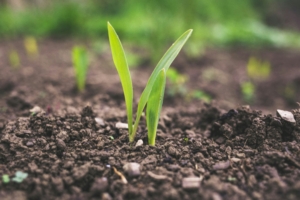
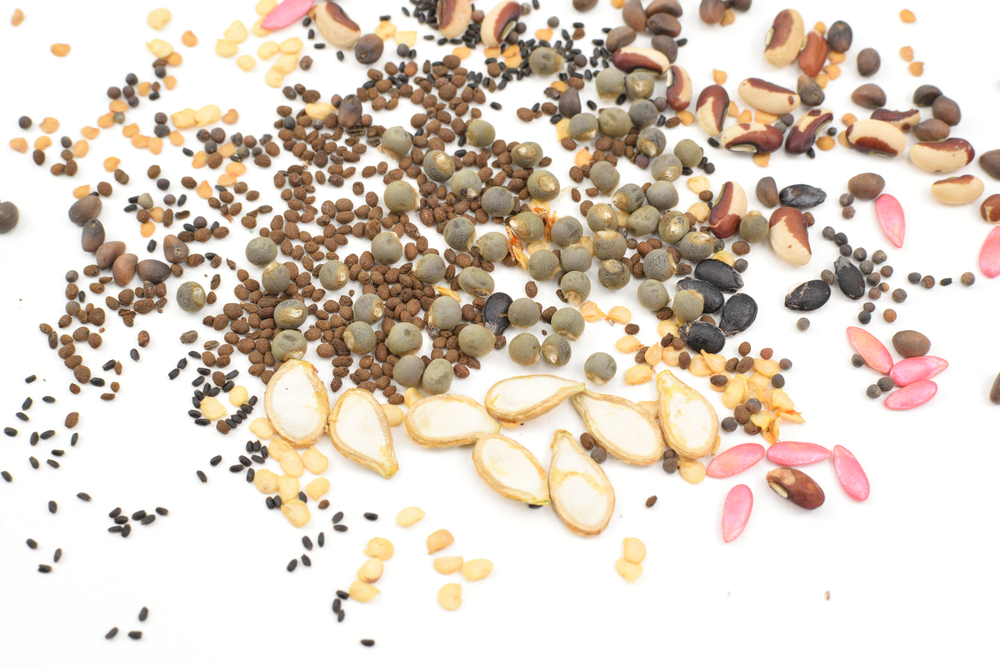
Sow your seeds directly into your soil. Follow instructions on the seed packets to see how deep and far apart to plant. Cover with soil, press down and lightly water.
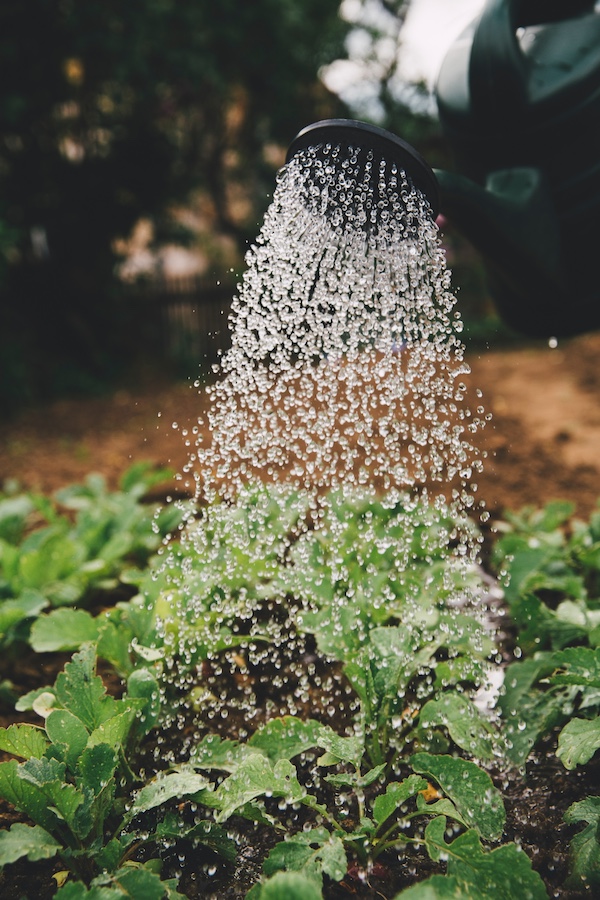
- Water Regularly
Seeds need to stay moist while they germinate. Root crops need about 1 inch of water a week. Light waterings that only wet the surface will cause shallow root development and reduce the quality of crops.
- Feed Me
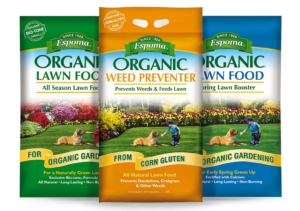
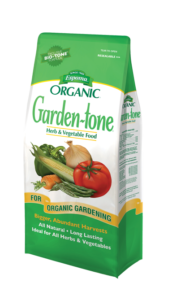
When the vegetables start to grow bigger, fuller leaves, give them a hand with Espoma’s Garden-Tone to help provide the nutrients needed for delicious vegetables.
- Thin plants
Some root plants like beets or radishes will benefit from thinning. Cut off the tops of weaker seedlings at the soil line when seedlings have 1-2 sets of true leaves.You can use many leaves as a tasty additions to salads. If you pull seedlings out of the ground, it is not recommended to transplant long rooted vegetables, like carrots and turnips, since the disturbance will cause roots to fork.
Want more veggies? Try this DIY vegetable pallet planter.