VIDEO: Tulip Garden Tour with Summer Rayne Oakes 🌷
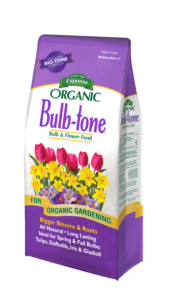
Watch as Summer Rayne Oakes of Flock Finger Lakes takes us on a tour of her stunning tulip garden at her Meadow House Gardens. Last fall, Summer planted over 4,000 tulip bulbs using Espoma Organic Bulb-tone, and today her garden bursts with color from more than 100 tulip cultivars.
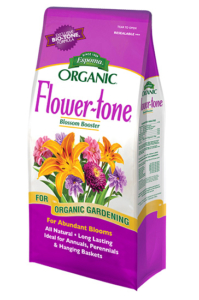
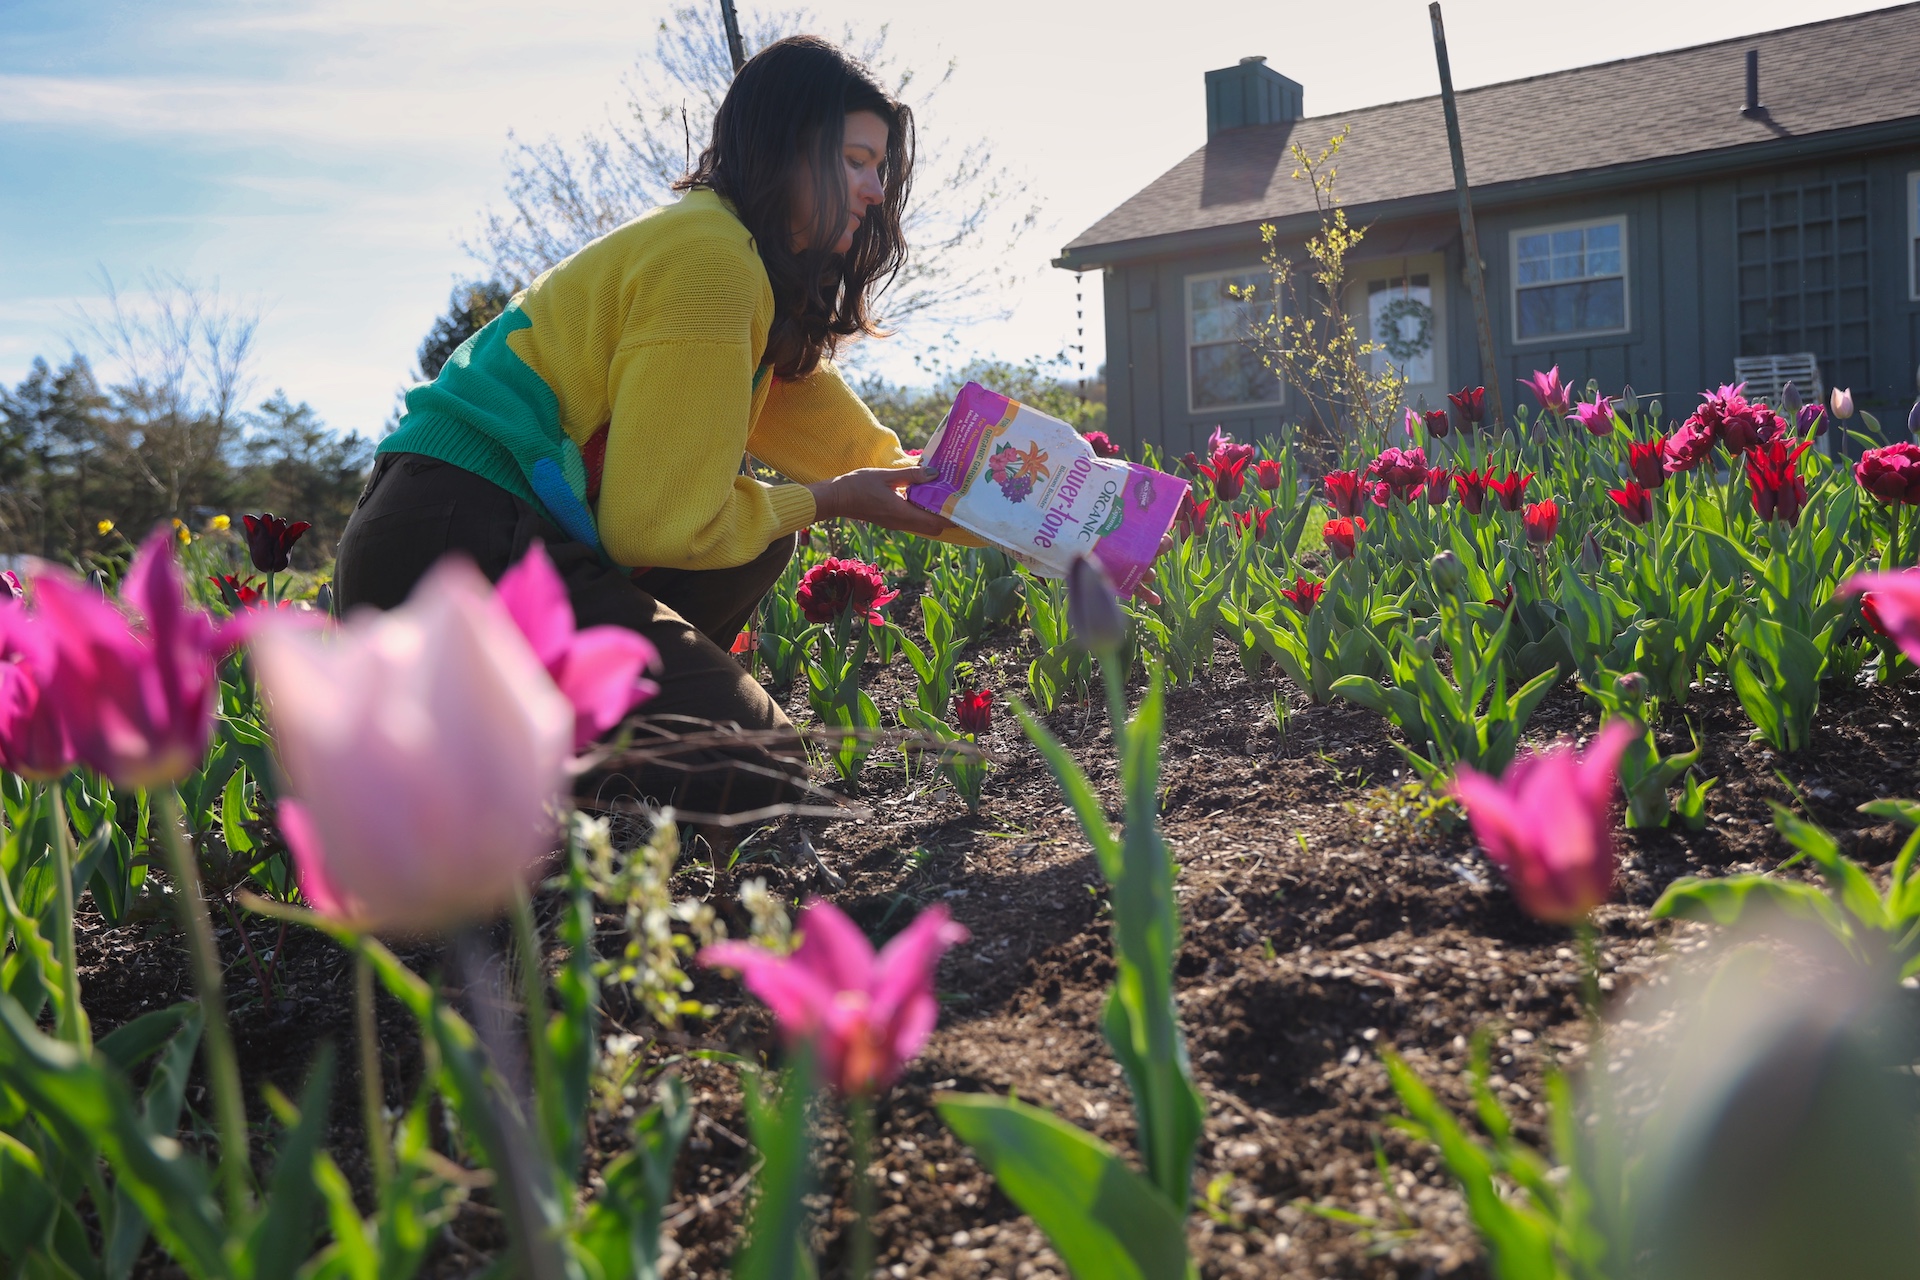
In this video, Summer showcases her favorite tulips, including the elegant ‘Sarah Raven,’ captivating ‘Flaming Flag,’ and dreamy ‘Ume no Murasaki.’ She also demonstrates how she feeds her tulips with Espoma Organic Flower-tone, ensuring healthy, vibrant blooms all season.
Summer’s Tips for Planting and Caring for Tulips:
- Plant bulbs in the fall using a high-quality organic fertilizer like Espoma Organic Bulb-tone for optimal nutrition.
- Water bulbs thoroughly after planting to help establish roots.
- Feed tulips after sprouting with a high-quality organic fertilizer like Espoma Organic Flower-tone for lush blooms.
- Avoid fertilizer contact with blooms or foliage to prevent burning.
- Consider naturalizing tulip varieties that are known to return each spring.
Bonus Tip: In addition to tulips, Summer planted a variety of perennials throughout her garden beds. Summer recommends planting with a high-quality organic starter fertilizer like Espoma Organic Bio-tone Starter Plus to reduce transplant shock and help promote strong, healthy roots for big, beautiful blooms.
Learn more about Flock Finger Lakes here:
Website: flockfingerlakes.com
Instagram – @flockfingerlakes
YouTube –Flock Finger Lakes
X – @flockny
Facebook –Flock Finger Lakes
Featured Products: