Spring Gardening
VIDEO: Planting Spring Bulbs in Containers 🪴🌷 with Summer Rayne Oakes
When the garden beds are resting, container gardening keeps the joy of planting alive. In a recent video on her…
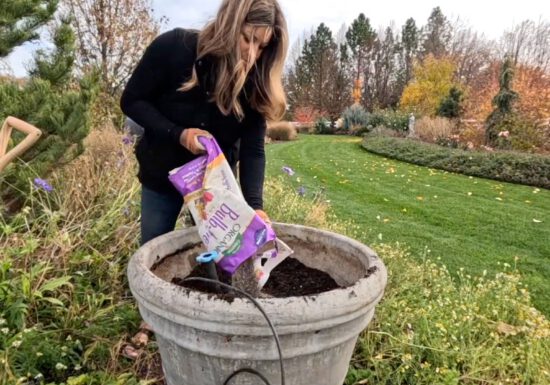
VIDEO: Planting the Last Bulbs of the Season with Garden Answer
As the season winds down, Laura from Garden Answer takes on her final bulb planting of the year, sharing practical…
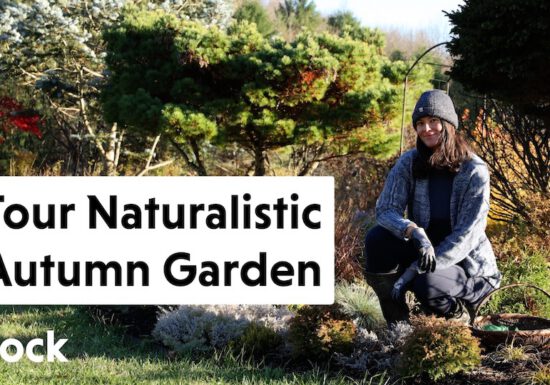
VIDEO: One Last Autumn Stroll 🍁🍂 with Summer Rayne Oakes
Fall always feels like the quickest season in the garden, and in her final autumn tour at Flock Finger Lakes,…
VIDEO: How to Plant Spring Bulbs in Containers 🌱🌷 with Garden Answer
Laura from Garden Answer shows how to plant spring-blooming bulbs in large containers for a big, colorful show next season.…
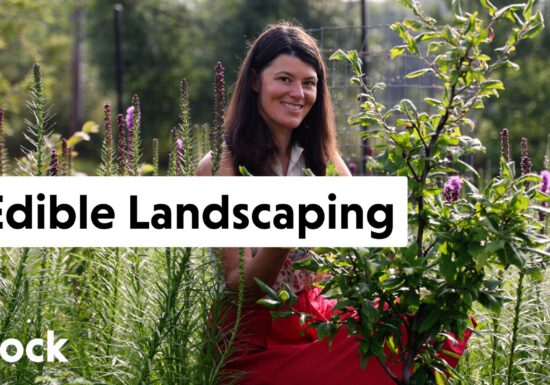
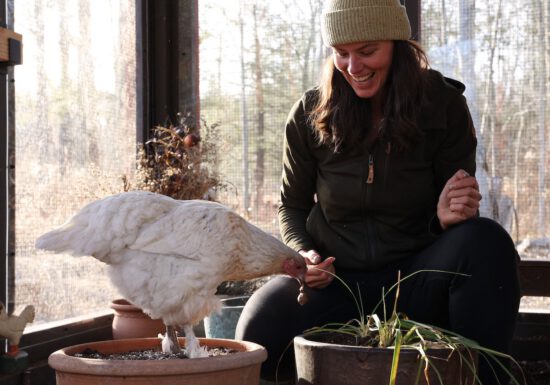
VIDEO: Edible Landscaping 🫑 🍓🌿 | Flock Finger Lakes
Summer Rayne Oakes @FlockFingerLakes takes us on a tour of her garden packed with edible plants. From fruit trees and…
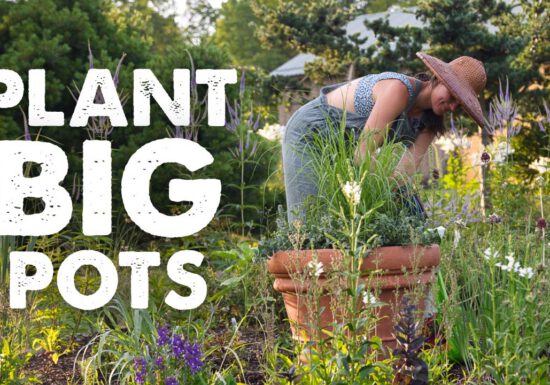
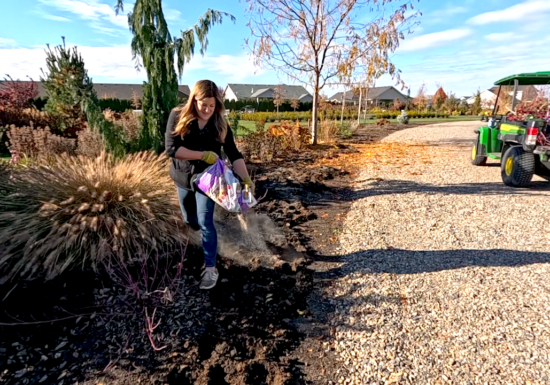
VIDEO: Planting in BIG Reused Planters 🪴🌿 with Summer Rayne Oakes
Summer Rayne Oakes of Flock Finger Lakes turns three massive terracotta planters—rescued from a second-hand store —into statement containers for…
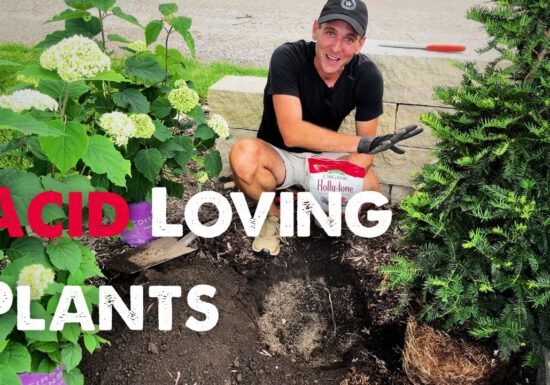
VIDEO: Planting Hydrangeas and Yews 🌸🌲 with Wyse Guide
In this Wyse Guide project, Kaleb refreshes the entry to his mom’s driveway with smooth hydrangeas and a Captain yew…
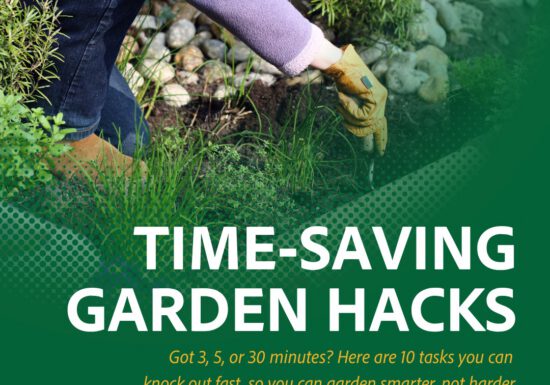
10 Time-Saving Tactics for a More Efficient Garden | Growing Joy with Maria
Has your garden started to feel like a tedious task on your never-ending to-do list? Here are 10 ways to…
VIDEO: Planting Shrubs & Harvesting Onions 🌺🧅🌿 with Garden Answer
Spend an early morning with Laura from Garden Answer as she plants hibiscus and silverthorn, adding vibrant blooms and silvery…

VIDEO: Planting Trees and Perennials 🌳🌺 with Wyse Guide
Kaleb Wyse from Wyse Guide shows us that with the right care, you can plant trees and perennials with confidence.…
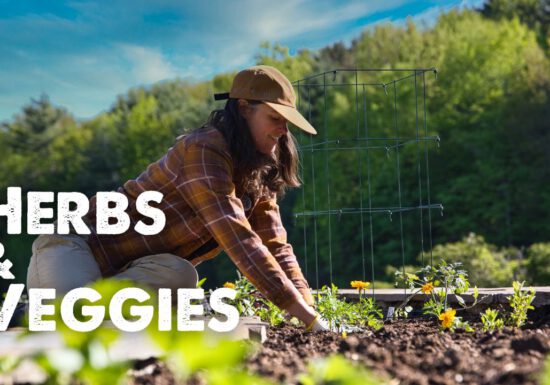
VIDEO: Growing Veggies and Herbs 🍅🌿🥕 with Summer Rayne Oakes
Summer Rayne Oakes of Flock Finger Lakes is back in her gazebo garden, where she refreshed her raised beds with…
VIDEO: August Garden Refresh ☀️🌿🌸 with Skye Hamilton
Gardening in August isn’t for the faint of heart — it’s hot, it’s scraggly, and it takes motivation. Skye Hamilton…