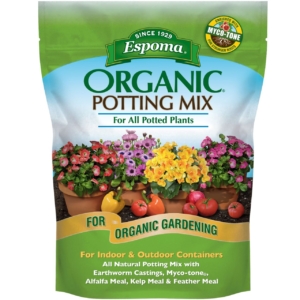
Spend a day with Laura from Garden Answer as she decorates her garden with a variety of flourishing colors! 🌸 She starts by prepping her front porch containers with Espoma Organic Potting Mix, the perfect base for Fairytrail Green Hydrangeas.
Later on, she adds plants to more containers throughout her garden and adds a pop of bright color with Bubblegum Petunias, applying Espoma Organic Bio-tone Starter Plus, giving her new plants the nutrients needed to grow deeper roots and bigger blooms.
https://www.espoma.com/wp-content/uploads/2025/07/Espoma_0725_FairytrailHydrangeas_Thumbnail.jpg10801920Matt Dauphinaishttps://www.espoma.com/wp-content/uploads/2023/05/espoma-logo340w-1.pngMatt Dauphinais2025-07-15 11:05:362025-07-15 11:05:36VIDEO: Planting Hydrangeas in containers 🪴🌸 and more with Garden Answer
Watch Skye Hamilton @hamiltonhousedesigns as she shares her go-to strategy for full, eye-catching hanging baskets in spaces with dappled or minimal sunlight. She adds a creative twist on the classic “thriller, filler, spiller” method—think filler, spiller, and longer spiller! Skye recommends using a strong, high-quality organic potting soil like Espoma Organic Moisture Mix to help retain moisture, as hanging pots can dry out quickly.
While Moisture Mix is Skye’s go-to for hanging baskets, Espoma Organic Potting Mix is also a fantastic option for all container planting.
Skye’s top tips for successful shade baskets:
1) SKyle likes to use 16” baskets and adds a plastic liner (snip a drainage hole) to help retain moisture.
2) Choose shade-loving annuals—these plant types can thrive in shady conditions and often have smaller root systems, letting you plant more closely.
3) Aim for 5–7 plants per basket to create a full, cascading look.
4) Focus on “fillers, spillers, and longer spillers” to build depth and interest.
5) Let trailing plants cascade over the sides for that overflowing feel.
6) Water consistently and use soil that helps with moisture retention, like Espoma Organic Moisture Mix.
Bonus Tip:
When planting, Skye adds Espoma OrganicBio-tone Starter Plus to provide the nutrients needed for strong root growth and big, beautiful blooms.
https://www.espoma.com/wp-content/uploads/2025/07/Hanging-Baskets-for-SHADE.jpg19201080Matt Dauphinaishttps://www.espoma.com/wp-content/uploads/2023/05/espoma-logo340w-1.pngMatt Dauphinais2025-07-08 16:34:202025-07-08 16:34:20VIDEO: Hanging Baskets for Shade 🌿🌸 with Skye Hamilton
Skye Hamilton @hamiltonhousedesigns shares her secret to achieving multiple flushes of gorgeous rose blooms—feeding them with Espoma Organic Rose-tone! In this video, Skye walks us through her process, showing exactly how to apply Rose-tone to keep roses healthy, vibrant, and blooming repeatedly throughout the season.
Skye’s top tips for feeding roses:
1) Fertilize & Prune Regularly: Consistent pruning and fertilization encourage repeat blooming and healthier plants.
2) Monthly Feeding: For the most spectacular blooms, feed your roses at least once every month during the growing season.
3) Choose a Quality Fertilizer: Skye recommends Espoma Organic Rose-tone, specially formulated for roses. Rose-tone is a granular, slow-release organic fertilizer enriched with humates and beneficial microbes, providing a rich blend of natural and organic ingredients that promote bigger, more beautiful blooms.
4) Apply Around the Dripline: Skye emphasizes applying fertilizer around the dripline of the plant. The dripline is the area directly beneath the outer circumference of the plant’s branches, where rain naturally drips off the leaves. This is the most effective spot for feeding, as the feeder roots, which absorb nutrients, are concentrated in this location.
5) Water Thoroughly: After applying Rose-tone, water it in thoroughly to ensure nutrients penetrate deep into the soil and reach the roots.
Ready to give your roses the royal treatment? Try Espoma Organic Rose-tone for roses that flourish all season long!
https://www.espoma.com/wp-content/uploads/2025/07/SKYE_Rose-tone_Edited.jpg19201080Matt Dauphinaishttps://www.espoma.com/wp-content/uploads/2023/05/espoma-logo340w-1.pngMatt Dauphinais2025-07-08 12:59:202025-07-08 12:59:20VIDEO: How to Fertilize Roses 🌹 with Skye Hamilton
No garden space? No worries! Summer shows us how to create a lush container garden filled with flavorful herbs and delicious berries right on your patio, balcony, or windowsill.
Summer highlights how easy it is to cultivate favorites like thyme, basil, oregano, cilantro, chives, strawberries, blueberries, and even dwarf huckleberries using containers. To ensure success, she recommends Espoma Organic products, including:
Espoma Organic Potting Mix: Provides balanced moisture and drainage, perfect for promoting healthy root growth.
Espoma Organic Perlite: Improves soil aeration and drainage to prevent root rot.
Espoma Organic Cactus Mix: Ideal for Mediterranean herbs like rosemary and lavender that prefer dry conditions.
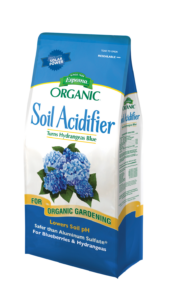
Espoma Organic Soil Acidifier: Essential for acid-loving fruits like blueberries and huckleberries.
Container gardening not only maximizes your space but also creates visually appealing and edible arrangements.
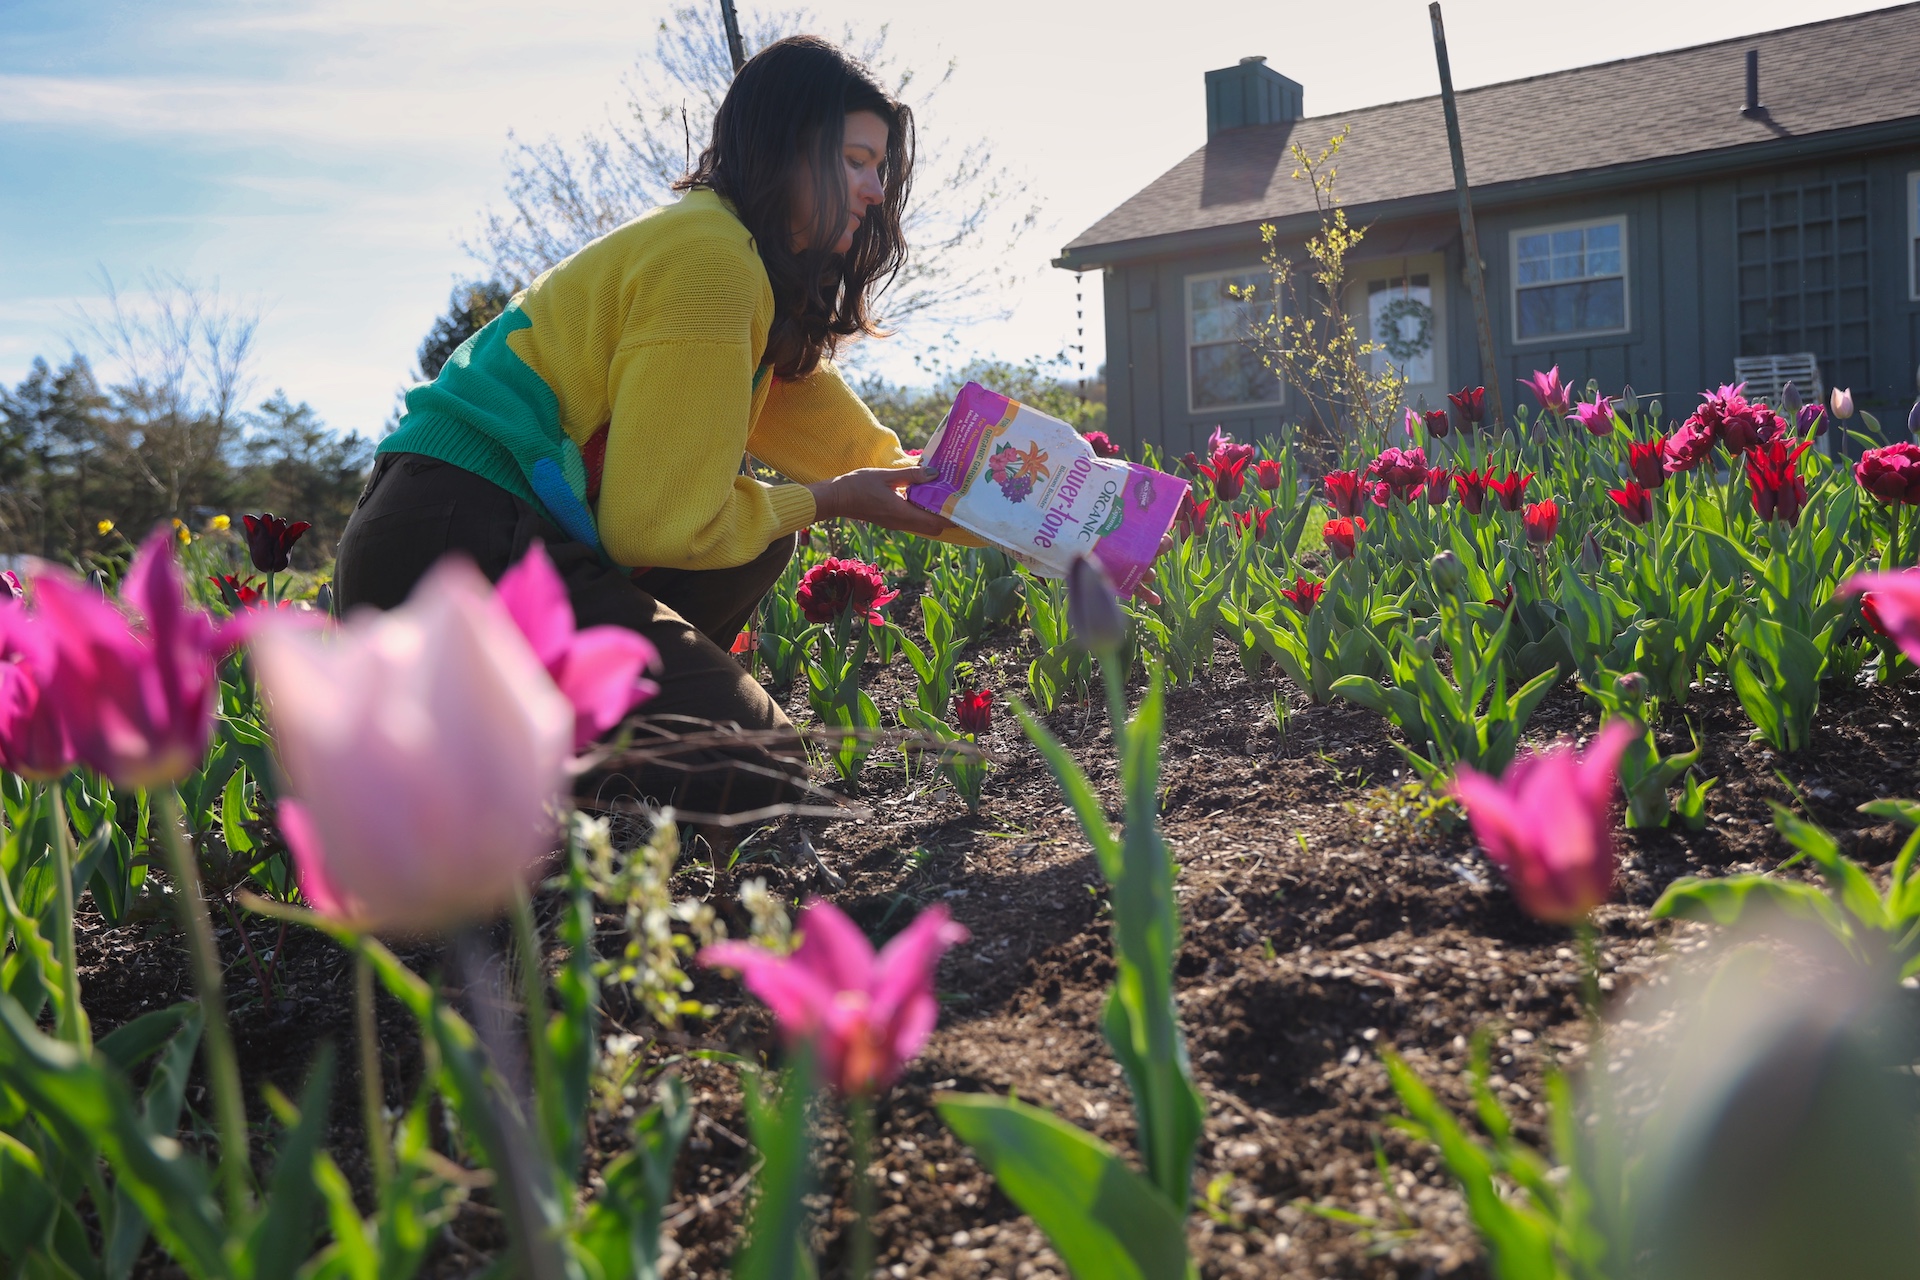
Watch as Summer Rayne Oakes of Flock Finger Lakes takes us on a tour of her stunning tulip garden at her Meadow House Gardens. Last fall, Summer planted over 4,000 tulip bulbs using Espoma OrganicBulb-tone, and today her garden bursts with color from more than 100 tulip cultivars.
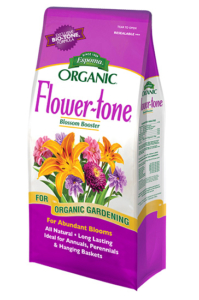
In this video, Summer showcases her favorite tulips, including the elegant ‘Sarah Raven,’ captivating ‘Flaming Flag,’ and dreamy ‘Ume no Murasaki.’ She also demonstrates how she feeds her tulips with Espoma Organic Flower-tone, ensuring healthy, vibrant blooms all season.
Summer’s Tips for Planting and Caring for Tulips:
Plant bulbs in the fall using a high-quality organic fertilizer like Espoma Organic Bulb-tone for optimal nutrition.
Water bulbs thoroughly after planting to help establish roots.
Feed tulips after sprouting with a high-quality organic fertilizer like Espoma Organic Flower-tone for lush blooms.
Avoid fertilizer contact with blooms or foliage to prevent burning.
Consider naturalizing tulip varieties that are known to return each spring.
Bonus Tip: In addition to tulips, Summer planted a variety of perennials throughout her garden beds. Summer recommends planting with a high-quality organic starter fertilizer like Espoma Organic Bio-tone Starter Plus to reduce transplant shock and help promote strong, healthy roots for big, beautiful blooms.
Watch Laura from Garden Answer as she plants a reblooming lilac (Syringa x), a perfect focal-point shrub that offers multi-season interest with more than one flush of fragrant blooms.
For every planting, Laura recommends Espoma Organic Bio‑tone Starter Plus—a high-quality organic starter fertilizer that:
Promotes strong root development
Improves transplant success
Delivers long-lasting, soil-enriching microbes and Mycorrhizae
Lilacs are wonderfully adaptable, tolerating a range of soil pH levels, but they thrive in well-draining soil and full sun. With the right planting approach and a high-quality organic starter fertilizer like Bio-Tone Starter Plus, you’re set up for lots of beautiful blooms.
There’s nothing quite like a porch full of lush, thriving greenery to welcome in the warmer months—and no one brings that vision to life quite like Kaleb Wyse of Wyse Guide. In his latest video, Kaleb shares how he transforms his sunny front porch into a shaded retreat using one of our favorite combinations: Boston ferns, Kimberly Queen ferns, and a trusted mix of Espoma Organic Potting Soil Mix and Holly-tone.
Ferns Chosen with Purpose
Kaleb’s front porch faces south, which means intense sunlight, reflected heat, and the occasional gusty breeze. Instead of fighting nature, Kaleb leans into it—selecting Kimberly Queen ferns for their upright habit and sun tolerance, while reserving traditional Boston ferns for shadier spots near the house.
His secret to keeping these ferns happy? It starts with the soil.
Kaleb’s Planting Tips:
Kaleb chooses our Espoma Organic Potting Mix because it offers the perfect balance of drainage and moisture retention—critical for ferns, which love even moisture but hate soggy roots. This mix includes:
Perlite for improved aeration
Organic compost for slow-release nutrition
Natural, eco-safe ingredients—no synthetic fillers or plastic beads here
As Kaleb puts it: “It holds on to the moisture needed but also drains really well.”
He also adds a light sprinkle of Espoma Organic Holly-tone, our acidic plant food typically used for hydrangeas and evergreens. Since ferns thrive in slightly acidic conditions, Holly-tone gives them an extra boost without overstimulating growth—perfect for those who prefer a light-touch fertilizing routine.
🌱 Pro tip from Kaleb: Gently loosen or score the roots of pot-bound ferns before planting. It encourages them to branch into the fresh potting mix and establish faster.
Build Your Own Porch Sanctuary
Looking to create your own front porch oasis? Let Kaleb’s video be your inspiration. And when you’re ready to pot up your ferns, reach for the products trusted by generations of gardeners.
Join Summer Rayne Oakes as she repots her beautiful Euphorbia plants to prepare them for the summer outdoors. While Euphorbias and cacti may look similar with their spines and upright growth, they belong to entirely different plant families. Euphorbias are part of the Euphorbiaceae family and exude a white, often toxic latex sap. Cacti, part of the Cactaceae family, do not produce this sap and typically have areoles (small, cushion-like structures) from which spines, flowers, and new growth emerge—something Euphorbias lack. Often mistaken for cacti, Euphorbias are succulents native to Africa and require specific care.
Repotting:
Summer creates a well-draining soil mix using Espoma Organic Cactus Mix combined with Espoma Organic Perlite (70% Cactus Mix, 30% Perlite) to ensure excellent aeration and drainage, reducing the risk of root rot. To nourish the plants through the growing season, she applies Espoma Organic Cactus! Liquid Fertilizer every 4–6 weeks.
As a final touch, she tops off the containers with Espoma Organic Bonsai Mix, which helps protect the soil surface, reduces moisture loss, and adds a clean, finished look to each pot.
Summer also explains a common condition called “corking,” a natural process where the stems of Euphorbias become woody at the base due to aging, which is not a sign of disease.
Summer’s Euphorbia Care Tips:
Wear gloves when repotting to avoid skin and eye irritation.
Inspect roots and prune away dead or damaged areas.
Water thoroughly, then allow the top 1–2 inches of soil to dry out.
Fertilize regularly during the growing season, pausing in winter.
With Summer’s guidance and Espoma’s organic products, your Euphorbias will thrive outdoors this summer!
There’s something hopeful about planting a new tree—especially when you know you’ve set it up to thrive. In this video, Kaleb Wyse from Wyse Guide walks us through planting a stunning Northwind Maple and shares the steps he takes to ensure long-term success. His secret? Espoma Organic Bio-tone Starter Plus, the must-have planting partner for strong root development and vigorous growth.
The Tree Planting Process: Kaleb carefully prepares the site by loosening soil and checking for good drainage. After removing the tree from its container and scarifying the roots (to prevent circling), he sprinkles Espoma Organic Bio-tone Starter Plus into the planting hole. The blend of mycorrhizae, beneficial microbes, and organic nutrients helps reduce transplant shock and promotes deeper, stronger root growth.
Kaleb’s 6 Tree Planting Tips:
Site before you plant: Walk around and view the tree from different perspectives.
Check the root flare: Make sure the base of the trunk sits at or just above soil level.
Loosen compacted roots: Lightly score or cut rootbound roots to encourage outward growth.
Amend your soil: Always plant with a high-quality organic starter fertilizer like Espoma Organic Bio-tone Starter Plus to help promote strong establishment.
Always plant above grade: Kaleb recommends planting slightly high since the soil will settle.
Water deeply after planting: Soak the tree well to eliminate air pockets and promote strong establishment.
Bonus tip: Kaleb recommends following up with a maintenance feeding later in the season using an organic fertilizer like Espoma Organic Tree-tone, specifically formulated to provide trees with the essential nutrients needed to grow strong, healthy roots.
Kaleb finishes the project by installing a beautiful fountain nearby—bringing structure, color, and sound to his garden space. The result is a calming, cohesive area that’s rooted in good planning and organic care.
Ready to plant your own tree? Don’t forget the Bio-tone Starter Plus! It’s Kaleb’s go-to for everything from perennials to maples—and the results speak for themselves.
https://www.espoma.com/wp-content/uploads/2025/06/Planting-a-New-Tree.jpg7201280Matt Dauphinaishttps://www.espoma.com/wp-content/uploads/2023/05/espoma-logo340w-1.pngMatt Dauphinais2025-06-11 16:57:532025-06-11 16:57:53VIDEO: Planting a NEW Tree 🌳 🍁 with Wyse Guide!
Watch Summer Rayne Oakes of Flock Finger Lakes dig into one of the summer’s easiest and most rewarding perennials—daylilies! She plants standout varieties like the ‘Jersey Spider’ and shares helpful tips for getting them established in both containers and garden beds.
To give her plants the best start, Summer uses Espoma Organic Potting Mix, a rich, organic, well-draining blend that includes mycorrhizae to support deep root growth. Then she feeds with Espoma Organic Flower-tone, our organic slow-release fertilizer formulated to promote strong stems and lasting blooms.