Posts

Companion Planting for Beginners

Grouping certain plants together will actually help your garden in more ways than you think. Companion planting is planting things together that benefit each other.

Find out how to your plants can help each other in this tutorial with Laura from Garden Answer. She’ll walk you through the basics of what it is, how to get started and how she companion plants in her own garden.

Example One: Growth and Habit Can Benefit Other Plants

Imagine a cucumber. Think about how it vines out all over the ground. If you were to trellis the cucumber to grow somewhat vertically, it will cast shade on the ground and you can plant something underneath — think greens, spinach, or anything that enjoys a bit of shade throughout the day.

If you don’t want to trellis your cukes, you can use this example with anything that grows taller and will cast some shade — such as sunflowers or corn. Hardier, tall plants can also be used like a trellis for peas or beanstalks to wrap themselves around them.

Example Two: Plant to Suppress Weeds

If you decide not to trellis vine crops, but instead allow them to grow over the ground, these can be used to block the sunlight and water from getting into the ground. This will make new growth difficult for weeds.

Example Three: Plant to Attract or Repel Insects

You can plant herbs or flowers to attract or repel insects. It is the same concept of planting herbs on the patio to repel mosquitos. Planting them near other producing plants will help fend off unwanted insects. For example, plant basil next to tomato plants to ward off the tomato hornworm — an insect that can be devastating to tomato plants. In this example, basil will also help the tomato grow and taste better – so it is worth a try!

On the other hand, zinnias will attract ladybugs – which is a good thing! Bring ladybugs into your garden to help keep control of other insects.

Nasturtiums act as a host plant for aphids. If you need to get aphids away from other plants that are producing, plant a nasturtium nearby as a distraction.

Other ideas:
  • Plant Thyme with cabbage to repel cabbage worms
  • Add marigolds to repel pests with strong fragrance

Example Four: Plant with Root Depth in Mind

Be sure to consider what you are planting near each other. If you only plant shallow rooted vegetables together they will be competing for space and nutrients. Before planting, be sure to know how deep the roots will go and mix and match the ones you place together. That way each plant can get the right amount of nutrients.

Planting lettuce, tomatoes and carrots together would work well. Lettuce has shallow roots, tomatoes have medium roots and carrots are a deep root vegetable, so they will not have to compete for the same space. Let’s say you want to add in potatoes – think about where the carrots are and don’t plant them next to each other. They will be much happier next to the lettuce.

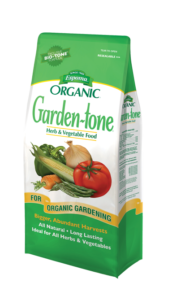
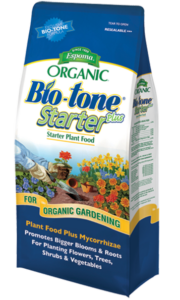
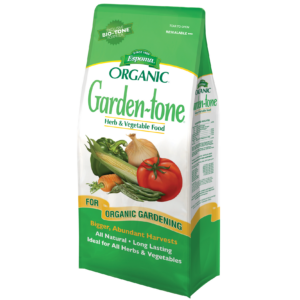
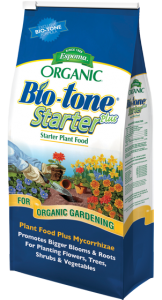
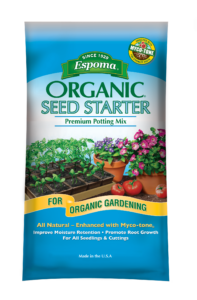
When you are considering planting for nutrients, be sure there are nutrients in the soil for your plants to take up. Before planting, add Espoma’s Organic Bio-tone Starter Plus to ensure the plants are getting all the nutrients they need to grow big and tasty. Later in the season, it is best to follow up with Garden-tone to keep plants in close quarters thriving.

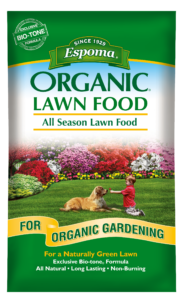
Espoma Products For Companion Planting:


Companion Planting for Beginners with Garden Tour

Grouping certain plants together will actually help your garden in more ways than you think. Companion planting is planting things together that benefit each other.

Find out how your plants can help each other in this tutorial with Laura from Garden Answer. She’ll walk you through the basics of what it is, how to get started and how she companion plants in her own garden.

Example One: Growth and Habit Can Benefit Other Plants

Imagine a cucumber. Think about how it vines out all over the ground. If you were to trellis the cucumber to grow somewhat vertically, it will cast shade on the ground and you can plant something underneath — think greens, spinach, or anything that enjoys a bit of shade throughout the day.

If you don’t want to trellis your cukes, you can use this example with anything that grows taller and will cast some shade — such as sunflowers or corn. Hardier, tall plants can also be used like a trellis for peas or beanstalks to wrap themselves around them.

Example Two: Plant to Suppress Weeds

If you decide not to trellis vine crops, but instead allow them to grow over the ground, these can be used to block the sunlight and water from getting into the ground. This will make new growth difficult for weeds.

Example Three: Plant to Attract or Repel Insects

You can plant herbs or flowers to attract or repel insects. It is the same concept of planting herbs on the patio to repel mosquitos. Planting them near other producing plants will help fend off unwanted insects. For example, plant basil next to tomato plants to ward off the tomato hornworm — an insect that can be devastating to tomato plants. In this example, basil will also help the tomato grow and taste better – so it is worth a try!

On the other hand, zinnias will attract ladybugs – which is a good thing! Bring ladybugs into your garden to help keep control of other insects.

Nasturtiums act as a host plant for aphids. If you need to get aphids away from other plants that are producing, plant a nasturtium nearby as a distraction.

Other ideas:

  • Plant Thyme with cabbage to repel cabbage worms
  • Add marigolds to repel pests with strong fragrance

Example Four: Plant with Root Depth in Mind

Be sure to consider what you are planting near each other. If you only plant shallow rooted vegetables together they will be competing for space and nutrients. Before planting, be sure to know how deep the roots will go and mix and match the ones you place together. That way each plant can get the right amount of nutrients.

Planting lettuce, tomatoes and carrots together would work well. Lettuce has shallow roots, tomatoes have medium roots and carrots are a deep root vegetable, so they will not have to compete for the same space. Let’s say you want to add in potatoes – think about where the carrots are and don’t plant them next to each other. They will be much happier next to the lettuce.

When you are considering planting for nutrients, be sure there are nutrients in the soil for your plants to take up. Before planting, add Espoma’s Organic Bio-tone Starter Plus to ensure the plants are getting all the nutrients they need to grow big and tasty. Later in the season, it is best to follow up with Garden-tone to keep plants in close quarters thriving.

Continue to watch for a tour of Laura’s vegetable garden and to see where Laura plants her companions.

Espoma Products For Companion Planting:


Fresh off the Vine – Harvesting Tomatoes and Recipes

Harvest is upon us! Those big juicy tomatoes are taunting you on the vine, waiting for you to enjoy!

Garden tomatoes are jam packed with flavor compared to grocery store tomatoes. Make sure to pick them when they are just right to enjoy with your favorite tomato recipes. These harvesting tips will ensure you get a flavorful tomato every time.

Harvesting

Harvesting tomatoes isn’t complicated; it’s just all about timing!

Leave your tomatoes on the vine as long as possible. Wait until your tomatoes have completely changed color. If it is red (or yellow) on one side and green on the other, your tomato isn’t ready yet. It needs to have an even color all around it. If your tomatoes have started changing color and are starting to crack, bring them inside and place them in a paper bag to finish ripening.

Trust your gut. If you think the tomato is ready for harvest, pick it! You can also do the squeeze test. Gently squeeze your tomatoes,  tomatoes ready for harvest will be firm, but not too hard.

Recipes

After you’ve harvested your tomatoes, try one of our favorite recipes!

  1. Tomato Salad with Edamame Succotash: This Midwest delight has a variety of vegetables you can find in the garden. Make this nutritious meal and pair it with some delicious bread!
  2. Tomato-Phyllo Tart: Take your tomatoes to another level when making this delicious recipe. Use your own garden fresh herbs to keep it close to home.
  3. Eggs in Purgatory: This one may sound a little dark, but take it from us, it is delicious! It does say cherry tomatoes, but any tomatoes will do.
  4. Corn Soup with Tomato Bacon Toast: Try a twist on the classic grilled cheese and tomato soup with this recipe.
  5. Cheesy Stuff Tomatoes: Whip up some stuffed tomatoes in a jiff. This simple, yet yummy, recipe is perfect for a late night meal.

If you want more delicious tomato recipes, check out our Top Tomato Recipes! And be sure to download our Tomato Guide to answer all of your tomato growing questions.

6 Secrets for Growing the Tastiest Tomatoes

A good tomato is hard to forget. You know you’ve hit the jackpot in that first, juicy bite.

Every tomato has the potential to be great and some extra attention now will pay off big time come harvest. Set the stage for a stellar performance by this year’s crops with these tips.

Every tomato has the potential to be great and some extra attention now will pay off big time come harvest. Set the stage for a stellar performance by this year’s crops with these tips.

How to Get The Best Tomatoes:

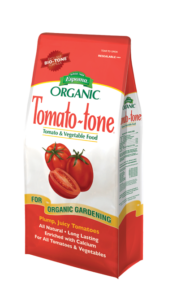
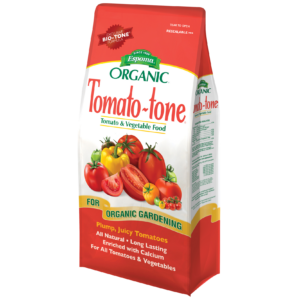
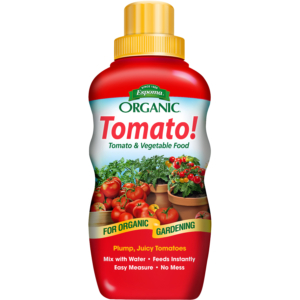
  1. Healthy soil, healthy plants. Enrich soil with Tomato-tone and compost every other week to keep plants supplied with essential nutrients.
  2. Remove damaged plants. Remove any fruit that shows dark patches on their bottom. These leathery patches, known as blossom end rot, cannot be reversed.
  3. Water well. During hot weather, tomato plants need deep waterings. Tomatoes are also less likely to crack when the soil is kept slightly moist.
  4. Cover the soil. Mulch blocks weeds, saves water and protects your fruit. Adding it is a no-brainer! Spread a 2-3” layer of organic mulch around plants, leaving 2” of room around the stem so water can reach the roots.
  5. Protect plants from heat. Hot sun can cause sunscald, leaving tomatoes with pale, leathery patches on the fruits that pucker when they should be ripening. Bushy plants with lots of leaves naturally shade fruit from sun, however, plants with less leaves are more vulnerable. Cover plants with lightweight cloth covers through the first few heat waves.
  6. Remove tomato suckers. These small shoots sprout out from where the stem and the branch of a tomato plant meet. Though harmless, tomato suckers do drain energy away from the main stems.

Pick tomatoes when you’re ready for them, avoid letting them get soft and mushy. Tomatoes picked at the breaker stage, when they first show signs of changing color, are considered vine-ripened. These tomatoes will continue to ripen off the vine and on your kitchen counter. Plus, tomatoes picked at the breaking stage can still have the same flavor as one that has fully ripened on the vine.

Whatever you do, just don’t put tomatoes in the fridge to ripen.


Want to know more? Check out our tomato growing guide for all the details on getting your best tomato harvest yet!  

The Best Heirloom Tomatoes to Grow

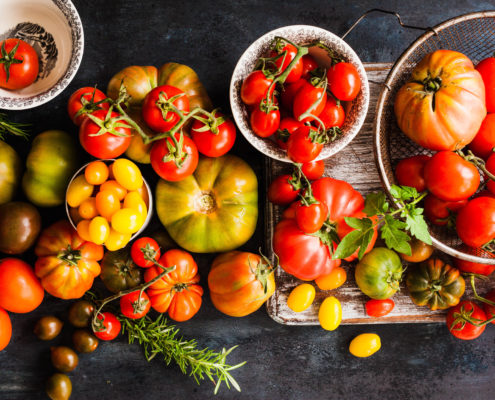
Have you wondered why heirloom tomatoes taste so much better than those conventional ones from the store?

Conventional tomatoes have been bred for long shelf life, disease resistance, high yield and even for their looks! Some say all the flavor and taste has been bred out of them, too.

So whether you say to-may-to or to-mah-to, we’re here to help you choose the perfect heirloom tomato variety for you.

tomato-tone, growing tomatoes, organic gardening

 What is an Heirloom Tomato?

Heirloom tomatoes come from seeds that have been handed down from farmer to farmer for generations for their special characteristics and varieties must be 50 years old at least. Because of this, heirloom tomatoes have minimal disease resistance.

Heirloom varieties are open-pollinated–meaning that the seeds you collect will produce plants almost identical plants year after year. That’s key to their survival.

Many heirlooms have been passed down generation to generation. Seeds, once considered valuable property, traveled country to country in pockets or through letters. Varieties come from Central America, Russia, Italy, Japan, France, Germany and Kentucky. Here are a few of our favorites.

Best Heirloom Tomatoes to Grow


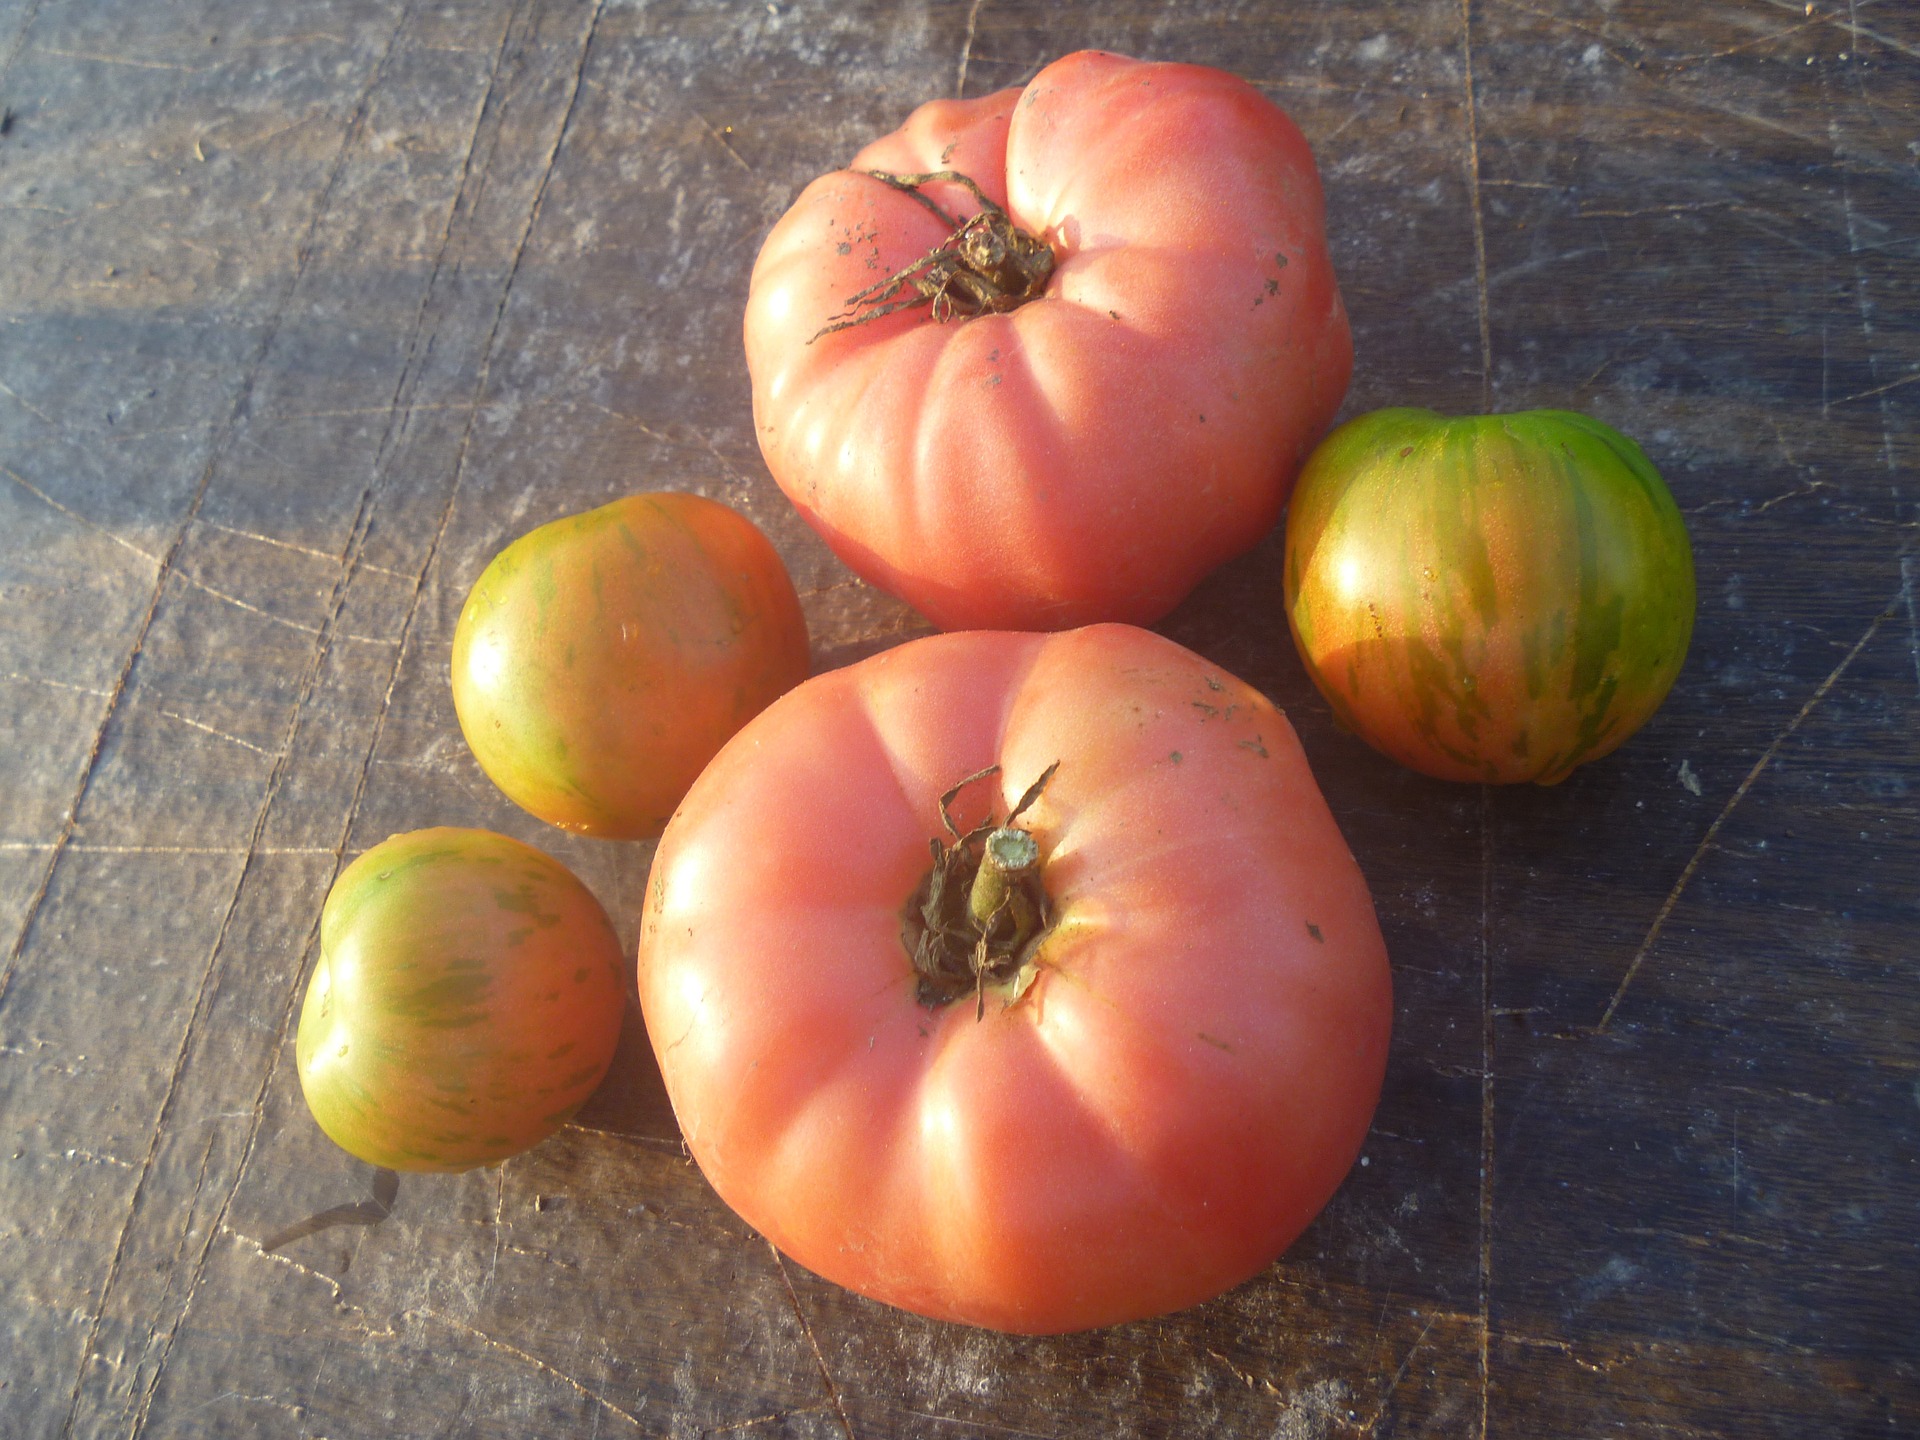
Pink Brandywine– This is hands-down the yummiest and most popular heirloom. Dating back to 1885, these tomatoes ripen late in the season, but delight with huge tomatoes with even bigger flavor. Plus, Pink Brandywine tomatoes grow well in containers.

  • Growth Type: Indeterminate
  • Time to Maturity: 85-100 days
  • Taste and Texture: Intense, full flavor with a rich, velvety texture
  • Light: Full sun
  • Plant Size: 4-9’
  • Spacing: 24-36” apart
  • Staking: Yes – Cage or stake

Black Cherry – This black, heirloom cherry tomato is somewhat disease resistant and easy to grow – even in containers. The truly striking color makes these cherry tomatoes an instant conversation (or kabob!) starter.

  • Growth Type: Indeterminate
  • Time to Maturity: 65-75 days
  • Taste and Texture: Sweet meets smoky flavor with a meaty texture
  • Light: Full sun
  • Plant Size: 5-8’
  • Spacing: 24-36”
  • Staking: Yes – Cage or stake

Cherokee Purple – Cherokee purple tomatoes may look eccentric, but boy, do they taste good!  Believed to be passed down from Cherokee Indians, this variety produces significantly more tomatoes than other heirlooms.

  • Growth Type: Indeterminate
  • Time to Maturity: 75-90 days
  • Taste and Texture: Sweet, juicy and savory with a thin skin
  • Light: Full sun
  • Plant Size: 4-9’
  • Spacing: 24-36”
  • Staking: Yes – Cage or stake

Striped German/Old German – This sizzling red and orange tomato looks like a work of art. Slice it open, and you’ll be delighted by its intricate texture and pattern. Also called “Old German,” this sunny tomato produces huge beefsteak tomatoes. It does need constant, proper care to thrive.

  • Growth Type: Indeterminate
  • Time to Maturity: 75-85 days
  • Taste and Texture: Incredibly juicy with a faintly tart flavor and meaty texture
  • Light: Full sun
  • Plant Size: 4-8’
  • Spacing: 24-36”
  • Staking: Yes –  Cage or stake

Wapsipinicon Peach – Bright in color and flavor, these tiny, fuzzy yellow tomatoes make the perfect snack. Named for the Wapsipinicon River in Northeast Iowa around 1890, Wapsipinicon Peach tomatoes are resistant to rot and field blight. Plus, they are quite prolific!

  • Growth Type: Indeterminate
  • Time to Maturity: 75-80 days
  • Taste and Texture: Sweet flavor with little acidity and fuzzy, thin skin
  • Light: Full sun
  • Plant Size: 4’
  • Spacing: 24-36”
  • Staking: Recommended – Cage or stake

Why Should I Grow Heirlooms?

We believe the flavor of heirlooms is so superior that no garden would be complete without them. Try a variety this year, and we’re sure you will agree. You will be tasting a little bit of history all summer long.

When you’re organic gardening, be sure to feed tomatoes lots of Tomato-tone during the growing season.  

And if you’re looking for more info on tomatoes, such as easy tomatoes to growhybrid tomatoes or non-red tomatoes, please visit our Organic Tomato Gardening Guide for more tips and tricks.

Tomato_info

Harvesting Tomatoes Made Easy

It’s the moment you’ve been waiting for – tomatoes are ready to harvest! You can almost taste the delicious flavors of that first bite.

Whether you’re cooking, canning, freezing or simply eating your tomatoes raw, you’ll want to pick them at the perfect moment. These harvesting tips will ensure your organic tomatoes are ripe when picked.

tomatoes-7605_1920

Timing is Everything

One of the first steps to a successful harvest is keeping a close eye on your tomatoes to determine the best time to pick. Tomatoes are typically ready to harvest 60-85 days after planting seedlings outdoors. However, timing can change depending on your climate and the variety of tomatoes you’re growing.

If you’re planting determinate tomatoes, be ready for a large harvest all at once. These varieties typically set and ripen their fruit within about two weeks.

Indeterminate tomatoes can ripen all summer long, so keep an eye on these varieties throughout the season to ensure peak harvesting times.

tomato-tone, growing tomatoes, organic gardening

Color is Key

When the tomato has even color throughout, it is typically ready to be harvested. Tomatoes often ripen from the bottom up, so check the bottom of the tomato first for mature growth color. Once the entire tomato has reached this color, it is ready to be harvested.

Tomatoes need heat to harvest, and not necessarily light. They continue to ripen on overcast or cloudy days, as long as the temperature is warm. Tomatoes can even continue to ripen off the vine. If you live in an area with an especially hot climate, it’s better to pick the tomato from the vine before it reaches its mature color. Tomatoes will continue to ripen and change color as long as they are stored in warm temperatures.

tomato-tone, growing tomatoes, organic gardening

Trust Your Instincts

When it comes to harvesting tomatoes, trust your intuition. Ripe tomatoes should feel firm, but not hard. Overripe tomatoes will be soft and can be composted. Ripe tomatoes should feel full and heavy. Under ripe tomatoes are often lightweight and need more time on the vine before harvesting.

Keep a close eye on your tomato plants as harvest times come near. Overripe tomatoes typically become too heavy and fall from the vine. This can lead to disease and rot, causing you to lose a large portion of your harvest.

When tomatoes are ready to harvest, simply twist off the vine by hand or use clippers for larger tomatoes. Cut the stem close to the fruit and enjoy!

How do you plan on using your fresh tomato harvest?

Tomato Woes – How to Solve Common Tomato Diseases

No other flavor in the garden can compete with sun-ripened tomatoes! Just seeing their bright, shiny color emerge gets us giddy!

We want to make sure you get to experience the joy of your homegrown, golden delights this year.

So, if you spot a worrisome sign on your tomatoes, here’s how to identify and fix it – the organic, natural way!

Dr. Tom A. To: How to Identify and Fix Common Tomato Diseases and Problems

tomato-tone, growing tomatoes, organic gardening

Photo courtesy of Dwight Sipler.

The Mark of Dark Spots. First, you’ll see tiny spots on tomatoes’ lower leaves, usually after the first fruit has set. From there, the spots grow larger and begin to look like a target. That’s early blight.

To fix, remove infected leaves as well as lower leaves. Water in the morning to prevent further spread of this fungus. Low nitrogen levels often cause early blight, so feed with Tomato-tone monthly.

Clemson University – USDA Cooperative Extension Slide Series, Bugwood.org

tomato-tone, growing tomatoes, organic gardening

Photo courtesy of Clemson University – USDA Cooperative Extension Slide Series, Bugwood.org

The Bruise Blues. If small, sunken spots or what looks like bruises appear on your ripe tomatoes, that’s anthracnose. This fungus emerges as the weather gets hot and humid – usually 80° or warmer.

So, harvest ripe tomatoes as soon as possible. These are safe to eat if you cut off the bruises. Then water tomatoes in the morning.

tomato-tone, growing tomatoes, organic gardening

Photo courtesy of Missouri Botanical Garden.

So Many Spots. If tiny, greyish-brown dots cover your tomato leaves, Septoria leaf spot is to blame. Soon, leaves will fall off. Though, a harvest will usually still happen.

To remedy, remove all infected leaves. Then apply a copper fungicide – if you’re organic gardening.

tomato-tone, growing tomatoes, organic gardening

Brown Bottom. See circular brown spots on the bottom of your half-grown tomatoes? That’s blossom-end rot, which is usually caused by a lack of calcium in the soil. Blossom end rot should only happen to a few tomatoes early in the season, not the whole bunch.

To fix, use an organic tomato fertilizer with calcium.

tomato-tone, growing tomatoes, organic gardening

Photo courtesy of Victor M. Vicente Selvas

Built to Wilt. Wilting, curling leaves could be bad news for your tomatoes. If paired with stunted grown or browning veins or blotches, your tomatoes have Fusarium or Verticillium wilts. These diseases are caused by a super vicious fungus in the soil.

And, there’s no cure for it. Remove and rid your garden of these tomatoes. Do not compost. Then, solarize the soil to kill the fungus. Otherwise, when you plant veggies in the same area, they, too, will get this disease for the next 4-6 years.

Next time, when you’re growing tomatoes, select disease-resistant varieties to avoid some of these common problems.


Mulch Tomatoes Now to Save Time Later

Add mulch, a natural covering on top of soil, to keep moisture in, block weeds and provide added nutrients. But did you also know that mulch is particularly important for tomato plants?

If you grow tomato plants, then you have to understand the importance of mulch.

Why is Mulch So Important for Tomatoes?

1. Mulch Protects

Many tomato plants grow large, heavy fruit. Mulch protects the lowest-growing fruit from resting on the ground and developing rot.

2. Mulch Blocks Weeds

Weeds are usually no problem for tomatoes since the large plants, with their dense foliage, shade out and smother any weeds. However, mulch around staked or trellised plants will keep down those baby weeds, so they won’t rob the plants of water and nutrients.

tomato-tone, growing tomatoes, organic gardening

3. Mulch Saves Water

Staked and trellised plants usually benefit from mulch to save moisture. More exposed to sun and wind than unstaked plants, they lose more water through their leaves. It takes extra effort to provide them with an ample and even supply of moisture, but in dry climates, it’s worth it.

4. Mulch Keeps Plants Clean

A mulch blanket under your plants keeps soil from splashing onto the leaves, which helps prevent disease, something tomatoes are especially prone to.

How to Mulch Tomatoes

Many make the mistake of laying mulch around tomatoes too early. You should wait until late spring or until the ground has really warmed up. Adding mulch will inhibit soil from warming and delay the harvest a few weeks.

Once the soil has warmed, feed your tomatoes again with Tomato-tone. Then spread a 2-3” layer of organic mulch. Be sure to leave 2” of room around the stem so water can reach the roots. Water well.

The Best Organic Mulches for Tomatoes

tomato-tone, growing tomatoes, organic gardening

Shredded Leaves: Composted leaves are great for vegetable gardens because they provide natural weed protection and increase moisture retention.

Grass Clippings: If you apply organic lawn fertilizer, dry grass clippings are a great option. They mat together to protect plants and retain heat.

Straw: Straw makes great mulch for tomatoes. But stay away from hay, as it’s full of seeds. Spread a 3-6” layer around tomatoes.

tomato-tone, growing tomatoes, organic gardening

Newspaper or Cardboard: Newspaper is best for blocking weeds. Cut or tear into strips that fit easily around plants.

Stop Blossom-End Rot

You’re on your way to growing the perfect tomatoes. Once you’ve selected your favorite varieties, planted and cared for the seedlings, all that’s left is to take a bite into your first harvest.

But wait. That tomato doesn’t look so appetizing.

If a dark, water soaked spot has formed on your tomato you may have blossom-end rot. This problem is likely caused by an imbalance of calcium in the plant. You may also see this on peppers, squash, cucumbers and melons. The spot enlarges and darkens rapidly as fruits develop. Large spots will dry out and appear to be leathery.

tomato-tone, growing tomatoes, organic gardening

Tips to Keep Blossom End Rot Away

  • Maintain consistent soil moisture throughout the growing season. When the weather is dry, water at least twice a week and moisten the soil to a depth of at least 6 inches.
  • Plant tomatoes in warm soil. Seedlings planted in cold soil are likely to have limited nutrient uptake.
  • Fertilize with Tomato-Tone to make sure plants are getting the nutrients they need.
  • Amend soil to maintain soil pH at or near 6.5.
  • Add a layer of mulch to minimize evaporation and help maintain consistent soil moisture. Remember not to volcano mulch.

The reasons are many as to why the plant may not be able to take up enough calcium to support the fruit, but most lie in the soil. The best way to prevent blossom end rot is to have a soil test done before planting to determine if the soil has adequate calcium.

Other reasons include:

1. Fluctuations in soil moisture

2. Excess of nitrogen in the soil

3. Root damage

4. Soil pH that’s either too high or too low

5. Soil that’s too cold

6. Soil that’s high in salts

Unfortunately there’s no use saving these tomatoes. Pick off damaged fruit as soon as you notice the rot and compost them.


Tomato Suckers: What Do With Them

Tomatoes are one of the easiest things to grow in your organic garden. Plant, feed, water and eat!

Yet a few simple tricks will help you be more successful and produce a ton of fruit!

Today’s garden tip: What to do with tomato suckers?

First, let’s determine what tomato suckers are. Then, you can choose whether or not to keep them.

What Are Tomato Suckers?

Tomato suckers are small shoots, or leaves, that sprout out from where the stem and the branch of a tomato plant meet. Although relatively harmless to the plant, suckers don’t serve much of a purpose.

They can, however, draw energy away from the main stems, decreasing tomato growth.

How to Prune Tomato Suckers

  1. Keep a close eye on your tomato plants. Eliminate suckers while they are just a small ½” stem.
  2. Remove by simply snapping them off at the stem. If you need to use a tool, use a sharp pruner blade to make a clean cut.
  3. During peak growing season, pull unnecessary suckers and flowers at least once a week.
  4. Pruning is especially important if you are growing indeterminate tomatoes. This variety produces fruits all season long, as opposed to a single harvest. They require more attention and maintenance in order to encourage growth.

Pruning tomato suckers is one of the keys to a successful harvest.

To Prune or Not To Prune…

Some argue that tomato suckers are beneficial because more leaves can lead to more fruit.

This is true, however, less dense tomato plants may produce larger, juicier tomatoes. (Don’t forget, to also use Espoma Organic Tomato-tone to promote growth of plump tomatoes.)

Removing tomato suckers can also decrease risk of disease caused by prolonged moisture. With fewer leaves, plants receive more air and leaves dry quicker. Fewer leaves also provide fewer places for insects to nest and gnaw.

Because suckers can potentially cause more harm to the garden than good, consider pruning those suckers.


If you’re looking for more info on tomatoes, such as easy tomatoes to growhybrid tomatoes or non-red tomatoes, please visit our Organic Tomato Gardening Guide for more tips and tricks.