How to Plant Hydrangeas
In the video below, Laura from Garden Answer demonstrates how to plant hydrangeas using Espoma’s Bio-tone Starter Plus and Holly-tone.
Can’t wait to learn more about hydrangeas?
Check out our Hydrangea Growing Guide

In the video below, Laura from Garden Answer demonstrates how to plant hydrangeas using Espoma’s Bio-tone Starter Plus and Holly-tone.
Can’t wait to learn more about hydrangeas?
Check out our Hydrangea Growing Guide
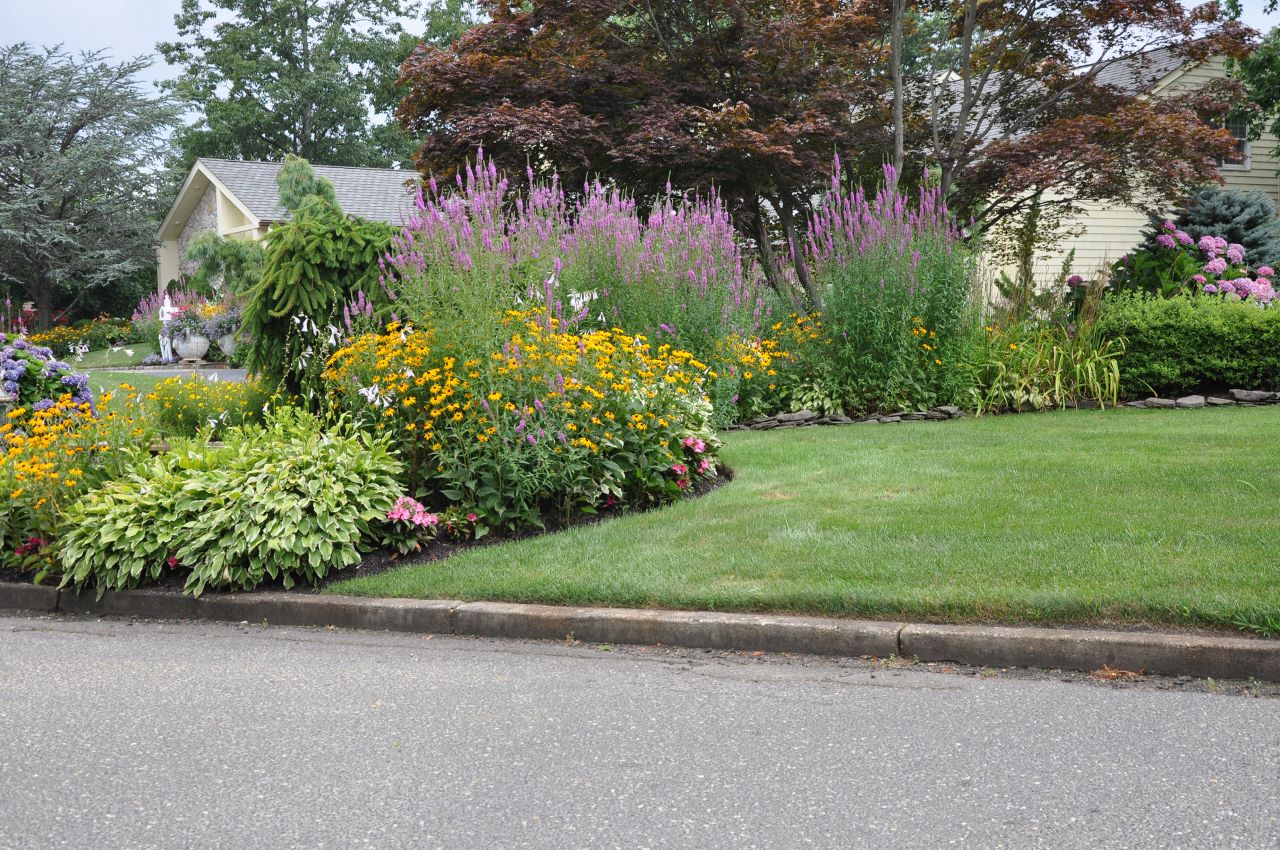
Summertime brings plenty of sunshine, relaxing days outdoors, fresh veggies ready for harvest farmers markets — and best of all, fresh flowers from your garden. The season’s hot weather makes it perfect for enjoying outdoor blooms and snipping a few off to create your own sun-kissed bouquet. Check out the below varieties that will add a big burst of color from late summer into fall.

Sunflowers
Nothing says summer quite like a bright and cheery sunflower. Choose dwarf varieties which typically have smaller blooms and reach about 1 foot in height. They are perfect for small space gardening and children love planting these bright flowers. Grow in full sun or partial shade in Zones 1-10. Start sunflowers indoors in Espoma’s seed starting mix for extra flower power.
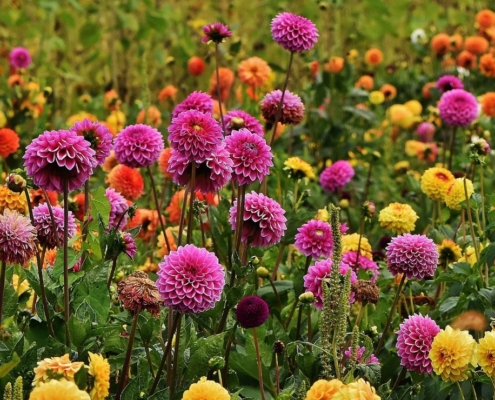
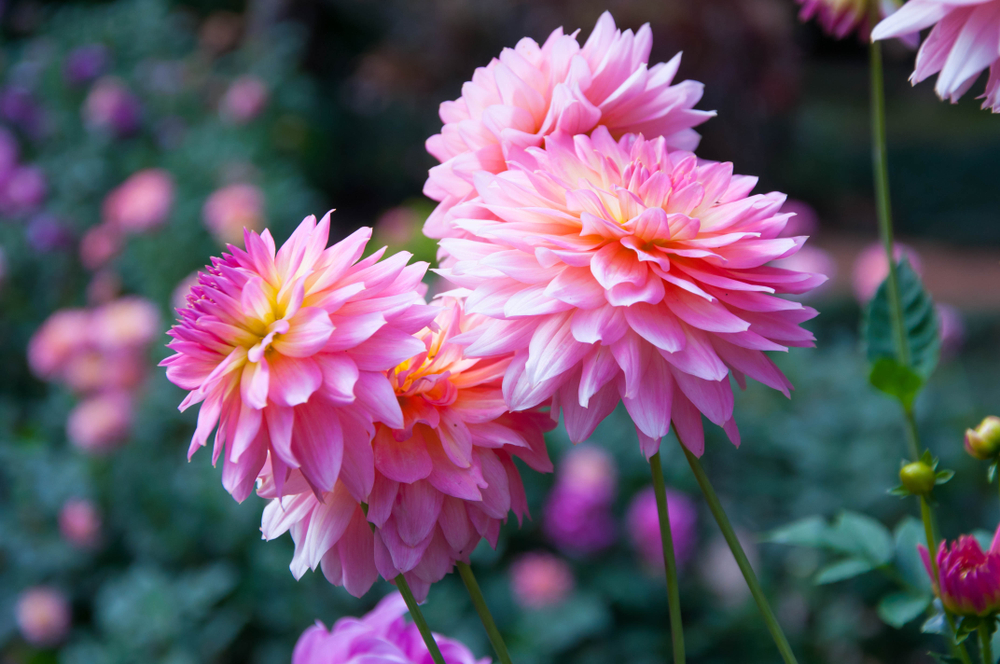
A classic favorite, dahlias dazzle with blooms from mid-July until September. Available in a variety of sizes, colors and designs, it’s hard to plant just one. These dazzling beauties will add style to your garden anywhere you plant them. While they are technically a tuber, you plant them the same way you would plant a bulb. Dahlias are winter hardy in zones 8-11, but gardeners in zones 2-7 can plant them in the spring.
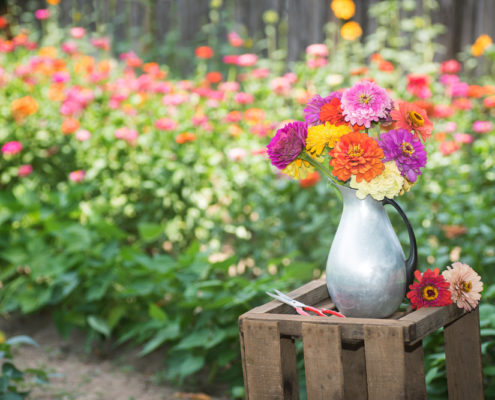
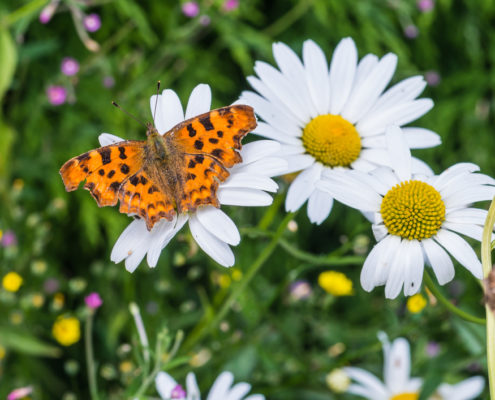
Find zinnias in a variety of bright and beautiful colors. These heat-tolerant plants bloom quickly from mid-summer until frost and are easy to grow. The more you cut your zinnias, the more flowers the plants will produce. While these flowers are deer resistant, they are monarch butterfly favorites. Grow in full sun in Zones 1-10.
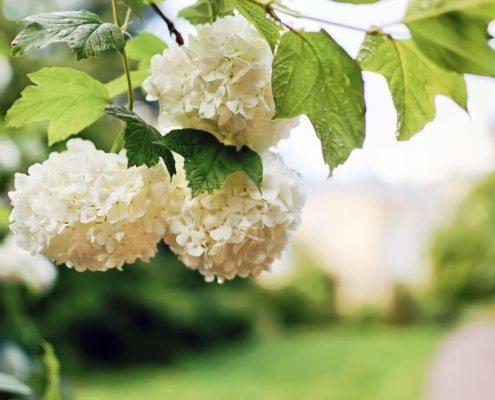
Hydrangeas
Hydrangeas embody everything we love about gardening. They have billowy texture, come in bright colors and are easy to care for. With their larger-than-life blooms and immense foliage, they can be planted anywhere from container to flower bed. Check with your local garden center to find the best hydrangea variety for your zone.
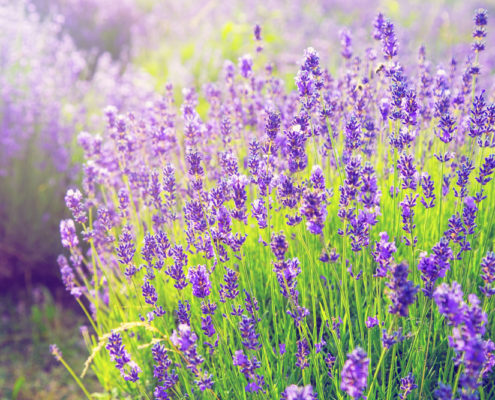
Lavender
Perfectly purple lavender is a garden must-have. Their flowering period covers the summer months of June to August. As a bonus, their scent is known to deter pesky mosquitoes. Use lavender in a bouquet just on its own or as filler with other summer blooms. Best suited for zones 5-8.

Roses
Roses are the most classic flower to include in a garden. They’re prolific bloomers, fragrant and colorful. They are hardy in zones 4-9 and with the right care, can come back to thrive year after year. Feed your roses monthly with Espoma’s Organic Rose-tone to ensure proper growth.
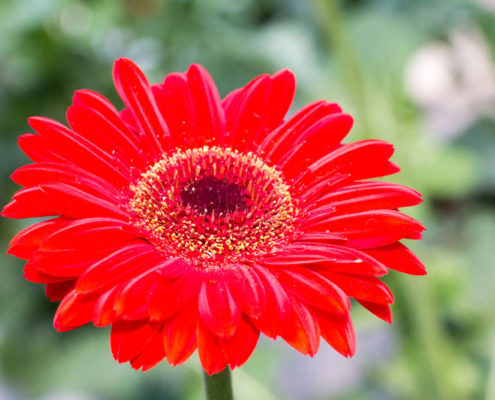
Gerbera Daisies
With a bright and cheery demeanor, gerbera daisies have quite a bit of flair. They will have single, double or even multiple petals, which can add some texture and contrast to your garden. They will withstand the summer heat with their sturdy stems and big blooms. Feed regularly with Flower-tone to give their stems a boost.
Products:
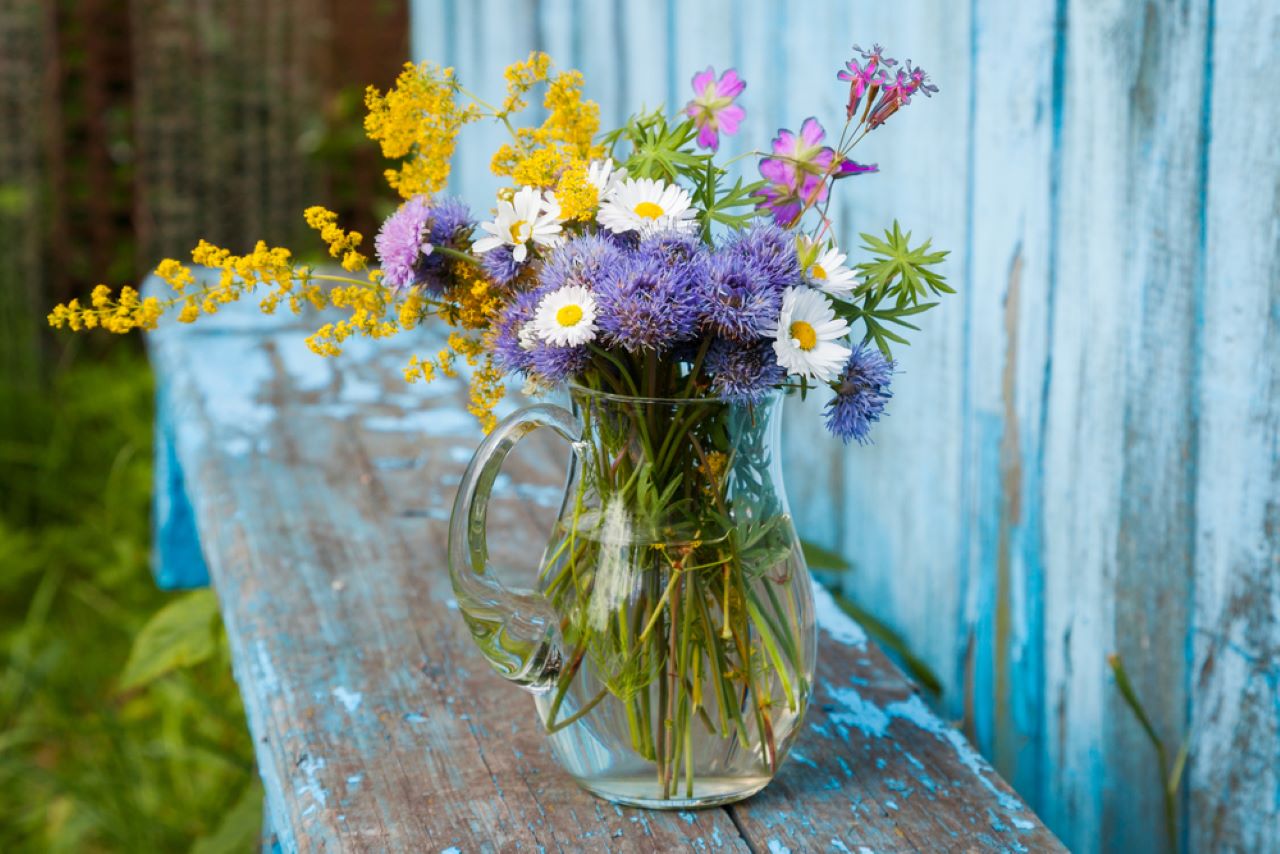
Whether your wedding colors are blush and bashful or burgundy and navy, cut wildflowers from your own garden will go with almost any color pallet.
Did you know growing these bouquets of pastel-hued flowers or fiery reds and yellows can be done right in your own backyard? The important thing is to be creative, maximize your growing abilities and time your blooms with your big day.
5 Wildflowers for Wedding Bouquets
Sunflowers
Choose hybrid, pollenless varieties of sunflowers for bouquets and centerpieces. Varieties that are single-stem will produce one beautiful stem per seed or plant in a short amount of time. Choose from a variety of shapes and colors. Golden yellow sunflowers with dark-centers are classic, but ones with green centers or lemon-hued flowers make for unique looking bouquets. Grow in full sun or part shade in Zones 1-10. Feed blooms with Espoma’s Bio-Starter Plus when you plant for extra flower power.
Zinnias
Find zinnias in a variety of bright and beautiful colors. These plants bloom from mid-summer until frost and are one of the easiest wildflowers to grow. Plus, the more you cut zinnias, the more flowers the plants will produce. While these flowers are deer resistant, they are monarch butterfly favorites. Grow in full sun in Zones 1-10.
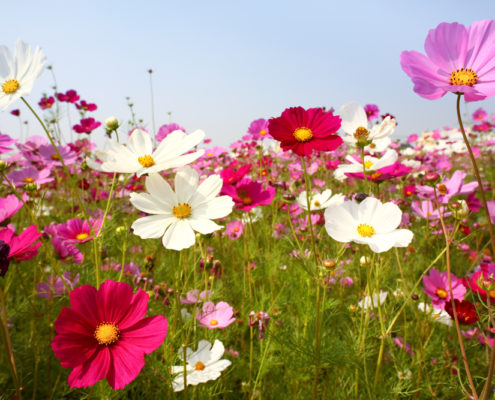
Cosmos
A popular cut flower, cosmos will add a pop of color to any bouquet. Their pink, crimson, white or chocolate flowers last until frost and are attractive to both butterflies and hummingbirds. Flowering non-stop, two to three inch blossoms grow on fern-like stems. Feed throughout the growing season with Flower-tone to get fantastic blooms. Grow in full sun in Zones 1-10.
Daisies
With their white rays and yellow centers, daisies brighten up any bouquet. They grow 1-3 feet tall and will not take up too much space in a garden or bouquet. Feed regularly with Bloom! liquid plant food for vibrant whites and beautiful fragrance. Grow in full sun in Zones 3-8.
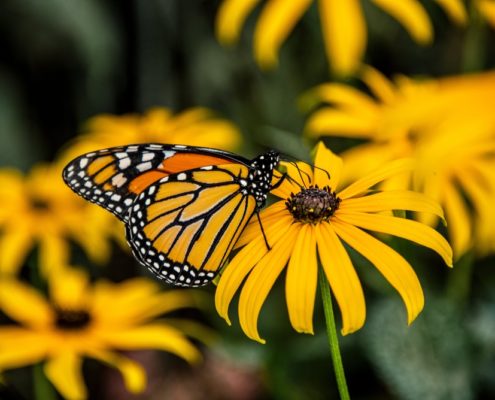
Black-eyed Susan
Named for their dark brown centers peeking out of the gold or bronze petals, black-eyed susans thrive in the sun. These daisy-like blooms are perfect for a late summer or fall bouquet. They tend to grow to about 2 feet tall and handle high heat and drought conditions well. Grow in full sun in zones 3-9.
Directions
It’s time to make the cut once your wildflowers are in bloom.
Cut stems in early morning or late evening to prevent wilting from the harsh sun and heat. Strip any foliage that will be placed directly in the water. Leave foliage near top of the stems for added interested and filler in your bouquet.
Thinking bulbs might be a better fit for your wedding bouquet? Find out how Garden Answer gets beautiful blooms.
Espoma Products for DIY Bouquets
It is that time of year again when those tiny whining noises can be heard buzzing by your ear. Mosquitoes are back! You can keep these pests at bay by using nature’s own recipe for effective mosquito repellents.
It is a matter of comfort to keep the mosquitoes away, but it is also a matter of your family’s safety. By keeping the mosquito population around your house to a minimum, you reduce the risk of being exposed to mosquito-borne diseases.
Tell those mosquitoes to bug off by fighting them naturally. Avoid chemicals by planting a mosquito repellent garden. Read about our top choices for mosquito-repelling plants below.
Geraniums
These bright red and pink blooms have a fragrant lemon and citronella-like scent, which is delightful to humans but extremely repugnant to mosquitos. Geraniums prefer a warm, sunny, and dry climate and work in the garden or in pots. Hardy in Zones 3 through 9. Plant with Espoma’s Bio-tone Starter Plus to give plants the nutrients they need.

Basil
Basil is one of the handiest plants around. Add it to your favorite meal, drink or simply enjoy its wonderful smell. One of the biggest perks is that it emits a mosquito-repelling aroma without having to crush the leaves. Prevent mosquito bites by rubbing a handful of basil leaves on exposed areas of the skin. Research in the 2011 Malaria Journal found that basil was discovered to be up to 100% effective in preventing mosquito bites. Hardy in Zones 1 through 10.
Marigolds
Marigolds have earned the “most pungent” superlative from the plants on this list. Their smell has not only proven to be offensive to mosquitos, but also to rabbits, deer and some people. Despite the smell, their luminous orange and yellow petals brighten up your garden. They enjoy full sun and fertile soil. A major plus is that marigolds make great companion plants for tomatoes, protecting against other insects that eat the plants. Hardy in Zones 2 through 10. Fertilize with Espoma’s Bloom! liquid fertilizer for great looking marigolds.
Lavender
Add vibrant purple to your garden by planting lavender. Lavender gives off a sweet aroma that is attractive to humans, but most definitely not to mosquitoes. You can rub lavender on your skin to use as a natural mosquito repellent, too. Lavender prefers full sun with well-drained soil. Hardy in Zones 5 through 9. Feed with Espoma’s Plant-tone throughout the growing season.
Rosemary
Rosemary, a member of the mint family, will most definitely keep the mosquitoes away. This Mediterranean favorite is one of the most aromatic herbs you can grow. Grow in full sun and water when dry. Although you don’t need to prune, you can cut back branches to help your rosemary bush stay in shape. Both fresh cuts and dry cuts are effective in repelling mosquitoes. Add rosemary to your summer fire pit so when it burns it gives off incense that is offensive to mosquitoes. You can also make rosemary into oils, add it to meals, or even make natural repellents. Hardy in Zones 6 through 9.
Espoma Products for Plants that Help Repel Mosquitoes:
Grouping certain plants together will actually help your garden in more ways than you think. Companion planting is planting things together that benefit each other.
Find out how to your plants can help each other in this tutorial with Laura from Garden Answer. She’ll walk you through the basics of what it is, how to get started and how she companion plants in her own garden.
Example One: Growth and Habit Can Benefit Other Plants
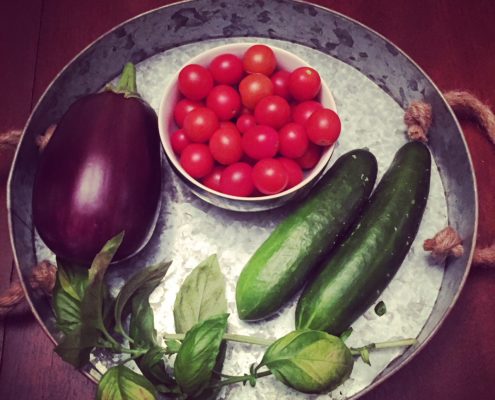
Imagine a cucumber. Think about how it vines out all over the ground. If you were to trellis the cucumber to grow somewhat vertically, it will cast shade on the ground and you can plant something underneath — think greens, spinach, or anything that enjoys a bit of shade throughout the day.
If you don’t want to trellis your cukes, you can use this example with anything that grows taller and will cast some shade — such as sunflowers or corn. Hardier, tall plants can also be used like a trellis for peas or beanstalks to wrap themselves around them.
Example Two: Plant to Suppress Weeds
If you decide not to trellis vine crops, but instead allow them to grow over the ground, these can be used to block the sunlight and water from getting into the ground. This will make new growth difficult for weeds.
Example Three: Plant to Attract or Repel Insects
You can plant herbs or flowers to attract or repel insects. It is the same concept of planting herbs on the patio to repel mosquitos. Planting them near other producing plants will help fend off unwanted insects. For example, plant basil next to tomato plants to ward off the tomato hornworm — an insect that can be devastating to tomato plants. In this example, basil will also help the tomato grow and taste better – so it is worth a try!
On the other hand, zinnias will attract ladybugs – which is a good thing! Bring ladybugs into your garden to help keep control of other insects.
Nasturtiums act as a host plant for aphids. If you need to get aphids away from other plants that are producing, plant a nasturtium nearby as a distraction.
Other ideas:
Example Four: Plant with Root Depth in Mind
Be sure to consider what you are planting near each other. If you only plant shallow rooted vegetables together they will be competing for space and nutrients. Before planting, be sure to know how deep the roots will go and mix and match the ones you place together. That way each plant can get the right amount of nutrients.
Planting lettuce, tomatoes and carrots together would work well. Lettuce has shallow roots, tomatoes have medium roots and carrots are a deep root vegetable, so they will not have to compete for the same space. Let’s say you want to add in potatoes – think about where the carrots are and don’t plant them next to each other. They will be much happier next to the lettuce.
When you are considering planting for nutrients, be sure there are nutrients in the soil for your plants to take up. Before planting, add Espoma’s Organic Bio-tone Starter Plus to ensure the plants are getting all the nutrients they need to grow big and tasty. Later in the season, it is best to follow up with Garden-tone to keep plants in close quarters thriving.
Espoma Products For Companion Planting:
The temperature is only getting warmer, which means it’s time to start a cutting garden! From lilies, to dahlias and zinnias, you can have nonstop blooms.
Cutting gardens can include anything from roses and shrubs to perennials, annuals and even bulbs. Cuttings from berry bushes can even make a great complement to fall bouquets. The fun doesn’t stop with just pretty vases and bouquets, you can also grow flowers for dried arrangements in the cutting garden.
You may be wondering why you would want to spend time in the sun and dirt all day. Trust us! The five reasons below are just a few personal favorites of why growing a cutting garden is worth it.
Stop by your local garden center to find out which plants will work best in your yard for your cutting garden.
5 Reasons to Start a Cutting Garden:
1. So Many Blooms
Nothing beats a fresh cut flower arrangement. It’s even better when it’s handpicked from your cutting garden. Enjoy blooms both in your garden and your favorite vase. Feed blooms with Espoma’s Bio-Starter Plus when you plant for extra flower power.
2. The Health Benefits
Digging, planting and working in the garden all benefits your physical and mental wellbeing. Gardening gets your body moving. Unplug from electronics for a bit and enjoy the fresh air. It will help clear your mind.
3. Unlimited Bouquets
There’s no reason to never have fresh flowers for bouquets when your cutting garden is in bloom. Those endless bouquets don’t come with a price tag and there’s no need to tip the delivery person.

4. Bring The Family Together
Gardening brings people together. Whether you are trying to get your family involved or are looking for some help, gardeners are open and honest about everything. If you don’t have a place to garden at home, join a community garden and make friends who also like to get their hands dirty.
5. Boost Curb Appeal
Having a cutting garden will help boost curb appeal. Surround your property with beautiful flowers of all kinds for a look that will make your neighbors green with envy. Proper maintenance and Espoma’s liquid Bloom! will have your house looking picture perfect, and boost your real estate values, too!
Think hydrangeas would be perfect for your cutting garden? Laura from Garden Answer shows you how to plant them.
Top Picks for Growing A Cutting Garden:
Every year gardeners want to expand their gardens to offer new colors and plants to make it fresh.
This year, Ultra Violet is the color on trend, so we looked for the best purple plants to include. We created this list of a variety of flowers, foliage and pollinators to fit any need. Plus they all smell divine.
When planning to plant, start your new plants off right with Espoma’s Organic Bio-Tone Starter Plus plant food plus mycorrhizae.
Top 5 Purple Plants
Not only is lavender a beautiful purple shade, but it has a strong fragrance that helps to alleviate stress. Lavender, with its attractive foliage, purple flowers and scent is the symbol of summer which is a must for every garden. Bloom time is from June to August.
Clusters of little purple flowers top the stems of this beautiful plant. Verbena is drought tolerant, so it fits into any climate. Bunched together this plant can pack a punch of color. Bloom time is from summer through fall.
This plant shines purple through and through. This salvia plant is popular for the long spikes of purple flowers that bloom in the summer and fall. It is a pollinator plant, attracting everything from bees to hummingbirds.
Perfect for containers near your entryways, Heliotrope is known for its vanilla fragrant flowers. It is a wonderful treat for summer, especially when paired with lemongrass and lavender. These purple flowers are small and dense, but should not be overlooked. Bloom time is summer through fall.
While the most popular varieties of bee balm is red, there are some beautiful selections that bring purple flowers. They are easy to grow and will bloom from summer through fall. It is a great pollinator plant, loved by hummingbirds and bees.
For even more options, head to your local garden center to see what plants work well for your area.
Once your new plants are established, feed regularly with Espoma’s Organic Grow! liquid fertilizer. It gives them the boost they need to have bright colors and vibrant blooms.
Espoma products in this blog:
Topiaries are plants that have been pruned and trained to grow into distinct decorative shapes. They’re basically slow-growing artistic masterpieces. Whether you grow them geometrically or fanciful like spirals, spheres or even elephants, the options are endless.
Topiaries can be grown from vines or shrubs, and even some herbs. The amount of time it takes to grow a topiary will depend on the topiary’s size and the number of plants you use. Most gardeners use a topiary frame or form to get the look they desire. Visit your local garden center to find out more about the best plants for your topiary.
Topiaries with vining plants
When using vining plants, you’ll need to get a topiary form to encourage the vines to grow in the shape you’ve chosen. English ivy, Boston ivy and periwinkle are popular choices for vining topiaries. To start, fill the form with sphagnum moss to create a full look. Then, plant the vine around the form, allowing the vines to grow upward. You may need several plants to achieve a full look. As the vines grow, train them by wrapping and attaching them around the form with plant ties or wires and pruning regularly.
Topiaries with shrubs
Start small when making a shrub topiary. Choose a variety such as holly, boxwood or laurel. Look for dwarf varieties that will stay compact and won’t need much pruning. If you’re looking to create a pyramid or geometrical shape, select shrubs with tall growth habits such as yews or hollies. For statuesque spirals and cones, choose arborvitae. Beginners will want to use topiary frames to sculpt their designs, which will also help when deciding what needs to be pruned. To train and prune your topiary, you’ll need a clear vision of how you want the topiary to look. Pruning encourages new and bushier growth, but don’t cut off more than 3 inches in the areas you want to trim back.
Fertilizing topiaries
Help topiaries reach their full potential as quickly as they can by using Espoma’s Bio-tone Starter Plus when planting. Follow-up with Espoma’s Grow! liquid fertilizer. Grow! encourages root growth and deep green foliage that will surely delight. For acid-loving plants like hollies, use Holly-tone for best results.
Remember that topiaries take time and so be patient. Your time, maintenance and patience will pay off!
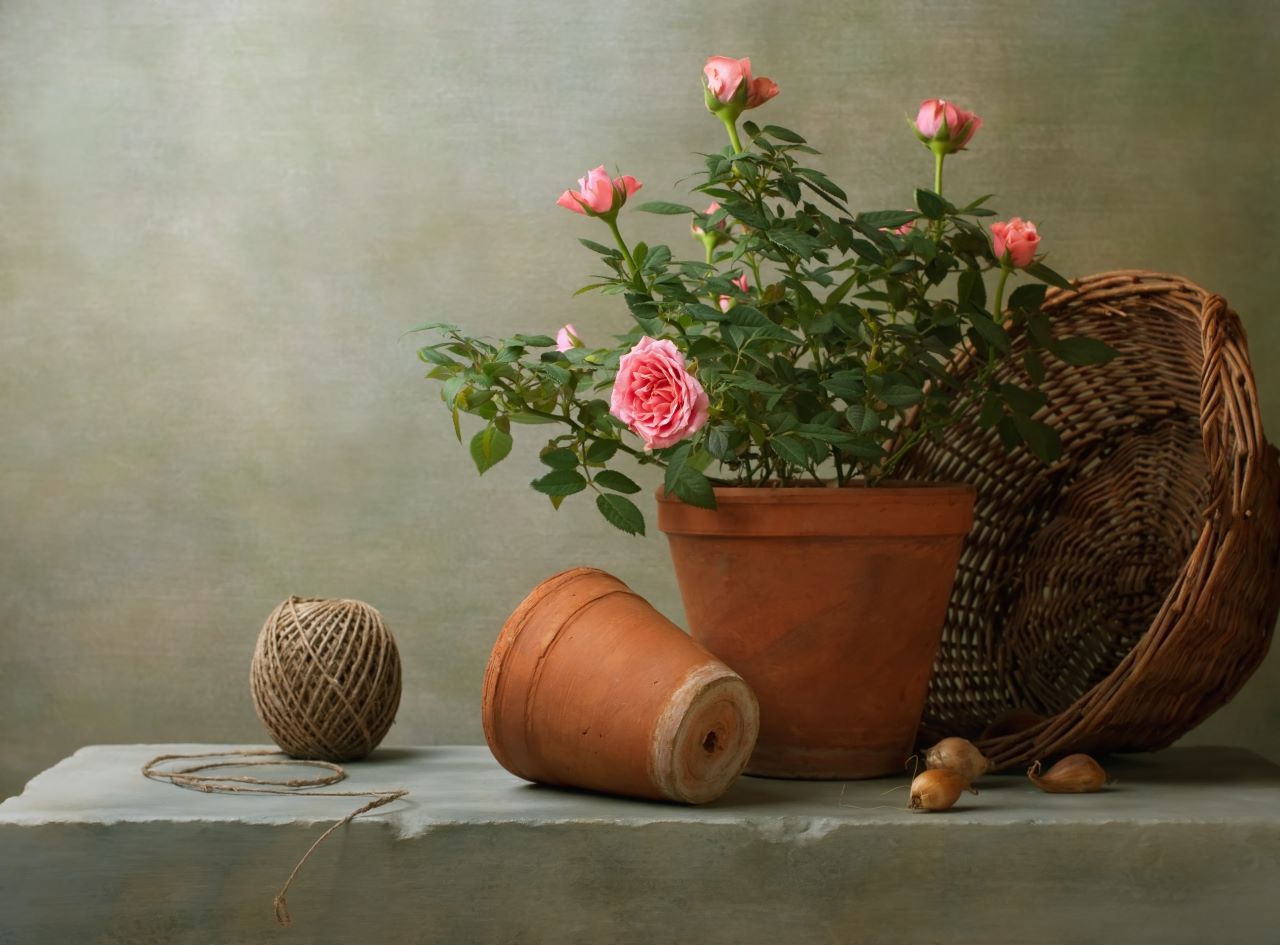
Rose gardens are one of the most classic pieces you can add to your landscape. With some love and regular upkeep, they can last for years.
Roses bring beauty by either becoming the statement plant or a fine complement to focal point. You can use roses to cover up an unsightly area or introduce a new fragrance, they are incredibly diverse. Roses are offered in a large variety of colors and patterns to match anyone’s need.
When choosing the best rose for you garden, be sure to know how much sun the area gets. Check the tags on the rose plants to ensure you are picking up ones that will thrive in yard. If you aren’t sure what to choose, your local garden center can help choose for your space and your region!
Planting Tips for Rose Gardens:
Watch as Laura from Garden Answer plants her own roses!
Have a minute? Laura from Garden Answer shows us how to make vertical strawberry planters. She walks you through step by step, showing what materials to use, what potting soil and fertilizer is needed and how to hang the finished product.
This wind chime inspired planter will add life to your garden while adding an element of design to your home.
But, be sure to keep the materials in mind – even Laura almost used toxic tubing for the project.
Pro Tip: Mixing Espoma Organic Potting Mix with the Organic Bio-Tone Fertilizer allows the strawberries to get a boost in their new container while releasing nutrients slowly to ensure the edibles are being fed for a long time.
Want to watch the extended version? View it here!
Materials she used includes:
Step-By-Step Instructions:
Construction
Planting:
Enjoy!
Espoma products to help you grow your best strawberries yet:
![]()