Spring Gardening

VIDEO: Planting Perennials in Full Sun ☀️🌿🌸 with Garden Answer
Laura from Garden Answer shows us how to plant five sun-loving perennials—even in the peak of summer heat. From elegant…
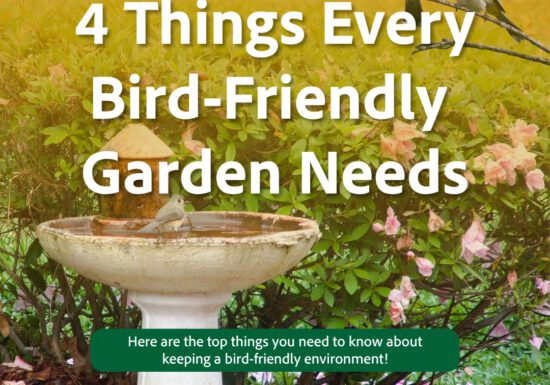
Bird Friendly Gardening 🕊️🌸 | Growing Joy with Maria
Bird-Friendly Gardening with Jen McGuinness, Ep 239 Do you love watching hummingbirds, chickadees, or sparrows right outside your window? One…
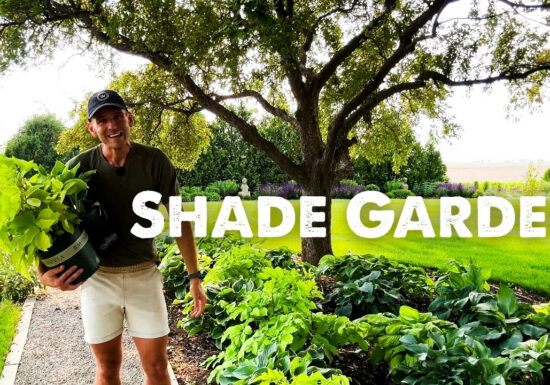
VIDEO: Planting A Shade Garden 🌿 with Wyse Guide
Whether you’re working with dry shade or full sun, Kaleb Wyse of Wyse Guide proves that every pocket of your…
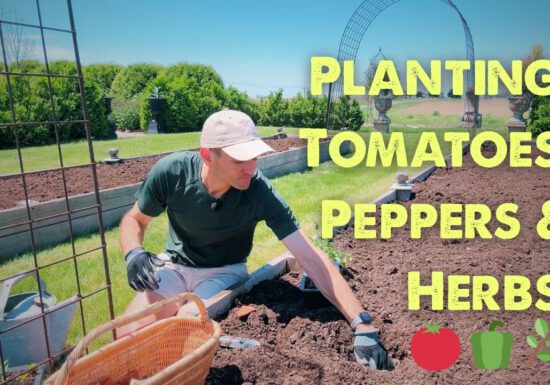
VIDEO: Planting 🍅 Tomatoes, 🫑 Peppers & 🌿 Herbs with Wyse Guide
Watch as Kaleb Wyse from Wyse Guide refreshes his raised beds and herb containers. He tops off his raised beds…
VIDEO: Tending to 🍇 Fruit, 🌽 Veggies & 🌸 Blooms with Garden Answer
In midsummer, when the sun beats down and gardens are in full swing, our plants need us more than ever.…
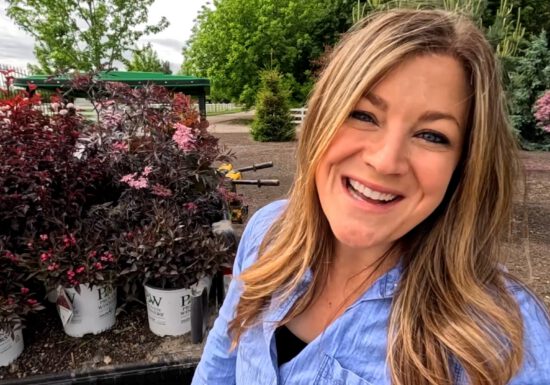
VIDEO: Planting Red Foliage Shrubs & Refreshing Patio Pots 🌺🌿 with Garden Answer
Follow along with Laura of Garden Answer as she brings bold beauty to her landscape by planting a vibrant mix…

VIDEO: Agave Repot & Care Tips 🪴 with Summer Rayne Oakes
Follow along with Summer Rayne Oakes as she repots and cares for agave plants and succulents, including cold-hardy varieties that…

VIDEO: Planting Hydrangeas in containers 🪴🌸 and more with Garden Answer
Spend a day with Laura from Garden Answer as she decorates her garden with a variety of flourishing colors! 🌸…
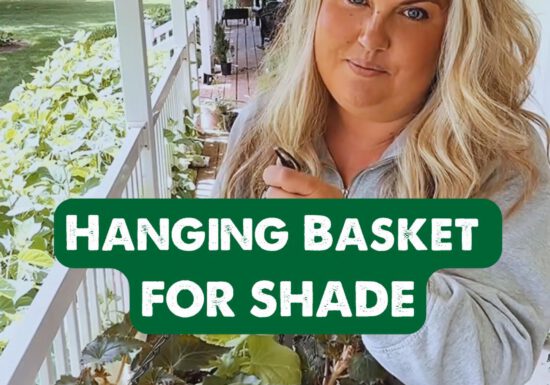
VIDEO: Hanging Baskets for Shade 🌿🌸 with Skye Hamilton
Watch Skye Hamilton @hamiltonhousedesigns as she shares her go-to strategy for full, eye-catching hanging baskets in spaces with dappled or…
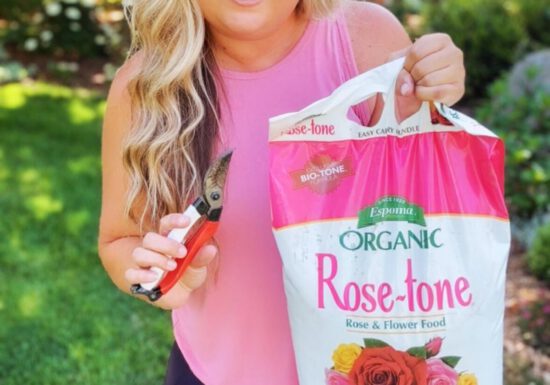
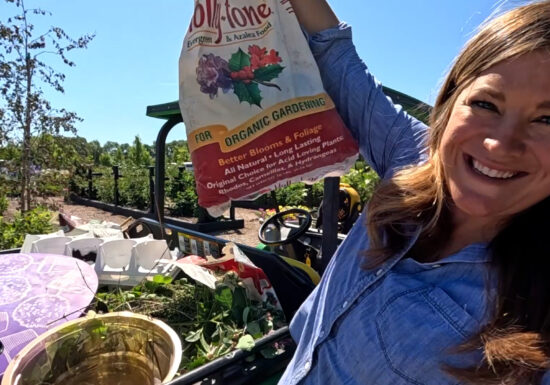
VIDEO: How to Fertilize Roses 🌹 with Skye Hamilton
Skye Hamilton @hamiltonhousedesigns shares her secret to achieving multiple flushes of gorgeous rose blooms—feeding them with Espoma Organic Rose-tone! In…
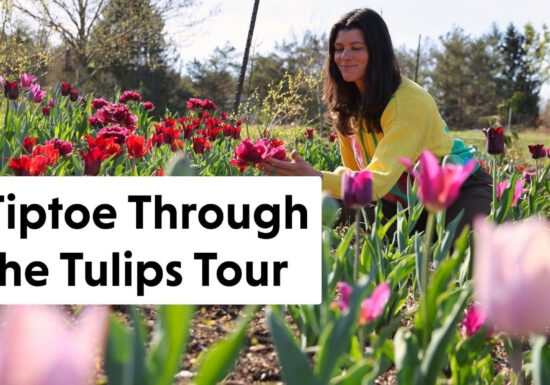
VIDEO: Tulip Garden Tour with Summer Rayne Oakes 🌷
Watch as Summer Rayne Oakes of Flock Finger Lakes takes us on a tour of her stunning tulip garden at…
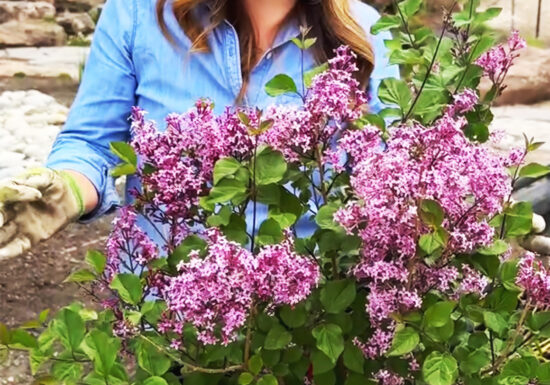
VIDEO: Planting a Reblooming Lilac 🌸 with Garden Answer
Watch Laura from Garden Answer as she plants a reblooming lilac (Syringa x), a perfect focal-point shrub that offers multi-season…