Espoma Organic
  • Products
    • Close
    • Product Line Overview
    • Plant food finder
    • Garden Fertilizers
    • Potting Soils
    • Liquid Fertilizers
    • Lawn Fertilizers
    • Single Ingredients
    • Conventional Plant Foods
    • Animal Care Products
  • Where to Buy
  • Our Story
    • Close
    • Our Story
    • Locations
    • Historical Timeline
    • Our Commitment
    • Directions
    • Solar
    • Join our Team
    • Espoma Brand Partners
  • Learn
    • Close
    • Espoma Blog
    • FAQ’s
    • Pocket Guide
    • Espoma Guides
    • Garden Clubs
    • Safe Paws Lawn
    • PRODUCT FACT SHEETS
    • Fertilizer Fundamentals
      • Close
      • Understanding Plant Nutrition
      • Reading Labels
      • Choosing the Right Type of Fertilizer
      • Terms & Definitions
    • Gardening Projects
    • Resource Links
  • Contact Us
  • Menu Menu

Tag Archive for: Potting Mix

Tomatoes in Containers

May 1, 2017/in Container Gardening

Featured in this Video:


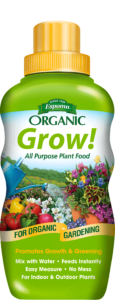
Potting SoilGrow! Plant Food

Where to Buy
https://www.espoma.com/wp-content/uploads/2023/05/espoma-logo340w-1.png 0 0 Jill Fox https://www.espoma.com/wp-content/uploads/2023/05/espoma-logo340w-1.png Jill Fox2017-05-01 11:19:402019-05-07 10:02:03Tomatoes in Containers

Four Fresh Berries to Grow This Summer

April 20, 2017/in Fruits & Vegetables

Nothing says summer like the fresh taste of homegrown fruit. Berries are becoming a staple crop in everyone’s summer garden, and for good reason! Not only are these little fruits delicious, they also provide a ton of nutritional benefits. Add some berries to your garden for a harvest the whole family is sure to love.

When growing fruits in your organic garden, be sure to use Espoma’s liquid plant foods to give you healthy blooms and abundant fruit.

Here are some of our favorite berries to grow:

Blueberries

Blueberries pack a big punch for such a small fruit. They are loaded with tons of vitamins, essential nutrients and antioxidants. Blueberries are often a favorite among kids, too. What better way to get kids involved with the garden than by planting something they love?

Blueberries also thrive in containers, making them the perfect fruit for small space gardeners. The beautiful foliage they produce is just an added bonus.

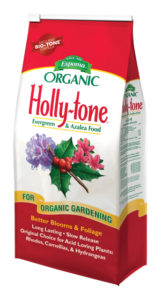
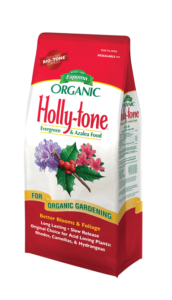
Try using Espoma’s Holly Tone plant food, perfect for acid-loving fruits like blueberries and strawberries.

Strawberries

Another fan favorite, strawberries are well-loved for their versatility. While delicious on their own, they also pair well with so many different flavors. They can be used in anything from sweet pies and homemade jams to a tasty vinaigrette dressing. Whether snacking, cooking or baking, there’s no way your strawberries will go to waste!

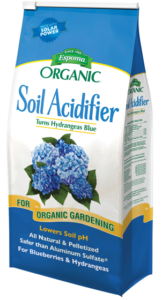
Strawberries grow best in soil with a pH level of 5.5-7. If your pH level is too high, use Espoma’s Soil Acidifier to create the perfect growing environment.

Raspberries

The sweet summer flavor of raspberries makes a great addition to any dessert.

Raspberries often grow up instead of out, so make sure you plant with support stakes or next to a fence. A tall raspberry plant looks beautiful in any garden and draws all eyes to the beautiful red and green foliage it creates.

Blackberries

Since they don’t produce fruit the first year of planting, blackberries require a bit of patience. However, with great care we promise it will be worth the wait!

When blackberries are ready to harvest, the flavors pair very well with raspberries. Blend together in a smoothie or bake a mixed berry pie and enjoy the taste of summer.

Want to know more about growing your favorite berries? Check out our infographic! 


See the Total Berry Guide Here

Espoma products to help you grow your best strawberries yet:


Where to Buy
https://www.espoma.com/wp-content/uploads/2017/04/Blueberry-girl.jpg 2000 3000 espoma https://www.espoma.com/wp-content/uploads/2023/05/espoma-logo340w-1.png espoma2017-04-20 09:00:172024-08-17 08:59:46Four Fresh Berries to Grow This Summer

Hanging Plants: Make Your Own Kokedama

April 13, 2017/in Indoor Gardening

Houseplants that you don’t have to think about are the best. And extremely low maintenance ones that look great are even better. Enter Kokedama. This traditional Japanese art form encloses a plant’s roots in moss to retain moisture.

Kokedama literally mean “moss ball.” The style originated from the Nearai and Kusamono bonsai styles and today, this design goes one step further when the moss balls are suspended with string.

You can use almost any small indoor plant for this project. When choosing your plant, think about where you will display your Kokedama and keep lighting needs in mind for your plant.

It’s not hard to make your own. Follow along with these instructions.

For this project, you will need:

  • Espoma Organic Garden Soil
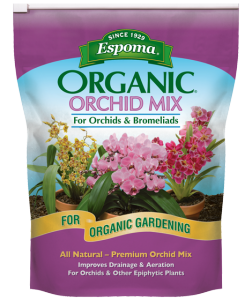
  • Espoma’s Organic Potting Mix or Espoma’s Organic Orchid Mix
  • Moss
  • Strong twine
  • 26 gauge wire
  • Scissors
  • Water
  • Bucket
  • Small plant such as a fern or ivy

Photo Mar 12, 4 47 17 PM

6 Steps to making a Kokedama

  1. Mix it. Kokedama uses heavier soil and we recommend using a ratio of 70 percent indoor potting soil with 30 percent garden soil. In a bucket, mix soil well. Add a small amount of water to bond the soil together so it has a clay-like feel. Soil should be sticky and pliable once all ingredients have been mixed.
  2. Ball it. Depending on the size of your plant, form a ball ranging in size from a plum to a grapefruit. Gently insert your thumbs into the middle of the ball, keeping the sphere intact. This is where your plant roots will go.
  3. Plant it. Remove plant from container, gently shaking off excess soil. Dunk roots in water. Place your plant’s roots into the soil ball, gently forming the soil around roots and adding more soil if necessary.
  4. Cover it. Dip moss in water, then squeeze out excess water. Place and press the damp moss around the soil ball. Leave enough space around the plant for breathing room.
  5. String it. Once your ball has taken shape, securely wrap and tie it with twine. Now, add a piece or wire or twine at your desired length for hanging.
  6. Soak it. Place the Kokedama in a bucket and cover the moss ball with water without submerging the plant. Let it soak for 10-15 minutes then you’re ready to go! Do not let the Kokedama dry out completely before soaking again. Depending on the plant and environment, soak Kokedama about once a week.

Once you’re done with your Kokedama, try your hand at this succulent planter DIY!

https://www.espoma.com/wp-content/uploads/2017/04/Photo-Mar-12-4-22-46-PM.jpg 2448 3264 espoma https://www.espoma.com/wp-content/uploads/2023/05/espoma-logo340w-1.png espoma2017-04-13 09:00:122019-05-07 10:03:16Hanging Plants: Make Your Own Kokedama

How to Create a Mini Gnome Garden with Garden Answer

March 16, 2017/in Espoma Videos

Laura from Garden Answer designs a tiny gnome garden that is sure to delight and inspire. While fairy gardens get all the glory, gnomes also enjoy living in mini villages filled with plants and whimsy.

Want to see more from Garden Answer’s trip to Philadelphia? Check out this video from The Philadelphia Flower Show.

https://www.espoma.com/wp-content/uploads/2017/03/Gnome-Garden-thumbnail.jpg 1188 2116 espoma https://www.espoma.com/wp-content/uploads/2023/05/espoma-logo340w-1.png espoma2017-03-16 11:55:132019-05-07 10:03:17How to Create a Mini Gnome Garden with Garden Answer

Spring Houseplant Care Tips

March 16, 2017/in Indoor Gardening

After months spent overwintering or dormant, your houseplants are ready to welcome spring with open arms and begin their active growing period. Houseplants are easy to care for but they still need some TLC.

The warmer weather calls for some extra attention! Gear up for repotting, feeding, sunning and scheduling.

Make a happy home for plants with the following tips. Here’s how you do it!

cyclamen-11290_1920

Four Tips for Spring Houseplant Care

  1. Rehome and Repot: When repotting plants, we recommend using a new container that’s a little bigger than your plant’s current home. If you choose to use a previously used container, clean it with soap and water first to rid of any diseases or houseplant pests that could be hiding inside. Once your container is ready, fill it about halfway with Espoma’s potting mix or appropriate soil for your plant type. If any of the roots have grown tightly bound in a circular pattern, gently loosen them to stimulate new growth. Then, place the plant in the center of the new pot and fill with soil to within 1-3” of the rim. Water well and allow the soil to settle. Add more potting soil if necessary.
  2. Give Houseplants a Spring feeding: There’s no doubt that your plants are hungry after a long winter nap! Feed bi-weekly with Espoma’s indoor liquid houseplant food. This gives plants the natural proteins and beneficial microbes they need to provide beautiful results.
  3. Bring Plants Outside: Give plants some fresh air once in a while. As it warms up, set your plants outside during the day to soak up some rays. When the temperatures begin to drop in the evening, it’s time to bring them back inside.
  4. Create a schedule: Houseplants thrive with regular care. Add water if the soil is dry to the touch. But be careful not to water too much or too frequently. Overwatering is the number one cause of houseplant death. So if the is not dry to the touch, check it again in a few days. In order to protect your plants from not getting the right about of water, create a schedule of watering times and days to help you remember when your plants need your attention.

Plants need water, light and nutrients to thrive indoors. So, determine what kind of houseplant you have and it’s specific needs. With the proper care, your plant will let you know it’s happy by maintaining healthy leaves.

Ready to learn more? Find out how to Make a Happy Home for Plants!

https://www.espoma.com/wp-content/uploads/2017/03/Succulent-6.jpg 444 1200 espoma https://www.espoma.com/wp-content/uploads/2023/05/espoma-logo340w-1.png espoma2017-03-16 09:00:472024-08-20 07:53:09Spring Houseplant Care Tips

Fall Gardening Checklist

September 13, 2016/in Fall Gardening

September marks the turn of a new leaf. The hot summer weather is fizzling out in favor of cool, crisp fall breezes, prompting bonfires, football games, and pumpkin everything.

For gardeners, fall can be one of the busiest seasons. Often, gardeners juggle wrapping up their summer harvests with the responsibilities of preparing for the coming seasons.

With this to-do list from Homestead Gardens, you’ll be ready to fall in love with fall; and with some extra preparation, you’ll be better prepared for winter and spring, too!

organic vegetable gardening, edible schoolyard project, top reasons to start a garden

7 Things To Do in the Garden This Fall  

1. Deadhead to get Ahead. Freshen up flowerbeds by deadheading and removing plants that have stopped blooming. Do maintenance in the morning before the weather gets too hot.

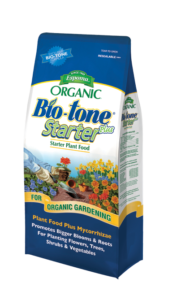
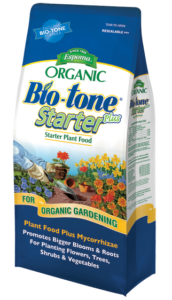
2. Don’t stop Planting. After you’ve harvested your remaining summer veggies, you can plant fall crops and begin transplants! Use Espoma Organic Bio-tone Starter Plus at the time of planting to ensure your new or transplanted plants have the nutrients they need for establishment.

3. Serve… or Preserve. Have more vegetables and herbs than you know how to handle? Preserve your harvest. Experiment with making jams or pickles, and try freezing raw fruit, veggies, or herbs. Make sauce out of your tomatoes, or slow roast them.

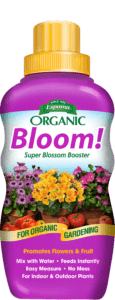
4. Flower Power. Keep your annual flowers blooming as long as possible! The key to success? Use Espoma’s Bloom! liquid fertilizer.

5. Watch out for Winter! Start winterizing your garden’s watering system. Keep an eye out for the first few frosts of the season, and cover plants when necessary. Gradually transition your summer houseplants back indoors.

dahlias-1642686_1920

6. Divide and Conquer. Divide and split your perennials, dig and store tender bulbs like dahlias and caladiums, and start planting spring flowering bulbs.

7. Red, Dead Ahead! Are your tomato plants lacking fruit? Producing dull leaves? Sprinkle some Tomato-tone to give them a final boost.

*****

With these tips, your fall landscape will look better than ever.

Have a picture of your fall garden that you want to share? Drop by our Facebook page!


Featured Products:


Where to Buy

https://www.espoma.com/wp-content/uploads/2016/09/chrysanthemum-1013083_1920.jpg 1280 1920 espoma https://www.espoma.com/wp-content/uploads/2023/05/espoma-logo340w-1.png espoma2016-09-13 08:00:122023-09-05 16:47:47Fall Gardening Checklist

How to Plant Fruits and Veggies in Containers

July 14, 2016/in Espoma Videos

Short on space? Grow fruits and vegetables in galvanized buckets! Laura from Garden Answer shows you how to plant the perfect companion plants for containers. Try zucchini, peppers, tomatoes and marigolds or raspberries with strawberries.

https://www.espoma.com/wp-content/uploads/2016/04/raspberry-368159_1920.jpg 1280 1920 espoma https://www.espoma.com/wp-content/uploads/2023/05/espoma-logo340w-1.png espoma2016-07-14 13:01:262019-05-07 10:05:36How to Plant Fruits and Veggies in Containers

Turn Your Tomato Garden Upside Down

May 24, 2016/in Blog, Vegetable Gardening

Everyone loves growing tomatoes. And tomatoes are one of the easiest plants to grow.

This summer, put a new twist on growing tomatoes by adding upside-down tomato planters to your organic vegetable garden.
Growing upside down might seem crazy, but it’s actually the perfect solution for those with limited space.

When choosing a variety, opt for smaller tomatoes like cherry or grape or those best suited for containers. Their small size and light weight prevent them from falling off the vines before they’re ready to eat!

early-girl-cropped

Choose Your Container

Purchase a 5-gallon bucket or container to serve as your planter. Drill a hole about 3” big in the bottom of the bucket. If you’re feeling creative, paint the bucket to match your outdoor décor.

Start Planting

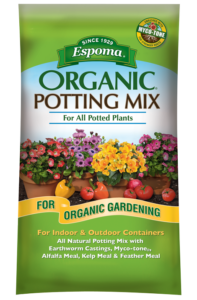
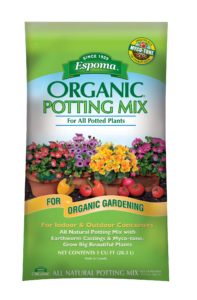
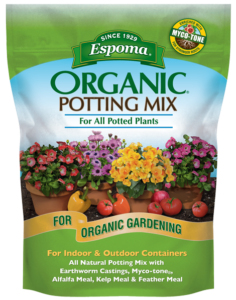
Fill 1/3 of the bucket full with Espoma’s Organic Potting Mix.

Carefully remove the tomato plant from its pot and loosen the roots from the soil.

Turn the bucket onto its side and put the roots of the plant through the hole. Hold the plant in place while turning the bucket upward.

Fill the bucket halfway with Espoma’s Organic Potting Mix.

Pick a spot to hang your planter that gets at least six hours of sun daily. The container will get heavier as the tomatoes grow, so be sure to choose a sturdy base.

Water your upside-down planter regularly. And fertilize with Espoma’s Tomato-tone, a premium plant food formulated specifically for growing plump and juicy tomatoes.

Watch this Garden Answer video to see how you can DIY your own upside-down planter.

See our guide to growing tomatoes here


Where to Buy

https://www.espoma.com/wp-content/uploads/2016/05/bush-tomatoes-382292_1920.jpg 1278 1920 espoma https://www.espoma.com/wp-content/uploads/2023/05/espoma-logo340w-1.png espoma2016-05-24 08:00:482024-05-16 12:41:58Turn Your Tomato Garden Upside Down

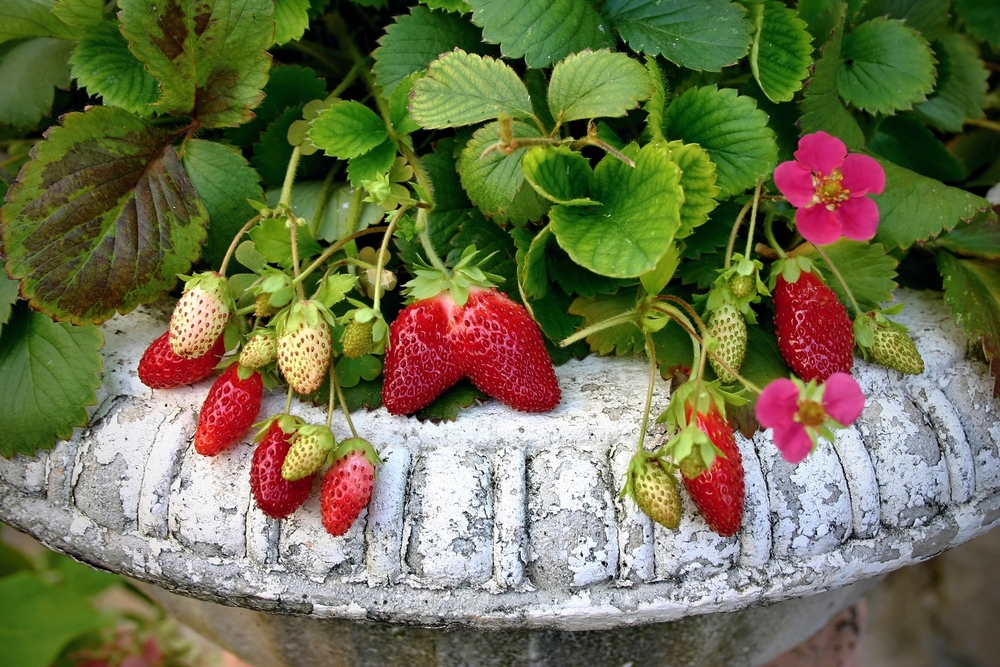
The Secret to Strawberry Success

May 19, 2016/in Fruits & Vegetables

When it comes to choosing which berries to add to your organic garden, you can’t go wrong with summer’s favorite fruit — strawberries.

Packed with Vitamin C and fiber, strawberries make the perfect nutritious and delicious snack. Eat them alone or add to jams, pastries and smoothies.

Nothing says summer like the sweet taste of homegrown strawberries.  So, let’s get planting!

garden-strawberries

Choose Wisely

The first step in planting strawberries is choosing the right variety.

  • June-bearing strawberries produce one large harvest in late spring or early summer.
  • Ever-bearing strawberries produce 2-3 harvests of fruit intermittently during the spring, summer and fall.
  • Day-neutral strawberries continuously produce fruit throughout the growing season when temperatures remain between 35-85°F.

Ask an associate at your local garden center for recommendations for the best variety for your region.

When it comes to choosing which berries to add to your organic garden, you can’t go wrong with summer’s favorite fruit — strawberries.

Start Planting!

Strawberries need lots of sun, so choose a spot accordingly. Soil should be loose and fertile with a pH of 5.5 to 7. If the pH level is too high, add Espoma’s Soil Acidifier for ideal soil conditions.

Plant strawberries in the spring as soon as the ground is workable. Space plants about 18″ apart. Dig holes deep and wide enough to accommodate the entire root system without bending it. Bury the roots, but not the center crown – it requires lots of light and fresh air.

Mix in an organic starter plant food, such as Bio-tone Starter Plus, to keep roots strong.

Encourage growth by adding Espoma’s Holly-tone, an organic plant food perfect for acid-loving plants such as strawberries.

Expect ripe berries about four to six weeks after the plants blossom.

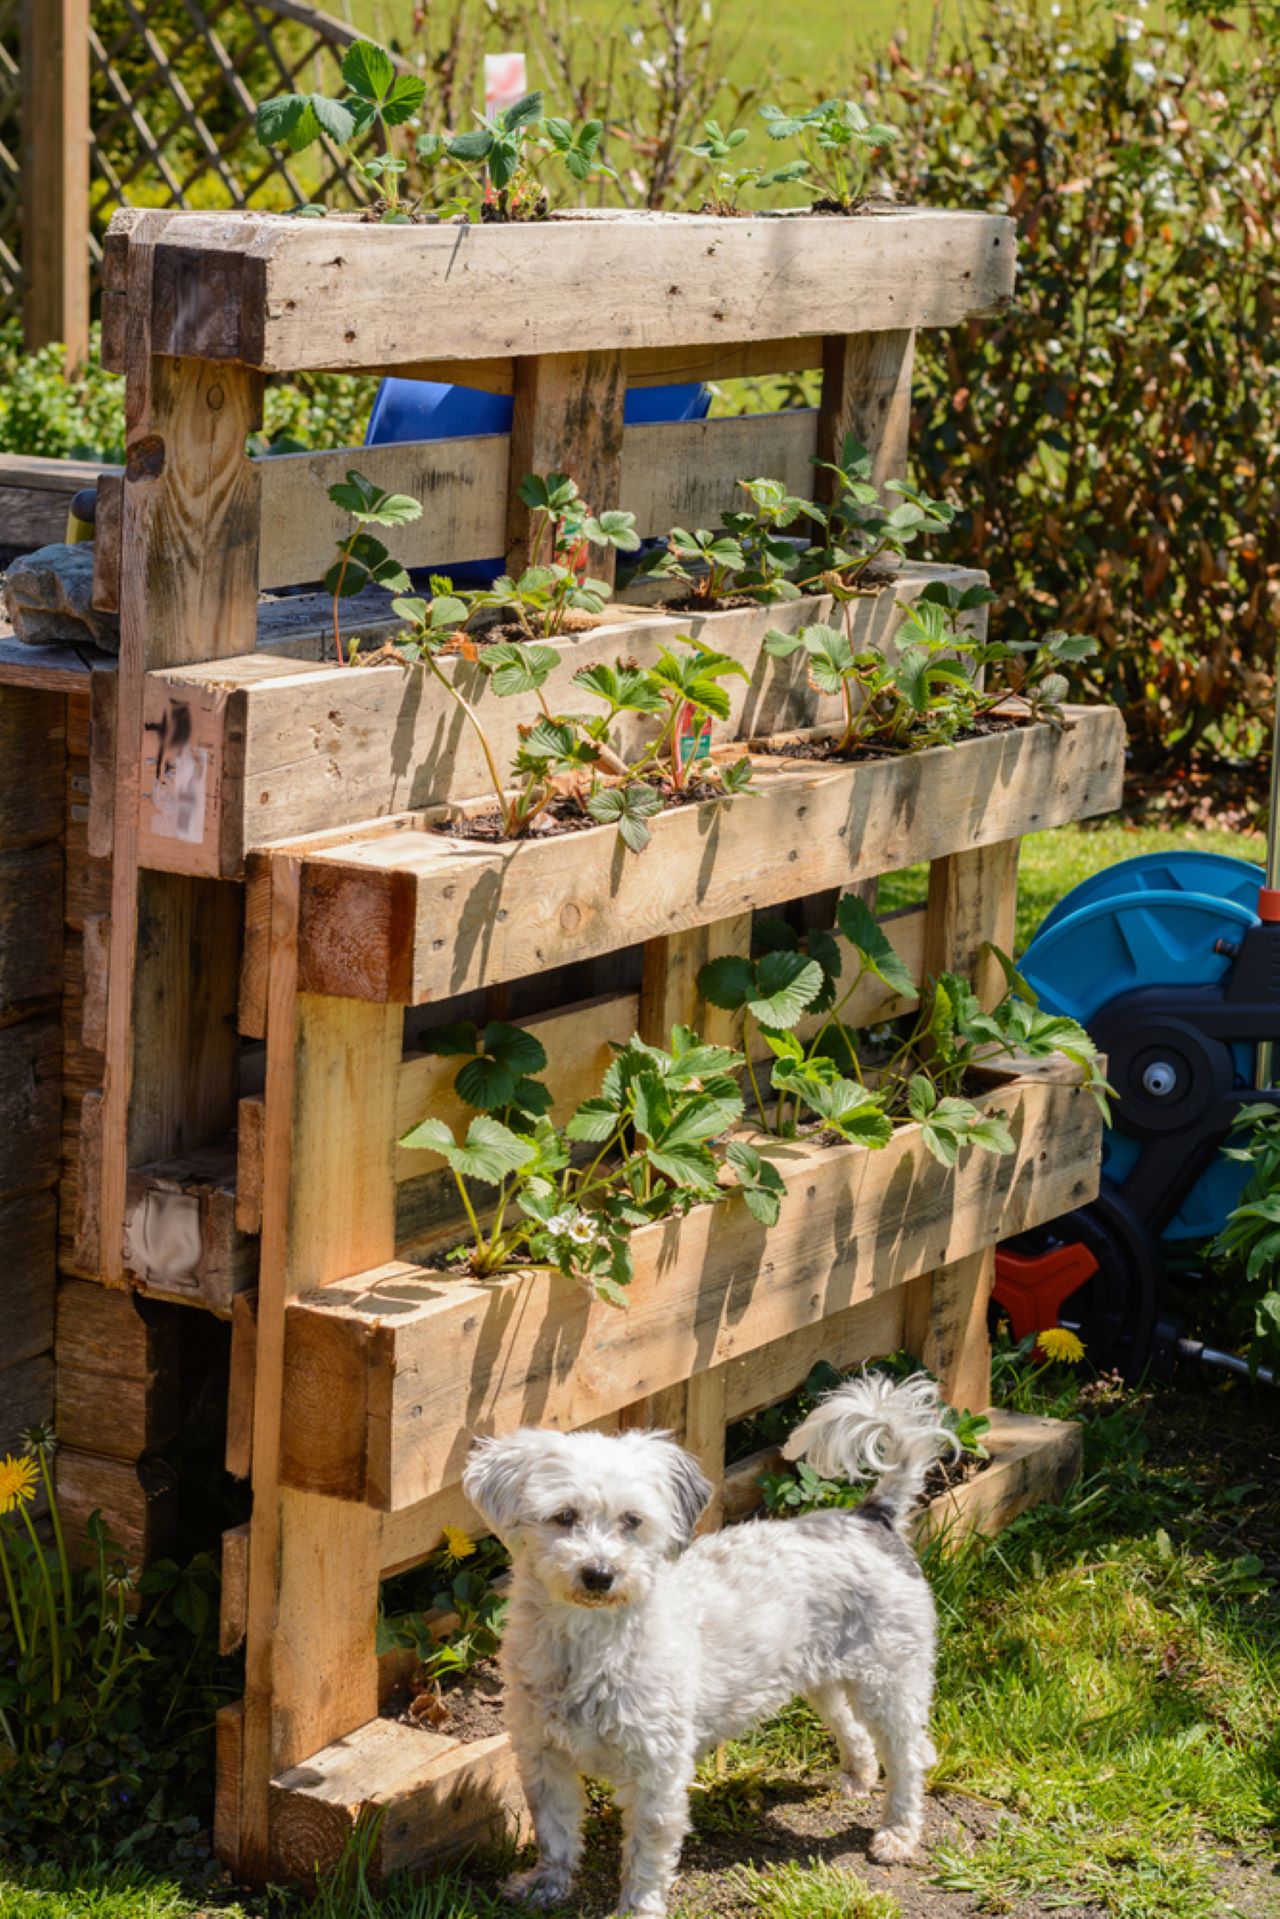
You can still have delicious strawberries if you garden in a small space. They make perfect container plants!

Small Space Strawberries

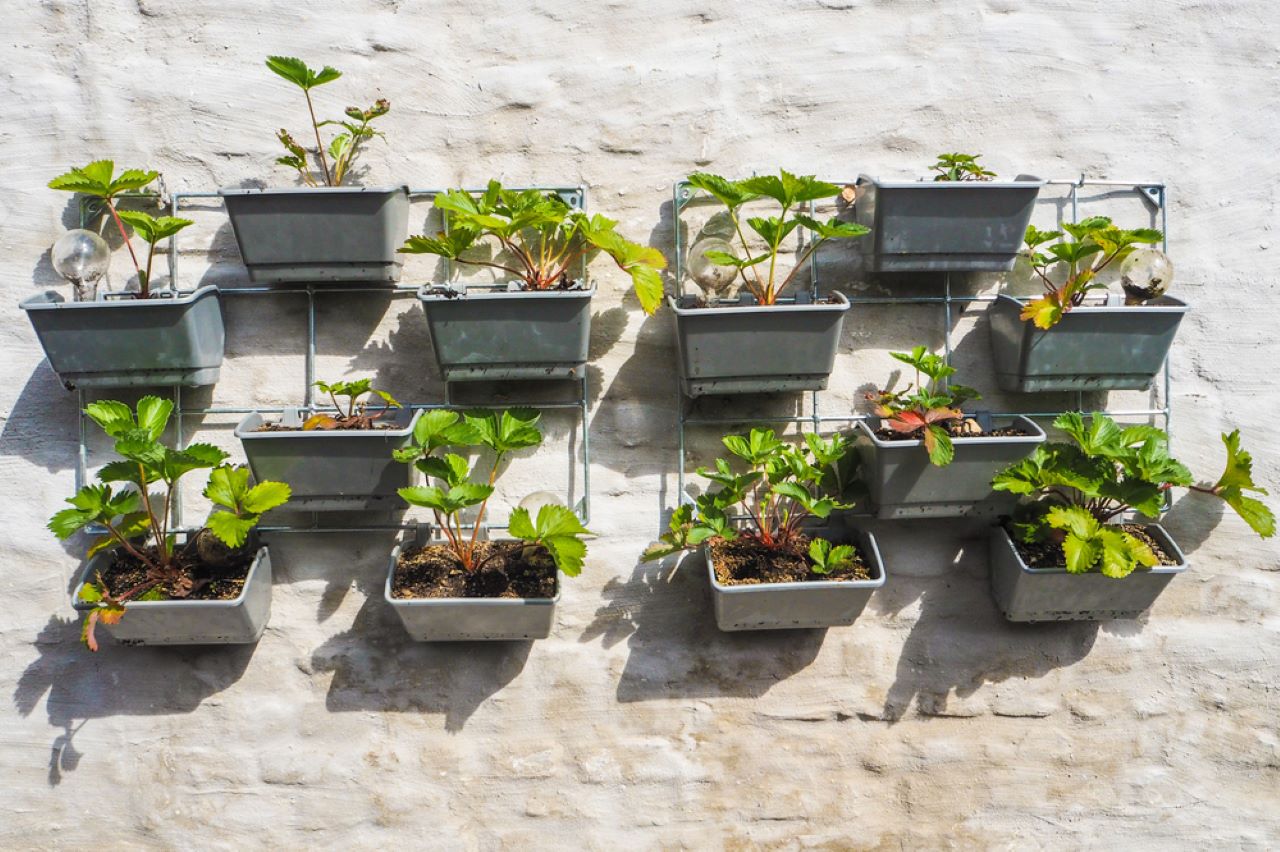
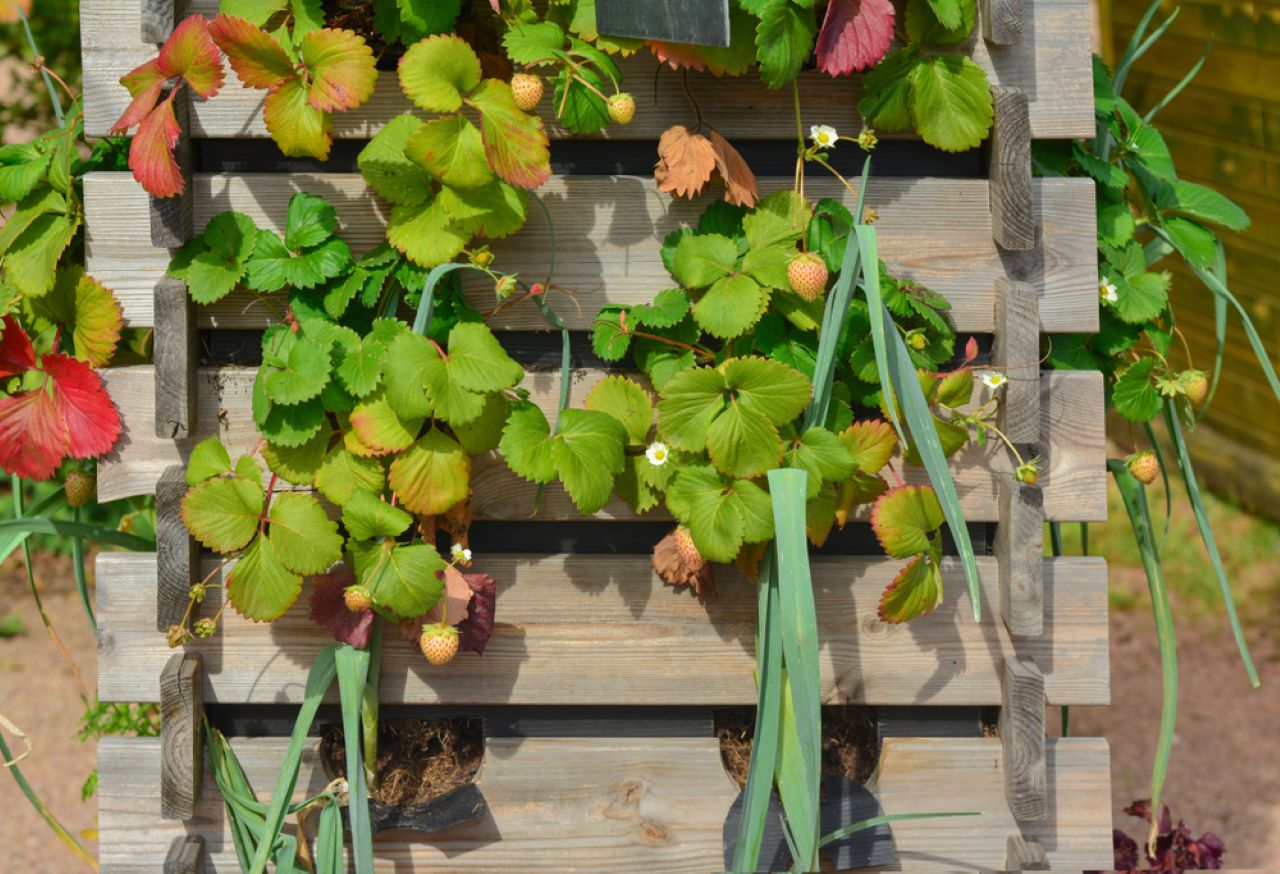
You can still have delicious strawberries if you garden in a small space. They make perfect container plants! Hanging containers add aesthetic value and are a conversation starter. When plants are off the ground, there is also a decreased risk of pests and disease.

Simply fill a container with Espoma’s Organic Potting Mix and follow the same instructions above for planting strawberries in containers. Water plants well. Set the container in an area where it will receive at least 6 hours of sun. Rotate the container regularly so all sides receive equal light.

Whether you’re planting large beds of strawberries or starting with one small container, these tips will ensure success.

See the Total Berry Guide Here


https://www.espoma.com/wp-content/uploads/2016/05/strawberry-834947_1920.jpg 1893 1920 espoma https://www.espoma.com/wp-content/uploads/2023/05/espoma-logo340w-1.png espoma2016-05-19 08:00:112022-04-12 14:42:25The Secret to Strawberry Success

Small but Mighty – How to Grow Hydrangeas in Containers

May 12, 2016/in Flowers

When we picture hydrangeas — with their larger-than-life blooms and immense foliage — we naturally envision large plants. Believe it or not, though, hydrangeas come in not one, not two, but three sizes!

No matter how much space you have, find the perfect-sized hydrangea for you. You can even grow hydrangeas in a container.

hydrangea care, hydrangea color, growing hydrangas

Minimal Size, Maximum Blooms! Tips for Growing Hydrangeas in Containers

1. Small Has It All. Pick a hydrangea that will thrive in your small space. Dwarf varieties are petite beauties that pack a powerful punch. Scroll through our Hydrangea Variety Guide to find the right dwarf hydrangea for you. Then, find a spot that matches the amount of light they need.

2. Big, Bold and Full of Holes. Select a pot or re-purpose a container to make a statement. Just make sure it has drainage holes.

3. Solid Gold Soil. Hydrangeas need well-draining soil to thrive, so select a high-quality, organic potting soil Bonus points if it has Myco-tone™ mycorrhizae, which uses 30 percent less water than other soils.

hydrangea care, hydrangea color, growing hydrangas

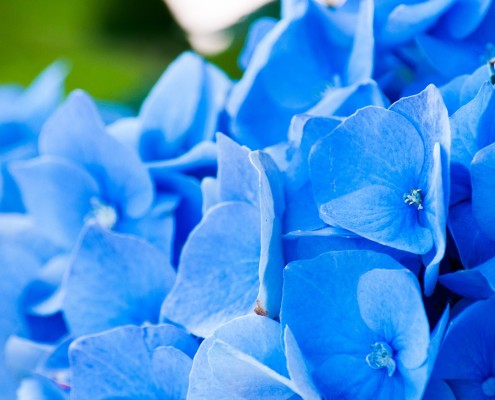
4. Plant with Power. If you want to grow blue hydrangeas, mix in Espoma Organic Soil Acidifier. For pink hydrangeas, add Espoma’s Organic Garden Lime. If you have it, add compost! Then fill planter with potting soil, and plant the hydrangea at the same height it was previously growing.

5. Establish Essentials. When growing hydrangeas in containers, water when the top 1” of soil is dry — or when the hydrangea begins to wilt. For best hydrangea care, feed once a year around June or July with an organic fertilizer. If you want a blue hydrangea color, feed with Holly-tone.

Small space, big blooms! Just think of how lovely your hydrangeas will look glistening in the sun at your Memorial Day party or twinkling in the moonlight during summer garden parties!

To learn more about hydrangeas, check out our organic growing guide. Find the right hydrangea for you by choosing one that loves sun, blooms all summer or is perfect for beginners.

Guide to Growing Hydrangeas Here

Featured in this post:


Espoma Holly-tone


Where to Buy
https://www.espoma.com/wp-content/uploads/2016/05/hydrangeas-759640_1920.jpg 1271 1920 espoma https://www.espoma.com/wp-content/uploads/2023/05/espoma-logo340w-1.png espoma2016-05-12 08:00:592022-04-13 11:18:06Small but Mighty – How to Grow Hydrangeas in Containers
Page 15 of 17«‹1314151617›»
Where to Buy

Get News & Updates

Recent Posts

  • VIDEO: Euphorbia Repotting 🌵 with Summer Rayne Oakes
  • VIDEO: Planting a NEW Tree 🌳 🍁 with Wyse Guide!
  • VIDEO: Planting Daylilies with Summer Rayne Oakes 🌼
  • VIDEO: Planting ‘Evelyn’ Roses 🌹 with Garden Answer
  • VIDEO: Planting Potatoes & Ranunculus 🥔🌱🌸 with Garden Answer

Tags

All-Purpose Potting Mix bio-tone Bio-tone Starter Bio-tone Starter Plus cactus and succulents Cactus Mix caring for houseplants Container Gardening DIY project Espoma espoma grown espoma organic Espoma Organics Espoma Video fall gardening flower garden flowers garden Garden Answer Gardening gardening tips gardens grow holly-tone houseplants Indoor! indoor gardening indoor plants Kaleb Wyse organic organic fertilizer Organic Gardening organic plant food Organic Potting Mix Outdoor Gardening Planting plants Potting Mix potting soil Spring Gardening succulents summer rayne oakes vegetable garden Vegetable Gardening Wyse Guide

Espoma. A Family Tradition Since 1929.

Espoma Organic logo
  • Espoma Dealer
  • Espoma Pro
  • Garden Club
  • Privacy Policy

Scroll to top