Indoor Gardening

How to Care for Alocasia | Growing Joy with Maria
Do you think it’s difficult to care for Alocasia? They are so easy to fall in love with because of…

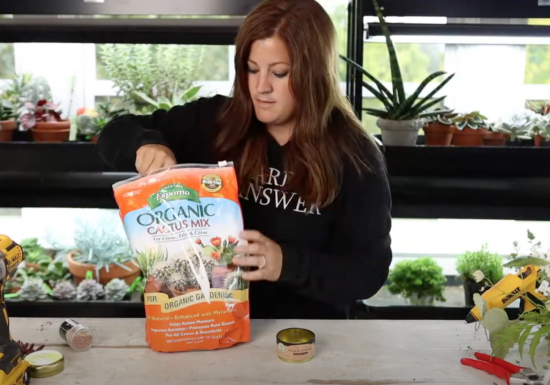
VIDEO: Starting Radishes & Onions from Seed 🌱 + Planting String of Watermelon Succulents 🍉 with Garden Answer
Spring is the perfect time to get seeds started and give houseplants a refresh! In this video, Laura from Garden…
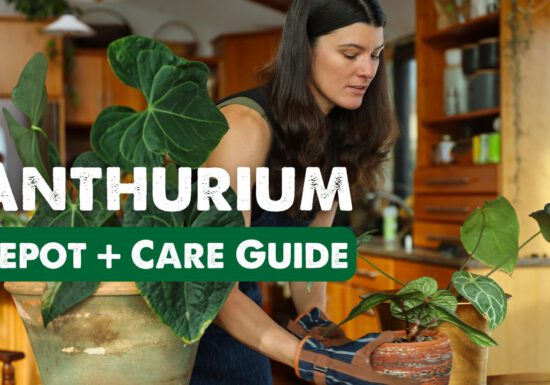
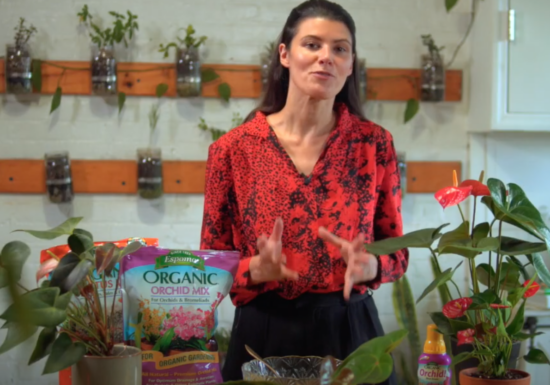
VIDEO: ANTHURIUM REPOT with Summer Rayne Oakes
Watch as Summer Rayne Oakes from @homesteadbrooklyn shares her repotting process for a collection of Anthurium plants. She chooses Espoma…

Bonsai Care 101
Bonsai Care 101 Bonsai trees–if you’re a millennial, you probably remember them from The Karate Kid movies. Did you know…
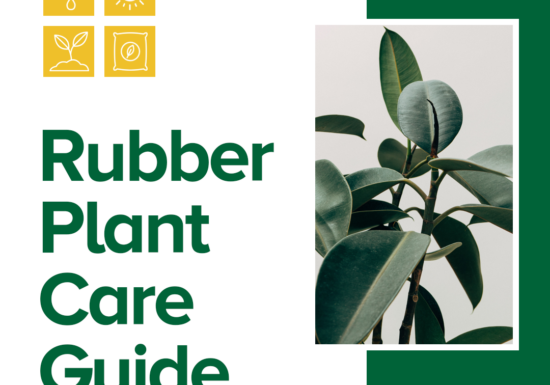
Rubber Plant Care and FAQs
Rubber Plant Care and FAQs Rubber plants (Ficus elastica) don’t get enough credit in the tropical plant world. These humble…
Video: DIY Fern Terrarium with Bloom and Grow Radio
Are you an epic fern killer like our friend Bloom and Grow? No worries! Join her in this experiment for…
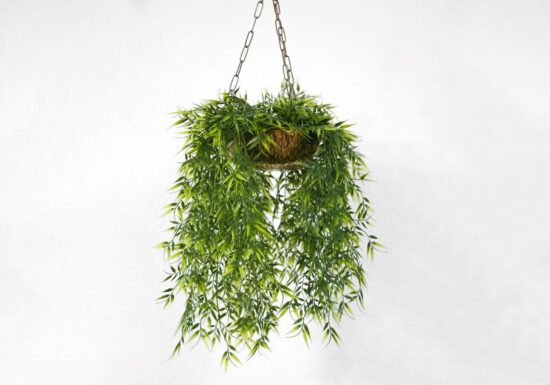
5 Trailing Plants to Spice Up Your Indoor Jungle
Just because it’s winter doesn’t mean you can keep growing your indoor garden! The perfect way to turn it into…
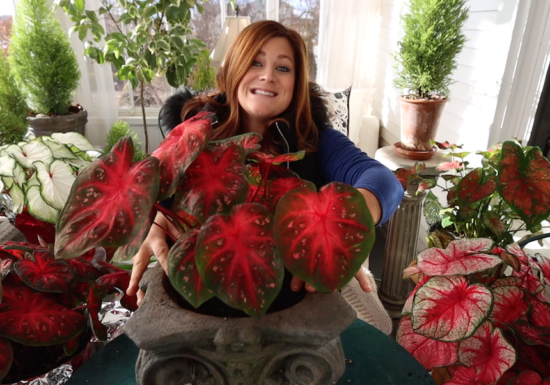
Video: Caladiums for Christmas with Garden Answer
Laura from Garden Answer got her hands on some gorgeous new caladiums just in time for Christmas. Follow along for…

5 Tips for Creating a Fall Centerpiece for Thanksgiving
Your Thanksgiving dinner may look different this year with a smaller number of attendees, but that’s all the more reason…
Unusual Houseplants to Add Life to Your Home This Fall
With fall underway and winter on our heels, you’re probably putting away your gardening tools for the season and taking…
Video: Ultimate Guide to Anthurium Care with Homestead Brooklyn
Anthurium – commonly known as flamingo flower – is a super common and super beloved houseplant. Learn everything you need…
Video: Making Tea Tin Arrangements with Garden Answer
A rainy week calls for an awesome indoor activity like this one! Remember: Anything that contains something is a potential…