Potting Mix
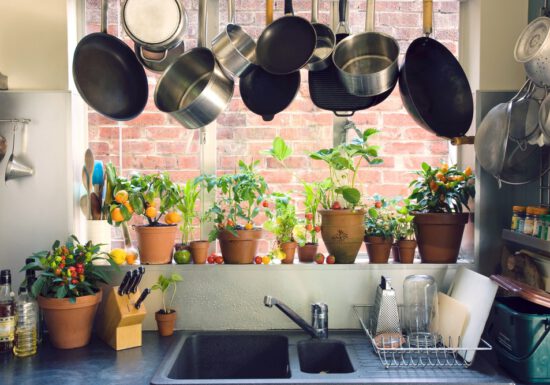
Best Houseplants for the Kitchen
Sometimes we find a beautiful houseplant and have no idea where to put it. Other times we have a space…
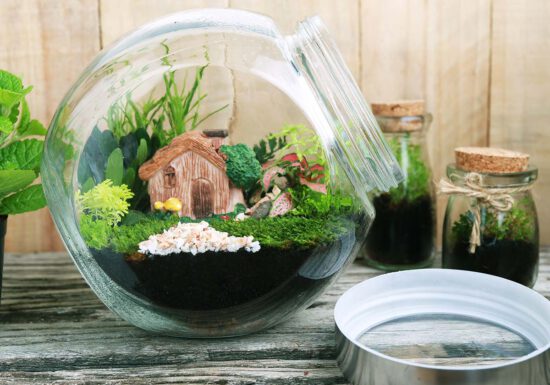
How To Make An Easy Terrarium
Terrariums make great additions to any room. There are endless options for variety, decorations and plants. They can be assembled…

Give Some Green for the Holidays
This holiday season choose gifts that help the earth and are sure to impress friends and family. I’ll give you…

Hauntingly Good Plants for Halloween
The spookiest holiday of the year is just around the corner and trick-or-treaters are getting ready for the big night.…
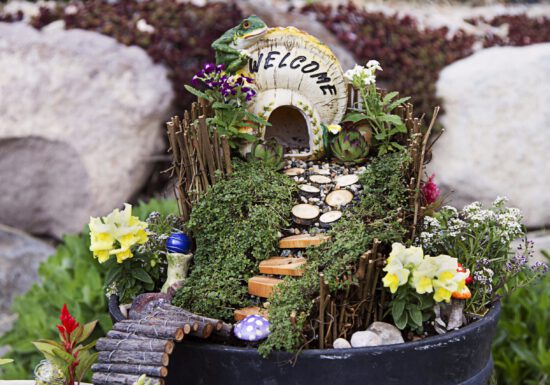
Believe in Magic – Fairy Garden Inspiration.
Fairy gardens are the perfect way to add a little magic to your garden. You can create them in…
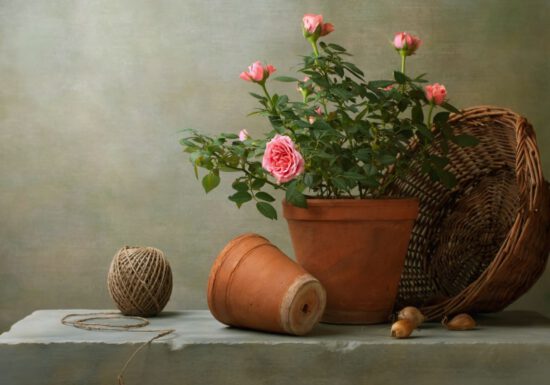
Stop and smell the roses… Right outside your door!
Do you love roses but are stuck with limited space? Is your rose collection growing faster than your raised beds?…
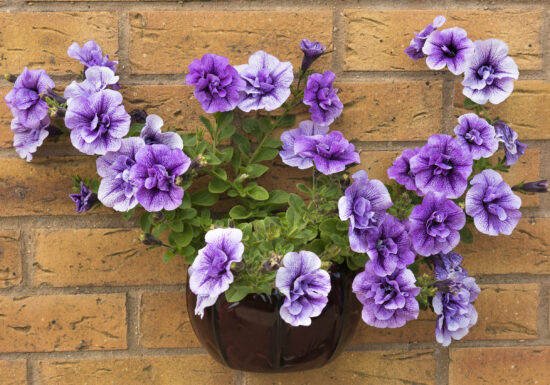
Perk Up Summer Containers with Stunning Annuals
Give yards and patios a boost by adding containers full of summer flowers to your landscape. Revitalize your summer landscape…
Grow These Veggies on Your Patio
As urban gardening continues to trend, container gardens are popping up everywhere! Container gardens are perfect small-space solutions. Not only…
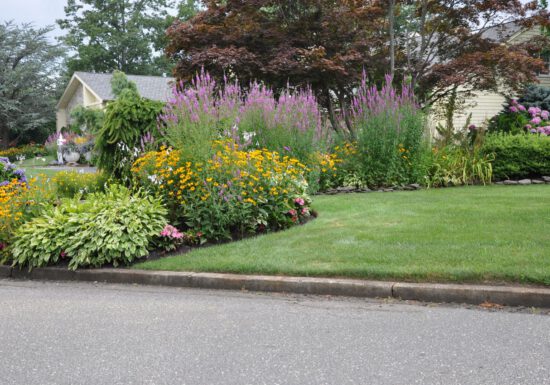
May Gardening Checklist: 5 Essential To-Dos for a Thriving Garden
May is one of the busiest and most exciting months in the garden. Flowers are blooming, veggies are sprouting, and…

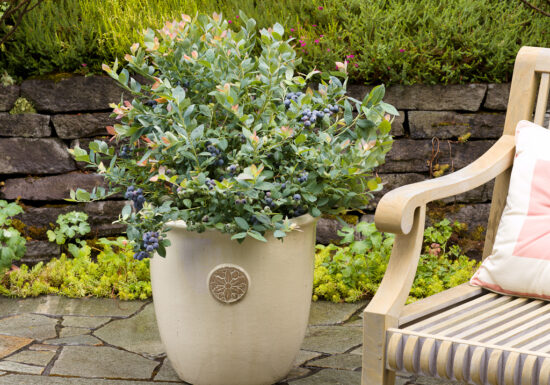
Four Fresh Berries to Grow This Summer
Nothing says summer like the fresh taste of homegrown fruit. Berries are becoming a staple crop in everyone’s summer garden,…