Video: Planting Peppers with Garden Answer!
Laura from @Garden Answer is planting sweet and spicy peppers in her garden! Watch to find out which Espoma products help her get the job done.
Featured:
Laura from @Garden Answer is planting sweet and spicy peppers in her garden! Watch to find out which Espoma products help her get the job done.
Featured:
Kevin from @Epic Gardening is walking us through how he plans to maintain those tomatoes he recently planted with the help of Espoma. Follow along to hear his top tips!
Featured:
The weather is getting warmer, which means it’s time to start thinking about sowing spring veggies and planning ahead! Cool season crops can be directly sown into the ground as soon as the soil temperature is at or above 40˚F, but ensure you’re not working with wet or muddy soil since those are not favorable conditions for plant growth. Don’t forget to include Espoma Organic Garden-Tone to give your new vegetables the nutrients they need to grow big and delicious!
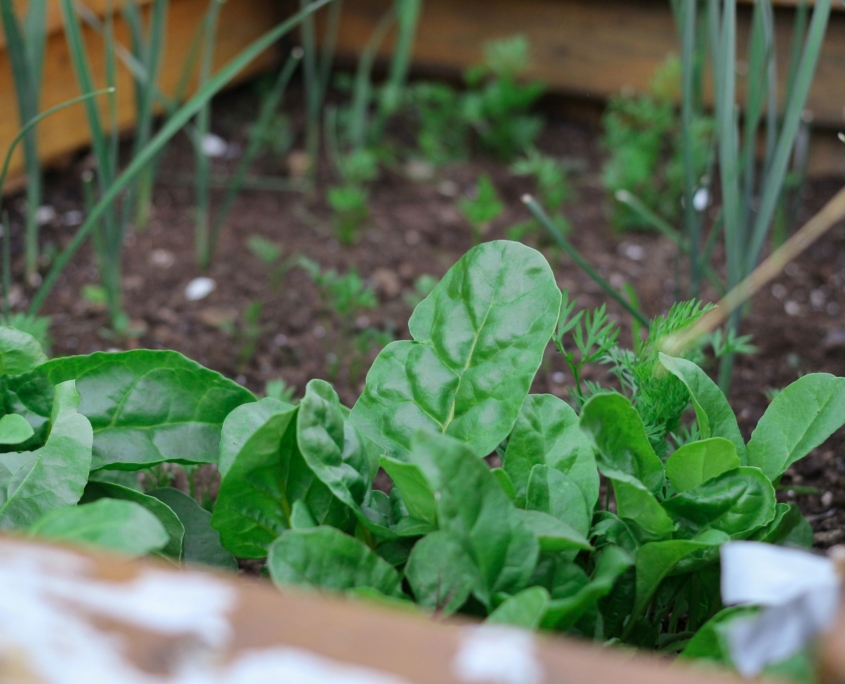
1. Spinach
Fresh baby spinach is not only delicious, but it’s also loaded with vitamins and minerals. This vegetable is versatile because you can eat it alone in a springtime salad or mix it into something like a smoothie! Now is a great time to sow spinach since it usually sprouts quickly and is somewhat frost-resistant in the face of unpredictable spring weather.
2. Swiss Chard
You may not be familiar with this beet relative, but it’s another amazing plant that is easy to grow from seed in the early springtime. You can eat chard raw or cooked and feel good knowing it contains 3 times the recommended daily intake of vitamin K and 44 percent of the recommended amount of vitamin A! Remember to harvest only the outer leaves during the spring and leave the inside for a later harvest.
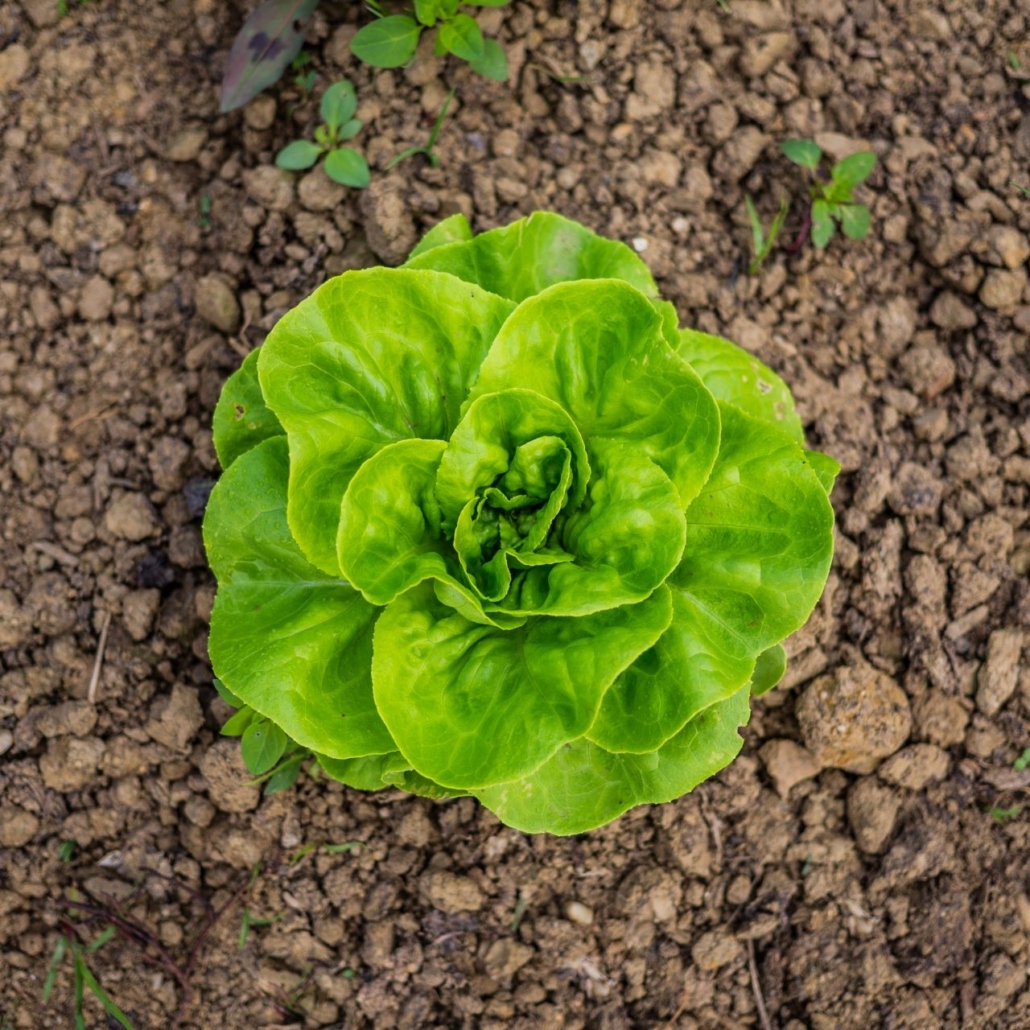
3. Lettuce
Lettuce may seem simple, but did you know it actually comes in a variety of colors, species, shapes, and sizes? Gardeners love this plant lettuce because harvesting the baby greens is quick and easy — sometimes it can be ready after just 30 days! Lettuce is low in calories, fat, and sodium and is also a good source of fiber, iron, folate, and vitamin C. You can use your lettuce in a traditional salad, or spice things up by putting it in soup, making a wrap, or even grilling it.
4. Radishes
Radishes are the quickest vegetable to grow on this list if you truly want an early spring harvest. They’re also rich in antioxidants and minerals like calcium and potassium. Did you know these nutrients can help lower high blood pressure and reduce your risks for heart disease? You can put radishes in salads or even add them to stir fry or tacos.
5. Kale
Kale is the perfect vegetable if you want to produce a lot of food with little effort. It’s known as a “super food” for a reason — because cooked kale actually produces more iron than beef! It grows easily from a seed, so all you have to do is harvest the outer leaves for baby kale and let the rest of the foliage grow to full size. Kale, like spinach, is a great ingredient to add to your next salad or smoothie. Try a kale salad, or add it to a smoothie to make it healthier!
6. Peas
If you want to get your kids interested in gardening, the simplicity of planting peas is a great start. Fresh grown peas are a sweet and delicious side for any dish, or you can use them to make pea soup. They’re a good source of vitamins C and E, zinc, and other antioxidants that strengthen your immune system. You’ll want to read the seed packets closely to see if there are any specific growing directions and to get an idea of how tall this plant will grow. If you don’t want to do all the shelling regular peas require, you should opt for sugar snaps or snow peas.
*****
It’s much easier than you may think to grow delicious and nutritious veggies in your own backyard. Plus, it’s fun and simple enough for the whole family to help! Which ones are you going to include in your early spring garden?
Featured Products:
Have you thought ahead to your fall harvest yet? August is prime time to plant delicious and nutritious vegetables that will come to life in the cooler months. And there’s nothing better than being able to spice up your home-cooked dishes using your very own garden — no need to run to the supermarket! Read on to find out which veggies you should be planting right now.
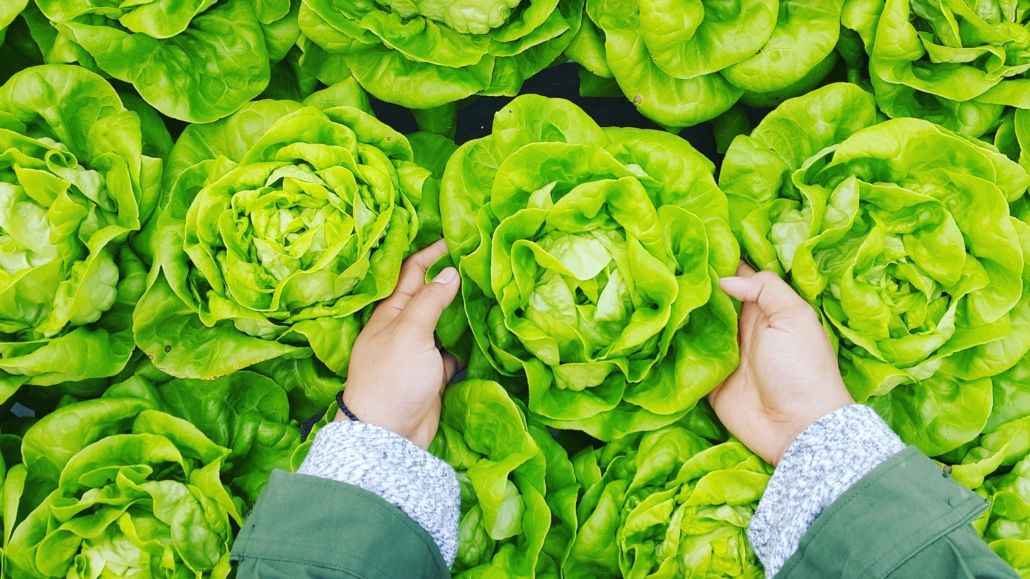
Lettuce
Did you know lettuce cannot be frozen, dried, pickled, or canned? That’s why you have to eat it fresh! Luckily, planting it right now means you’ll be able to enjoy it in just a few months. A fall harvest is ideal as lettuce’s sturdiness prevents any frost from destroying it. These leafy greens are a good source of vitamin C, calcium, iron, and copper — making it the perfect base for a healthy salad. Keep an eye out for the dark green leaves when harvesting as they’re even healthier than the light green ones.
 Spinach
Spinach is well known for its low-calorie count and high levels of vitamin A, C, and iron — making it the perfect addition to that healthy salad. This veggie also gives you the highest turnover out of all the others. If collected in small quantities, you can keep harvesting them late until May! The best time to start planting them is now, at the tail end of summer.
Parsley
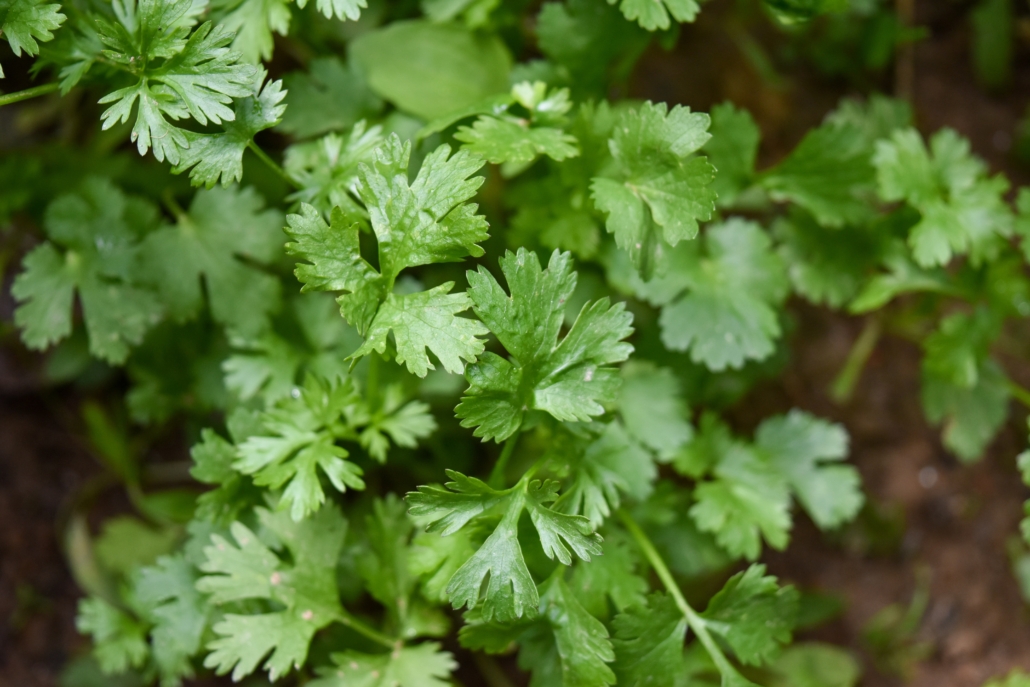
Ready for another healthy addition to that salad we’re working on? Parsley is a rich source of Vitamin K, C, and A, and minerals like magnesium, potassium, iron, and calcium. It’s no wonder this veggie has been used in dishes since ancient Rome! It’s also believed to have anti-tumor, anti-bacterial, and antifungal properties. Plant your parsley now to make sure you can reap all these benefits in the fall.
Carrots
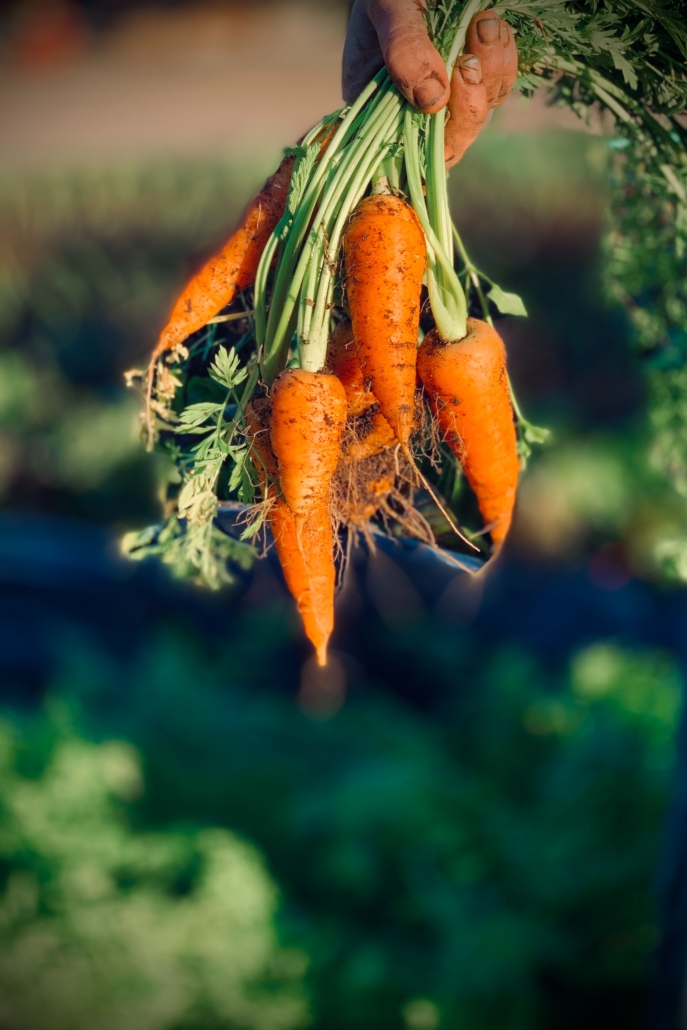
If you’re planning on sowing some veggies that aren’t leafy greens, carrots should definitely be your first choice! As this vegetable grows into the fall season, the cool weather turns the starch to sugar, making them extra delicious. This sweet flavor makes them the perfect side or snack — sauteed, roasted, or even raw! Keep in mind that this plant does need a little extra care compared to some of the others on this list, so be sure to use vegetable food like Garden-tone to provide them with the energy they need to grow.
Beets
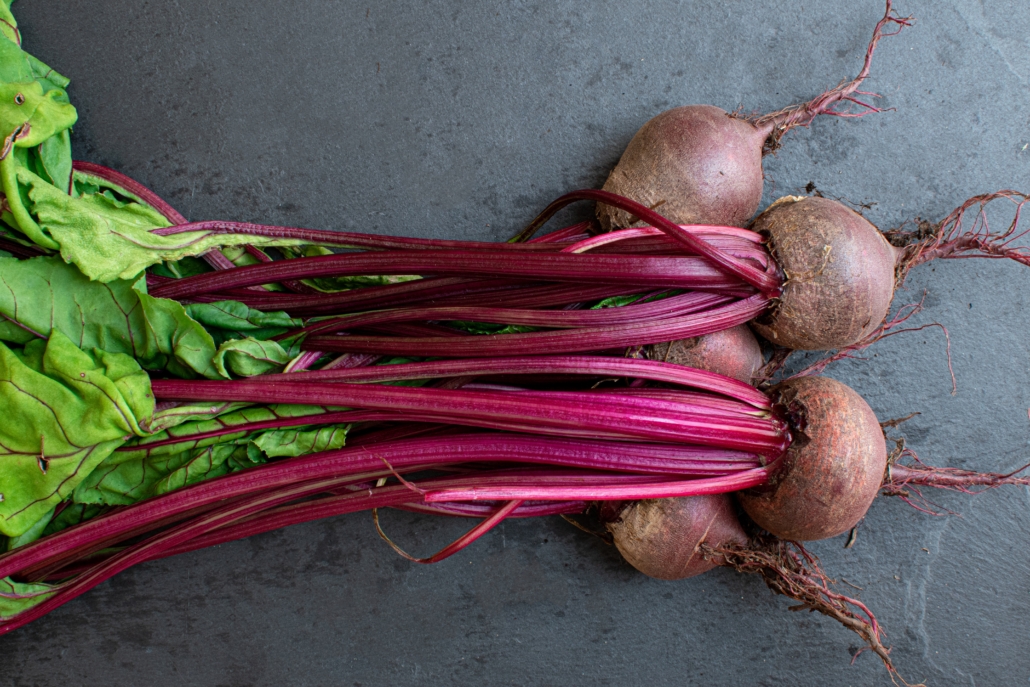
Last but not least, beets should definitely be on your August to-plant list. Did you know beets are edible from the tip of their green leaves to the bottom of their brown roots? They also help capture some hard-to-catch toxins and flush them out. These same antioxidants provide anti-inflammatory agents that provide a wide array of health benefits. Still not convinced? Since beet juice helps cleanse your liver, it’s thought that it can even help cure hangovers! If you want to make use of the entire plant and enjoy all these delicious benefits, make sure to sow the seeds now — about 8 weeks before the first frost.
*****
Just because summer is winding down, doesn’t mean it’s time to pack up your gardening supplies. August is the perfect time to plant some of your favorite vegetables! Cooking primarily with these veggies straight from your garden will give you some of the freshest and tastiest dishes. So get your family together, head outside, and get planting!
Featured Products:
Are your tomato plants growing out of control? Time to tie them up with Bloom and Grow Radio‘s Tying and Fertilizing Tomatoes video featuring Tomato-tone!
Featured Products:
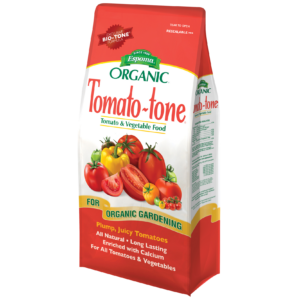
A little vitamin boost from Bio-tone Plus before amending your soil is key when planting up a fresh tomato path. More great tips from Bloom and Grow Radio in the full video!
Products Featured

Need a new and updated way to grow your strawberries? Try growing them vertically!
This windchime inspired planter will add life to your garden while adding an element of design to your home. Watch as Laura from Garden Answer shows us how to make vertical strawberry planters.
Be sure to keep the materials in mind – even Laura almost used toxic tubing for the project.
Materials she used includes:
Step-By-Step Instructions:
Construction
Planting:
Enjoy!
Espoma products to help you grow your best strawberries yet:
Keywords: starting plants indoors, can you grow tomatoes indoors, growing vegetables indoors
Starting seeds indoors is great way to make your garden successful from the start. Nurturing and watching seedlings grow from nothing into a fully grown plant can be incredibly rewarding.
Gardeners have asked how to be more successful with starting their own seeds and the problems usually boil down to simple, common mistakes. Here are the three most common mistakes and how to fix them.
1. Problem: Not Enough Light
A common mistake beginner seed starters make is not giving their seeds enough light. New seeds need a lot of light to get growing. You can start with a south facing window, but if it doesn’t get 6+ hours a day, it probably won’t do.
Solution: Artificial lights.
Using grow lights, found at your local garden center, can provide the ample amount of light your seedlings need. Hang lights from chains, so you can lower and raise them as they grow. Keep lights about 2-3 inches above the seedlings.
2. Problem: Too Much or Not Enough Water
This is the most challenging part about starting seeds. Seedlings are incredibly delicate and need to be watered just right. Keep potting mix moist, but not wet.
Solution: Check seedlings regularly.
First, cover your seed starting container with plastic until the seeds germinate. This will trap any moisture in and will help keep the soil moist. Use a misting spray bottle until seedlings appear to avoid overwatering. Once your seedlings are established, water from the bottom. Your container should have drainage holes, so let your plants soak up the water from the holes to minimalize the risk of overwatering. Lastly, check your plants every day.
3. Problem: Starting Too Soon
Many beginners try to start seeds as soon as they buy them, instead of when the package advises. We all get a little excited to have green plants growing again, but if started too soon, they can die off from the cold.
Solution: Find out when your expected last frost is.
Seeds should usually be started four to six weeks before your last frost date. This will ensure that by the time your seedlings are ready to be transplanted, your soil will have started to warm up. You may need to place your seedlings outside during the day and bring them in at night for a few days to get them acclimated to the outside temperatures. Before you plant your seedlings in the ground, use Espoma’s Bio-Tone Starter Fertilizer to give your soil and new seedlings the head start they deserve.
In a few short weeks you’ll be ready to transplant!
Dreaming of juicy, flavorful tomatoes and ripe, spicy peppers? Grow them yourself in only a few months.
If you’re as excited about tomato season as we are, why not get started now?
The best way to get a head start on growing tomatoes is to start seeds indoors 4-6 weeks before the last spring frost date in your region. Whether you’re growing cherry tomatoes or hot peppers, visit your local garden center to pick up supplies and seeds.
Here’s how to start tomato and pepper seeds indoors:
If you saved tomato seeds from last year and stored the seeds properly, they should last for about four years. Pepper seeds will last about two to three years.
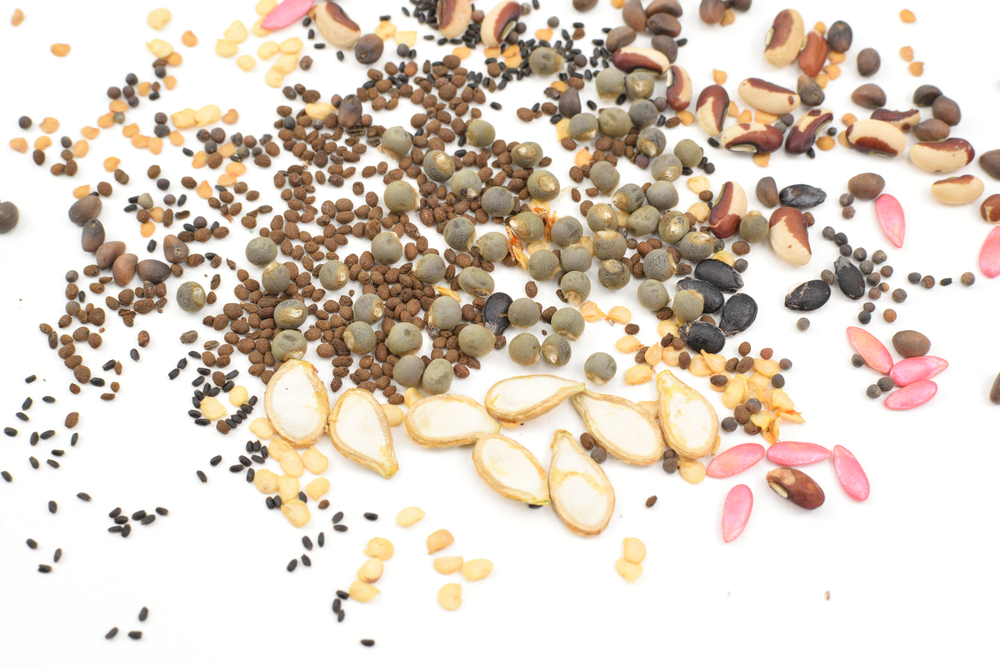
Check seeds for vitality before planting for a successful crop. Need seeds? Find them at your local garden center.
Test your seeds a few weeks before you’re ready to start. Place several seeds on a wet paper towel cover it with plastic and place it in a warm spot. If the seeds are viable, they should sprout within a week.
Give your seeds a head-start. Simply soak seeds in warm water for 2-4 hours to soften. Read the instructions on the seed packet to ensure the optimal conditions for your seeds.
Gather supplies and fill seed trays to within ¼” of the top with Espoma’s Organic Seed Starting Mix. Follow instructions on the seed packets to see how deep and far apart to plant. Cover with soil, press down and lightly water. Find out more about starting seeds here.
Once the seeds are planted, it’s time to warm them up. Heat loving crops like tomatoes and peppers love the warm weather. While your seedlings are sprouting, store them on top of the fridge or in a warm place. An even better option is use a special heating mat. The warm temperatures help to speed up the growing process. Make sure to check seeds daily for moisture since the soil may dry out more quickly.
Once the true leaves have developed, seeds will benefit from a nutrient boost. Add Espoma’s Organic Tomato! plant food to feed instantly.
Thinning is the process of removing weaker seedlings to allow more room for the stronger ones. It creates healthier plants that produce more. As seedlings grow and you see crowding beginning to happen, gradually thin plants to 4” apart by gently pulling out the smallest ones with your hands.
Start hardening off plants once the last frost date has past. Place seedlings outdoors for seven to 10 days for a few hours each day. Once plants are ready for transplanting, gently remove plants from containers without damaging the roots. Plant in a prepared bed and mix in Espoma’s Bio-tone Starter Plus, to keep roots strong. Once plants are established in the garden or container feed with Tomato! liquid or Tomato-tone.
It’s never too late to start an edible garden. Different fruits and vegetables thrive in all types of conditions, so you’re bound to find the perfect fit for your garden, regardless of the season.
In fact, some summer favorites can be planted now for a delicious late summer or early fall harvest. Make sure to use Espoma’s Organic Garden-tone when growing veggies this summer.
Consider these options for late June – early July planting.
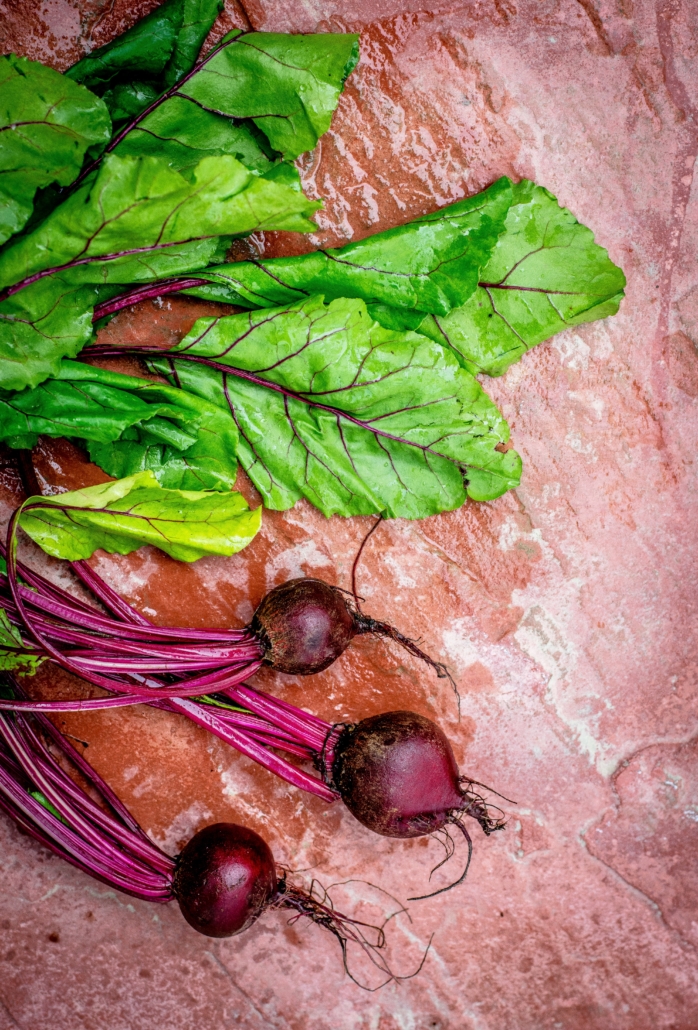
Beets
These little red veggies thrive in conditions with warm days and cooler nights, making them perfect for areas with a mild summer climate. They can also adapt to grow in cool weather, making your harvest last through the fall and winter. Beets prefer full sun when possible, but still produce leafy greens in the shade.
Aside from being delicious, beets also have a ton of nutritional benefits. With loads of vitamins A and C, iron, potassium, and calcium, beets can help protect you from heart cancer.
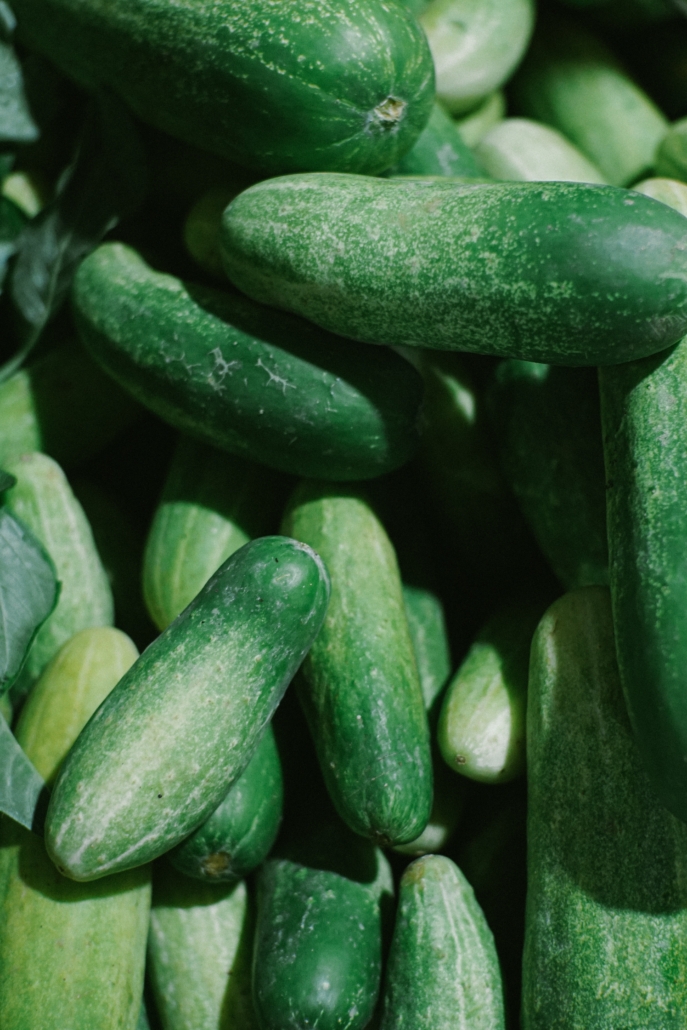
Cucumbers
Nothing says summer flavor like a delicious, crisp cucumber. Cucumbers serve as a perfect addition to any summer salad or cocktail, or they can stand on their own as a yummy snack. Cucumbers thrive in warm weather and that hot summer heat will give you delicious sprawling cucumbers in as little as 50 days.
Harvest cucumbers before they get too big to encourage continued growth.
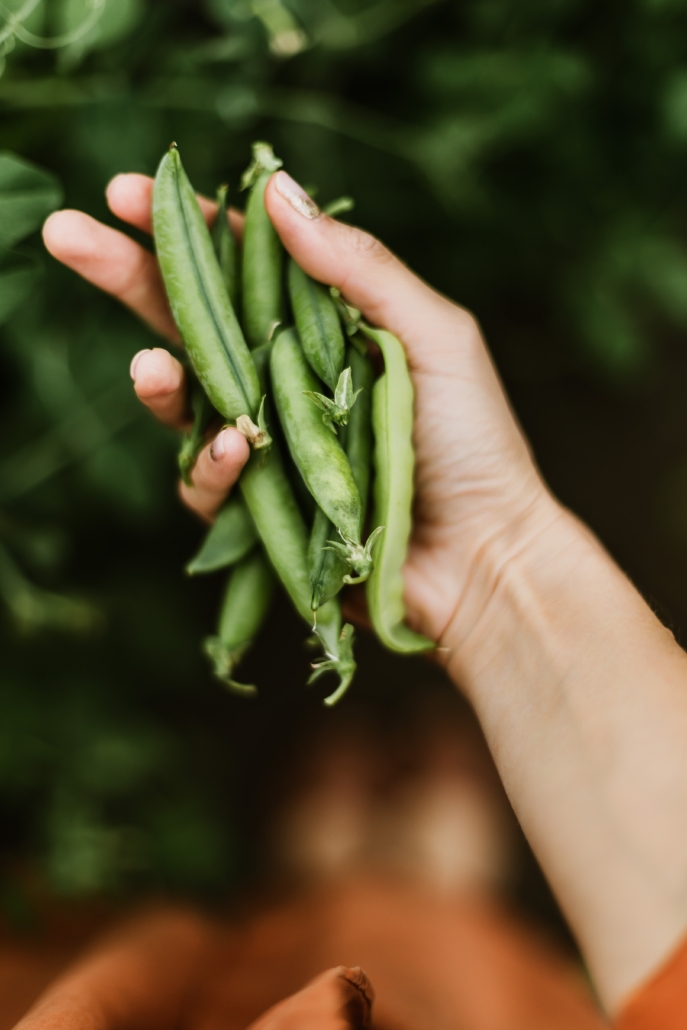
Peas
Sweet, crisp and crunchy – what else could you want from a summer vegetable? Sugar snap peas need at least six hours of full sun every day and thrive in sunny spots. As sugar snap peas grow up, support them with a trellis or stake. They will be ready to harvest within 60-90 days of planting, which will give you a delicious late summer – early fall treat.
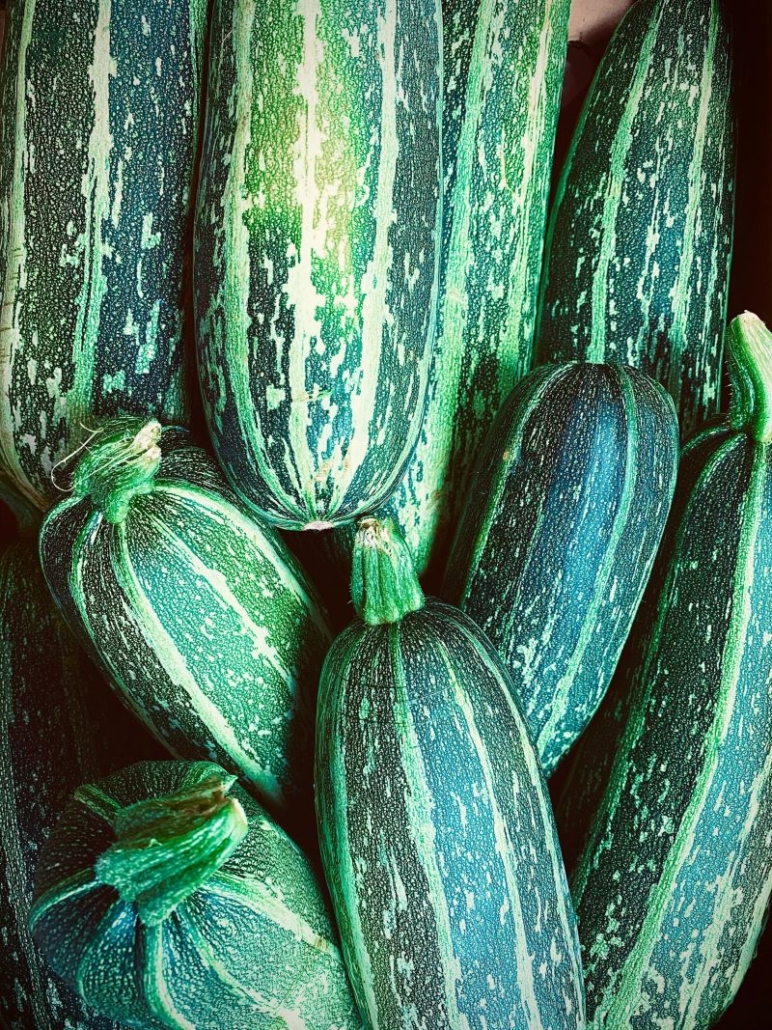
Zucchini is definitely a fan favorite when it comes to summer squash. This fast-growing vegetable will be ready to harvest within 45-55 days after sowing seeds. Zucchini tastes best when it measures around 4-6 inches. If it grows much bigger, the flavor will become bitter.
Be sure to give your zucchini plants plenty of room to grow as they often produce lots of vegetables very quickly.
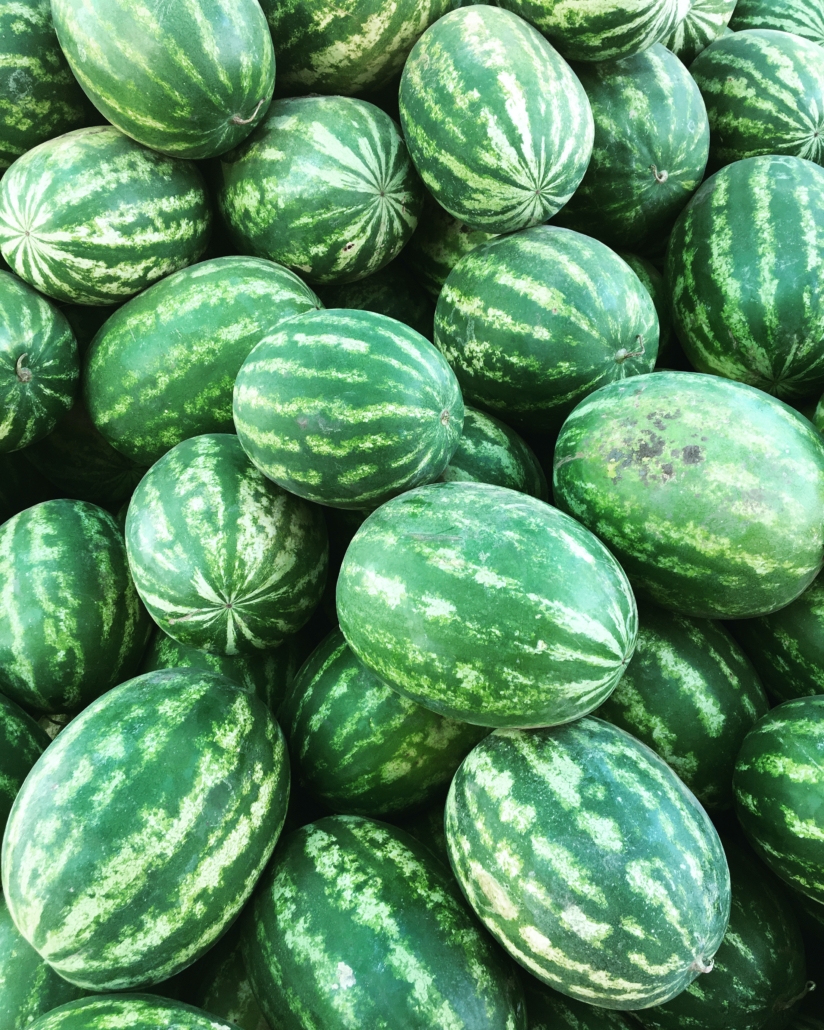
Melons
If you live in a climate where the hot summer heat lasts well into the fall, try planting watermelons in your vegetable garden. Watermelons are extremely pest and disease resistant, making them perfect for an organic garden. Watermelons typically need 80-100 days of hot, humid weather to develop their delicious sweet taste, so only plant if you live in the right climate.
For those in climates a bit milder, try planting honeydew or cantaloupe. These melons prefer warm weather but don’t require the same amount of heat as watermelons.
*****
When Planting we recommend using Espoma Organic Bio-tone Starter Plus to help produce large root systems very quickly. This will help ensure that new plantings get maximum water and nutrients from the soil to minimize transplant loss.
Featured Products:
