Vegetable Gardening
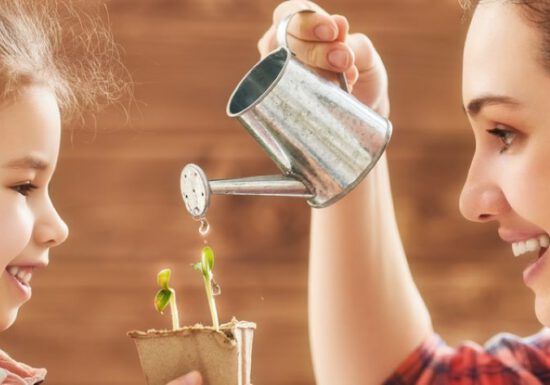
How to start a kid-friendly vegetable garden
There’s a natural connection between children and the outdoors. And there’s nothing more special than caring for the Earth and…

Top Seeds to Sow in March
It’s our favorite time of year again, spring is here! This marks the start of prime-time gardening season as the…
6 Heirloom Plants We Love
Contrary to popular belief, tomatoes are not the only heirlooms out there. Heirlooms are plants that are grown from seeds…
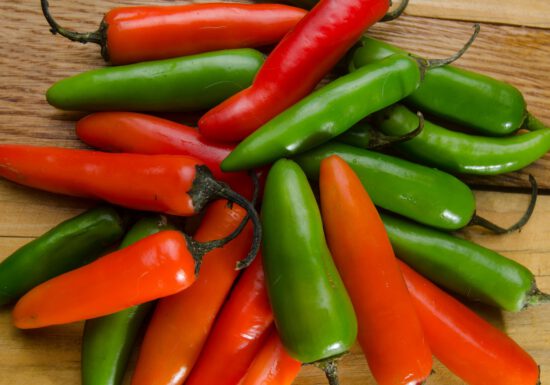
Top Peppers for Sowing
Now that spring is here, we’re ready to get our hands in some dirt. And what better way to do…
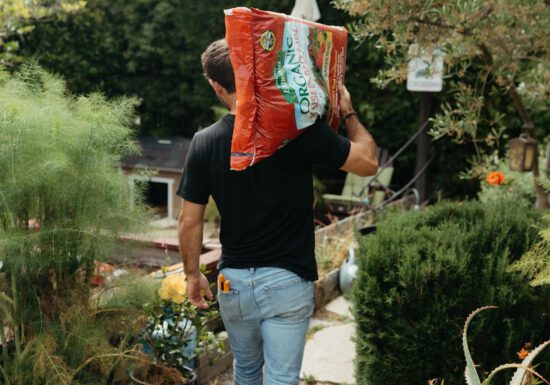
Fall Gardening Checklist
September marks the turn of a new leaf. The hot summer weather is fizzling out in favor of cool, crisp…
Grab Your Books for a Lesson in Gardening 101
Back to Gardening School: A Fresh Start for Your Garden Remember the excitement of a new school year? Fresh notebooks,…
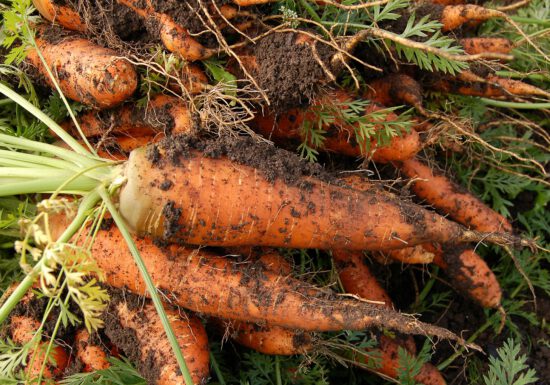
Fall is for Planting: Cool-Season Veggies
There is nothing better than the taste of fresh picked produce, except maybe when its fall, and you expected your…

7 Things To-Do in your Garden this July
Lazy days of summer? Think again! July can be a busy month in the garden. While watering and deadheading may…
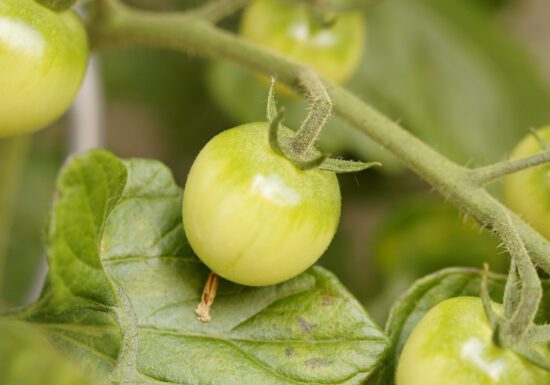
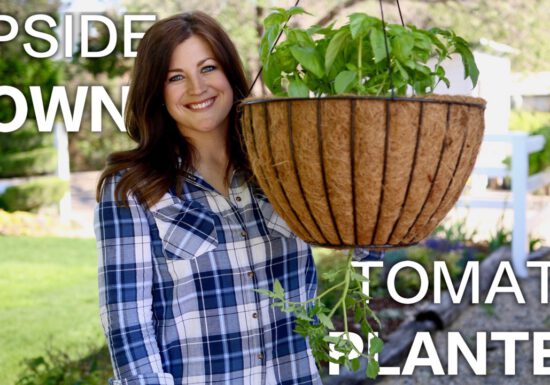
Turn Your Tomato Garden Upside Down
Everyone loves growing tomatoes. And tomatoes are one of the easiest plants to grow. This summer, put a new twist…
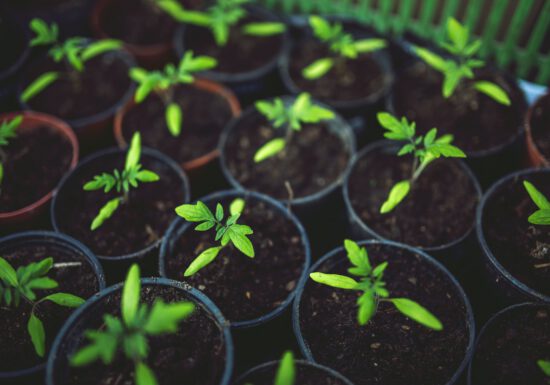
Plant Tomato Seeds in 4 Easy Steps
Nothing beats that first bite into a delicious, ripe tomato – even better when it’s fresh out of your summer…
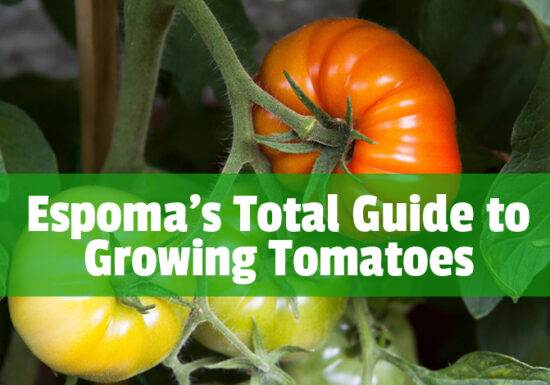
Total Guide to Growing Tomatoes
Download Total Guide PDF. For good reason, tomatoes are the popular kid in the garden. Everyone wants to grow…