Video: Winter Seed Sowing with Garden Answer
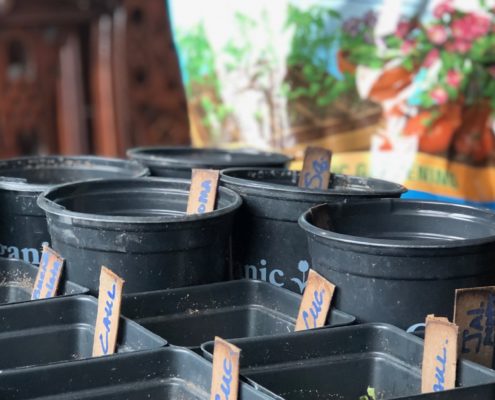
Interested in trying your hand at the winter seed sowing method? Follow along with @Garden Answer in this new video for some tips, tricks, and other learnings!
Featured Product:
Interested in trying your hand at the winter seed sowing method? Follow along with @Garden Answer in this new video for some tips, tricks, and other learnings!
Featured Product:
You’ve waited all winter, and spring is so close! It’s just about time to start sowing early spring crops.
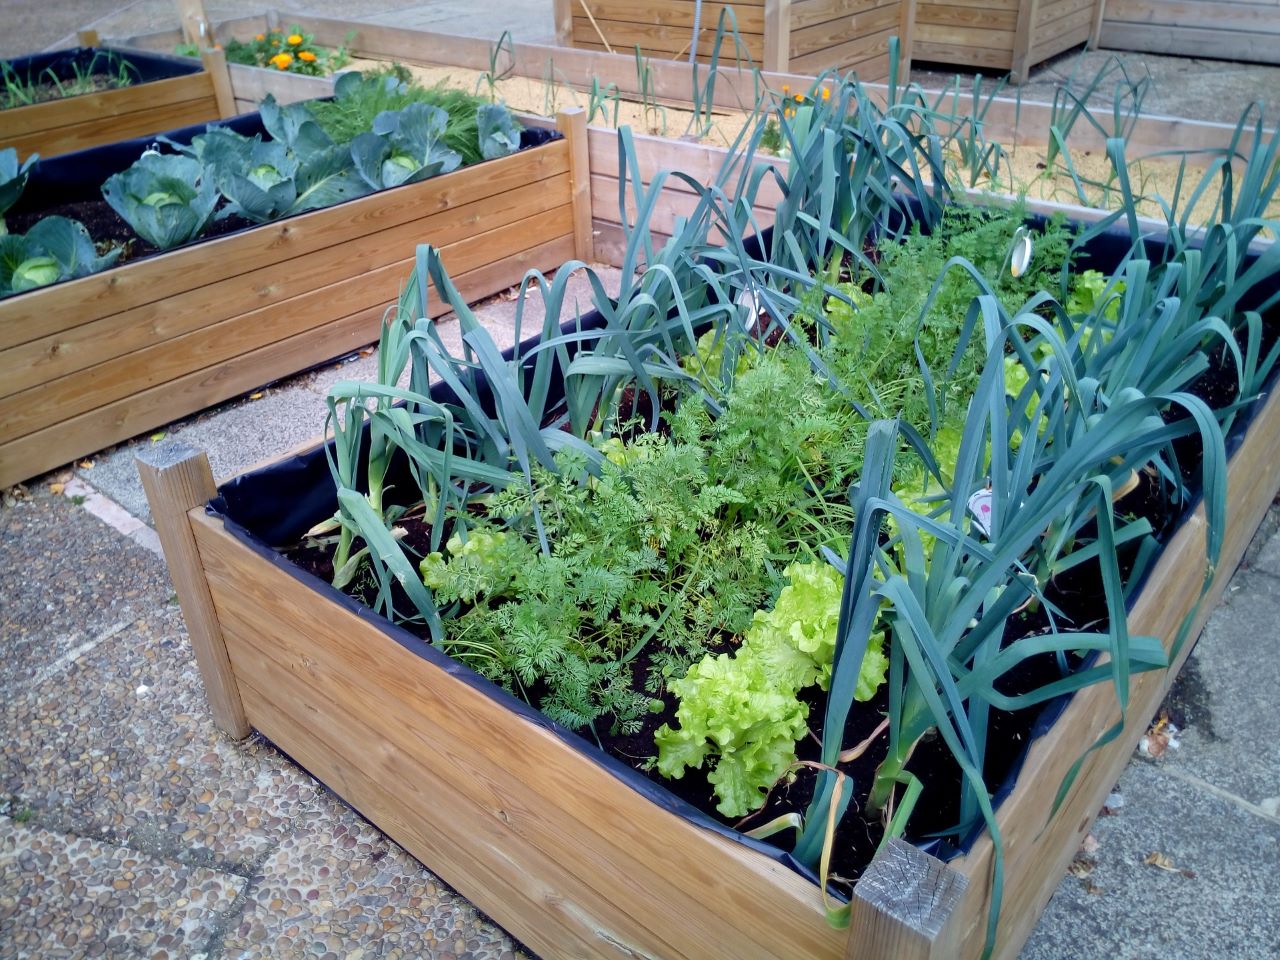
You can sow cool season crops directly in the ground as soon as the soil temperature is at or above 40ºF. If the soil is wet and muddy, you’ll want to wait a few days until things dry out. Working wet soil can ruin its structure. Some people use polythene tunnels to warm the soil and give them an even bigger head start.
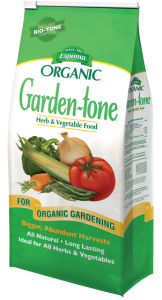
While you sow, don’t forget to feed your soil. Use Espoma Organic’s Garden-Tone, it is perfectly formulated for your vegetable garden.
Here are our top vegetables for early spring:
Spinach
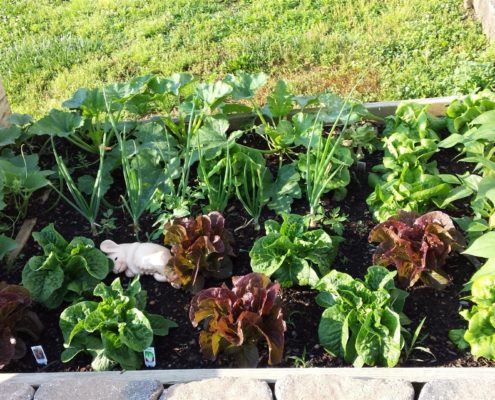
Spinach sprouts fairly quickly and is remarkably frost resistant, especially when grown under cover. Plants like the morning sun and are happy to have some afternoon shade. Fresh baby spinach is tasty and loaded with vitamins and minerals. Try a springtime salad with spinach and strawberries or put them in your favorite breakfast smoothie.
Swiss Chard
This beet relative is another excellent early spring crop that is easy to grow from seed. Once the leaves are 6 inches tall, you can begin to harvest the outer leaves. Let inner leaves stand for a later harvest. Chard contains 3 times the recommended daily intake of vitamin K and 44 percent of the recommended amount of vitamin A. Eat it raw or cooked.
Lettuce
There are hundreds of different kinds of lettuce; they come in all colors, shapes and sizes. Harvesting baby greens is quick and easy. Look for varieties you can cut back that will regrow. Many can be harvested in just 30 days. They won’t flourish during cold snaps, but they won’t die unless temperatures dip below 28ºF.
Radishes
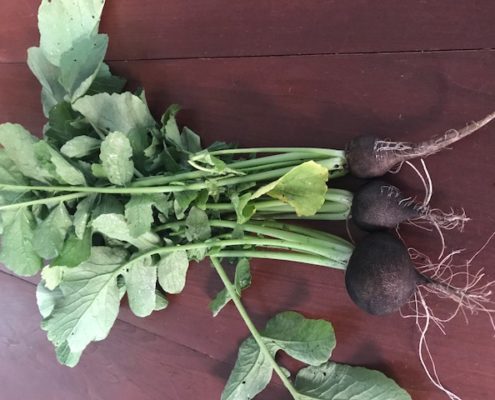
Radishes are one of the fastest vegetables you can grow. They’re fun to grow with little ones because they come up before you know it. You can plant radishes alongside lettuce or other spring greens. As you harvest the radishes, the greens have more room to grow. Use them as an addition to salads and tacos or roast them for a delicious treat.
Kale
We all know kale is a super food — cooked kale delivers more iron than beef. Lucky for us it grows easily from seed. Harvest the outer leaves for baby kale and let the rest of the foliage grow to full size. It can produce a great deal of food with little effort. Sow kale early and protect from hard frosts.
Peas
Fresh grown peas are so sweet and delicious, even your kids will love them. And, the seeds are big enough for little hands to plant them. Plant them in the ground around St. Patrick’s Day or 4 to 6 weeks before that last frost free date. Some varieties will need a low trellis. Check the seed packet to see how tall they’ll grow. Grow sugar snaps or snow peas if you don’t want to do all the shelling regular peas require.
Learn more about starting a kid friendly vegetable garden.
Products
Keywords: starting plants indoors, can you grow tomatoes indoors, growing vegetables indoors
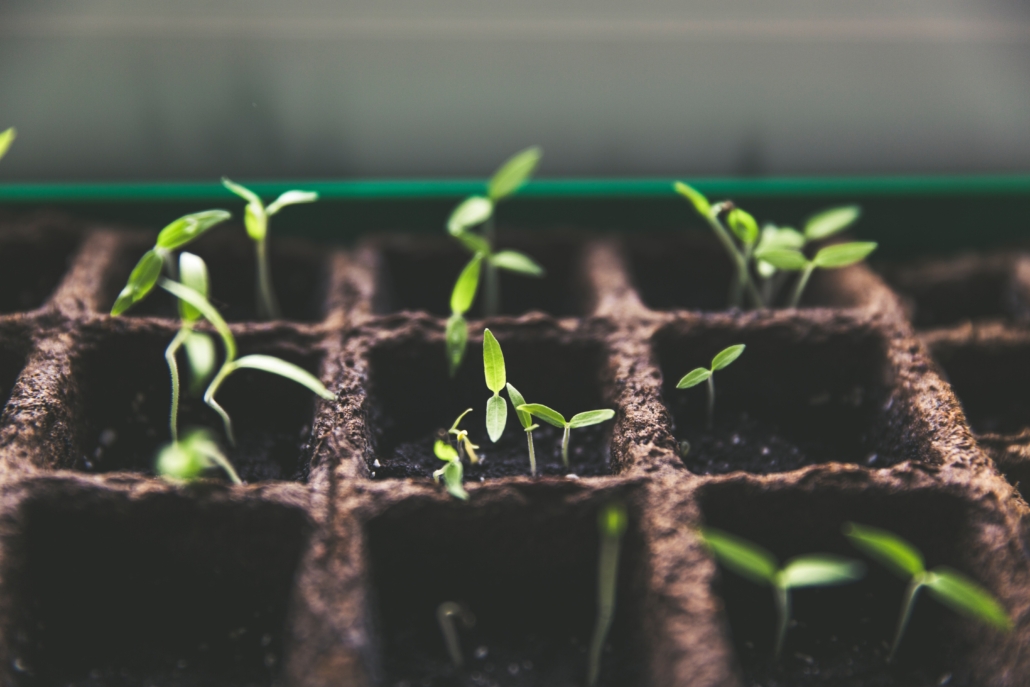
Starting seeds indoors is great way to make your garden successful from the start. Nurturing and watching seedlings grow from nothing into a fully grown plant can be incredibly rewarding.
Gardeners have asked how to be more successful with starting their own seeds and the problems usually boil down to simple, common mistakes. Here are the three most common mistakes and how to fix them.
1. Problem: Not Enough Light
A common mistake beginner seed starters make is not giving their seeds enough light. New seeds need a lot of light to get growing. You can start with a south facing window, but if it doesn’t get 6+ hours a day, it probably won’t do.
Solution: Artificial lights.
Using grow lights, found at your local garden center, can provide the ample amount of light your seedlings need. Hang lights from chains, so you can lower and raise them as they grow. Keep lights about 2-3 inches above the seedlings.
2. Problem: Too Much or Not Enough Water
This is the most challenging part about starting seeds. Seedlings are incredibly delicate and need to be watered just right. Keep potting mix moist, but not wet.
Solution: Check seedlings regularly.
First, cover your seed starting container with plastic until the seeds germinate. This will trap any moisture in and will help keep the soil moist. Use a misting spray bottle until seedlings appear to avoid overwatering. Once your seedlings are established, water from the bottom. Your container should have drainage holes, so let your plants soak up the water from the holes to minimalize the risk of overwatering. Lastly, check your plants every day.
3. Problem: Starting Too Soon
Many beginners try to start seeds as soon as they buy them, instead of when the package advises. We all get a little excited to have green plants growing again, but if started too soon, they can die off from the cold.
Solution: Find out when your expected last frost is.
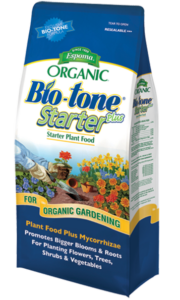
Seeds should usually be started four to six weeks before your last frost date. This will ensure that by the time your seedlings are ready to be transplanted, your soil will have started to warm up. You may need to place your seedlings outside during the day and bring them in at night for a few days to get them acclimated to the outside temperatures. Before you plant your seedlings in the ground, use Espoma’s Bio-Tone Starter Fertilizer to give your soil and new seedlings the head start they deserve.
In a few short weeks you’ll be ready to transplant!
Savvy gardeners are known for not letting anything go to waste. They are the compost kings and queens. They are smart about how they water. They use every inch of their garden to plant something amazing.
So when it comes to seeds, why would that be any different? Saving seeds for vegetables is simple and wallet-friendly. It allows gardeners to be sustainable within their own garden.
Saving Seeds Basics
Saving seeds is easy to do. Its three simple steps: harvest the seeds from the vegetables, dry the seeds and store the seeds. Of course there’s a little more to know, but it’s truly that straightforward.
Depending on the vegetable you want seeds from, there’s a little bit of washing to do too. We have outlined three popular vegetables to get you started.
Peppers
Peppers are the easiest vegetables to get seeds from. When they have changed colors and are ready to eat, the seeds are ready as well.
Cut the peppers open, scoop out the seeds onto a ceramic or glass plate and lay them out to dry. Make sure the seeds are lying flat, not stacked on top of each other. Twice a day move the seeds around to ensure they aren’t sticking together. When they break, not bend, in your hand they are ready for storage.
Be sure to use ceramic or glass as the seeds will stick to paper.
Cucumbers
At the end of the season, pick off overly ripe cucumbers and bring them inside. Cut the cucumber open lengthwise and scoop out the seeds. To get the excess goop and coating off, rise and swirl seeds in a sieve gently. Spread them on wax paper to dry. Mix them occasionally to ensure even drying. Store when the seeds feel rough but not slippery.
Lettuce
Lettuce plants need to flower before you can harvest their seeds. One lettuce plant can produce a lot of seeds, so you don’t need to worry about all of them. When the flower heads are dried out and have puffs of white, the seeds are ready to be harvested.
Pinch off the flower heads and collect them in a bag. Bring them to a table and break them open so the seeds fall out. Some of the flower may stick to the seed, it is fine. It won’t disrupt the germination of the next season. Allow the seeds to dry and store.
Storage
Airtight containers work best for all seeds described. If taken care of, these seeds can last a few years! Keep them at room temperature and they will be ready to go when planting season begins.
When next year rolls around, start your seeds indoors and use Espoma’s Bio-tone Starter Plus to grow bigger and better versions of your favorite plants.
Spring is here! Shed off those winter blues and head outdoors to restore your lawn and garden. The days are getting longer and your soil is beginning to wake up. April is a great time to get out in your yard and begin again.
1. Start tomato seeds.
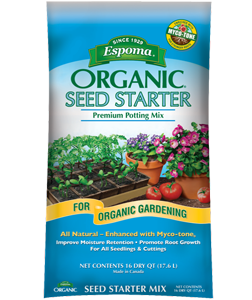
The best way to get a head start on growing tomatoes is to start seeds indoors 4-6 weeks before the last spring frost date in your region. See our Guide to Growing Tomatoes. Start your seeds with Espoma Organic Seed Starter and feed your tomatoes with Espoma Organic Tomato-tone.
2. Get planting.
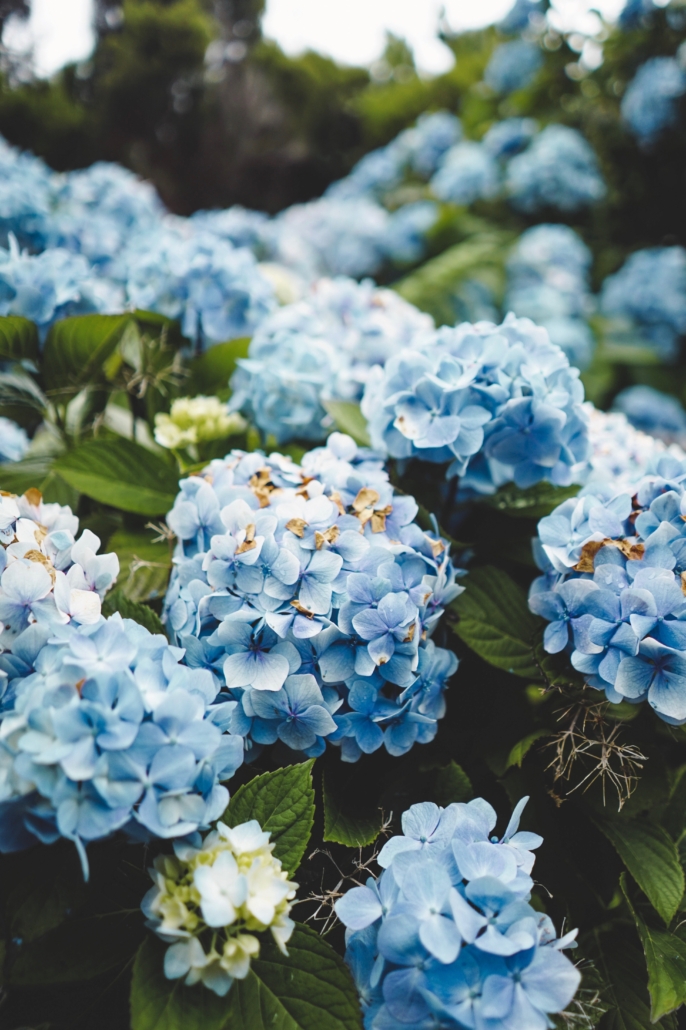
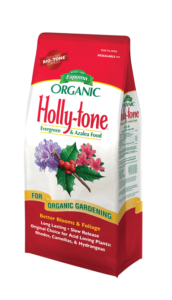
Hydrangeas embody everything we love about gardening. They have billowy textures, come in bright colors, and are easy to care for. Plant some this month for the best blooms. Feed your Hydrangeas with Espoma Organic Holly-tone fertilizer.
3. Grow berries.
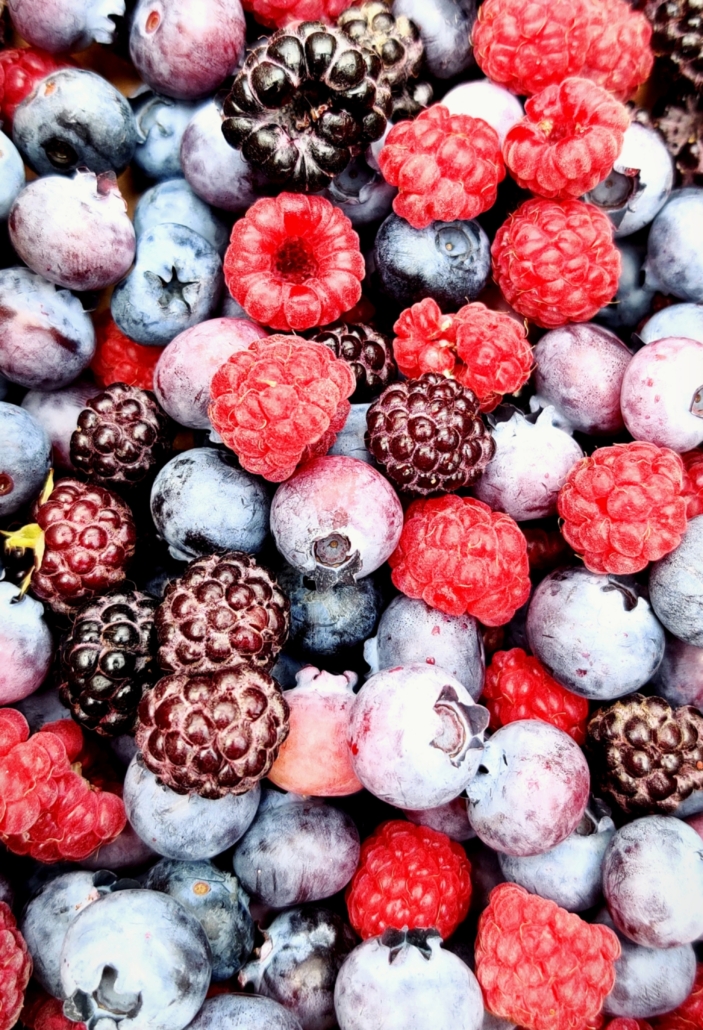
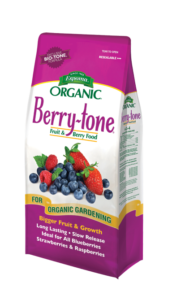
Did you know blackberries have almost as many antioxidants as blueberries? And raspberries make the perfect addition to jam, cobblers, and pies. Berries are just so delicious, scrumptious, and oh-so-juicy. Plus, many berries are easy to grow and care for. Find out when, where, and how to plant your favorite berries. Feed your berry-producing plants with Espoma Organic Berry-tone fertilizer.
4. Revitalize lawns.
Perform a soil test to find out what your lawn needs, then amend and choose organic. Organic lawns need less watering, fertilizing, and mowing all summer long. Yes — that means you get to spend more time enjoying your beautiful lawn and less time caring for it! Plus, as natural lawn foods break down, your soil becomes stronger on its own and needs less help. Feed your lawn with Espoma Organic All Season Lawn Food.
5. Plant blooms.
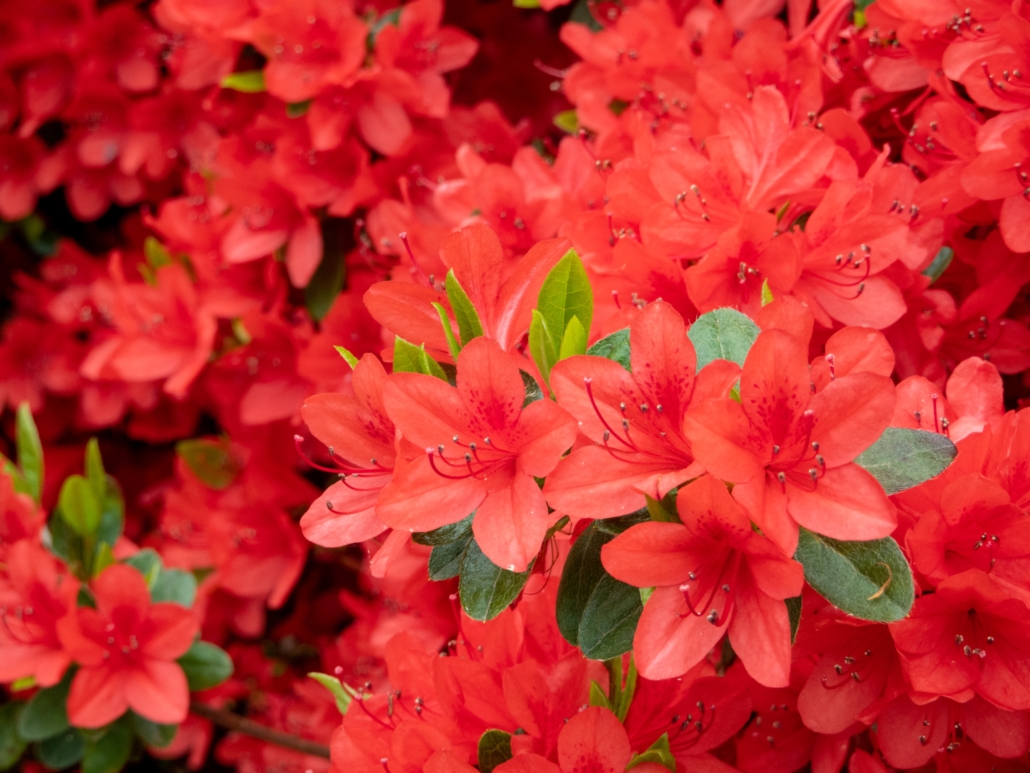
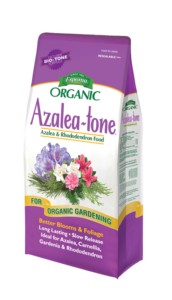
Azaleas and Rhododendrons are some of the most popular flowering shrubs. Blooming from late spring to early summer, these shrubs thrive in almost any garden. Plus, they come in virtually every color of the rainbow — from bold pinks, purples, and reds to soft, muted yellows and whites. Make sure you’re adding these bloomers to your garden this year. Feer your beautiful Azaleas and Rhododendrons with Espoma Organic Azalea-tone fertilizer.
6. Feed roses.
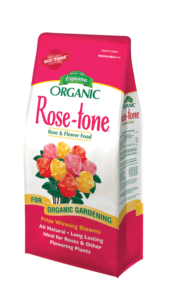
Your roses are waking up now, they’ve made it through a long winter and they are starving! Choose Espoma’s organic Rose-tone. It includes more nutrients than any other rose food. Most rose fertilizers contain three nutrients — nitrogen, phosphorus, and potassium (N-P-K). Here’s how to feed with Rose-tone.
Sit back and relax once you’re done.
April showers will give way to May flowers in no time at all.
*****
Check out our Total Guide to Growing Organic Berries!
Featured Products:
Now that spring is here, we’re ready to get our hands in some dirt. And what better way to do that than by starting some seeds. All you need is light, heat and an organic seed starting mix.
Before you begin, check the last spring frost date in your area, then count back 4-6 weeks. That’s when you’ll want to start seeds.
First up on our list for planting, is peppers. There’s nothing better than adding a spicy pepper to a garden fresh salsa. Plus, once you’re ready to grow outside, peppers can even be grown in containers.
5 Spicy Peppers for Sowing
1. Cayenne Pepper
This extremely red pepper is long and skinny. It is very spicy, which is why it’s best in a dried, powdered form. Cayenne peppers are known to boost metabolism, aid with digestion, relieve pain caused by migraines, prevent blood clots and relieve joint/nerve pain.
2. Habanero Chili
This pepper is one of the hottest in the world, next to the ghost pepper. It can be found in many different colors ranging from red, light yellow, brown, and orange. The heat of this pepper can be unpredictable, but regardless is always hot.
3. Serrano Pepper
This small pepper has think walls and is commonly used in hot-salsa. It starts out green, but as it ages it turns red then yellow. The best time to pick Serrano peppers is while they’re still green or in the beginning stages of changing colors.
4. Thai Chili Pepper
Also known as the Bird’s eye chile, Thai chilies are relatively tiny, but spicy. It could be either green or red. These plants are commonly grown year-round and can be brought indoors in winter.
5. Tabasco Pepper
This pepper got its name from the Mexican State, Tabasco, where it originated. It starts out as a yellow-green color, turning completely yellow, then orange, and then bright red at its ripest point. This plant can take up a lot of space in gardens being that it has the potential to grow nearly 60 inches high.
Ready to start seeds? Learn how here.
September marks the turn of a new leaf. The hot summer weather is fizzling out in favor of cool, crisp fall breezes, prompting bonfires, football games, and pumpkin everything.
For gardeners, fall can be one of the busiest seasons. Often, gardeners juggle wrapping up their summer harvests with the responsibilities of preparing for the coming seasons.
With this to-do list from Homestead Gardens, you’ll be ready to fall in love with fall; and with some extra preparation, you’ll be better prepared for winter and spring, too!
7 Things To Do in the Garden This Fall
1. Deadhead to get Ahead. Freshen up flowerbeds by deadheading and removing plants that have stopped blooming. Do maintenance in the morning before the weather gets too hot.
2. Don’t stop Planting. After you’ve harvested your remaining summer veggies, you can plant fall crops and begin transplants! Use Espoma Organic Bio-tone Starter Plus at the time of planting to ensure your new or transplanted plants have the nutrients they need for establishment.
3. Serve… or Preserve. Have more vegetables and herbs than you know how to handle? Preserve your harvest. Experiment with making jams or pickles, and try freezing raw fruit, veggies, or herbs. Make sauce out of your tomatoes, or slow roast them.
4. Flower Power. Keep your annual flowers blooming as long as possible! The key to success? Use Espoma’s Bloom! liquid fertilizer.
5. Watch out for Winter! Start winterizing your garden’s watering system. Keep an eye out for the first few frosts of the season, and cover plants when necessary. Gradually transition your summer houseplants back indoors.
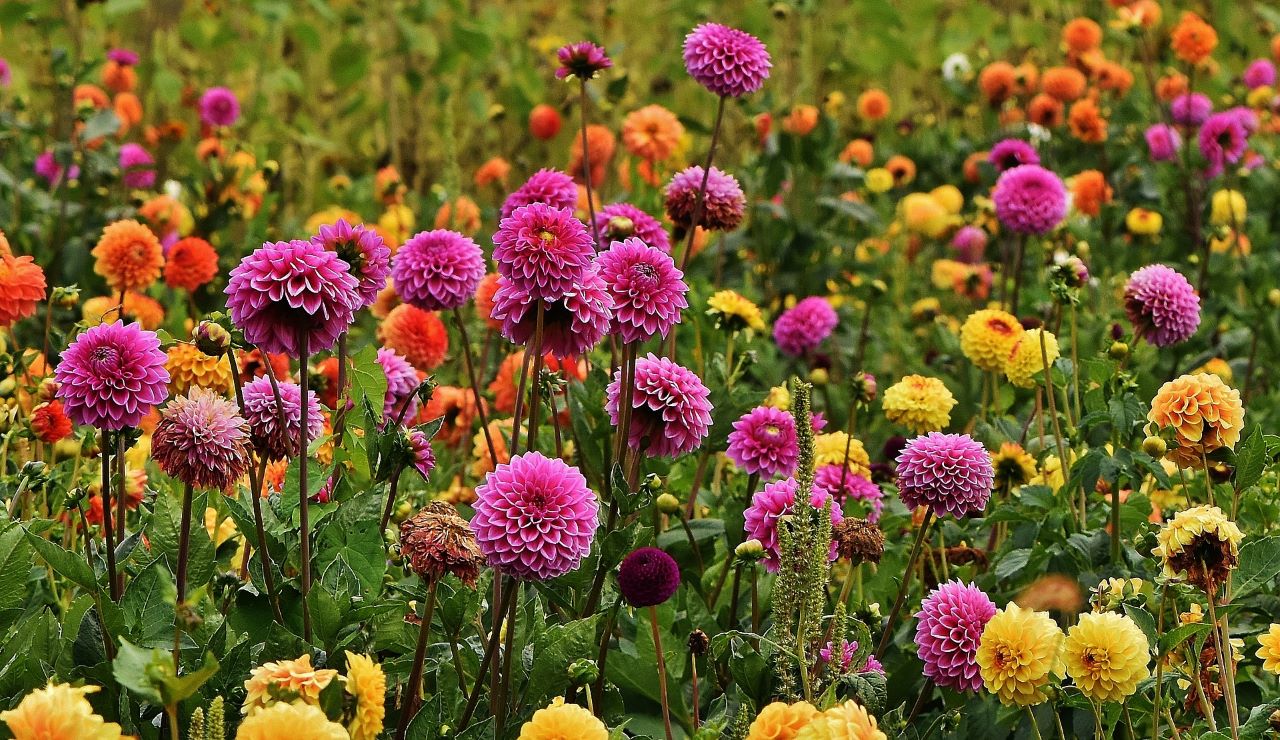
6. Divide and Conquer. Divide and split your perennials, dig and store tender bulbs like dahlias and caladiums, and start planting spring flowering bulbs.
7. Red, Dead Ahead! Are your tomato plants lacking fruit? Producing dull leaves? Sprinkle some Tomato-tone to give them a final boost.
*****
With these tips, your fall landscape will look better than ever.
Have a picture of your fall garden that you want to share? Drop by our Facebook page!
Featured Products:
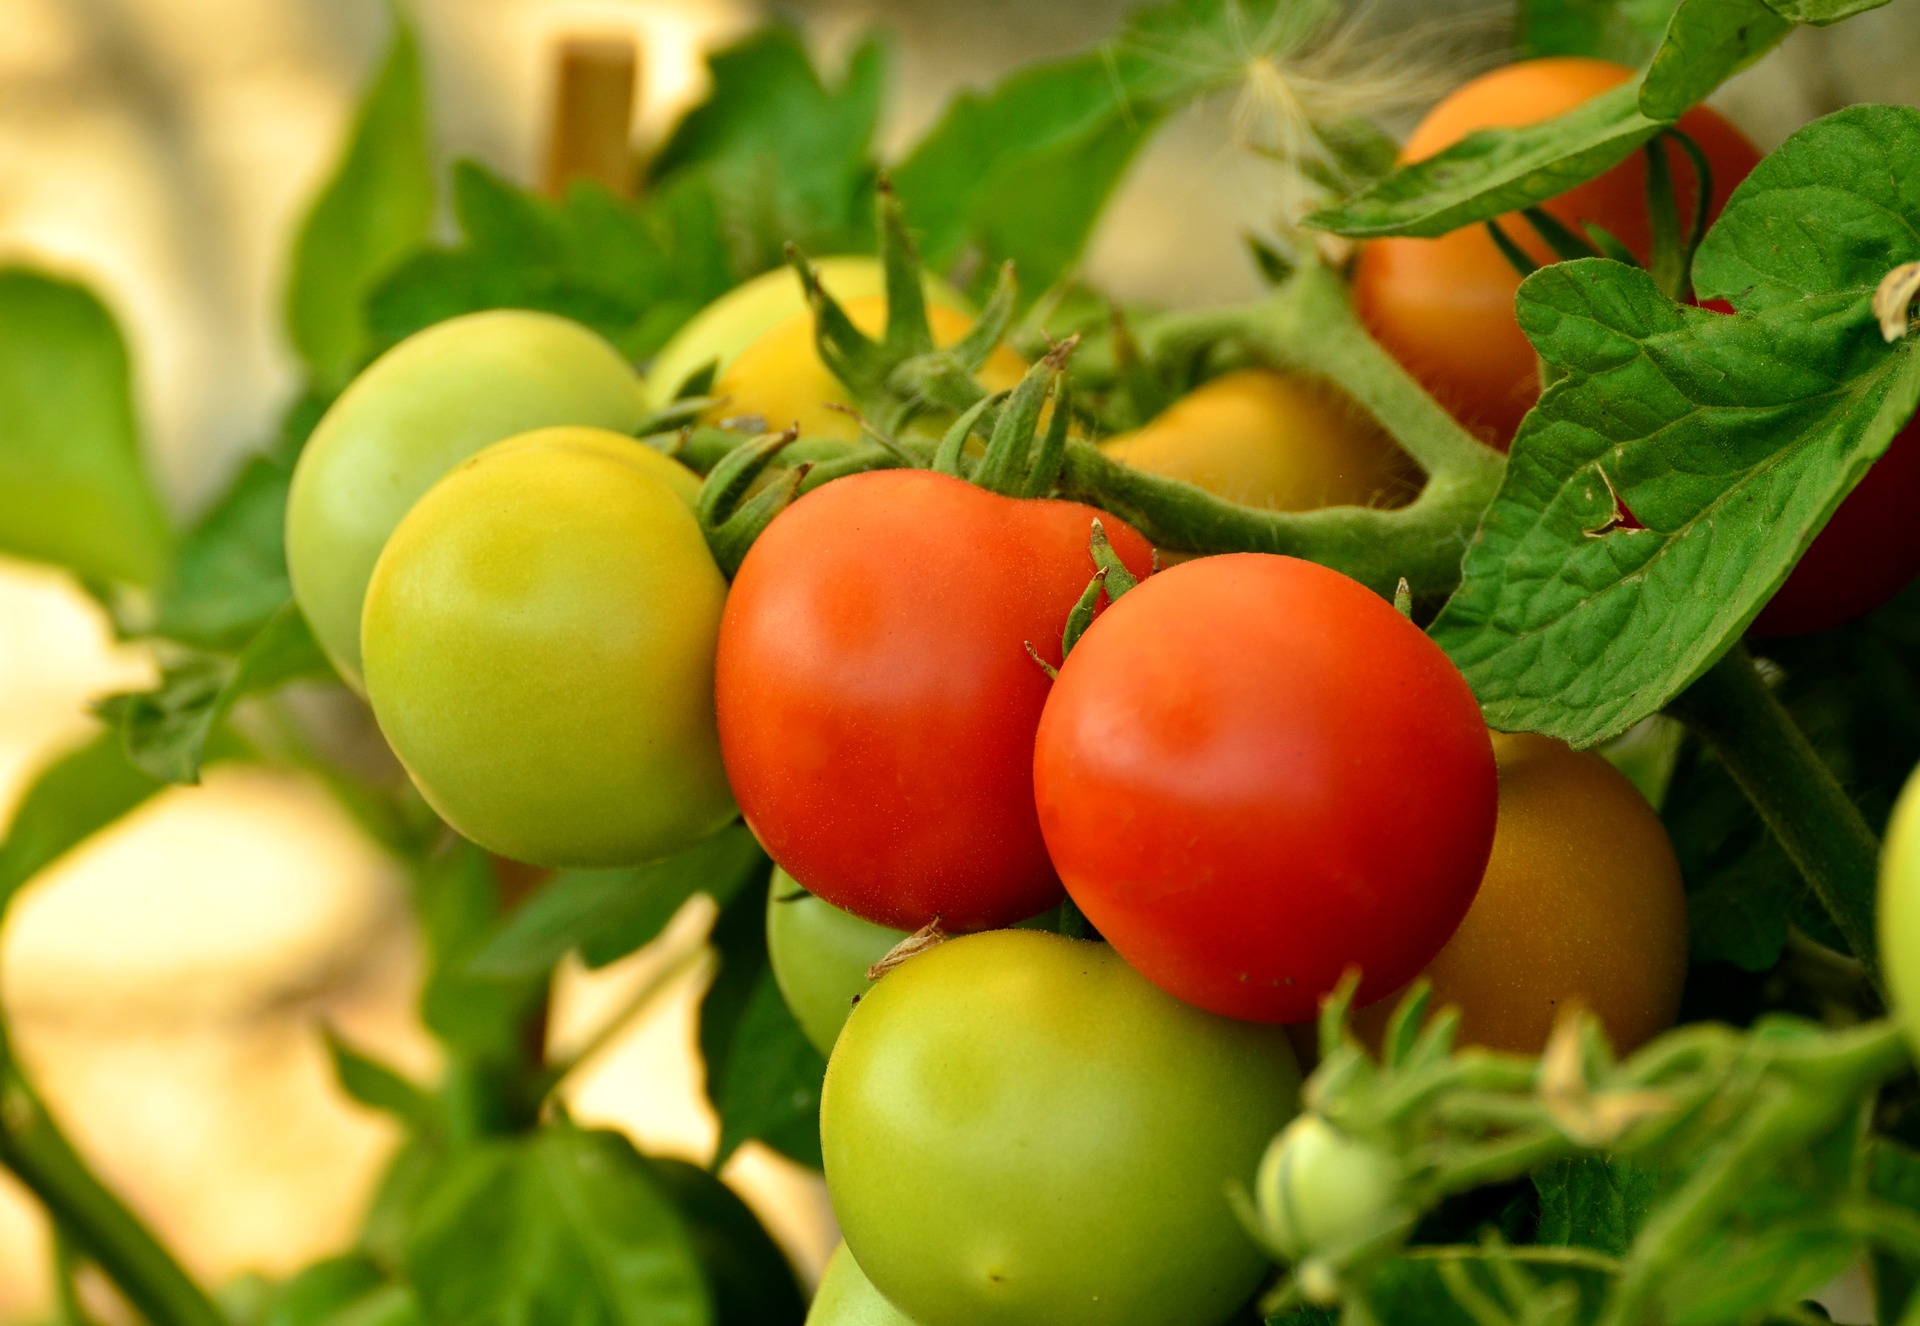
Nothing beats that first bite into a delicious, ripe tomato – even better when it’s fresh out of your summer garden! Just talking about tomatoes has us craving homemade salsas, Caprese salads and a delicious medley of fresh summer veggies.
If you’re as excited about tomato season as we are, why not get started now?
In practically no time at all, you can start tomato seeds. The best way to get a head start on growing tomatoes is to start seeds indoors 4-6 weeks before the last spring frost date in your region.
Pick Your Plant
The first step to starting seeds is deciding which tomato is the one for you. With thousands of varieties, it can be hard to choose just one! This list of easy-to-grow tomatoes will make your decision simple and stress free.
Start Seeding
When starting seeds indoors, you only need three simple things: warmth, light and an organic plant food.
Fill seed trays to within ¼” of the top with Espoma’s Organic Seed Starting mix. Follow instructions on the seed packets to see how deep and far apart to plant. Cover with soil, press down and lightly water.
Place tray in a larger pan of shallow water for a minute so the water seeps up from the bottom.
Place seeds in a warm spot between 65-75°. Try the top of the fridge, or purchase a heat mat.
Loosely cover tray with plastic wrap or the cover from your seed-starting kit. Check seeds daily for moisture and water as needed.
Give seeds 12-16 hours of light daily. Supplement sunlight with grow lights if needed.
Getting bigger
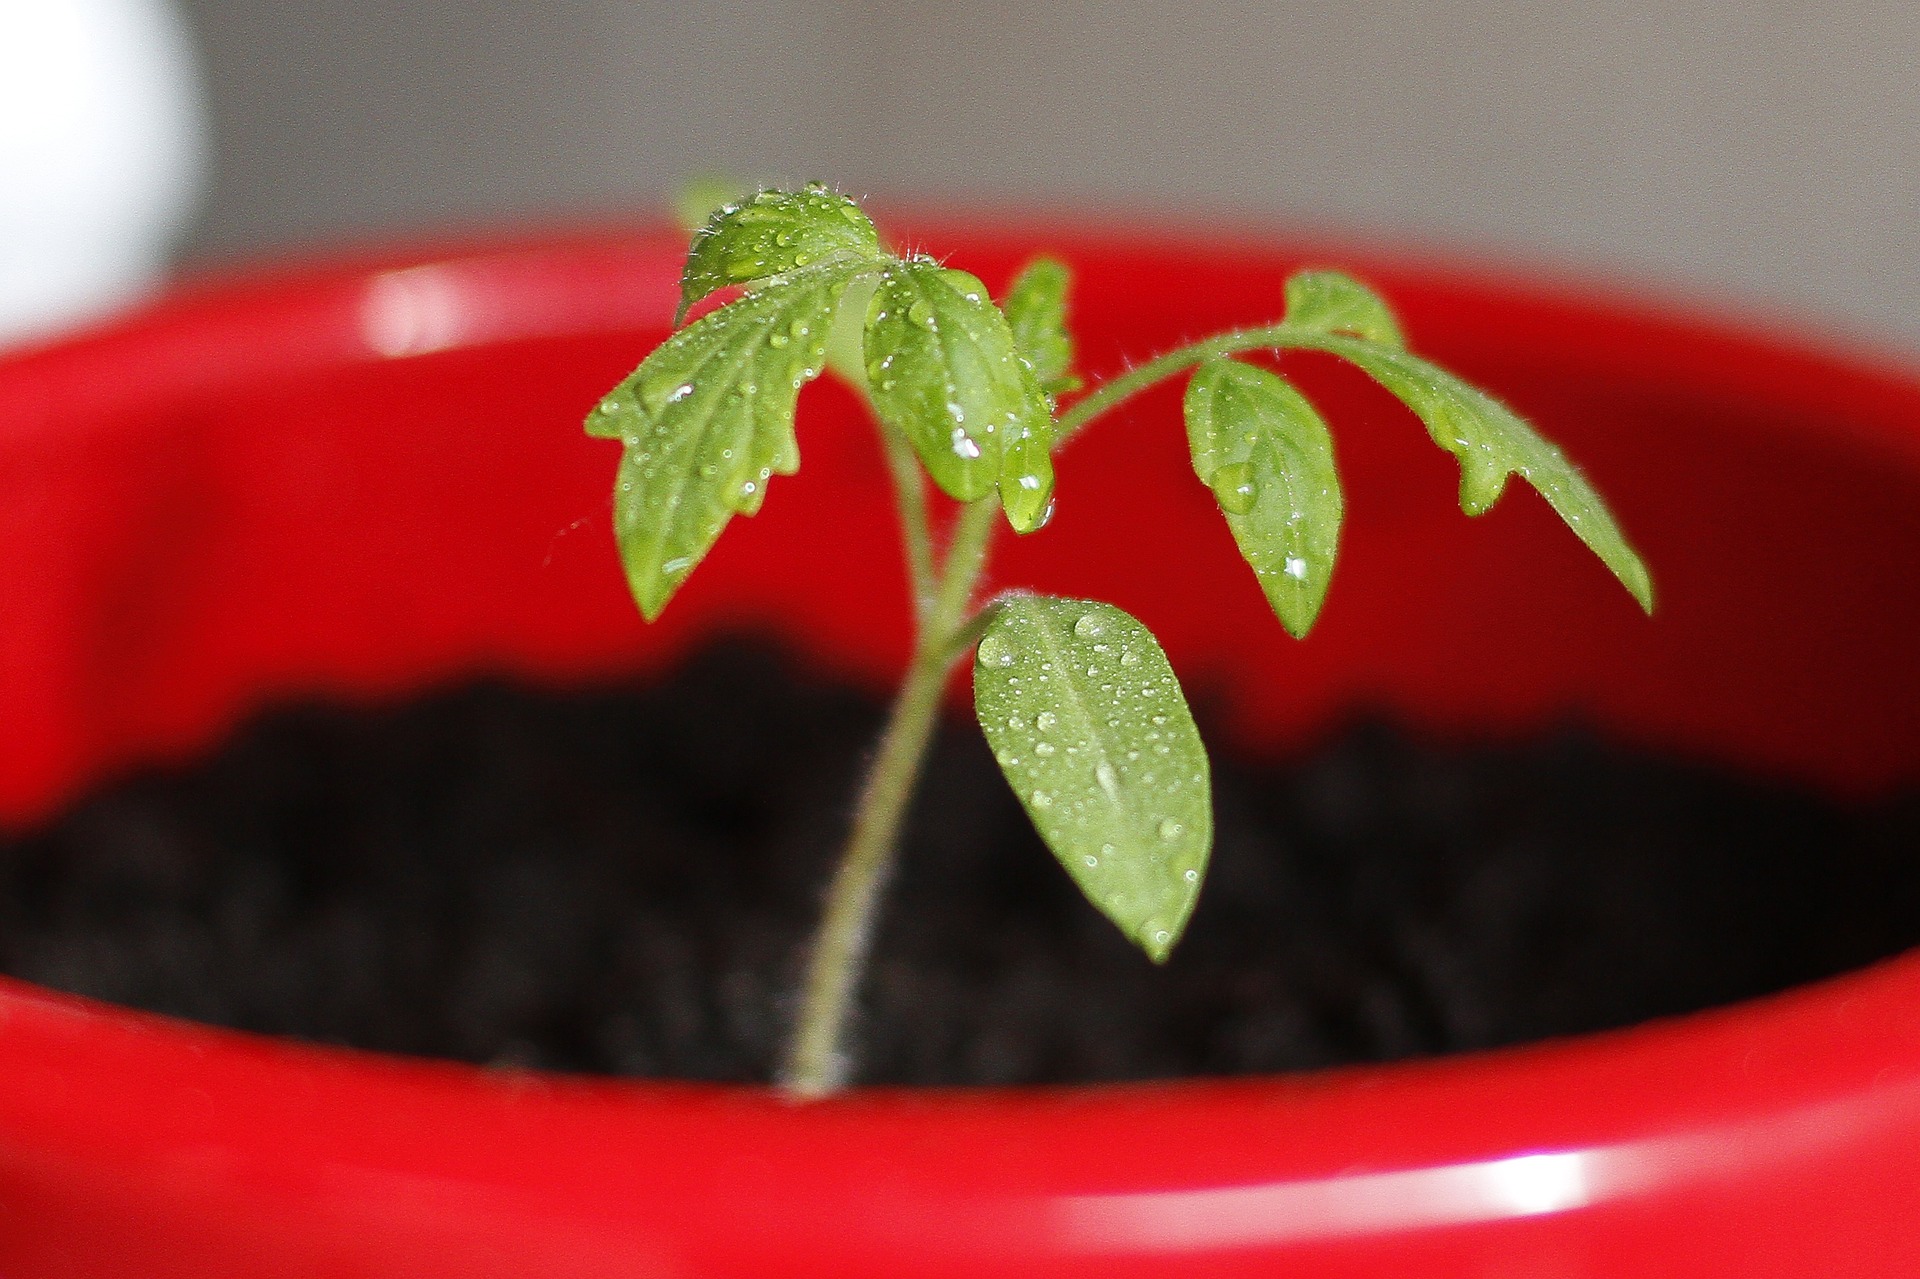
Once you see sprouts, remove the cover and move seeds to a sunny, south-facing window that is 65-75°F. Then, turn the container a little each day to prevent leaning seeds.
Add Espoma’s Organic Tomato-tone, a premium plant food formulated specifically for growing plump and juicy tomatoes, once seeds have sprouted. Tomato-tone’s organic composition feeds your plants naturally and will not force rapid growth at the expense of blooms and tomato yield.
Ready to Plant
Once the last frost date has passed, you’re almost ready to plant! Start by hardening off plants and placing seedlings outdoors for seven to 10 days for a few hours each day. Cut back on watering, as well. Now that plants are good and strong, it’s time to plant! Gently remove plants from containers without damaging the roots. Plant in a prepared bed and mix in organic starter plant food, such as Bio-tone Starter Plus, to keep roots strong.
Now you’ll have delicious tomatoes in no time!
Go forth, and grow! When you’re organic gardening, be sure to feed tomatoes lots of Tomato-tone during the growing season.
Step aside houseplants. Not now indoor herbs. There’s a new indoor winter gardening project in town… indoor seed starting!
Find the Prime Time: When to Start Seeds Indoors
One of the biggest mistakes when starting seeds indoors is starting too soon.
Before starting seeds inside, look up the last spring frost date in your area, then count back 4-6 weeks. That’s the best time to start seeds indoors.
This handy seed starting chart from Organic Life makes it easy to calculate when to start and transplant your seeds.
To Sow or No? Best Veggie Seeds to Start Indoors in Winter
Not all seeds succeed indoors! Save root crops and cold-hardy seeds for when it’s warm enough to plant directly outside. Or, you can grow two crops of broccoli and lettuce. Start seeds indoors now then sow more outside later.
Here are the best vegetable and herb seeds to start indoors in winter.
Seed to Succeed!
There are three secrets to starting seeds indoors: warmth, light and an organic seed starting mix that promotes root growth.
Start with Espoma’s Organic Seed Starter – a gardener’s favorite! But don’t take it from us. One of our customers, Shelia, shared that she used a lot of seed starter in her day, but “this one is just OUTSTANDING!” Her plants came up just perfect, and she “will never use anything else, ever again.”
Fill seed trays to within ¼” of the top and lightly water. Follow the instructions on the seed packets to see how deep and far apart to plant. Cover with soil, press down and label.
Place tray in a larger pan of shallow water for a minute so thewater seeps up from the bottom.
Place seeds in a warm spot between 65-75°. Try the top of the fridge!
Loosely cover tray with plastic wrap or the cover from your seed-starting kit. Check seeds daily for moisture. Find even more detailed instructions here.
Give seeds 12-16 hours of light daily. Supplement sunlight with grow lights if needed.
Once you see sprouts, remove the cover and move seeds to a sunny, south-facing window that is 65-75°F. Then, turn the container a little each day to prevent leaning seeds.
When leaves grow, add a bit of fertilizer such as Espoma’s Plant-tone or liquid Grow!. Both are organic fertilizers, so they are safe to use on edibles, around children and pets and they help plants grow bigger than ever before.
Once you see that first sprout peeking through the potting soil, homegrown veggies are only weeks away!
Planting seeds inside is the first step toward Spring! Starting now means you’ll be planting seedlings outside in just 4 to 6 short weeks.
Plus, planting seeds is as easy and fun as can be. Gather your kids, family or friends to plant seeds with you for a “think Spring” get-together.
There’s nothing more refreshing or rewarding than crunching down on produce you’ve grown from seed.
How to Plant Seeds Inside:
1. Dream big
Choose your favorite high-quality seeds from a huge selection. Starting hard-to-find or expensive plants from seed will give you the biggest bang for your buck.
2. Stock up
Get plastic trays with holes in the bottom or a seed-starting kit as well as an organic soil starter, such as Espoma’s Organic Seed Starter. An organic soil like this is made specifically to help your seedlings grow strong, sturdy roots in a healthy, safe environment.
3. Get plantin’
Fill seed trays to within ¼” of the top and lightly water. Then, follow seed packet instructions to see how deep and far apart to plant. Cover with soil, press down and label.
4. Water wisely
Water perfectly by placing tray in a larger pan of shallow water for a few seconds or up to a couple of minutes so the water seeps up from the bottom.
5. Find the right spot
Place seeds in a warm, safe place. To warm up a spot, place a space heater nearby or place trays on top of the refrigerator.
6. Take cover and wait
Loosely cover the tray with plastic wrap, or use the cover in your seed-starting kit. Check seeds daily for moisture.
7. Spot a sprout
Once you see sprouts, remove the cover and move seeds to a sunny, south-facing window that is 65-75°F. Then, turn the container a little each day to prevent leaning seeds.
8. Boost plants
When leaves grow, add a bit of fertilizer such as Espoma’s Plant-tone. Plant-tone is an organic fertilizer, so it’s safe to use on edibles and helps plants grow bigger than ever before.
9. Strengthen seeds
Check seed packets to see when to plant after the last frost. Before planting you’ll want to harden off seedlings. Hardening off is a process that gets seeds used to the outdoors. Simply place your tray outside for a few hours a day for 7-10 days. Each day, increase their time outdoors and reduce watering.
10. Plant permanently
Once the last frost date has passed, you’re ready to plant! Gently remove plants from containers without damaging the roots. Plant in a prepared bed and mix in organic starter plant food to keep them strong, such as Bio-tone Starter Plus.
You did it! Spring is just a step away – and so are your crisp, garden-fresh veggies and fruits!
Tell us, what seeds are you starting this year?
Featured Products: