Espoma Organic
  • Products
    • Close
    • Product Line Overview
    • Plant food finder
    • Garden Fertilizers
    • Potting Soils
    • Liquid Fertilizers
    • Lawn Fertilizers
    • Single Ingredients
    • Conventional Plant Foods
    • Animal Care Products
  • Where to Buy
  • Our Story
    • Close
    • Our Story
    • Locations
    • Historical Timeline
    • Our Commitment
    • Directions
    • Solar
    • Join our Team
    • Espoma Brand Partners
  • Learn
    • Close
    • Espoma Blog
    • FAQ’s
    • Pocket Guide
    • Espoma Guides
    • Garden Clubs
    • Safe Paws Lawn
    • PRODUCT FACT SHEETS
    • Fertilizer Fundamentals
      • Close
      • Understanding Plant Nutrition
      • Reading Labels
      • Choosing the Right Type of Fertilizer
      • Terms & Definitions
    • Gardening Projects
    • Resource Links
  • Contact Us
  • Menu Menu

Tag Archive for: Seed Starter

7 Tricks for Starting Tomato and Peppers Seeds Indoors

January 24, 2018/in Vegetable Gardening

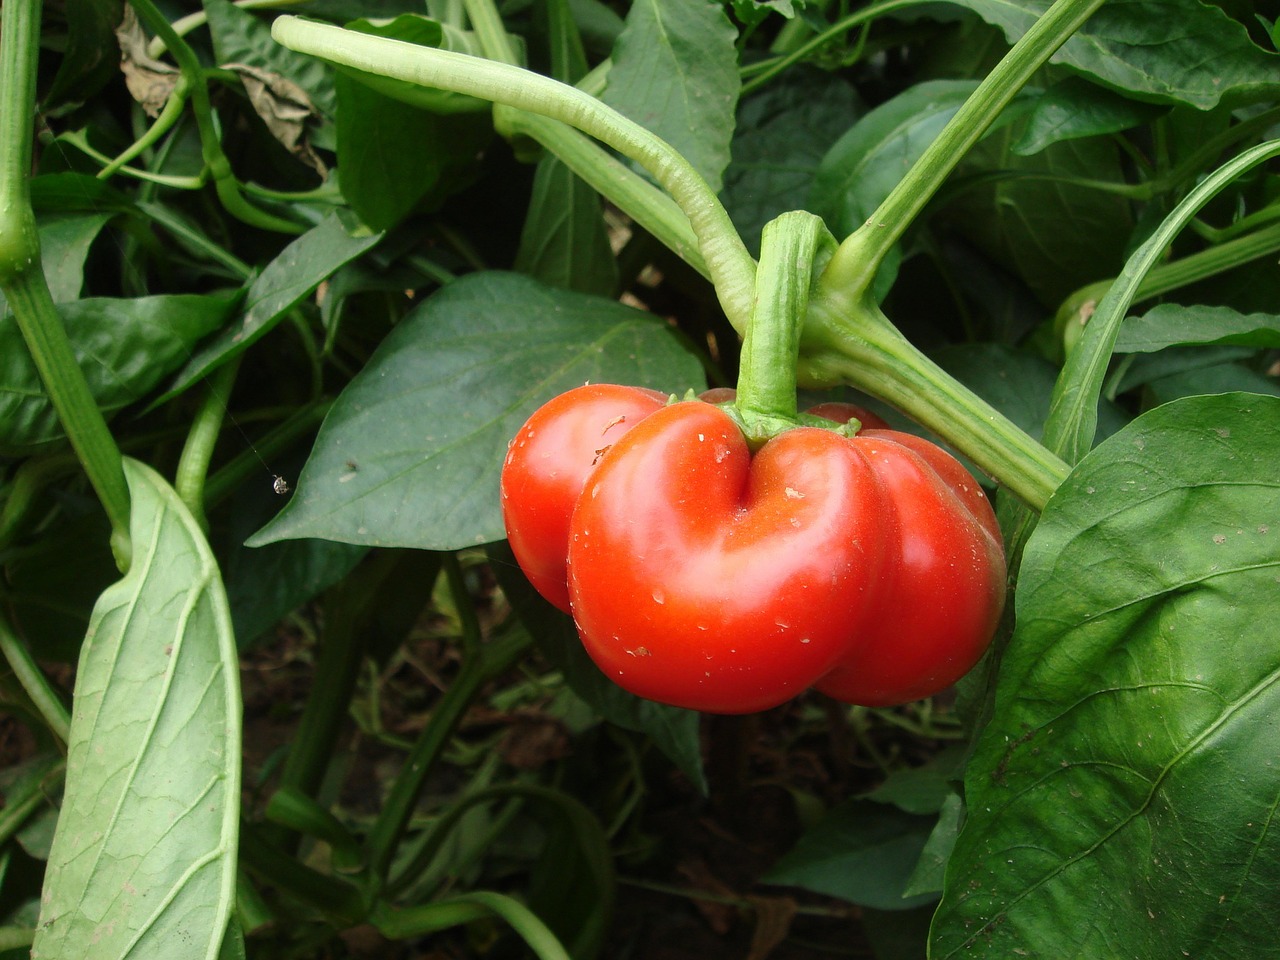
Dreaming of juicy, flavorful tomatoes and ripe, spicy peppers? Grow them yourself in only a few months.

If you’re as excited about tomato season as we are, why not get started now?

The best way to get a head start on growing tomatoes is to start seeds indoors 4-6 weeks before the last spring frost date in your region. Whether you’re growing cherry tomatoes or hot peppers, visit your local garden center to pick up supplies and seeds.

Here’s how to start tomato and pepper seeds indoors:

  1. Test Seeds

If you saved tomato seeds from last year and stored the seeds properly, they should last for about four years. Pepper seeds will last about two to three years.

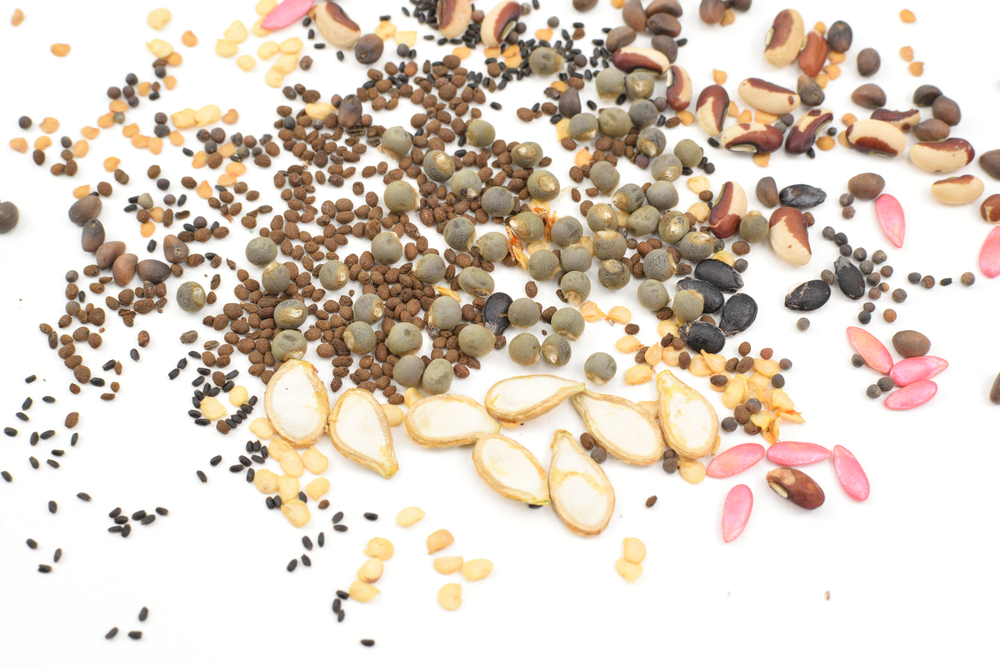
Check seeds for vitality before planting for a successful crop. Need seeds? Find them at your local garden center.

Test your seeds a few weeks before you’re ready to start. Place several seeds on a wet paper towel cover it with plastic and place it in a warm spot. If the seeds are viable, they should sprout within a week.

  1. Soak Seeds

Give your seeds a head-start. Simply soak seeds in warm water for 2-4 hours to soften. Read the instructions on the seed packet to ensure the optimal conditions for your seeds.
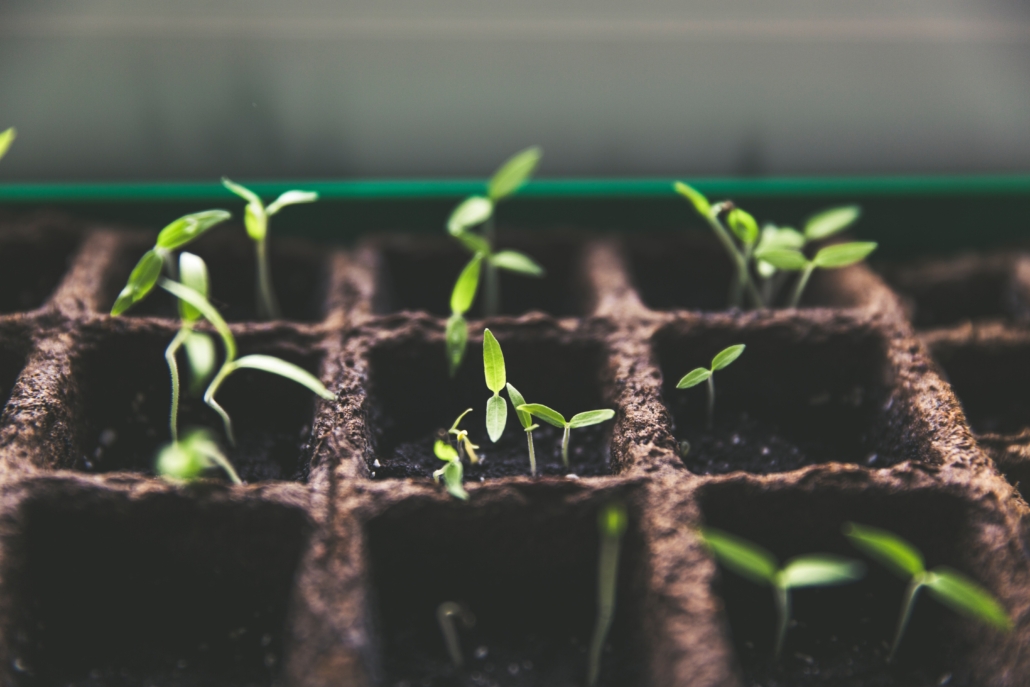
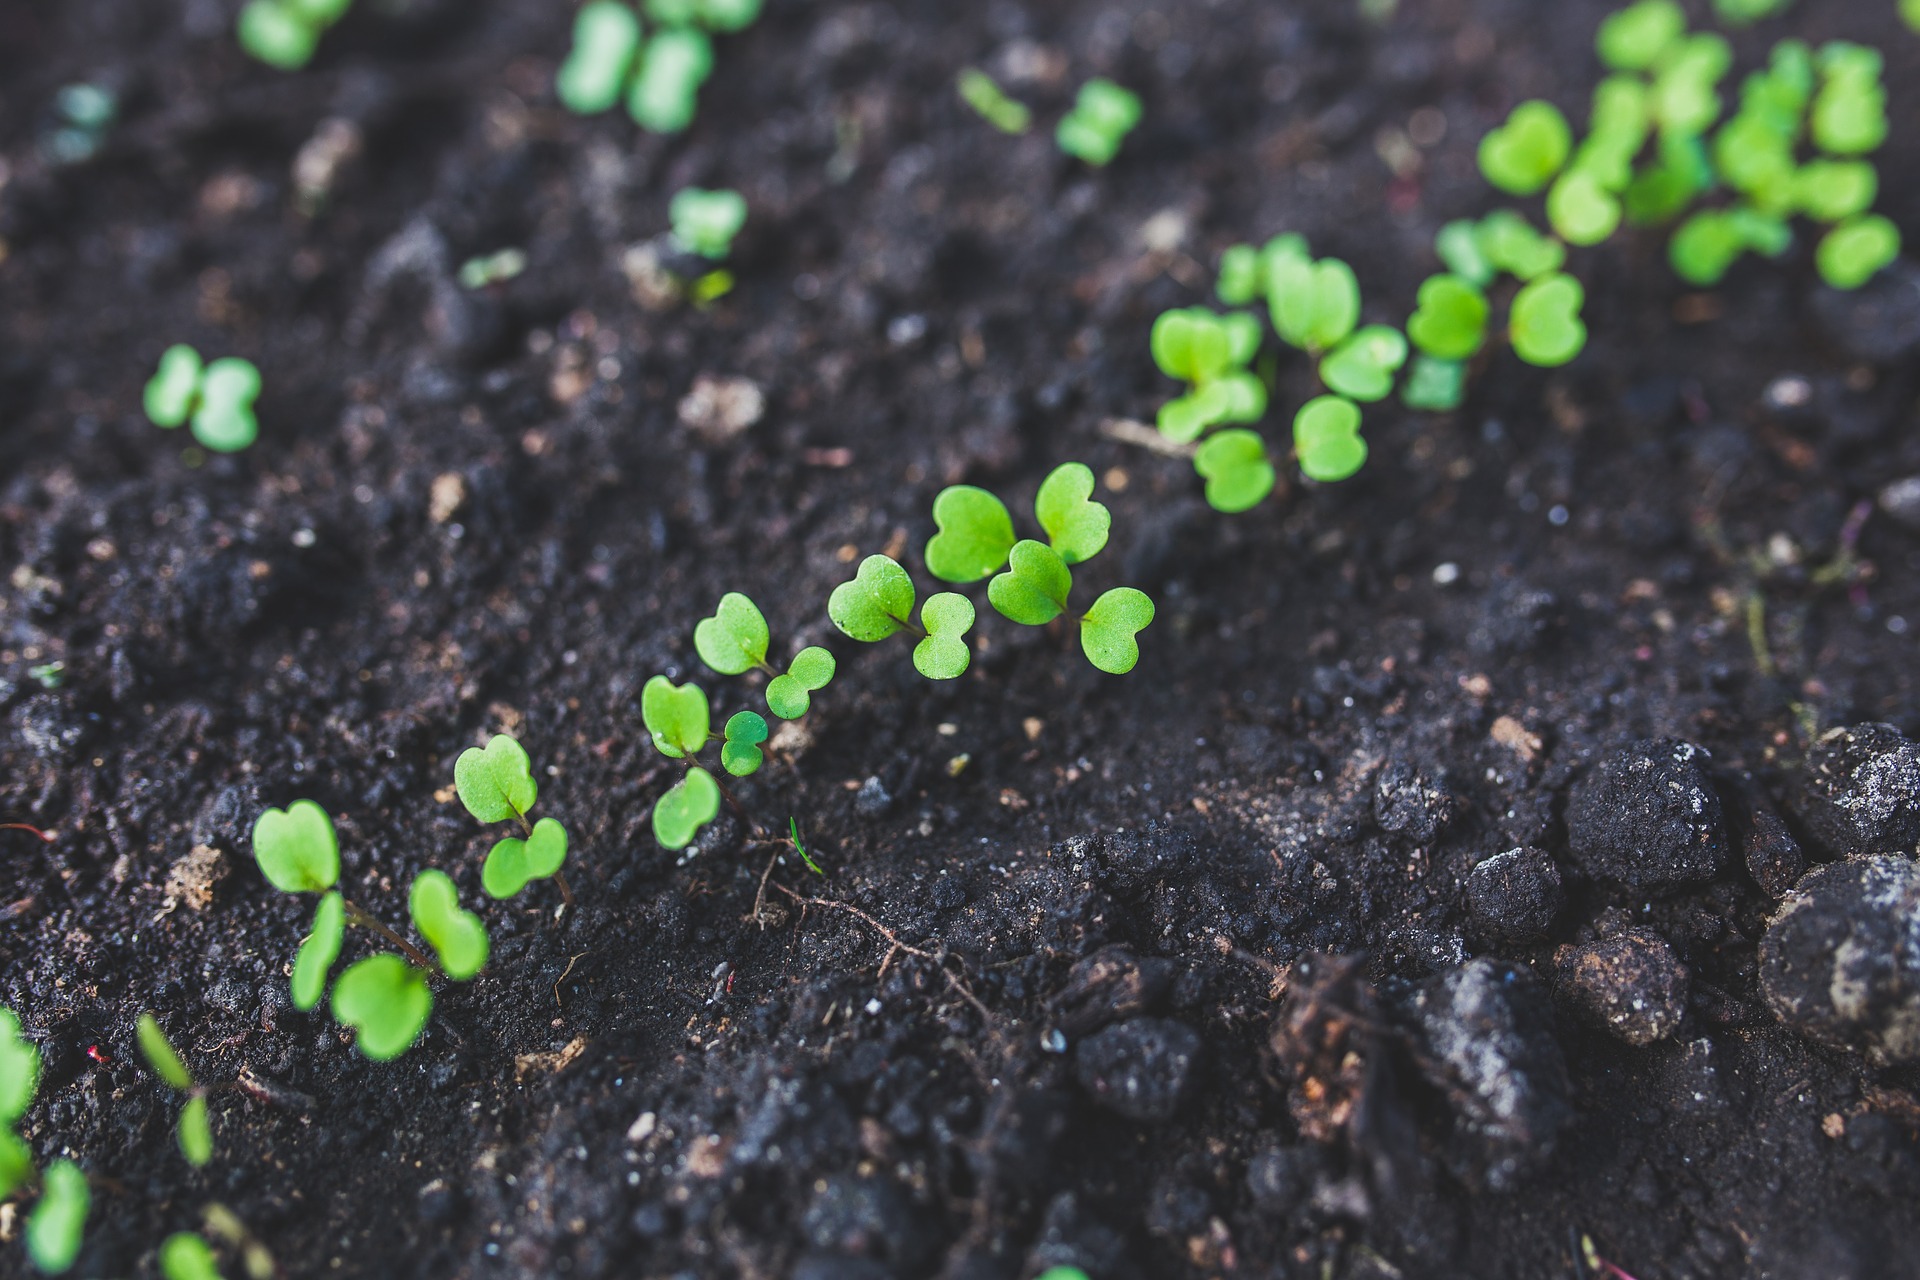
  1. Start Seeds

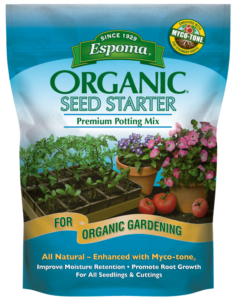
Gather supplies and fill seed trays to within ¼” of the top with Espoma’s Organic Seed Starting Mix. Follow instructions on the seed packets to see how deep and far apart to plant. Cover with soil, press down and lightly water.  Find out more about starting seeds here.
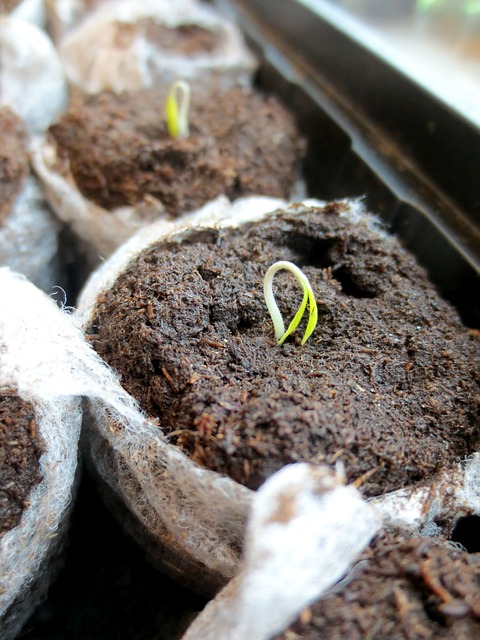
  1. Add Heat

Once the seeds are planted, it’s time to warm them up. Heat loving crops like tomatoes and peppers love the warm weather. While your seedlings are sprouting, store them on top of the fridge or in a warm place. An even better option is use a special heating mat. The warm temperatures help to speed up the growing process. Make sure to check seeds daily for moisture since the soil may dry out more quickly.

  1. Feed

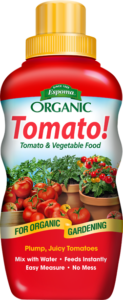
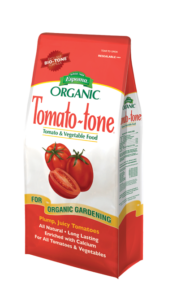
Once the true leaves have developed, seeds will benefit from a nutrient boost. Add Espoma’s Organic Tomato! plant food to feed instantly.
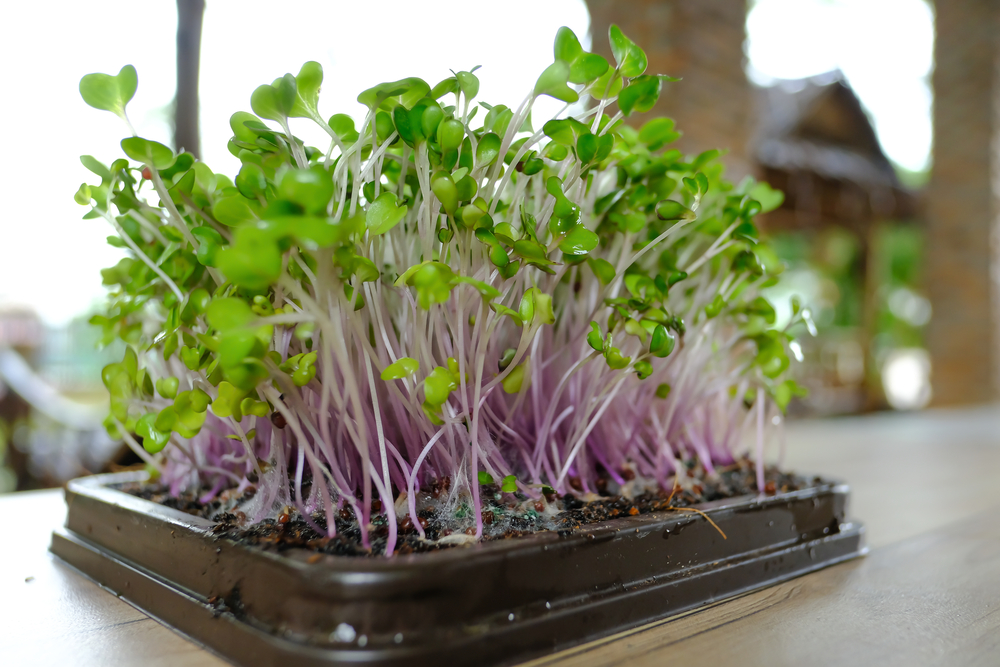
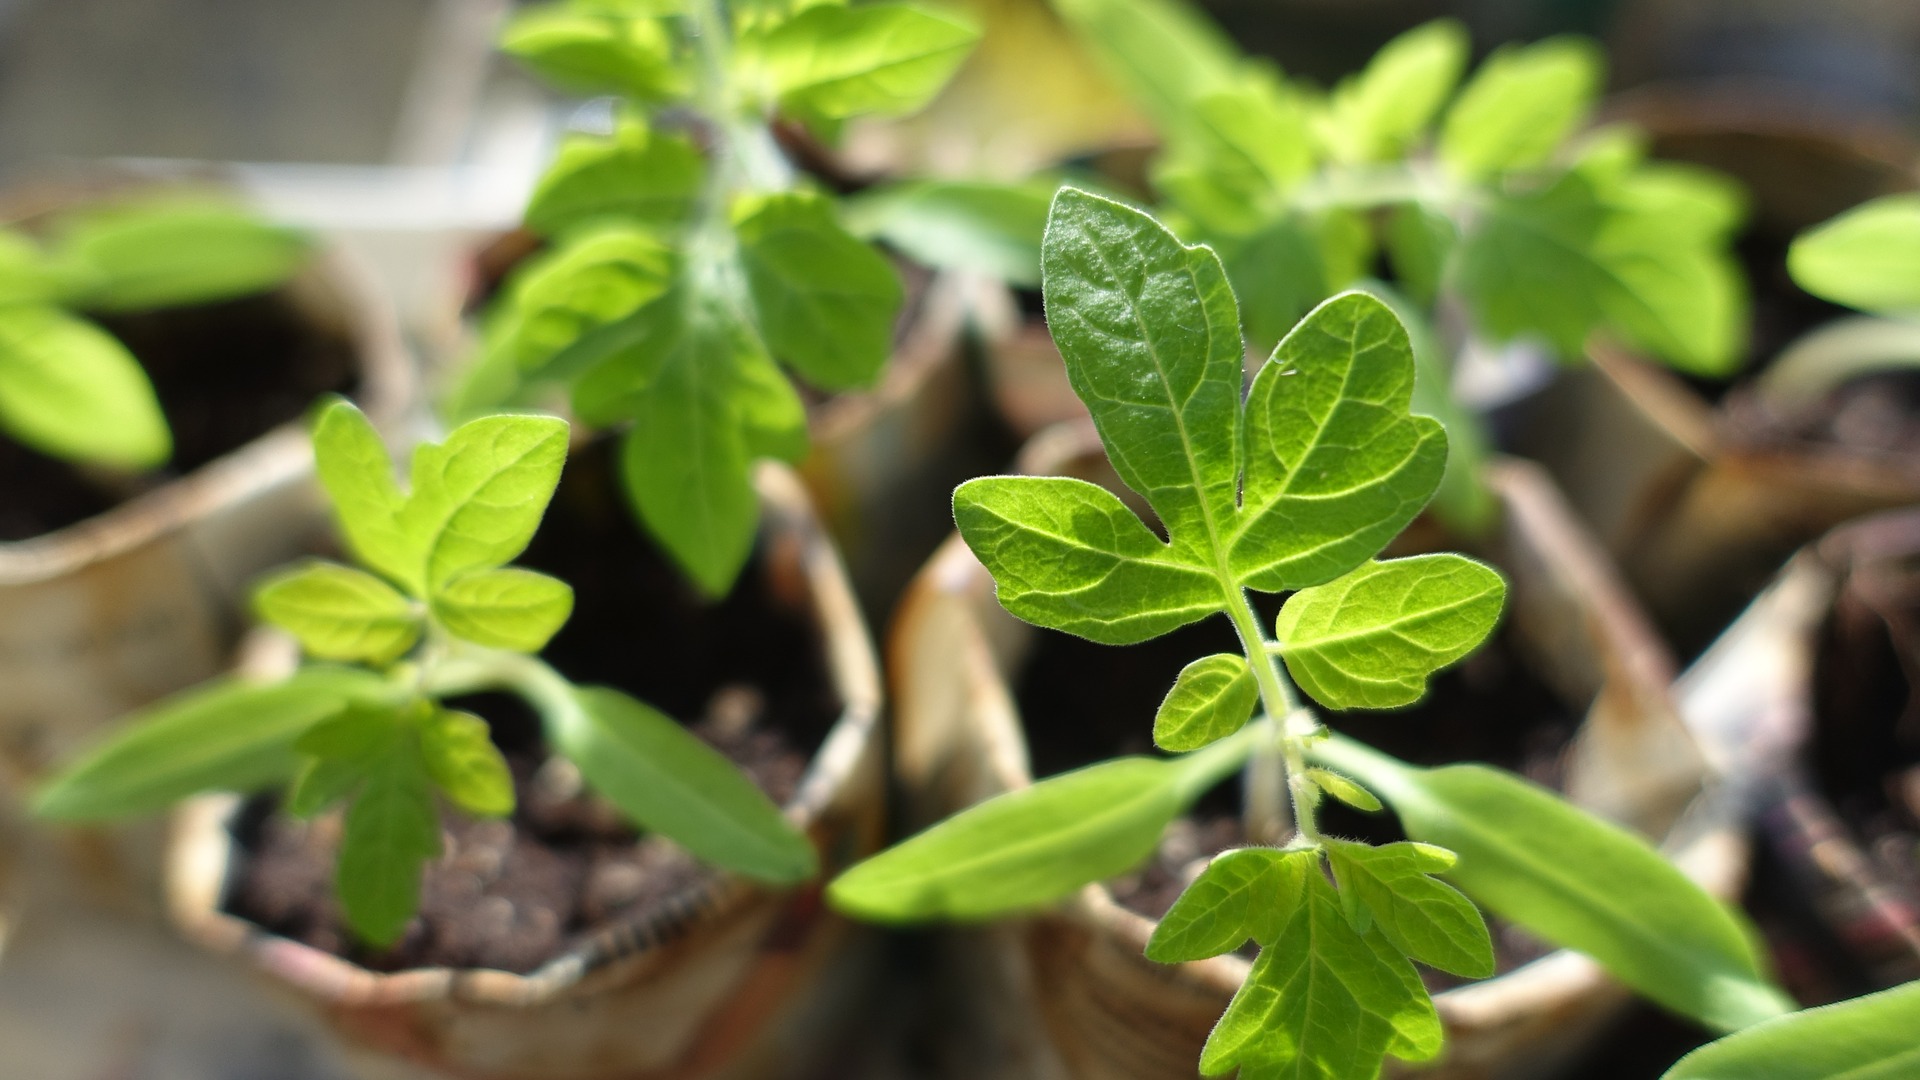
  1. Thin Plants

Thinning is the process of removing weaker seedlings to allow more room for the stronger ones. It creates healthier plants that produce more. As seedlings grow and you see crowding beginning to happen, gradually thin plants to 4” apart by gently pulling out the smallest ones with your hands.

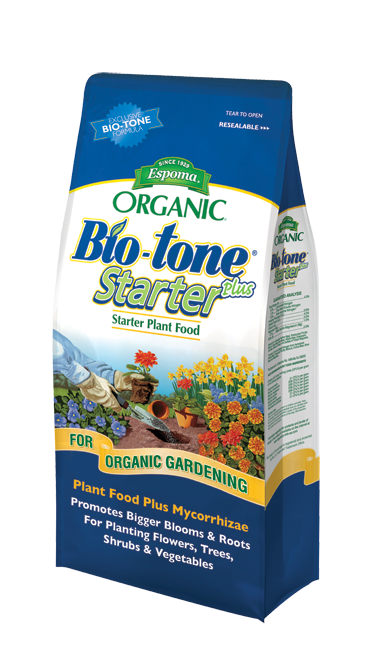
  1. Prepare for Transplant

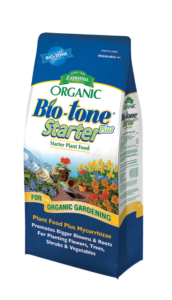
Start hardening off plants once the last frost date has past. Place seedlings outdoors for seven to 10 days for a few hours each day. Once plants are ready for transplanting, gently remove plants from containers without damaging the roots. Plant in a prepared bed and mix in Espoma’s Bio-tone Starter Plus, to keep roots strong.  Once plants are established in the garden or container feed with Tomato! liquid or  Tomato-tone.

See our guide to growing tomatoes here


Where to Buy


https://www.espoma.com/wp-content/uploads/2017/05/tomato-varieties-heirlooms.jpg 3744 5616 espoma https://www.espoma.com/wp-content/uploads/2023/05/espoma-logo340w-1.png espoma2018-01-24 15:00:222022-04-12 08:53:227 Tricks for Starting Tomato and Peppers Seeds Indoors

Grow Your Own Microgreens

December 6, 2017/in Indoor Gardening

Microgreens add fresh flavor and nutrients to salads, sandwiches, smoothies and stir-fries. These plants are harvested when they’re young, usually about two weeks after planting.


Plus, microgreens contain about five times more vitamins than if grown to mature vegetables, according to USDA researchers. Adding microgreens to smoothies will boost the nutritional content without adding strong flavors.


While you’re waiting to start seeds for the spring, try growing microgreens for a fun winter project. They’ll also be the perfect complement to your indoor herb garden.

6 Steps to Grow Winter Microgreens:

  1. Soak seeds in room temperature water for no more than eight hours before you plant them.
  2. Select a container that will hold an inch of soil. This can be a seed-starting tray, plastic take-out dish, disposable pie plate or even a clear salad box.
  3. Punch a few drainage holes in the bottom. Set container on a cookie sheet, plastic tray or container to prevent spillage.
  4. Add 1” of Espoma’s Seed Starter and sprinkle with seeds. Lightly cover seeds with soil and water lightly.
  5. Cover container with a damp paper towel or newspaper to keep the seeds from drying out. Lift the cover daily and spray lightly with water until sprouting begins.
  6. Remove the cover when sprouts appear and move microgreens to a sunny windowsill.
  7. Harvest microgreens by cutting the tops with scissors when they are 2” or taller. Rinse sprout tops in a strainer. Microgreens can be stored in a plastic bag in the refrigerator for up to 5 days.
  8. Continue harvesting microgreens for up to three weeks.

Dreaming of the outdoors? Learn how to plant veggies in containers for next year!

https://www.youtube.com/watch?v=UVVyRRJDfSk&t=67s

https://www.espoma.com/wp-content/uploads/2015/03/start-seeds-indoors-Espoma.jpg 500 800 espoma https://www.espoma.com/wp-content/uploads/2023/05/espoma-logo340w-1.png espoma2017-12-06 17:13:472019-05-07 10:01:06Grow Your Own Microgreens

The April Garden Checklist

April 6, 2017/in Blog, Spring Gardening

Spring is here! Shed off those winter blues and head outdoors to restore your lawn and garden. The days are getting longer and your soil is beginning to wake up. April is a great time to get out in your yard and begin again.

Wondering where to start? We’ve got 6 tasks you can accomplish this month in your own yard.


April Garden Checklist:


1. Start tomato seeds.

The best way to get a head start on growing tomatoes is to start seeds indoors 4-6 weeks before the last spring frost date in your region. See our Guide to Growing Tomatoes. Start your seeds with Espoma Organic Seed Starter and feed your tomatoes with Espoma Organic Tomato-tone.

2. Get planting.

Hydrangeas embody everything we love about gardening. They have billowy textures, come in bright colors, and are easy to care for. Plant some this month for the best blooms. Feed your Hydrangeas with Espoma Organic Holly-tone fertilizer.

3. Grow berries.

Did you know blackberries have almost as many antioxidants as blueberries? And raspberries make the perfect addition to jam, cobblers, and pies. Berries are just so delicious, scrumptious, and oh-so-juicy. Plus, many berries are easy to grow and care for. Find out when, where, and how to plant your favorite berries. Feed your berry-producing plants with Espoma Organic Berry-tone fertilizer.

4. Revitalize lawns.

Perform a soil test to find out what your lawn needs, then amend and choose organic. Organic lawns need less watering, fertilizing, and mowing all summer long. Yes — that means you get to spend more time enjoying your beautiful lawn and less time caring for it! Plus, as natural lawn foods break down, your soil becomes stronger on its own and needs less help. Feed your lawn with Espoma Organic All Season Lawn Food.

5. Plant blooms.

Azaleas and Rhododendrons are some of the most popular flowering shrubs. Blooming from late spring to early summer, these shrubs thrive in almost any garden. Plus, they come in virtually every color of the rainbow — from bold pinks, purples, and reds to soft, muted yellows and whites. Make sure you’re adding these bloomers to your garden this year. Feer your beautiful Azaleas and Rhododendrons with Espoma Organic Azalea-tone fertilizer.

6. Feed roses.

Your roses are waking up now, they’ve made it through a long winter and they are starving! Choose Espoma’s organic Rose-tone. It includes more nutrients than any other rose food. Most rose fertilizers contain three nutrients — nitrogen, phosphorus, and potassium (N-P-K). Here’s how to feed with Rose-tone.

Roses in the Mist

Sit back and relax once you’re done.

April showers will give way to May flowers in no time at all.

*****

Check out our Total Guide to Growing Organic Berries!


Featured Products:

Where to Buy

https://www.espoma.com/wp-content/uploads/2017/04/hydrangeas-898043_1920.jpg 1079 1920 espoma https://www.espoma.com/wp-content/uploads/2023/05/espoma-logo340w-1.png espoma2017-04-06 17:03:132024-10-02 08:27:41The April Garden Checklist

Seed to Succeed! Seed Starting Secrets

January 26, 2016/in Spring Gardening

Step aside houseplants. Not now indoor herbs. There’s a new indoor winter gardening project in town… indoor seed starting!

Find the Prime Time: When to Start Seeds Indoors

One of the biggest mistakes when starting seeds indoors is starting too soon.

Before starting seeds inside, look up the last spring frost date in your area,  then count back 4-6 weeks. That’s the best time to start seeds indoors.

This handy seed starting chart from Organic Life makes it easy to calculate when to start and transplant your seeds.potting soil, starting seeds indoors, organic seed starting mix, growing tomatoes

To Sow or No? Best Veggie Seeds to Start Indoors in Winter

Not all seeds succeed indoors! Save root crops and cold-hardy seeds for when it’s warm enough to plant directly outside. Or, you can grow two crops of broccoli and lettuce. Start seeds indoors now then sow more outside later.

potting soil, starting seeds indoors, organic seed starting mix, growing tomatoes

Here are the best vegetable and herb seeds to start indoors in winter.

  • Tomatoes
  • Peppers
  • Cucumbers
  • Celery
  • Collard greens
  • Lettuce
  • Kale
  • Broccoli
  • Beans
  • Squash
  • Eggplant
  • Cabbage
  • Basil
  • Thyme
  • Cilantro
  • Oregano
  • Sage
  • Parsley 

Seed to Succeed!

There are three secrets to starting seeds indoors: warmth, light and an organic seed starting mix that promotes root growth.

Start with Espoma’s Organic Seed Starter – a gardener’s favorite! But don’t take it from us. One of our customers, Shelia, shared that she used a lot of seed starter in her day, but “this one is just OUTSTANDING!” Her plants came up just perfect, and she “will never use anything else, ever again.”

Fill seed trays to within ¼” of the top and lightly water. Follow the instructions on the seed packets to see how deep and far apart to plant. Cover with soil, press down and label.

Place tray in a larger pan of shallow water for a minute so thewater seeps up from the bottom.

Place seeds in a warm spot between 65-75°. Try the top of the fridge!potting soil, starting seeds indoors, organic seed starting mix, growing tomatoes

Loosely cover tray with plastic wrap or the cover from your seed-starting kit. Check seeds daily for moisture. Find even more detailed instructions here.

Give seeds 12-16 hours of light daily. Supplement sunlight with grow lights if needed.

Once you see sprouts, remove the cover and move seeds to a sunny, south-facing window that is 65-75°F. Then, turn the container a little each day to prevent leaning seeds.

When leaves grow, add a bit of fertilizer such as Espoma’s Plant-tone or liquid Grow!. Both are organic fertilizers, so they are safe to use on edibles, around children and pets and they help plants grow bigger than ever before.

Once you see that first sprout peeking through the potting soil, homegrown veggies are only weeks away!

https://www.espoma.com/wp-content/uploads/2016/01/cress-255938_1920.jpg 1280 1920 espoma https://www.espoma.com/wp-content/uploads/2023/05/espoma-logo340w-1.png espoma2016-01-26 08:00:292024-09-06 11:27:53Seed to Succeed! Seed Starting Secrets

Don’t Stall! Start Veggie Seeds for Fall

July 21, 2015/in Fruits & Vegetables, Vegetable Gardening

Today’s garden is bursting full of fresh fruits and veggies! There is nothing better than picking and eating a tomato, bean or pepper fresh off the plant.

Yet – we aren’t always so lucky. With fall around the corner, we are already thinking about how to prolong that never-ending supply of delicious, homegrown produce.

Now is the time to start cool-season seeds indoors.

Reap What You Sow: Starting Cool-Season Seeds Indoors for Fall

organic gardening

  1. Get the Goodies. For fall crops, pick the hardiest and most frost tolerant seeds, so they can survive the first frost. Some of our favorites include broccoli, cabbage, kale, cauliflower, beets, carrots and spinach.
  2. Time to Prime. Find your first fall frost date. Look at the number of days to harvest on each seed packet. Use that number to count back from the first frost date, so the seeds have time to mature. Play it safe and add two weeks since plants can grow slower during short fall days.
  3. Awaken the Seeds. Fill seed starting trays within ¼” of the top with a high-quality organic seed starter, like Espoma’s Organic Seed Starter. Read each seed packet to learn how deep and far apart to plant seeds. Cover with soil, press down, label and lightly water.
  4. Store and Cover. Lightly cover the tray with plastic wrap. Keep in a sunny spot near a south-facing window.
  5. Smart Watering. Keep seeds moist by placing the tray in a pan of shallow water until the water seeps up from the bottom. Refill when empty.
  6. Break Out Sprouts. When leaves start to poke from the soil, remove plastic wrap. Feed with an organic fertilizer, like Espoma’s Plant-tone.
  7. A Home Away from Home. Two weeks before planting outside, begin hardening off seeds. Move outside for a few hours a day, increasing time outdoors daily. Also, reduce watering without letting the soil dry out.
  8. All Grown Up! Gently remove plants from see starting tray, and plant in a prepared bed. Mix-in organic starter plant food to help them adjust and grow strong, such as Espoma’s Bio-tone Starter Plus.

Crunch! You’ll be munching on homegrown produce well into fall. How amazing (and tasty!) is that?

https://www.espoma.com/wp-content/uploads/2015/07/leaf-430419_640.jpg 480 640 espoma https://www.espoma.com/wp-content/uploads/2023/05/espoma-logo340w-1.png espoma2015-07-21 11:26:432024-09-06 11:19:27Don’t Stall! Start Veggie Seeds for Fall

Start Seeds Indoors in 10 Easy Steps:

February 11, 2015/in Vegetable Gardening

Planting seeds inside is the first step toward Spring! Starting now means you’ll be planting seedlings outside in just 4 to 6 short weeks.

Plus, planting seeds is as easy and fun as can be. Gather your kids, family or friends to plant seeds with you for a “think Spring” get-together.

There’s nothing more refreshing or rewarding than crunching down on produce you’ve grown from seed.

How to Plant Seeds Inside:

1. Dream big

Choose your favorite high-quality seeds from a huge selection. Starting hard-to-find or expensive plants from seed will give you the biggest bang for your buck.

2. Stock up

Get plastic trays with holes in the bottom or a seed-starting kit as well as an organic soil starter, such as Espoma’s Organic Seed Starter. An organic soil like this is made specifically to help your seedlings grow strong, sturdy roots in a healthy, safe environment.

3. Get plantin’

Fill seed trays to within ¼” of the top and lightly water. Then, follow seed packet instructions to see how deep and far apart to plant. Cover with soil, press down and label.

4. Water wisely

Water perfectly by placing tray in a larger pan of shallow water for a few seconds or up to a couple of minutes so the water seeps up from the bottom.

5. Find the right spot

Place seeds in a warm, safe place. To warm up a spot, place a space heater nearby or place trays on top of the refrigerator.

6. Take cover and wait

Loosely cover the tray with plastic wrap, or use the cover in your seed-starting kit. Check seeds daily for moisture.

7. Spot a sprout

Once you see sprouts, remove the cover and move seeds to a sunny, south-facing window that is 65-75°F. Then, turn the container a little each day to prevent leaning seeds.

8. Boost plants

When leaves grow, add a bit of fertilizer such as Espoma’s Plant-tone. Plant-tone is an organic fertilizer, so it’s safe to use on edibles and helps plants grow bigger than ever before.

9. Strengthen seeds

Check seed packets to see when to plant after the last frost. Before planting you’ll want to harden off seedlings. Hardening off is a process that gets seeds used to the outdoors. Simply place your tray outside for a few hours a day for 7-10 days. Each day, increase their time outdoors and reduce watering.

10. Plant permanently

Once the last frost date has passed, you’re ready to plant! Gently remove plants from containers without damaging the roots. Plant in a prepared bed and mix in organic starter plant food to keep them strong, such as Bio-tone Starter Plus.

You did it! Spring is just a step away – and so are your crisp, garden-fresh veggies and fruits!

Tell us, what seeds are you starting this year?

Featured Products:


Where to Buy
https://www.espoma.com/wp-content/uploads/2016/01/arugula-762557_1920.jpg 1280 1920 espoma https://www.espoma.com/wp-content/uploads/2023/05/espoma-logo340w-1.png espoma2015-02-11 22:22:472021-02-16 11:35:31Start Seeds Indoors in 10 Easy Steps:
Page 3 of 3123

Tag Archive for: Seed Starter

Nothing Found

Sorry, no posts matched your criteria

Where to Buy

Get News & Updates

Recent Posts

  • Bird Friendly Gardening 🕊️🌸 | Growing Joy with Maria
  • VIDEO: Planting A Shade Garden 🌿 with Wyse Guide
  • How to Care for Alocasia | Growing Joy with Maria
  • VIDEO: Planting 🍅 Tomatoes, 🫑 Peppers & 🌿 Herbs with Wyse Guide
  • VIDEO: Tending to 🍇 Fruit, 🌽 Veggies & 🌸 Blooms with Garden Answer

Tags

All-Purpose Potting Mix bio-tone Bio-tone Starter Bio-tone Starter Plus cactus and succulents Cactus Mix caring for houseplants Container Gardening DIY project Espoma espoma grown espoma organic Espoma Organics Espoma Video fall gardening flower garden flowers garden Garden Answer Gardening gardening tips gardens grow holly-tone houseplants Indoor! indoor gardening indoor plants Kaleb Wyse organic organic fertilizer Organic Gardening organic plant food Organic Potting Mix Outdoor Gardening Planting plants Potting Mix potting soil Spring Gardening succulents summer rayne oakes vegetable garden Vegetable Gardening Wyse Guide

Espoma. A Family Tradition Since 1929.

Espoma Organic logo
  • Espoma Dealer
  • Espoma Pro
  • Garden Club
  • Privacy Policy

Scroll to top