Espoma
  • Products
    • Product Line Overview
    • Plant food finder
    • Garden Fertilizers
    • Potting Soils
    • Liquid Fertilizers
    • Lawn Fertilizers
    • Single Ingredients
    • Synthetic Fertilizers
    • Animal Care Products
  • Where to Buy
  • Our Story
    • Our Story
    • Our Commitment
    • Directions
    • Solar
    • Join our Team
    • Brand Partners
  • Learn
    • Espoma Blog
    • FAQ’s
    • Pocket Guide
    • Espoma Guides
    • Espoma Brand Partners
    • Garden Clubs
    • Safe Paws Lawn
    • PRODUCT FACT SHEETS
    • Fertilizer Fundamentals
      • Understanding Plant Nutrition
      • Reading Labels
      • Choosing the Right Type of Fertilizer
      • Terms & Definitions
    • Gardening Projects
    • Resource Links
  • Contact Us
  • Menu Menu
Where to Buy
Espoma Seeding early indoors

Grow Your Own Microgreens

December 6, 2017/in Indoor Gardening

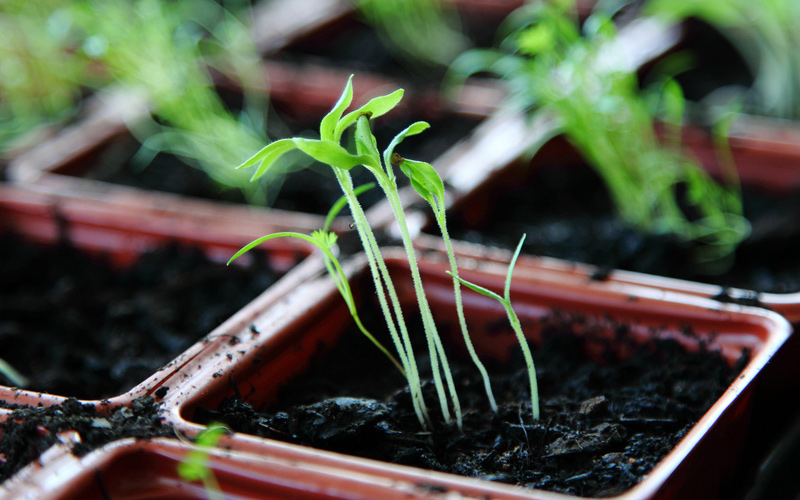
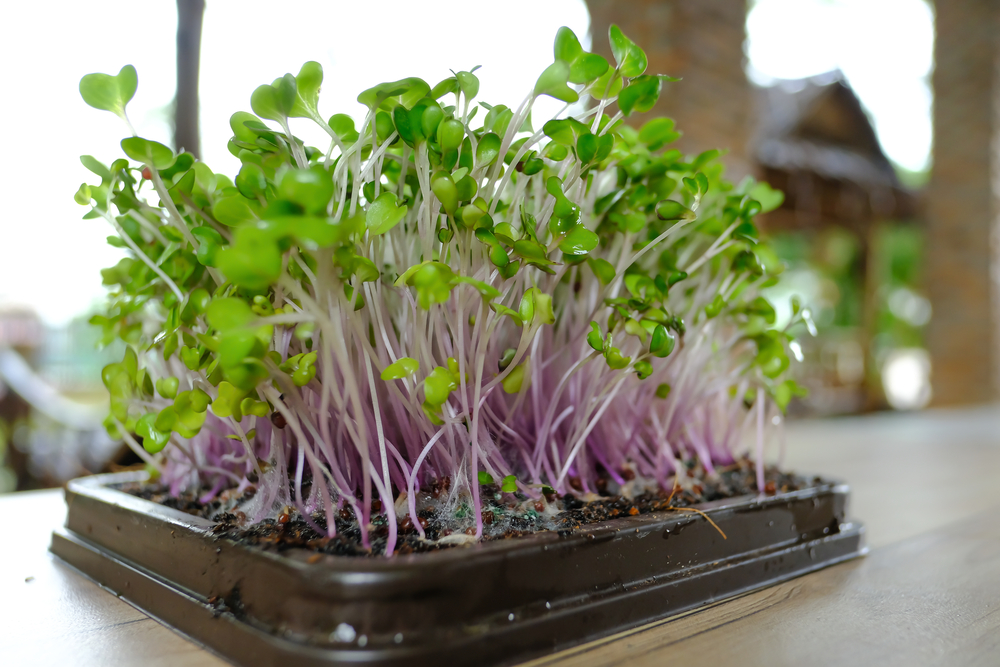
Microgreens add fresh flavor and nutrients to salads, sandwiches, smoothies and stir-fries. These plants are harvested when they’re young, usually about two weeks after planting.


Plus, microgreens contain about five times more vitamins than if grown to mature vegetables, according to USDA researchers. Adding microgreens to smoothies will boost the nutritional content without adding strong flavors.


While you’re waiting to start seeds for the spring, try growing microgreens for a fun winter project. They’ll also be the perfect complement to your indoor herb garden.

6 Steps to Grow Winter Microgreens:

  1. Soak seeds in room temperature water for no more than eight hours before you plant them.
  2. Select a container that will hold an inch of soil. This can be a seed-starting tray, plastic take-out dish, disposable pie plate or even a clear salad box.
  3. Punch a few drainage holes in the bottom. Set container on a cookie sheet, plastic tray or container to prevent spillage.
  4. Add 1” of Espoma’s Seed Starter and sprinkle with seeds. Lightly cover seeds with soil and water lightly.
  5. Cover container with a damp paper towel or newspaper to keep the seeds from drying out. Lift the cover daily and spray lightly with water until sprouting begins.
  6. Remove the cover when sprouts appear and move microgreens to a sunny windowsill.
  7. Harvest microgreens by cutting the tops with scissors when they are 2” or taller. Rinse sprout tops in a strainer. Microgreens can be stored in a plastic bag in the refrigerator for up to 5 days.
  8. Continue harvesting microgreens for up to three weeks.

Dreaming of the outdoors? Learn how to plant veggies in containers for next year!

https://www.youtube.com/watch?v=UVVyRRJDfSk&t=67s

Tags: indoor gardening, Seed Starter, vegetable garden, winter
Share this entry
  • Share on Facebook
  • Share on Twitter
  • Share on WhatsApp
  • Share on Pinterest
  • Share by Mail
https://www.espoma.com/wp-content/uploads/2015/03/start-seeds-indoors-Espoma.jpg 500 800 espoma https://www.espoma.com/wp-content/uploads/2023/05/espoma-logo340w-1.png espoma2017-12-06 17:13:472019-05-07 10:01:06Grow Your Own Microgreens
You might also like
Preserving Asian Heritage Through Seeds and Stories
VIDEO: How to Plant Cabbage, Cauliflower & Broccoli 🥦 || Wyse Guide
BAGR 89 Blog: Vegetable Gardening for Beginners
VIDEO: How to Fertilize Garlic 🧄 || Wyse Guide
Gardening Resolutions with Team Espoma
Video: How to Begin Winter Seed Starting with Garden Answer!
2 replies

Trackbacks & Pingbacks

  1. Spring Fertilizer | Espoma says:
    May 24, 2019 at 4:38 pm

    […] A healthy population of microbes in the soil is necessary for the digestion process. Moisture is required to sustain microbial life as well as to keep nutrients flowing into the plants root zone. And soil temperature is critical because as it rises, plants require nutrients more rapidly. […]

  2. Spring Fertilizing Tips - Gardening Calendar says:
    May 10, 2019 at 5:29 pm

    […] A healthy population of microbes in the soil is necessary for the digestion process. Moisture is required to sustain microbial life as well as to keep nutrients flowing into the plants root zone. And soil temperature is critical because as it rises, plants require nutrients more rapidly. […]

Comments are closed.

Where to Buy

Get News & Updates

Recent Posts

  • How to Pot a Japanese Maple in a Container || Flock Finger Lakes
  • VIDEO: Planting Perennials 🌷 || Wyse Guide
  • VIDEO: Planting Spring Flower Pots 🌼🌷 || Wyse Guide
  • Growing Joy with Maria – Episode 91 Blog: 10 Tips For Beginning Gardeners And Edible Landscapers
  • VIDEO: Planting JAPANESE MAPLES 🍁 || Flock Finger Lakes

Tags

bio-tone Bio-tone Starter Plus Bloom! cactus and succulents Cactus Mix caring for houseplants Container Gardening DIY project Espoma espoma grown espoma organic Espoma Organics Espoma Video fall gardening flower garden flowers garden Garden-tone Garden Answer Gardening gardening tips gardens growing tomatoes holly-tone houseplants hydrangea Indoor! indoor gardening indoor plants Lawn Care organic fertilizer Organic Gardening Organic Lawns organic plant food Organic Potting Mix Outdoor Gardening Potting Mix potting soil Safe Paws Soil Acidifier Spring Gardening succulents Tomato-tone vegetable garden Vegetable Gardening

Espoma. A natural in the Garden since 1929.

  • Espoma Dealer
  • Espoma Pro
  • Garden Club
  • Privacy Policy
Keeping Things Simple- Propagating African VioletsQuick Succulent Snow Globe DIY
Scroll to top