Seed Starter
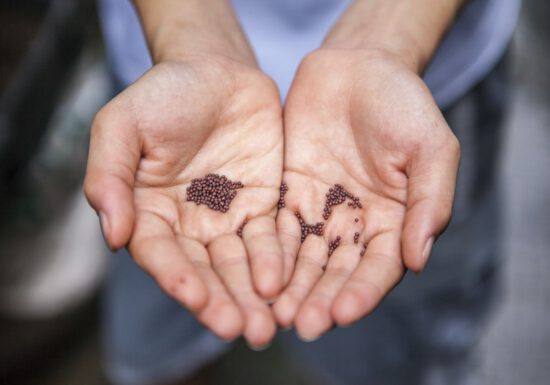
Seed Starting 101: How to Start Seeds Successfully
Seed starting is upon us in the gardening world! There is no better way to connect with the food we…
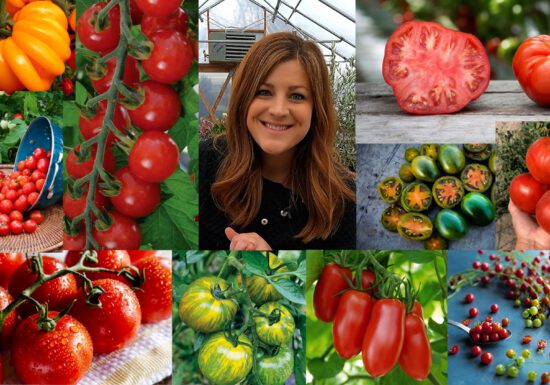
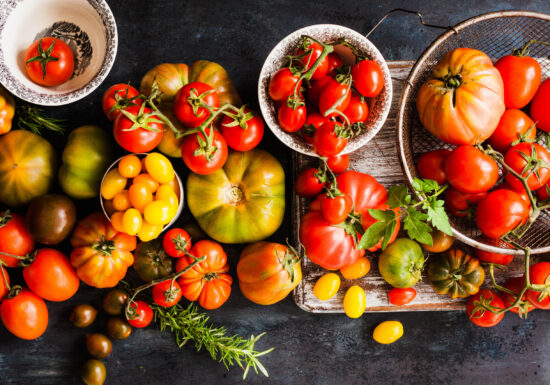
Video: Planting 26 Different Types of Tomatoes!
Join Laura from @GardenAnswer as she takes her spring tomato planting to a whole new level with the help of…
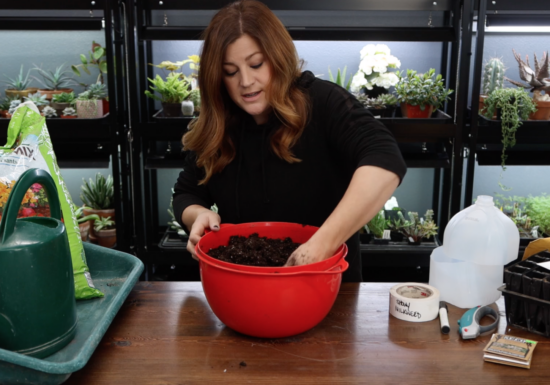
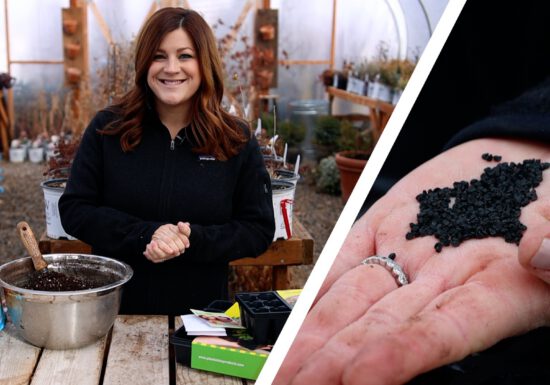
Video: Winter Seed Sowing with Garden Answer!
Check out how Laura from @Garden Answer is starting seeds early in the winter season with the help of Espoma.…
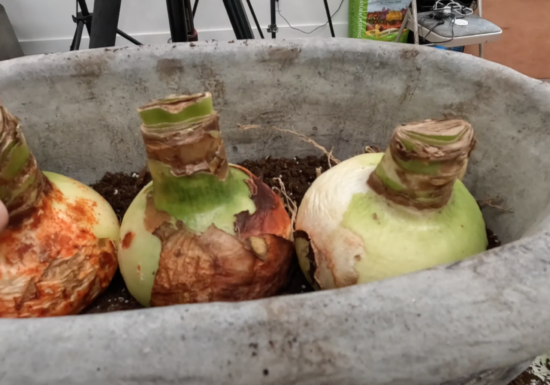
Video: How to Begin Winter Seed Starting with Garden Answer!
The cold weather is no match for Laura at Garden Answer's greenhouse! Follow along to see how Laura gets a…
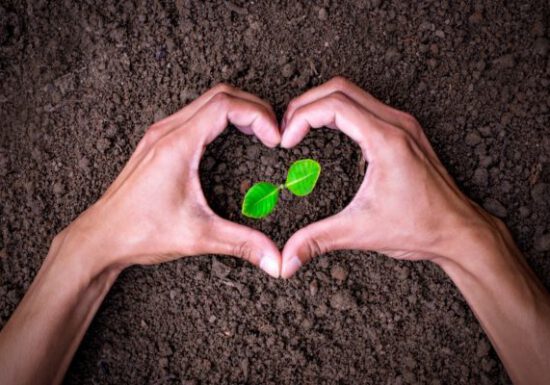
Seed Starter Tips for a Successful Spring Harvest
With the arrival of spring just around the corner, it’s time to learn how you can properly prepare your…
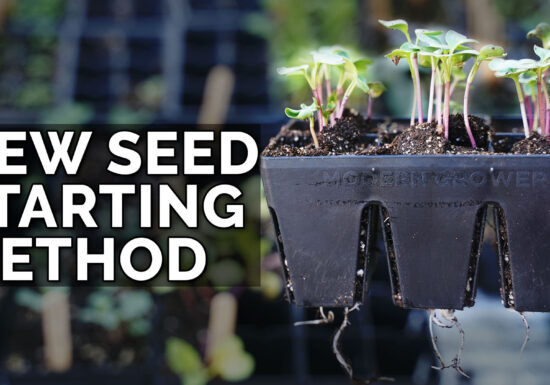
Video: Epic Gardening’s NEW Favorite Seed Starting Method
Kevin @Epic Gardening updates his seed-starting methods annually for better results, consistency, and health of his seedlings. Check out his NEW…
Video: Starting Onion Seeds Indoors with Garden Answer
When planting onions from seed, Espoma Organic Seed Starter is a key component in promoting root growth and improving moisture…
3 Common Seed Starting Problems and How to Fix Them
Keywords: starting plants indoors, can you grow tomatoes indoors, growing vegetables indoors Starting seeds indoors is great way to make…
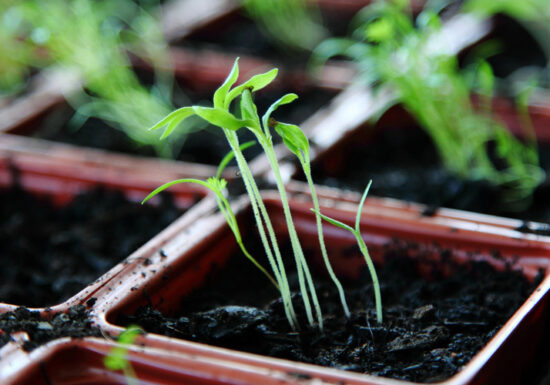
7 Tricks for Starting Tomato and Peppers Seeds Indoors
Dreaming of juicy, flavorful tomatoes and ripe, spicy peppers? Grow them yourself in only a few months. If you’re as…
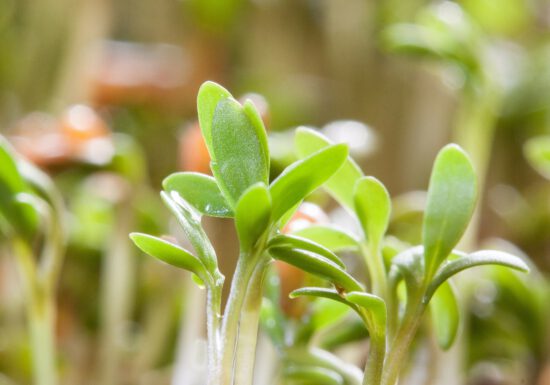
Grow Your Own Microgreens
Microgreens add fresh flavor and nutrients to salads, sandwiches, smoothies and stir-fries. These plants are harvested when they’re young, usually…
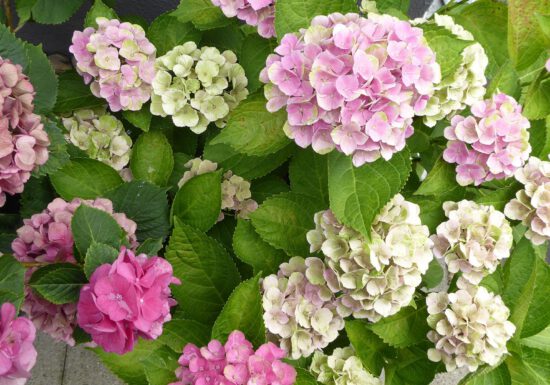
The April Garden Checklist
Spring is here! Shed off those winter blues and head outdoors to restore your lawn and garden. The days are…
Seed to Succeed! Seed Starting Secrets
Step aside houseplants. Not now indoor herbs. There’s a new indoor winter gardening project in town… indoor seed starting! Find…