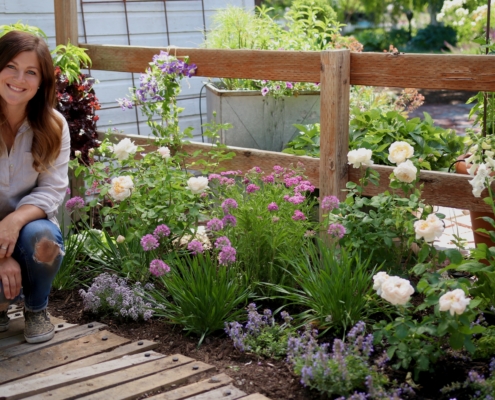
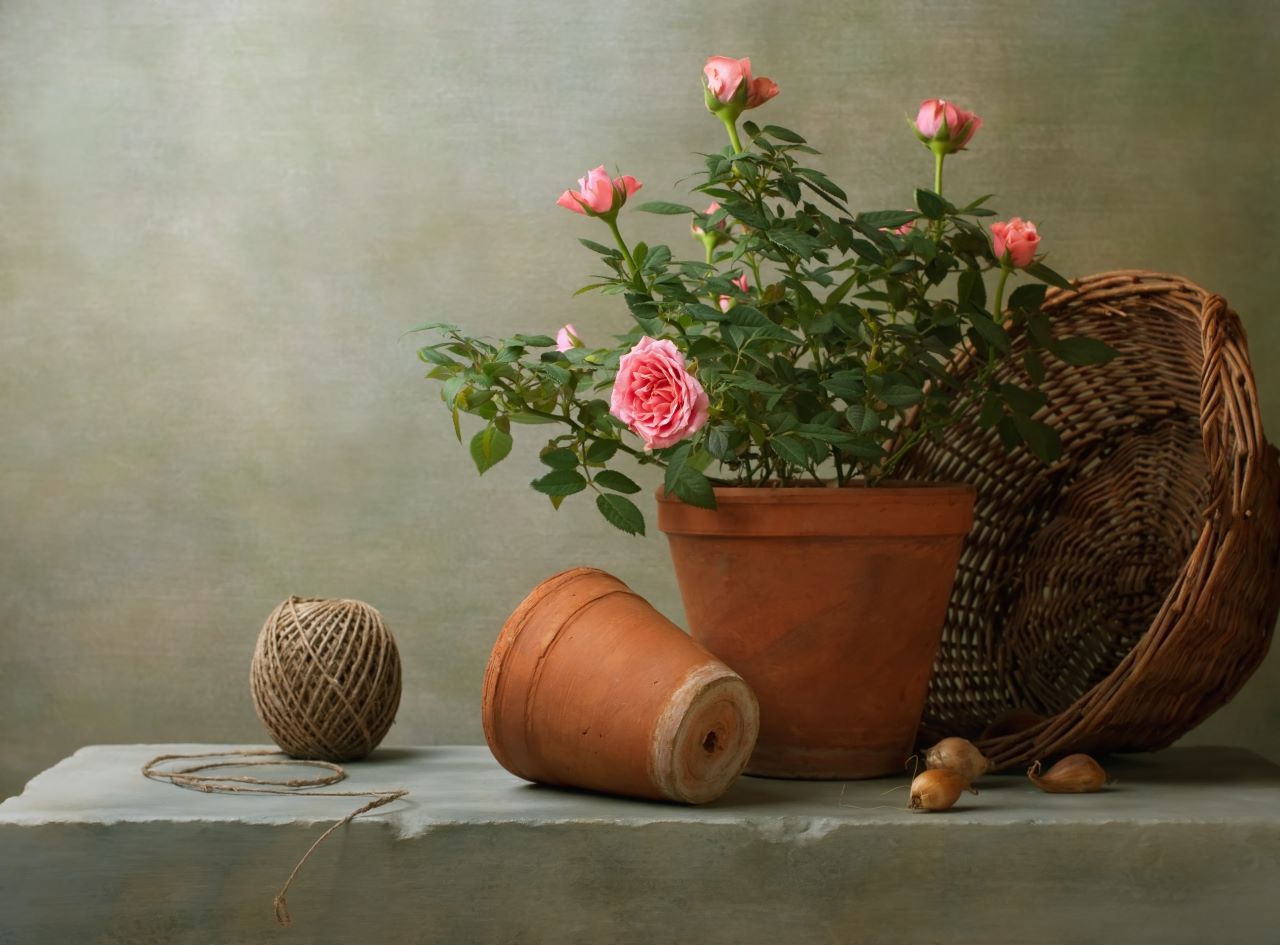
Video: Moving Roses and Planting Boxwoods with Garden Answer
It’s time for a little garden rearranging at the @Garden Answer household. Follow along to find out which Espoma products help get the job done!
Featured Product:


It’s time for a little garden rearranging at the @Garden Answer household. Follow along to find out which Espoma products help get the job done!
Featured Product:
English cottage gardens date back centuries. They were used to grow vegetables, herbs for healing, fruit trees, perhaps a beehive, and common flowers. The informal style went through a renaissance in the late 1800’s when they became somewhat more nostalgic than practical.
The informal aesthetic of dense planting and natural materials is still en vogue today. In this video, Laura outlines 10 design principles to help you design a cottage garden. Before you start, make sure you have plenty of Espoma’s organic Bio-tone Starter Plus plant food to make sure your plants get the best possible start.
No Straight Lines
Cottage gardens are always informal and a touch whimsical. Avoid straight lines. Gently curving edging looks more natural and playful. If your site restricts you to a straight edge, let the plants spill over it to create an unrestrained look.
Large Groups of the Same Plant
White cottage gardens are more relaxed in their design, it is still best to use large sweeps of the same plant. Think of planting in groups of three, five or seven. That is far more restful to the eye than a jumble of onsies and twosies.
Spacing Doesn’t Matter
This is one time you do not have to follow the advice on the plant tag. Cottage gardens are always densely planted and generally grow more densely packed with time. Annuals and biennials are often used in cottage gardens and will self-sow in the border. Biennials are plants that take two years to grow and flower from seed like the foxgloves shown. Another advantage to planting things close together is that there is less room for weeds to grow.
Color Harmony
It’s very important to pick a collection of plants that have harmonious colors. Without that the border would look chaotic. Garden Answer uses a collection of soft pinks and peaches with touches of blue and lavender. It needn’t always be soft colors, but they do need to be unified in some way.
Use Varied Heights and Textures
In any planting, it’s a good idea to think about texture, height and foliage color as major design elements. Nothing blooms all the time. Varied foliage forms and colors will create interest even when the flowers aren’t in bloom. Laura uses Heuchera specifically for the silvery foliage color.
Anchor Plants/Structural Elements
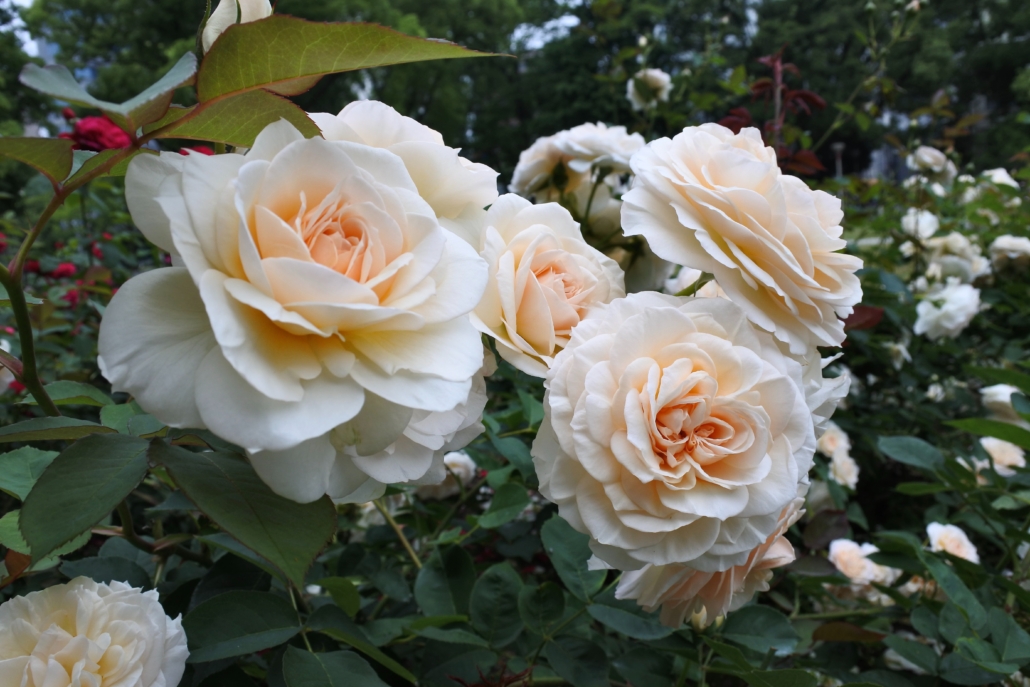
This is sometimes referred to as the “bones” of a garden. It’s a structural element that all of the other plants get woven around. In this case, it’s a beautiful shrub rose named Rose ‘The Lady Gardener’, a fragrant beauty with full, apricot blossoms. The rose is repeated three times. Repetition is soothing to the eye. It’s possible to use evergreens for a slightly more formal feel, or whatever peaks your interest.
Fragrance
The first thing everyone does when they pick a flower is to hold it up to their nose. Cottage gardens are known for their fragrance. Try to select varieties that smell good at the garden center. Roses, lavender, sweet peas, and sweet alyssum are all good choices.
Not Perfectly Maintained
Along with relaxed design principles, comes relaxed maintenance. Planting tightly will discourage weeds. Annuals like poppies will self-seed and move around the border, just like the biennial foxgloves. Weeding everything that comes up might mean that you weed out these plants and inhibit their spontaneous movements.
The Look Will Change Over Time
This style of gardening is the exact opposite of a formal border filled with geometric shaped boxwood. By its very nature this is meant to be more random. People often sow cosmos, violas and other plants that have a tendency to move around. Let them surprise you. If you really don’t like where one popped up, it’s easy enough to remove.
Be Patient
Being patient is really what gardening is all about. A garden is never really finished. Enjoy the journey!
Garden Answers Plant List
Nepeta ‘Cat’s Pajamas’ – catmint
Achillea – pink yarrow
Allium ‘Serendipity’ – ornamental onion
Rose ‘The Lady Gardener’
Heuchera Dolce ‘Spearmint’ – Coral Bells
Clematis ‘Brother Stephan’
Digitalis Foxy Hybrids – foxglove
Lobularia ‘Blushing Princess’ – sweet alyssum
Here are more videos from Garden Answer we hope you will enjoy.
How to Plant Cottage-Style Flower Beds!
Plant Your Window Boxes Like Garden Answer
Succulent Pot in a Pot – Quick Version
How to Re-pot Houseplants – Quick Cut
*****
Featured Products:
Roses are the most classic flower to include in a garden. They’re prolific bloomers, fragrant and colorful.
With a little care and maintenance, you’re only a few steps away from success. Yet the ideal conditions for growing roses aren’t always there. We have you covered. Here are the best roses for each situation.
Learn how to plant roses with Laura from Garden Answer.
Roses for Full Sun
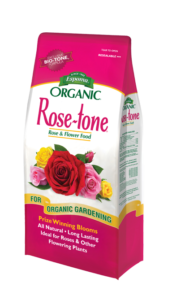
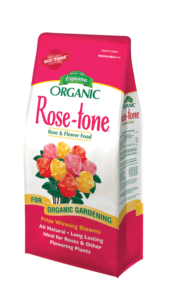
Roses thrive in full sun. When they get anywhere from 6 to 8 hours of sun a day, they bloom vibrantly and to their fullest. Any variety will be spectacular when grown in these conditions. They are hardy in zones 4-9 and with the right care, can come back to thrive year after year. Feed your roses monthly with Espoma’s Organic Rose-tone to ensure proper growth.
While all roses thrive in the sun, our favorites are…
Sunblaze® Miniature Roses
You can’t go wrong with any variety of the Sunblaze miniature roses. The name says it all and these sun-loving beauties won’t let you down.
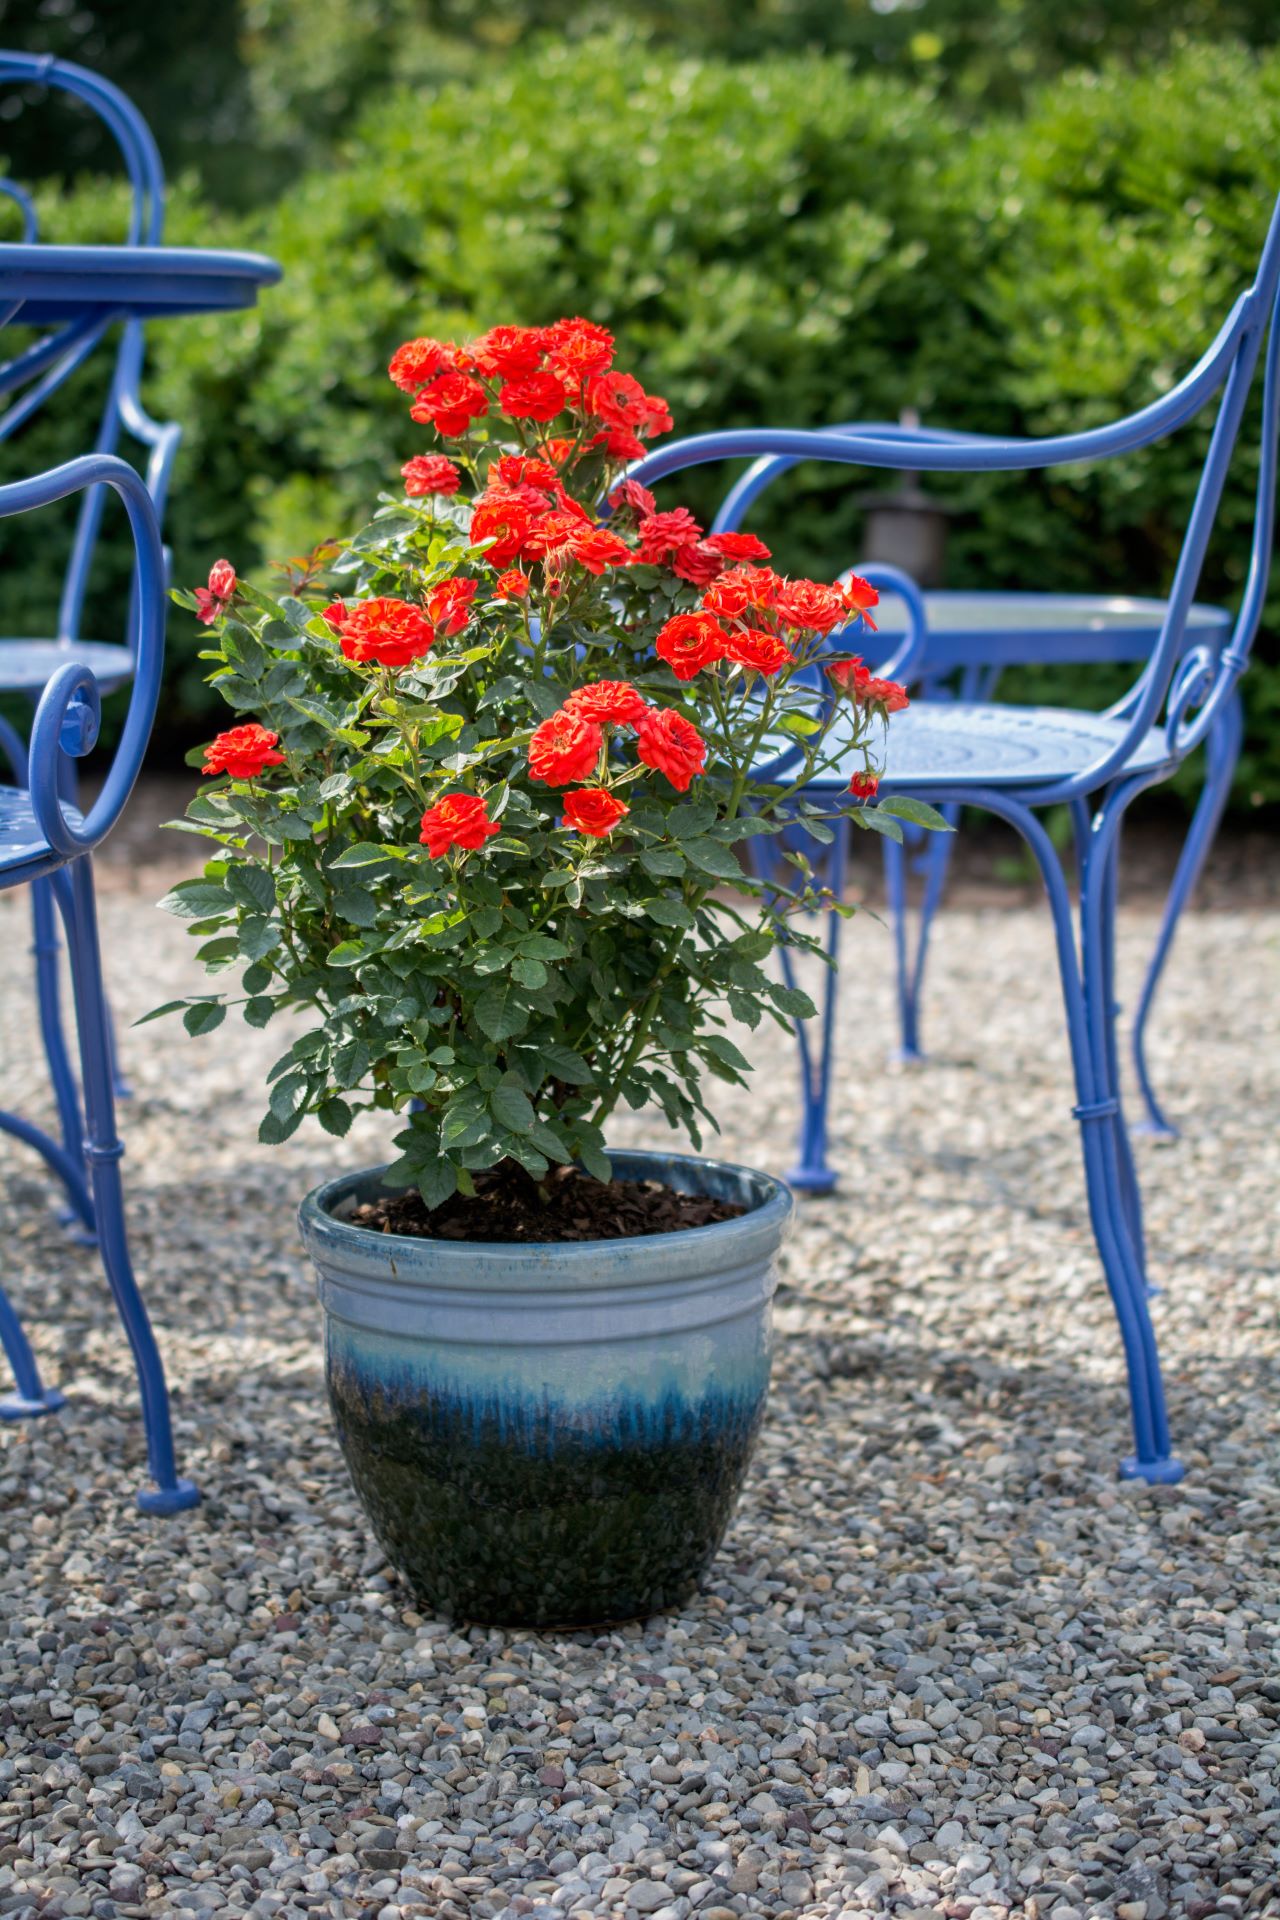
Photo courtesy of Star® Roses and Plants
Autumn Sunblaze® is the perfect variety to showcase this summer. It is a miniature rose, so it is ideal for a beautiful container. Put that container in the full sun for these roses to thrive!
PLANT TYPE: Miniature Rose
FLOWER COLOR: Orange
FLOWERS: Small, 40 petals
FOLIAGE: Glossy
FRAGRANCE: Slight
GROWTH HABIT: Bushy
HARDINESS ZONE: 5 – 11
HEIGHT: 12-15″
LIGHT REQUIREMENTS: Full Sun
SPREAD: 15″
Sunny Knock Out® rose is beautiful in full sun. As the name implies, the blooms are a bright yellow that fade into a cream color from center to petal. It’ll stay bright and colorful even as cooler months approach.
PLANT TYPE: Miniature Rose
FLOWER COLOR: Yellow to cream
FLOWERS: Abundant and continuous
FOLIAGE: Dark green, semi-glossy
FRAGRANCE: Slight
GROWTH HABIT: Bushy
HARDINESS ZONE: 4–11
HEIGHT: 3–4’
LIGHT REQUIREMENTS: Full Sun
SPREAD: 3–5’
Container Roses
Want to have a beautiful rose garden, but don’t have the space in your garden to include them? Turn to containers! As long as the containers are placed in full sun, they will thrive.
Some roses are too big to plant in containers, but miniature varieties work well for smaller spaces. Don’t be fooled, just because they are miniature doesn’t mean they aren’t spectacular.
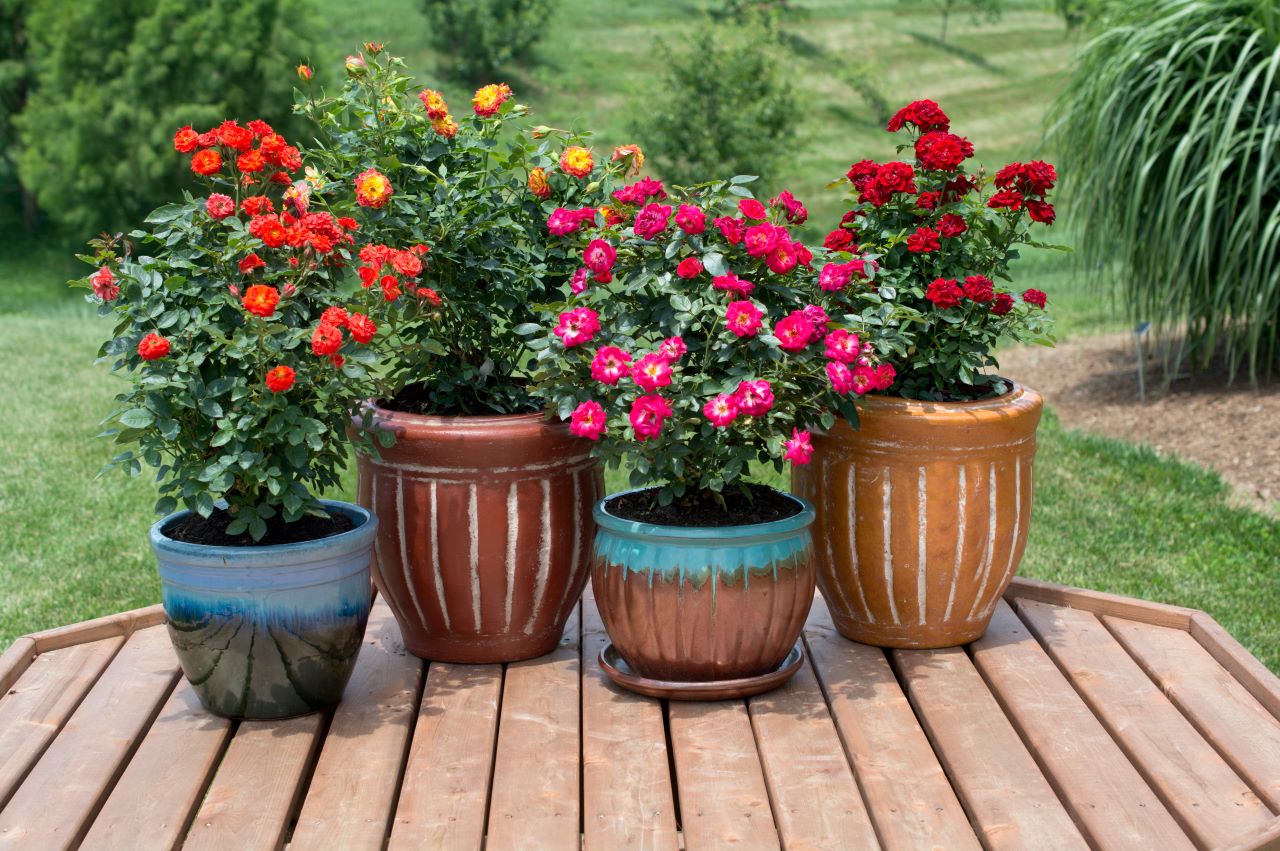
Photo courtesy of Star® Roses and Plants
Rainbow Sunblaze® is a great variety for any summer garden. The petals are multicolored, which will help them stand out anywhere you plant them. Pair them with a beautiful container and it will be the talk of the neighborhood.
PLANT TYPE: Miniature Rose
FLOWER COLOR: Multicolored
FLOWERS: Small, 25-30 petals
FOLIAGE: Semi-glossy
FRAGRANCE: No Fragrance
GROWTH HABIT: Upright
HARDINESS ZONE: 5 – 11
HEIGHT: 12-18″
LIGHT REQUIREMENTS: Full Sun
SPREAD: 18″
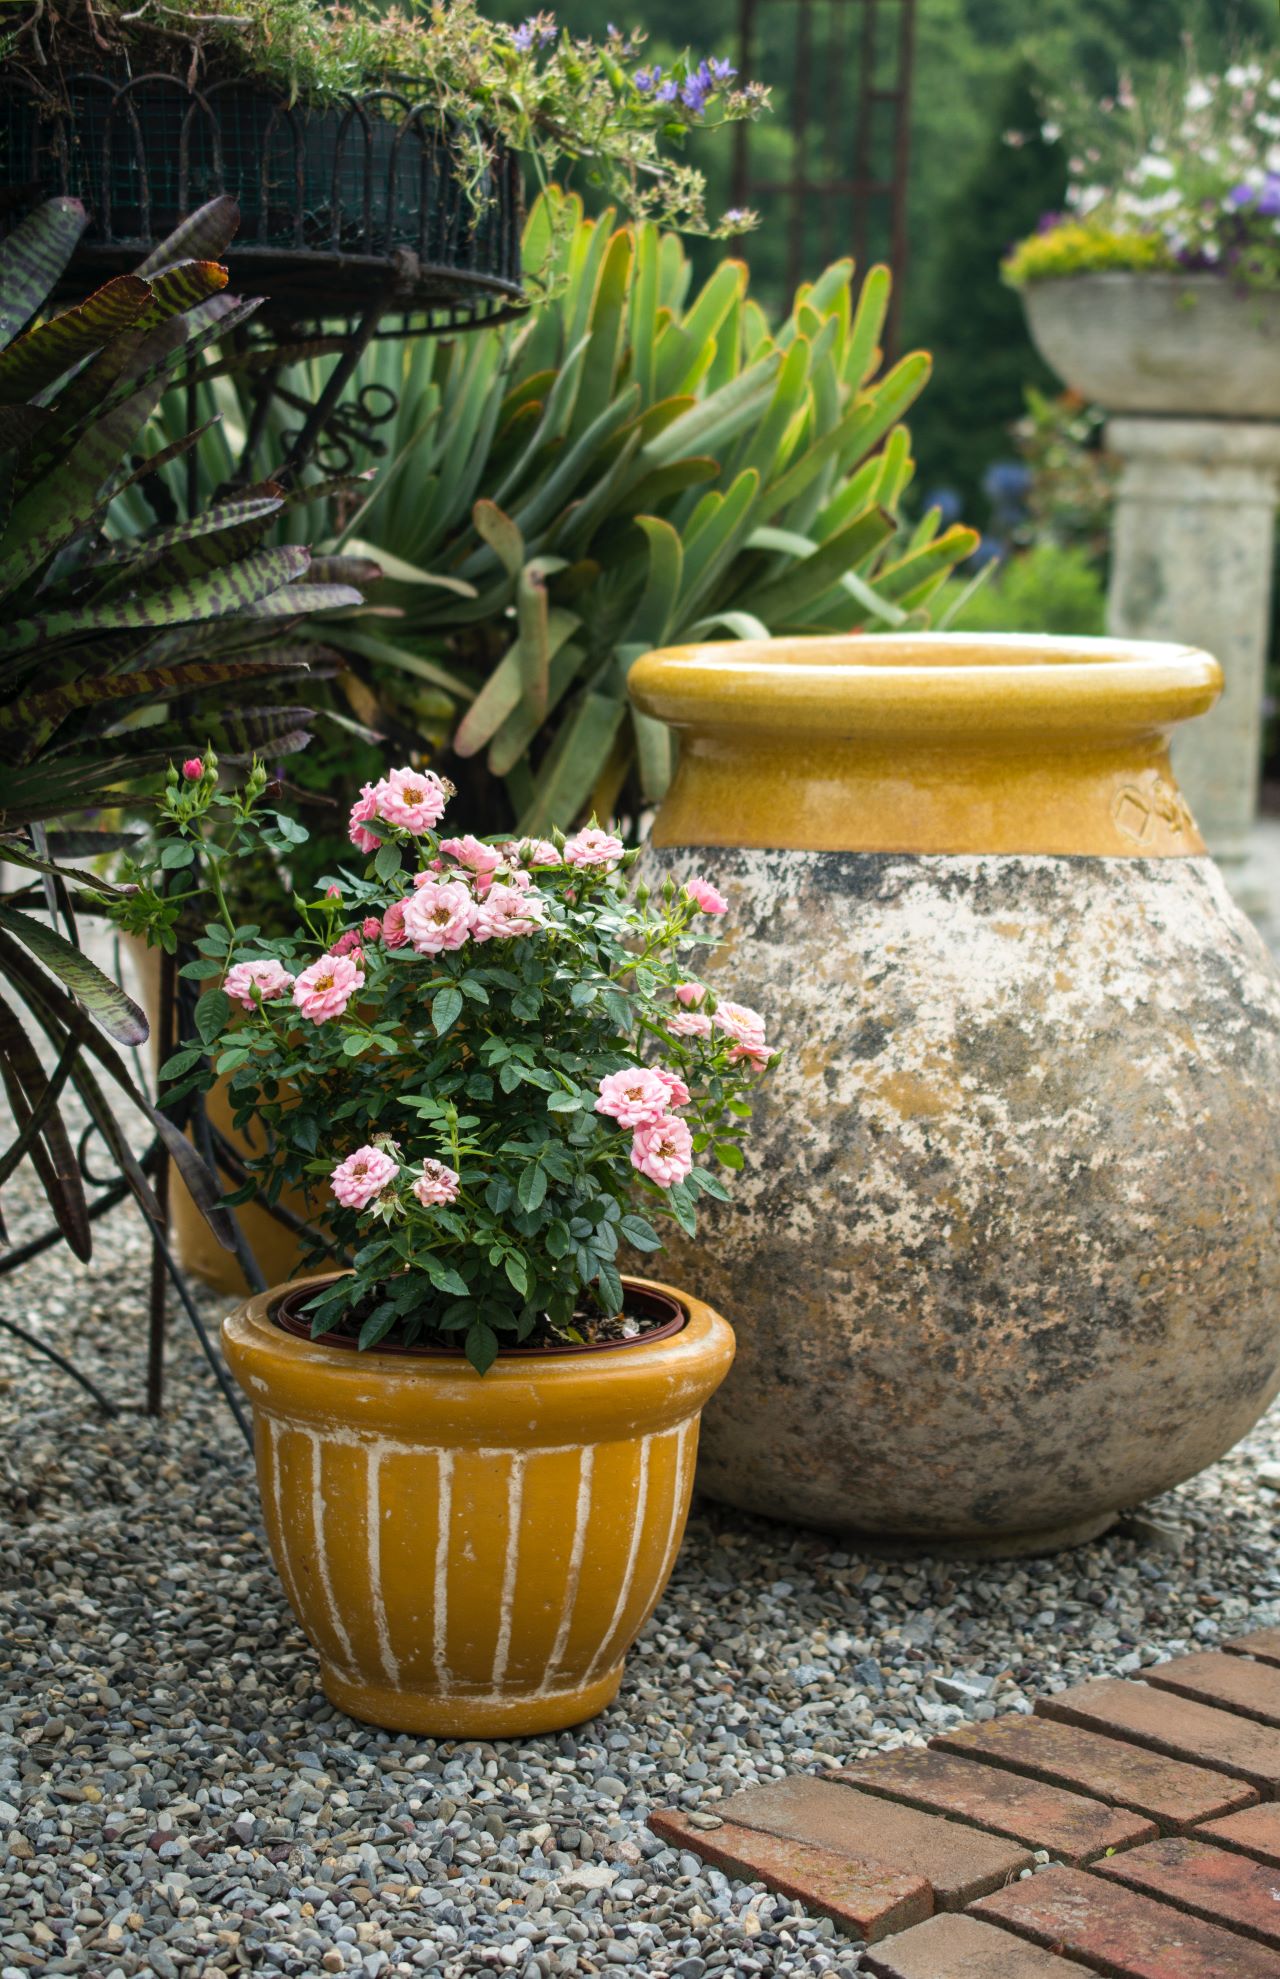
Photo courtesy of Star® Roses and Plants
Sweet Sunblaze® is a beautiful variety to add to any container in your space. This rose, introduced in 1987, has gentle pink blooms that add softness to your garden. Pair with an edgy container for a striking contrast or with a neutral container for a more classic look.
PLANT TYPE: Miniature Rose
FLOWER COLOR: Pink
FLOWERS: Small, 26-40 petals
FOLIAGE: Glossy
FRAGRANCE: Slight
GROWTH HABIT: Bushy
HARDINESS ZONE: 5 – 11
HEIGHT: 15-18″
LIGHT REQUIREMENTS: Full Sun
SPREAD: 18″
Disease Resistant Roses
Some gardens and plants are more susceptible to diseases. Black spot is the most common disease in roses. It is caused by a fungus that spreads from plant to plant and can wipe out an entire garden. Planting disease-resistant roses helps prevent the spread of disease.
We rounded up our favorite roses that are disease resistant.
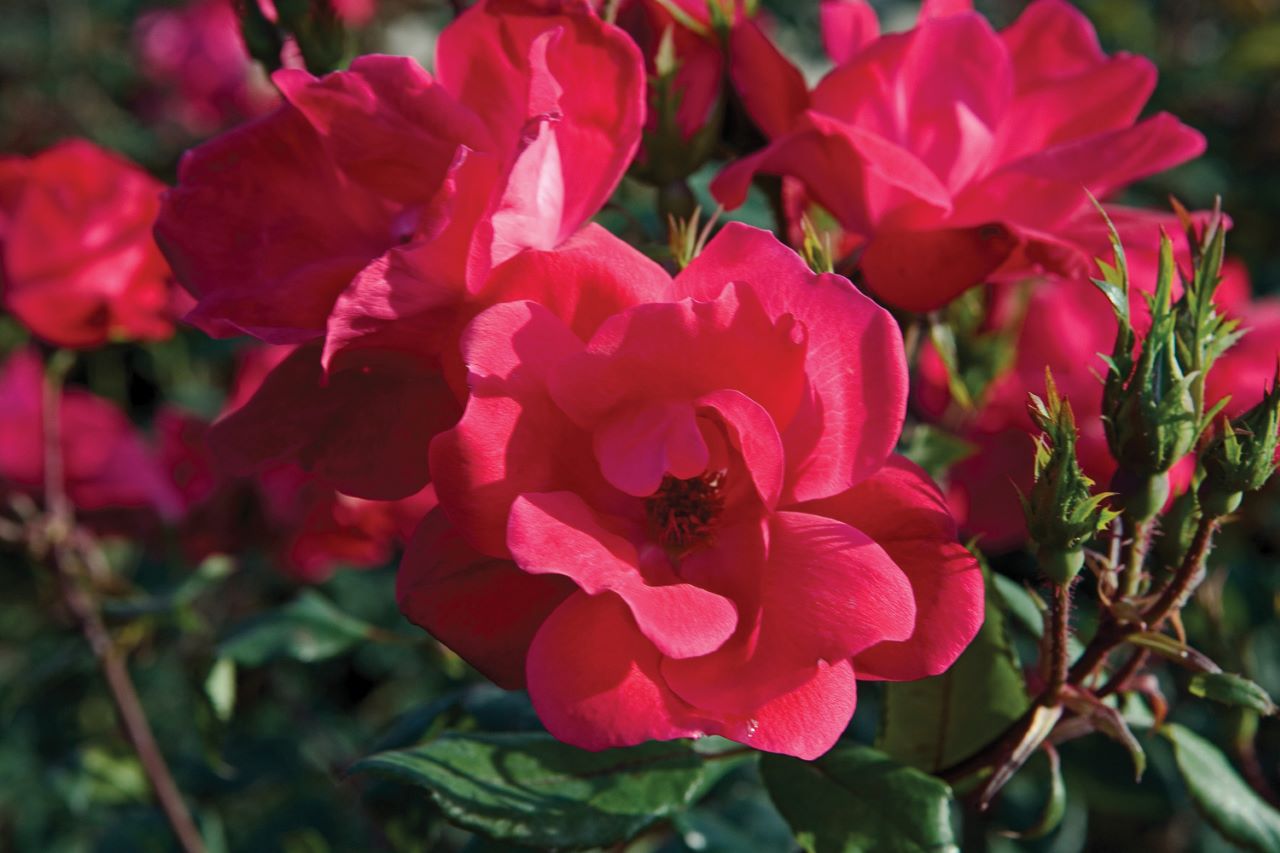
Photo courtesy of Star® Roses and Plants
Knock Out® Family of Roses
Known for their punch of color, these roses are perfect to add to any sunny garden. Knock Out are disease resistant and love 6-8 hours of sun a day.
PLANT TYPE: Shrub Rose
FLOWER COLOR: Cherry red, hot pink
FLOWERS: Abundant and continuous
FOLIAGE: Deep, purplish green
FRAGRANCE: No Fragrance
GROWTH HABIT: Bushy
HARDINESS ZONE: 5–11
HEIGHT: 3–4’
LIGHT REQUIREMENTS: Full Sun
SPREAD: 3–4’
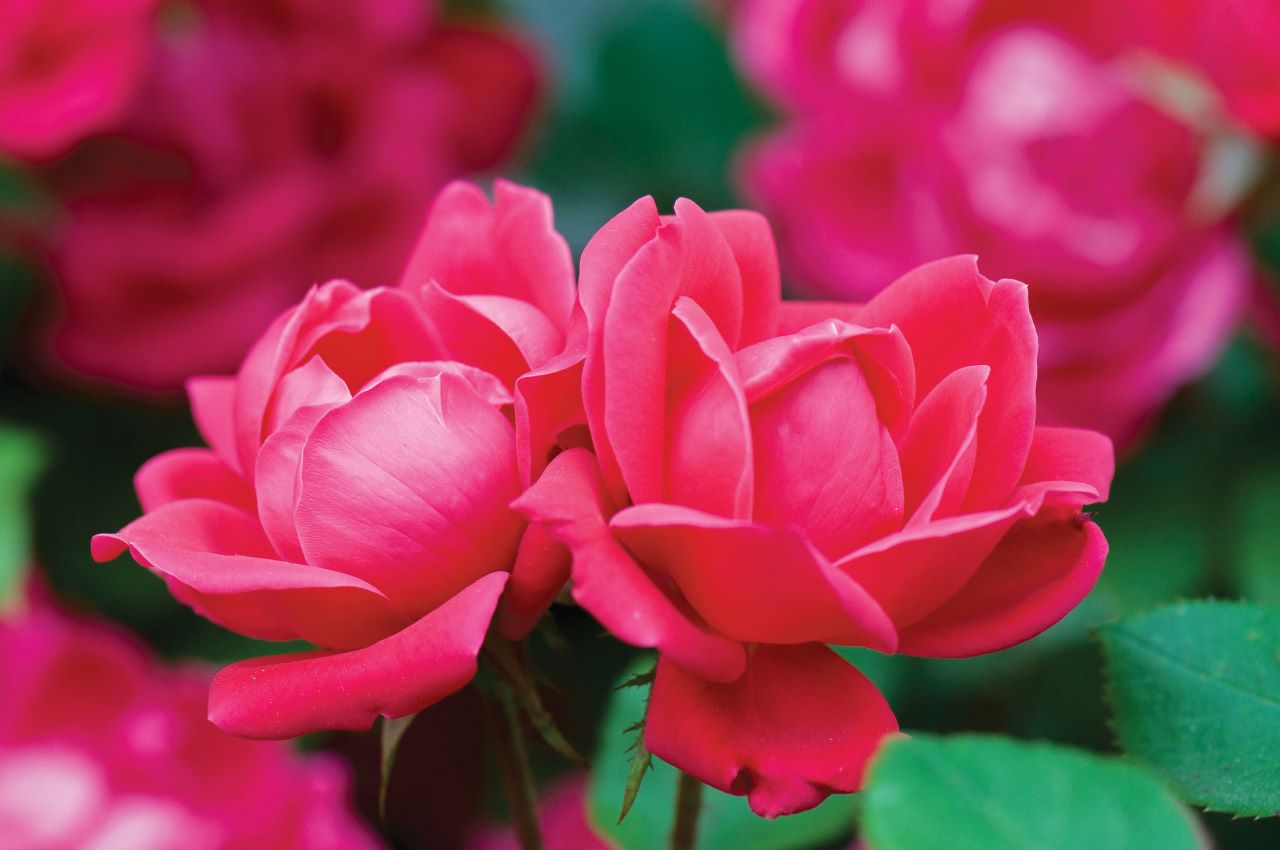
Photo courtesy of Star® Roses and Plants
Double Knock Out® Rose
The Double Knock Out gives a double the punch. It has twice as many petals and is offered in a multitude of colors, depending on the variety. You cannot go wrong with these roses.
PLANT TYPE: Shrub Rose
FLOWER COLOR: Cherry red, hot pink
FLOWERS: Abundant, continuous double blooms
FOLIAGE: Deep, purplish green
FRAGRANCE: No Fragrance
GROWTH HABIT: Bushy
HARDINESS ZONE: 5–11
HEIGHT: 3–4’
LIGHT REQUIREMENTS: Full Sun
SPREAD: 3–4’
Featured in this Post:
Rose gardens are one of the most classic pieces you can add to your landscape. With some love and regular upkeep, they can last for years.
Roses bring beauty by either becoming the statement plant or a fine complement to focal point. You can use roses to cover up an unsightly area or introduce a new fragrance, they are incredibly diverse. Roses are offered in a large variety of colors and patterns to match anyone’s need.
When choosing the best rose for you garden, be sure to know how much sun the area gets. Check the tags on the rose plants to ensure you are picking up ones that will thrive in yard. If you aren’t sure what to choose, your local garden center can help choose for your space and your region!
Planting Tips for Rose Gardens:
Watch as Laura from Garden Answer plants her own roses!
Do you love roses but are stuck with limited space? Is your rose collection growing faster than your raised beds?
Container roses are a great solution for gardeners short on space or those who want the freedom to move their roses around. They give you the option of having roses wherever you want them.
So whether you are trying to cover up some unsightly spot or wanting sweet-smelling roses near your front door, we’re here to help you figure out the best roses for you.
Depending on the size and structure of your container, most roses won’t be a problem. Just be sure the container can hold the roots and soil needed for your roses. Be sure to choose roses recommended for your USDA Hardiness Zone.
Best Types of Roses for Containers
Miniature Roses – Don’t let the name fool you — these roses may be small in bloom size but still produce radiant color. Miniature refers to the size of the bloom, not the size of the bush. Typically they grow between 12”-18”, depending on growing conditions. These roses also love to hangout in window boxes. Choose a container that is at least 10” deep.
Small Roses – These low-growing roses help show off gorgeous containers. Small roses usually reach up to 2’. The variety of small roses is expansive and offer different styles, colors and smells to keep your garden rocking. Due to their small stature, they are perfect for the urban gardener — use these to spruce up your balcony or front stoop. Choose a container that is at least 12” deep.
Patio Roses – With big, colorful and robust blooms, you cannot go wrong with patio roses. They have a neat, bushy growth and regularly blooming rosette flowers. Choose a container that is at least 12” deep.
Floribundas – These one-of-a-kind hybrid roses have vibrant, colorful blooms that will dress up your yard. Grown in clusters, floribundas are wonderful to keep your guests in awe. They require a little more breathing room, so make sure to pick a larger container to keep them comfortable. Choose a container that is at least 15” deep.
6 Steps to Planting Your Rose Bush in a Container
Feel like you need more container plants? Learn what hydrangeas need to thrive in containers!
There’s no better way to enjoy your garden than by encouraging it to grow bigger and better. Before your summer veggies and flowers peak, take your garden to the next-level by refueling it.
Knock-out these 5 essential tasks and your garden will thank you. You’ll extend your summer season and ensure that your lawn and garden are in tip-top shape.
5 Ways to Give Your Summer Garden a Boost
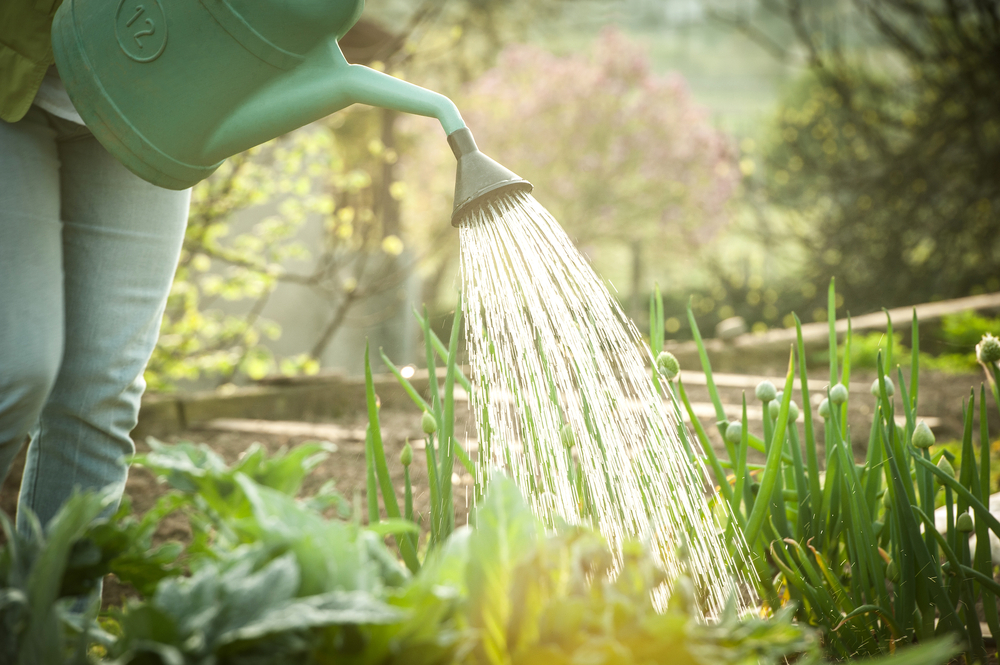
1. Hydrate. When it’s hot, dry and muggy, the best thing is a nice cold drink. Your plants need some H2O, too. The trick to keeping your garden hydrated during the hottest days is not to water more. It’s to water smarter. Water plants deeply in the morning so they have the entire day to soak it up.
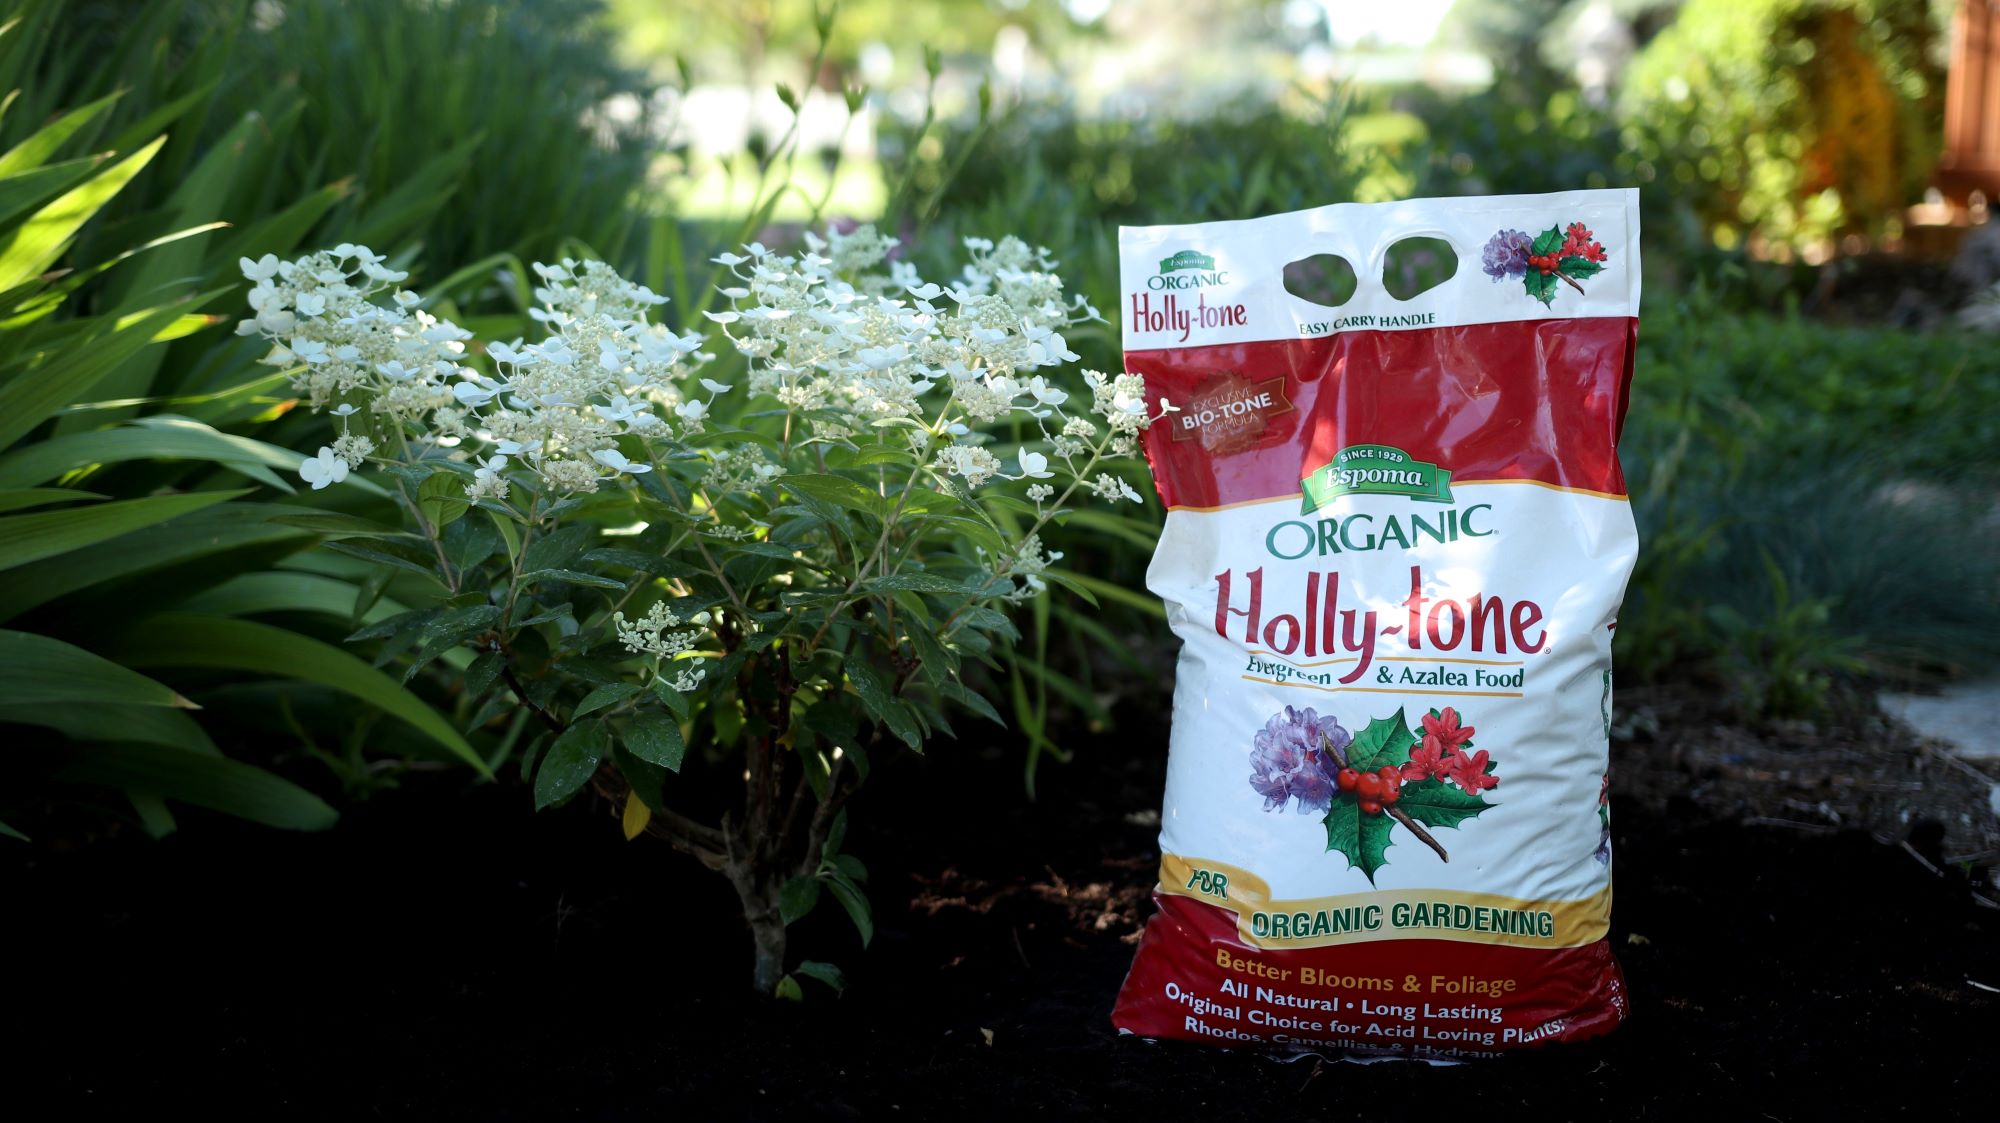
Image courtesy of Garden Answer
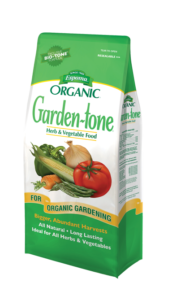
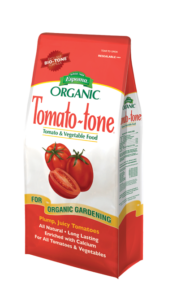
2. Keep plants fed. Your summer veggies and flowers are hungry. Feed hanging baskets, container gardens and annuals with liquid Bloom! plant food every 2 to 4 weeks. Vegetables such as tomatoes and peppers are heavy feeders. Continue to feed every 2 weeks with organic fertilizers Tomato-tone or Garden-tone.

3. Prune and deadhead. Extend the life of perennials by deadheading flowers as soon as they are spent. This will encourage plants to keep blooming as long as weather permits. Your roses will thank you. Prune tomato suckers and shrubs now, for fuller plants later.
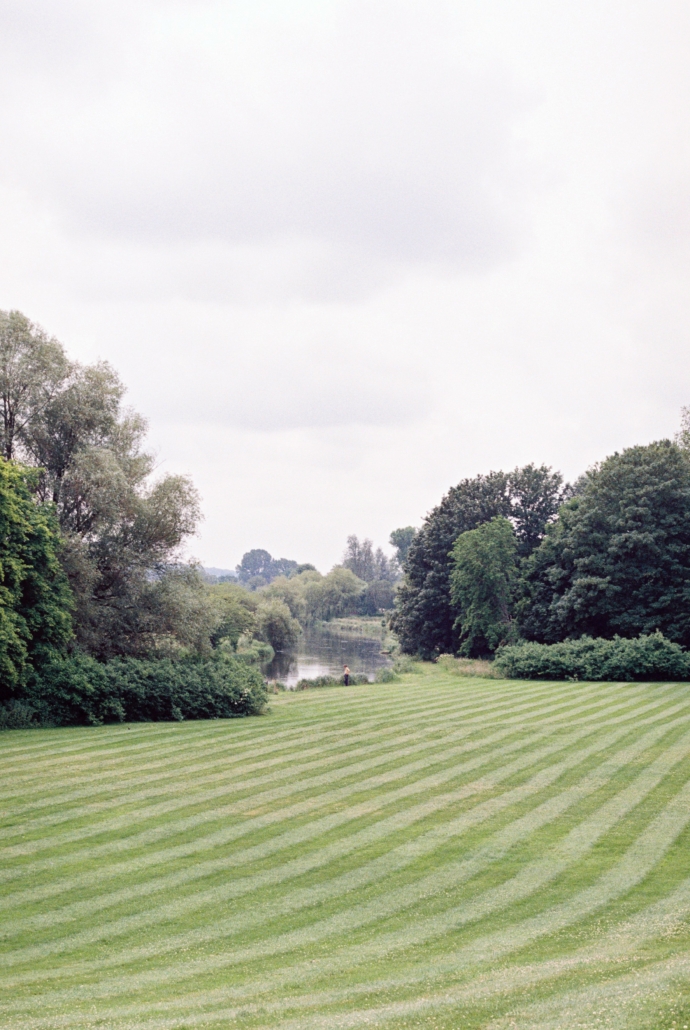
4. Mow lawns strategically. When mowing, keep the mower blades high (3” or higher) to encourage healthy roots. Cut grass in the evening to give it time to recover and keep yourself cool.
5. Plant more! There are many quickly maturing plants that will thrive in summer gardens and be ready for harvest in the fall. Try planting radishes, cucumbers, beans and more.
Sit back and relax! Take a good look at your hard work and dream about the rewards and bountiful harvests you’ll enjoy in the months to come.
If you’re looking to get a better tomato harvest this summer, be sure to check out our complete tomato guide!
*****
Featured Products:
![]()

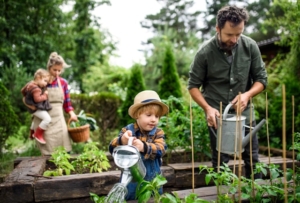
May is one of the busiest and most exciting months in the garden. Flowers are blooming, veggies are sprouting, and summer crops are ready to go in. But to keep your garden thriving naturally, it’s important to use the right organic products to nurture your soil, plants, and harvest.
Here’s your Espoma-approved May checklist to prep your garden for a healthy, productive summer season.
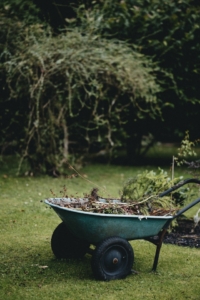
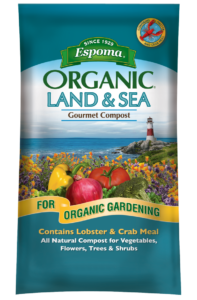
Start fresh by clearing out weeds, dead plants, and old debris — this keeps pests and diseases in check and opens up space for new growth. As you tidy up, top off your beds with Espoma Organic Land & Sea Gourmet Compost to enrich the soil with nutrients and improve texture.
Once your garden is clean, you can apply a layer of mulch to help conserve moisture and regulate soil temperature. This simple prep sets the stage for everything that comes next.
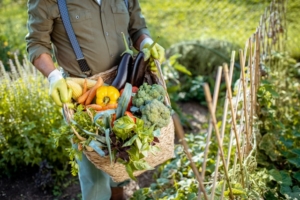
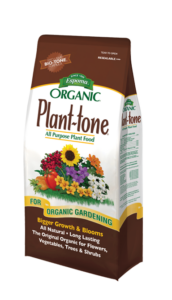
Your cool-weather crops like lettuce, spinach, radishes, and peas are likely ready to harvest. After picking, don’t leave that soil depleted! Replenish it by working in Espoma Organic Garden-tone or Plant-tone to restore nutrients before planting your summer vegetables.
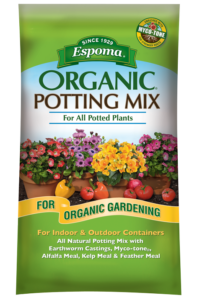
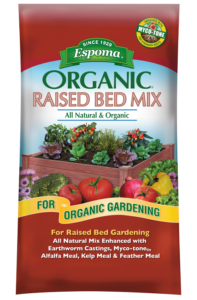
For container gardens, refresh the mix with Espoma Organic Raised Bed Mix or Potting Mix so your new plants have a rich, organic base to grow in. Healthy soil = healthy crops.

Before you rush to plant, take a little time to sketch out your garden plan. Group plants with similar needs together, and research what varieties perform best in your area. If you’re unsure, visit a local garden center and look for recommendations — and while you’re there, pick up organic fertilizers suited for what you’re planting (like Espoma Organic Tomato-tone for tomatoes, Berry-tone for berries, or Rose-tone for roses).
Planning ahead ensures you can match the right organic products to the right plants, maximizing growth and minimizing problems down the line.
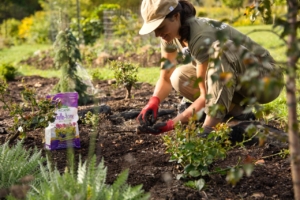
Once your area is frost-free, it’s time to plant! Whether you’re planting veggies, flowers, or herbs, give them the best start by enriching the planting hole with Espoma Organic Bio-tone Starter Plus. This starter fertilizer contains mycorrhizae, which help plants establish strong root systems and reduce transplant shock.
As the season goes on, continue feeding regularly with Espoma Organic Tone Fertilizers, depending on what you’re growing. These slow-release, organic fertilizers keep plants nourished naturally, without the risk of burning or chemical buildup.

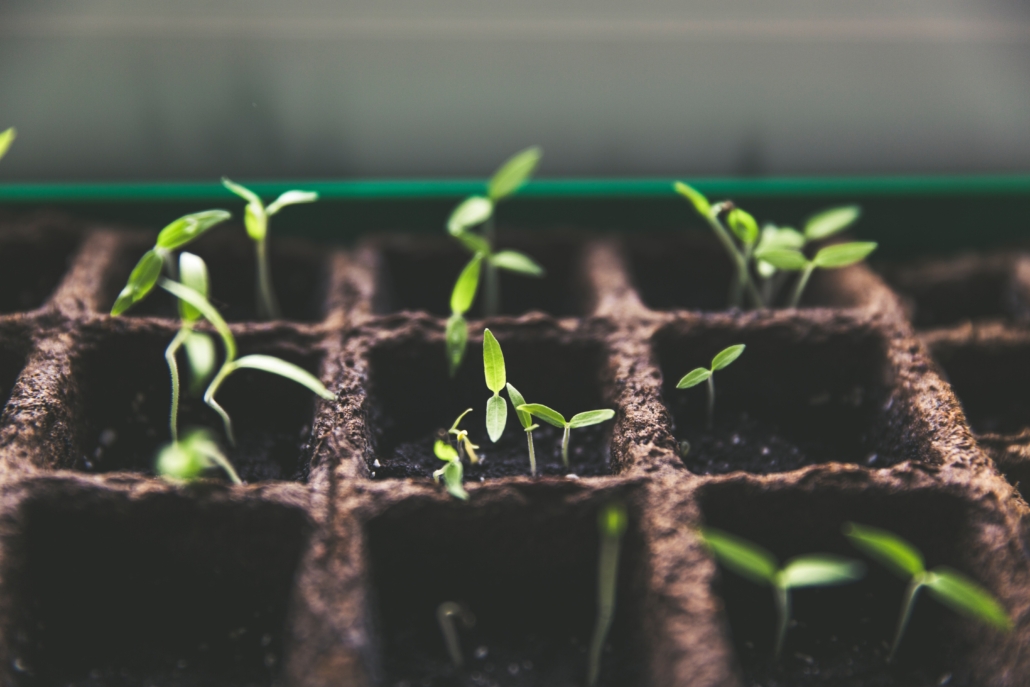
If you started seeds indoors, harden them off gradually before moving them outside. Once ready, plant them in your garden or containers and mix Espoma Organic Bio-tone Starter Plus into the soil. This ensures young plants have access to the nutrients and beneficial microbes they need to get established and grow strong healthy roots.
For containers, fill pots with Espoma Organic Potting Mix, which provides excellent drainage and moisture retention while feeding plants with organic ingredients. Don’t forget to water thoroughly after transplanting to help roots settle in.
Throughout the summer, keep an eye on your plants. Feed every month or as needed with the appropriate Espoma Organic fertilizer for each plant type. Water deeply at the base, mulch to retain moisture, and enjoy the lush, organic garden you’ve worked so hard to create.
With the right products and a little care, you’ll be harvesting beautiful, homegrown food and flowers all summer long — the organic way!
Featured Products:
Spring is here! Shed off those winter blues and head outdoors to restore your lawn and garden. The days are getting longer and your soil is beginning to wake up. April is a great time to get out in your yard and begin again.

1. Start tomato seeds.
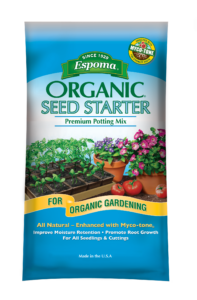
The best way to get a head start on growing tomatoes is to start seeds indoors 4-6 weeks before the last spring frost date in your region. See our Guide to Growing Tomatoes. Start your seeds with Espoma Organic Seed Starter and feed your tomatoes with Espoma Organic Tomato-tone.
2. Get planting.
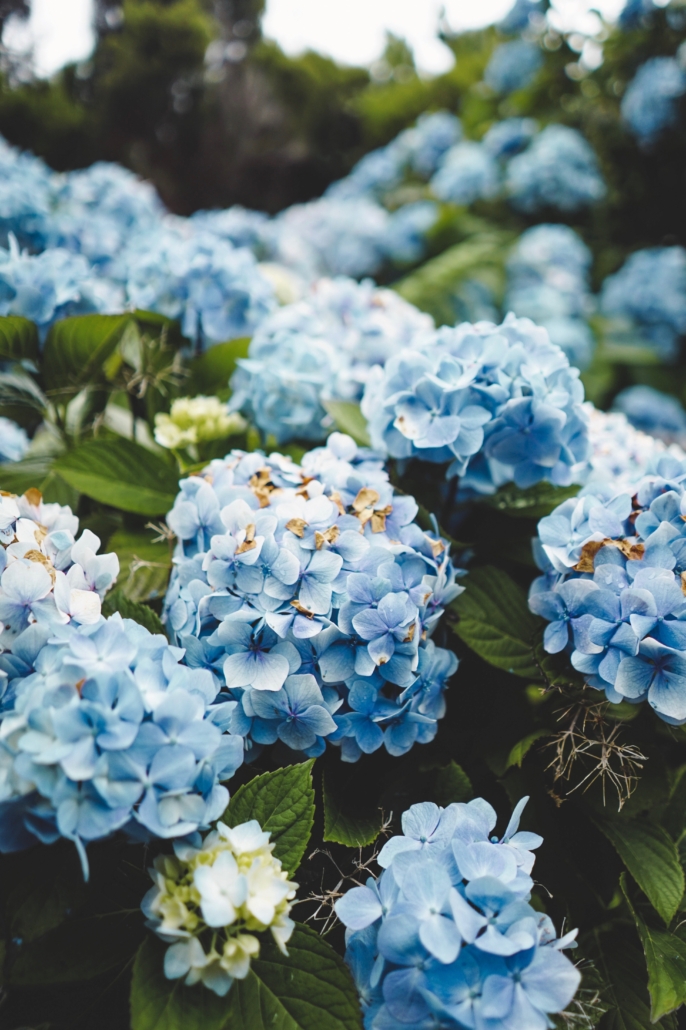
Hydrangeas embody everything we love about gardening. They have billowy textures, come in bright colors, and are easy to care for. Plant some this month for the best blooms. Feed your Hydrangeas with Espoma Organic Holly-tone fertilizer.
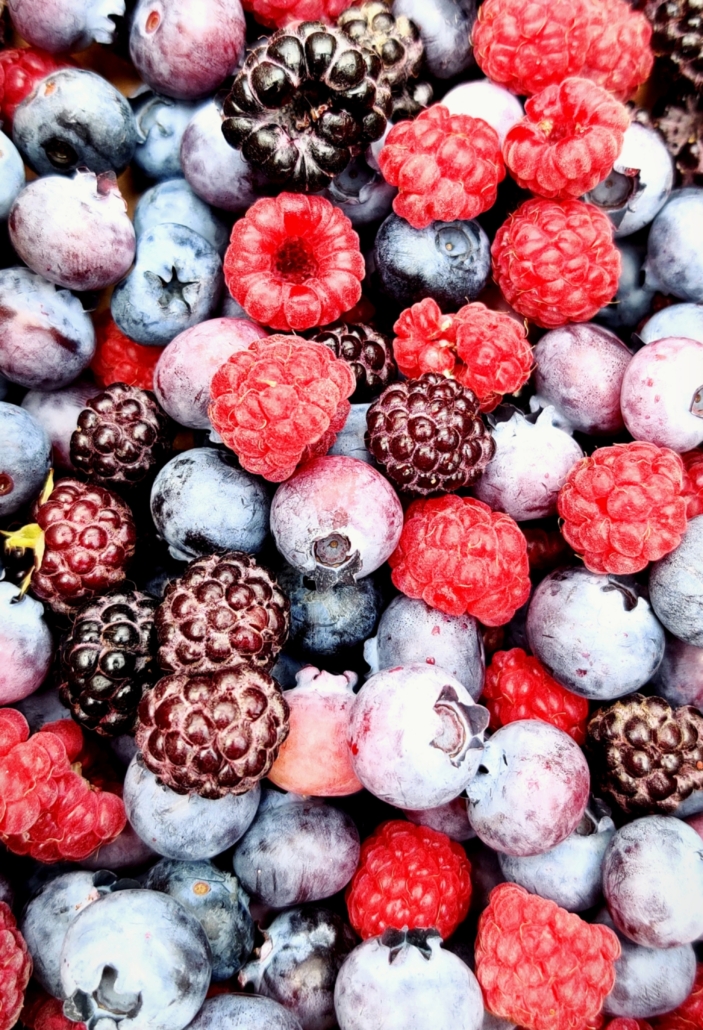
3. Grow berries.
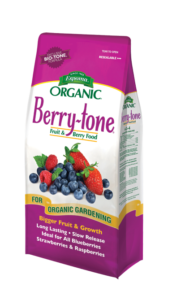
Did you know blackberries have almost as many antioxidants as blueberries? And raspberries make the perfect addition to jam, cobblers, and pies. Berries are just so delicious, scrumptious, and oh-so-juicy. Plus, many berries are easy to grow and care for. Find out when, where, and how to plant your favorite berries. Feed your berry-producing plants with Espoma Organic Berry-tone fertilizer.
4. Revitalize lawns.
Perform a soil test to find out what your lawn needs, then amend and choose organic. Organic lawns need less watering, fertilizing, and mowing all summer long. Yes — that means you get to spend more time enjoying your beautiful lawn and less time caring for it! Plus, as natural lawn foods break down, your soil becomes stronger on its own and needs less help. Feed your lawn with Espoma Organic All Season Lawn Food.
5. Plant blooms.
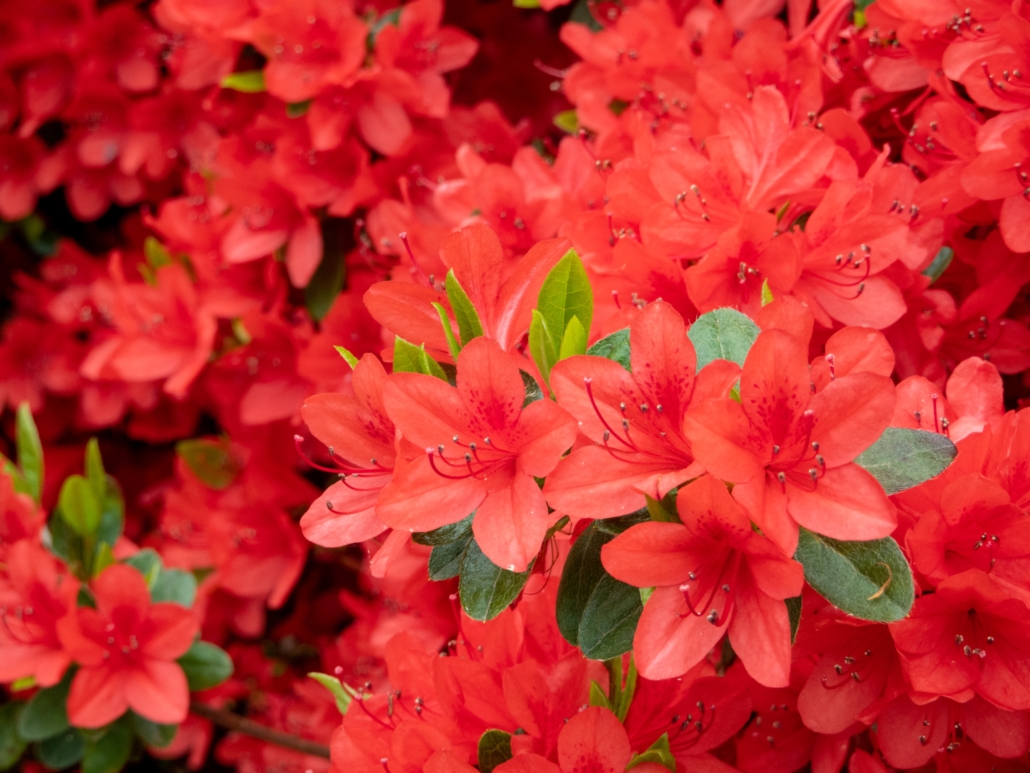
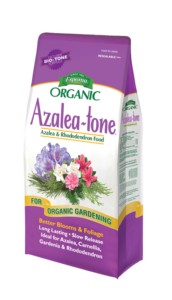
Azaleas and Rhododendrons are some of the most popular flowering shrubs. Blooming from late spring to early summer, these shrubs thrive in almost any garden. Plus, they come in virtually every color of the rainbow — from bold pinks, purples, and reds to soft, muted yellows and whites. Make sure you’re adding these bloomers to your garden this year. Feer your beautiful Azaleas and Rhododendrons with Espoma Organic Azalea-tone fertilizer.
6. Feed roses.
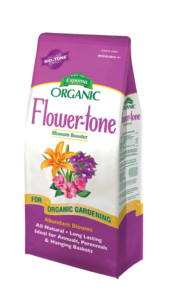
Your roses are waking up now, they’ve made it through a long winter and they are starving! Choose Espoma’s organic Rose-tone. It includes more nutrients than any other rose food. Most rose fertilizers contain three nutrients — nitrogen, phosphorus, and potassium (N-P-K). Here’s how to feed with Rose-tone.
Sit back and relax once you’re done.
April showers will give way to May flowers in no time at all.
*****
Check out our Total Guide to Growing Organic Berries!
Featured Products:

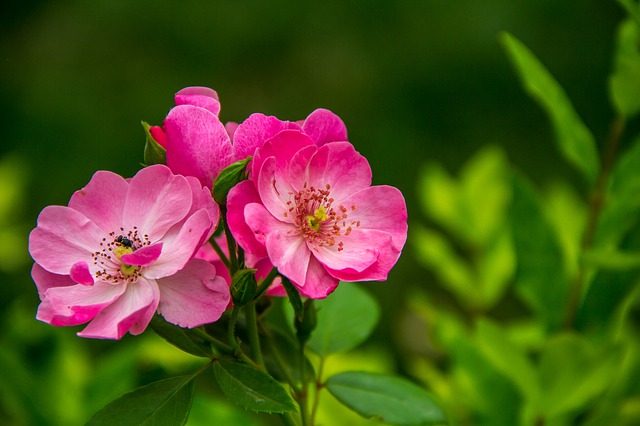
Is there anything better than walking into your garden, smelling the heavenly scent of a rose and seeing a luscious rose bloom?
Believe it or not, we think there is!
More roses!
Once your roses start blooming, all you want is for more roses to grow, too! Stack the odds in your favor by feeding and deadheading your roses now.
Give Your Roses an Energy Boost!
To create those gorgeous, lovely rose blooms, roses need lots of energy! You don’t think those beautiful blooms just happen, do you?
Soon, roses will be coming up every which way! Go forth and create big, beautiful blooms with your newfound knowledge.
Drum roll please! The start of planting season is here!
After long weeks spent pouring over seed catalogs and admiring Pinterest gardens, it’s time to finally create the garden of your dreams.
If you started seeds a few weeks ago, it’s time to gradually move them outside. And if you didn’t, a trip to your local garden center awaits you.
So now that you’re ready, let’s plant your soon-to-be flourishing garden.
How to know if your garden is ready for planting:
To see if the ground is thawed and warm enough for planting, dig 3-4” deep. Grab a handful of soil and roll into a ball. If the soil won’t take shape, it’s too hard and dry for new plants.
If you can make a ball, drop it to the ground. If it breaks, your soil is ready. If the ball stays together, your soil is too wet, so try again in a few days.
Now comes the fun part, deciding what to plant!
Roses, snapdragons and pansies are some of our favorite flowers to plant in early spring. Plus, they add a pop of color when you need it most.
As far as veggies go; plant peas, spinach, kale, lettuce, broccoli, carrots and onions in early spring. Imagine how much you’ll save on groceries in the upcoming months!
Before you buy your new plants, check the plant tags to make sure you have enough space and sun.
Now time to plant:
If planting a flower bed, mix 4 lbs. (12 cups) of Bio-tone Starter Plus, an organic plant food, per 100 square feet into the top 4-6” of soil.
Adding all-natural, organic plant food enhanced with bacteria is the secret to bigger, better plants of all kinds.
Bio-tone Starter Plus is like a protein shake for your plants. This organic plant food is jam-packed with microbes and mycorrhizae to provide an instant health boost.
Seriously, the proof is in the plants.
Bio tone Starter Plus gives plants everything they need to grow bigger blooms faster. So, you’ll lose fewer plants along the way. You can also add Bio tone when planting bulbs, container gardens, shrubs and even trees. Using this organic plant food on veggies and fruits is a-ok since it’s all natural.
Now, get digging! You can plant in individual holes or a garden bed. Either way, dig holes as deep as the containers the plants came in, and check the plant tag to see how far apart to plant.
Remove plants from containers; loosen roots and pop ‘em in the hole!
Then, replace the soil around the plants and water.
Finally, add the finishing touch of 2-3” mulch — if you haven’t already.
What are you planting this spring? Comment below or better yet, share a picture on our Facebook page!