Pancakes, tarts, pies, we love adding blueberries to any recipe. And we’re not alone.
The U.S. Department of Agriculture recognizes July as National Blueberry Month! If any fruit deserves its own month, it’s the all-American blueberry.
Take advantage of peak fruiting season to celebrate this delicious little berry.
Health Benefits
Not only delicious and popular, blueberries are one of the top 10 healthiest foods.
These nutritional powerhouses are packed with antioxidants that help guard against cancer and heart disease. Blueberries are low in calories, but rich in fiber and vitamins. One serving of blueberries serves up almost 25 percent of the recommended daily intake of Vitamin C. Plus, blueberries have a favorable impact on blood sugar regulation in persons already diagnosed with type 2 diabetes.
Convinced?
Grow your own blueberries – It’s easy!
The secret to blueberry success, according to berry expert Amelie Brazelton Aust, at Fall Creek Farm & Nursery who’s been growing blueberries on her family farm since she was a child, is the Four Ps — planting, pruning, picking and protecting.
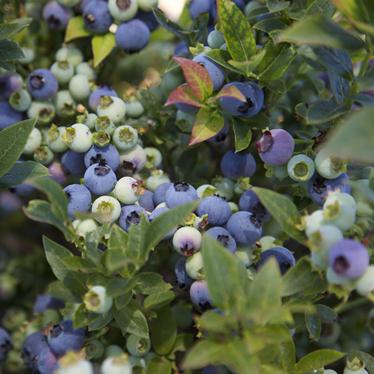
‘Jelly Bean’ BrazelBerries blueberries
Simply follow these four simple tips to help bushes flourish season after season!
1. Planting
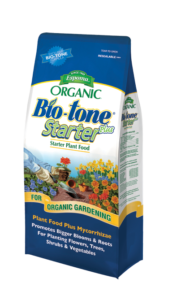
First, plant the right variety. Compact blueberries, like those from BrazelBerries, are perfect for growing in containers, raised beds or even directly in the garden. We recommend using Espoma Organic Bio-tone Starter Plus at the time of planting to help produce large root systems very quickly. This will help ensure that new plantings get maximum water and nutrients from the soil to minimize transplant loss.
Once you’ve chosen a blueberry bush, plant it in a sunny spot with at least six hours of sun each day.
Next, consider the soil. Blueberries love acidic soils. A pH of 4.5-5.5 is ideal. A simple soil test indicates acidity, which can easily be adjusted with a balanced organic fertilizer. Soil kits and amendments are available at any local garden center.
Give the plant’s roots plenty of growing room when planting in a container.
Plant dwarf blueberry bushes in pots 16” or more in diameter and water deeply and regularly to make sure all of the soil within the pot is moist.
2. Pruning
Cutting branches off any plant can be daunting, but it’s best for the plant. Pruning gives berries more space between branches, allowing air to flow freely and preventing disease.
“It’s best to prune blueberries in late winter when the plants are still dormant,” says Aust, “but I’ve pruned mine in the spring before flowering, and they’ve done great.”
Remove stems that are damaged, old, or dead. Take out up to a quarter or even a third of the bush, then trim it up to a neat and tidy look.
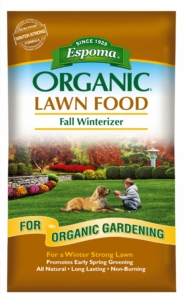
Fertilizing is recommended in early spring. “Choose a balanced, organic, slow-release fertilizer for acid-loving plants,” Aust says.
Aust recommends a second application of fertilizer in late spring to give the plants an extra burst of energy for fruit production.
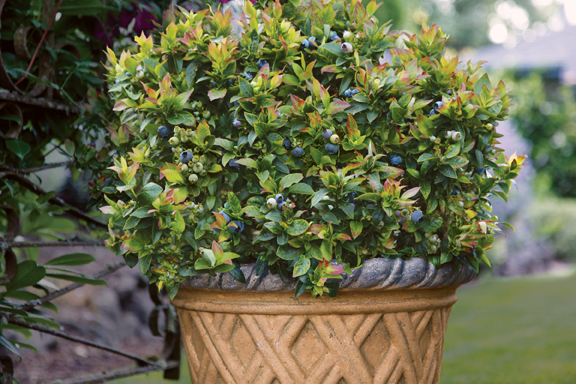
‘Jelly Bean’ BrazelBerries blueberries
3. Picking
With planting and pruning in the bag, the next step — picking — is the payoff. Be sure to watch your berries carefully and pick them before the birds do! Aust suggests getting one berry for yourself and one for the birds.
4. Protecting
A little protection ensures your blueberry bush will thrive for another bountiful season. Keep critters away by covering bushes with bird netting in the spring.
Winter weather poses the biggest risk to berry bushes, so be sure to protect roots.
“In very cold regions, apply a deep layer of mulch around the base of the bush to protect the roots,” Aust says. “Blueberries in pots are easiest to protect from the cold — just move the pots into an unheated garage or against a building and cover them with thick mulch, burlap, or a blanket.”
Spring’s sudden cold snaps endanger emerging growth, as well. Be sure to cover blueberry bushes with burlap or blankets when the forecast calls for frost once buds and flowers are emerging.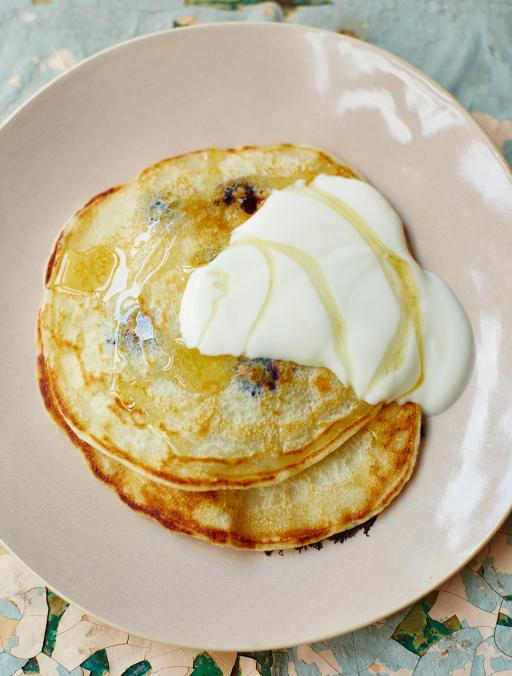
Are you growing berries this year? What will you be making with them?
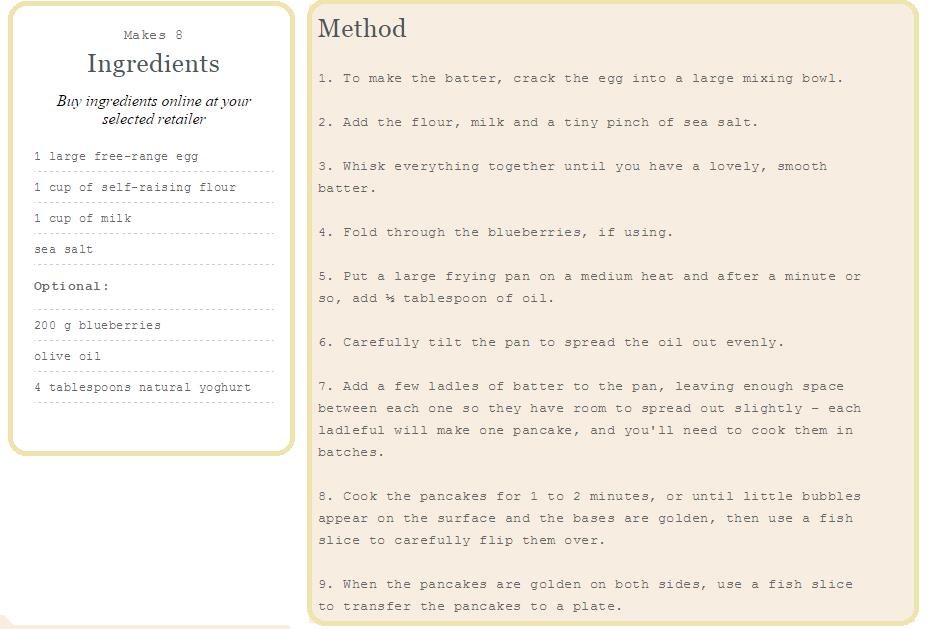
Check out this super easy one-cup blueberry pancakes recipe from Jamie Oliver:
Featured Products:


 your style through plants, but also in the unique pots you choose. It’s twice the fun!