Espoma Organic
  • Products
    • Close
    • Product Line Overview
    • Plant food finder
    • Garden Fertilizers
    • Potting Soils
    • Lawn Fertilizers
    • Liquid Fertilizers
    • Single Ingredients
    • Conventional Plant Foods
    • Animal Care Products
  • Where to Buy
  • Our Story
    • Close
    • Our Story
    • Locations
    • Historical Timeline
    • Our Commitment
    • Directions
    • Solar
    • Join our Team
    • Espoma Brand Partners
  • Learn
    • Close
    • Espoma Blog
    • FAQ’s
    • Pocket Guide
    • Espoma Guides
    • Garden Clubs
    • Safe Paws Lawn
    • PRODUCT FACT SHEETS
    • Fertilizer Fundamentals
      • Close
      • Understanding Plant Nutrition
      • Reading Labels
      • Choosing the Right Type of Fertilizer
      • Terms & Definitions
    • Gardening Projects
    • Resource Links
  • Contact Us
  • Menu Menu

Tag Archive for: Organic Gardening

BAGR 117 Blog: Alocasia Care 101

December 8, 2022/in Fruits & Vegetables - None

There are so many reasons to love Alocasia, from their unique leaf shape to their gorgeous vein patterns and their incredible variety of colors. In this blog, we do a deep dive into Alocasia care.


This blog is inspired by Episode 117 of Bloom and Grow Radio Podcast, where host Maria Failla interviewed Enid Offolter, owner of NSE Tropicals.


Best Soil for Alocasia 

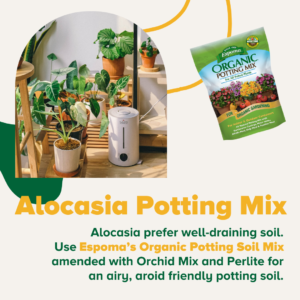
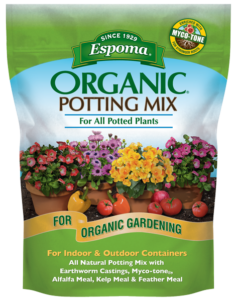
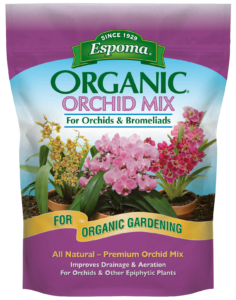
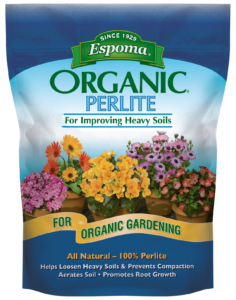
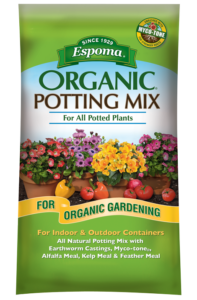
Alocasia plants prefer well-draining soil. Using Espoma’s Organic Potting Soil Mix amended with aerated blends like Orchid Mix and Perlite will ensure an airy potting soil for your Alocasia. 


Alocasia Watering Requirements 

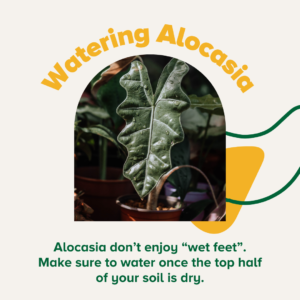
Because Alocasia plants prefer well-draining soils, they do not like to sit in any standing water. It’s best not to let them dry out completely either. Let the top half of your soil dry out with the bottom half staying moist before you water again. 


The Type of Light Alocasia Need

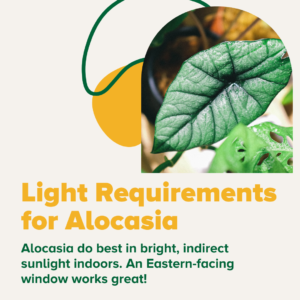
Most Alocasia plants need shade, but some large varieties like Alocasia macrorrhiza ‘Borneo Giant’ can tolerate full sun. Smaller varieties like Alocasia reginula ‘Black Velvet’ and Alocasia cuprea prefer darker environments. That being said, indoor lighting environments are considerable darker than their natural outdoor ones. Bright, indirect light like an Eastern-facing window is best for most Alocasia varieties in your home. 


Alocasia Humidity Requirements

Alocasia plants are tropical, so they prefer moderate to high humidity indoors. Typical indoor conditions would work for Alocasia, potentially adding some humidity during dry Winter months. Aim for 60-80% humidity for happy plants. 


Fertilizing 

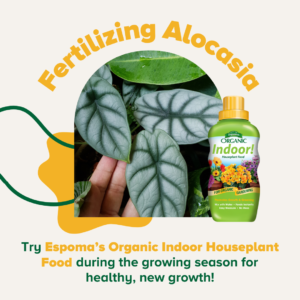
Stick with fertilizing Alocasia during the growing season from Spring through Summer. Espoma’s Organic Indoor Houseplant Food is an all-purpose liquid fertilizer you can use every two to four weeks during the growing season for healthy, new growth.


Common Alocasia Problems

Alocasia plants can be prone to root rot, so it’s important not to over-water. To help prevent over watering, try keeping your Alocasia a bit more root bound. If your pot is too big, it’s much easier to give your plants too much water because it takes the soil longer to dry out.


Alocasia Dormancy Period

Most Alocasia varieties will go “half dormant” in the Winter, where they tend to look like they might be dying. You may even observe your Alocasia trying to flower, which really takes a lot of energy out of the plant. 

But don’t worry! This is completely normal for Alocasia plants during the Winter months. Make sure to leave the yellowing leaves for the plant to absorb that energy back into itself, and your Alocasia should come back just fine in Spring. In the Spring, remove dead leaves and continue watering and giving it light and new growth should show up in no time. 


Best Alocasia Varieties for Beginners

Two varieties of Alocasia for beginners are Alocasia baginda ‘Dragon Scale’ and Alocasia ‘Silver Dragon.’ Both do well indoors with bright, indirect light. 


Best Alocasia Varieties for Advanced Plant Parents

Two Alocasia varieties that tend to be best for more advanced plant parents are Alocasia cuprea and Alocasia azlanii. 

There really are so many wonderful varieties of Alocasia that any plant parent can find one to fit their needs! 

*****

About Bloom & Grow Radio Podcast

 Bloom & Grow Radio Podcast helps people care for plants successfully and cultivate more joy in their lives. Host Maria Failla, a former plant killer turned happy plant lady, interviews experts on various aspects of plant care, and encourages listeners to not only care for plants, but learn to care for themselves along the way.

About Our Interviewee

NSE Tropicals is well known for its large selection of hard-to-find anthuriums, philodendrons, and other unusual plants. Their online store is dedicated to bringing the odd, unusual, rare, exotic or seemingly unattainable to fellow collectors. 

Enid Offolter of NSE Tropicals just released her new book, Welcome to the Jungle: Rare Tropical Houseplants to Collect, Grow, and Love. This book is all about unusual aroids and how to care for them. It profiles 50 plants that aren’t so common in the plant trade and you certainly won’t find at big box stores. 

​​Follow Enid & NSE Tropicals:

Website

Instagram

Facebook


Featured Products:

Where to Buy


https://www.espoma.com/wp-content/uploads/2022/12/Alocasia-Care-1.png 1080 1080 Matt Dauphinais https://www.espoma.com/wp-content/uploads/2023/05/espoma-logo340w-1.png Matt Dauphinais2022-12-08 15:29:142022-12-08 15:29:14BAGR 117 Blog: Alocasia Care 101

Plant-Centric Picks for Decking Your Halls This Season

December 7, 2022/in Blog, Fruits & Vegetables - None, Holidays

Looking to liven up your space in the cold of winter? No matter what your interior style is, incorporating plant-centric decor is the best way to make your home look and feel festive, fresh, and fragrant. You might even develop some new holiday traditions with these merry and bright ideas. Go beyond boughs of holly this season, and try out these suggestions for decking your halls, hearth, and home!


For a Merry Mantel 

If you have a mantel, now is the time to take advantage of it! A decorated mantel is classically festive, and even the simplest touches can help your space feel extra cozy.

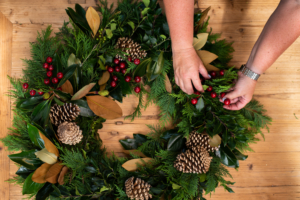
Hanging a locally-created wreath above the mantel is a simple yet charming way to spread some holiday cheer. Wreaths come in many different shapes and varieties, so visit your local tree farm, farmers market, independent garden store, or florist to find something that suits your space. 

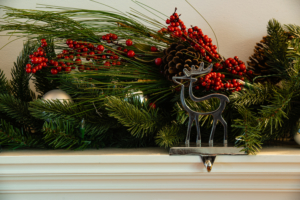
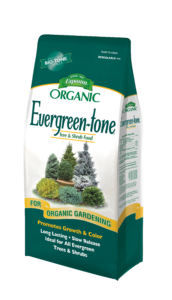
Garlands are another classic option for the mantel, and that’s because they provide so much room for customization. Build your garland by blending together clippings of your favorite evergreens, holly, and red berries to create a design as simple or decadent as you wish. Plus, if you’ve been using Espoma Organic Evergreen-Tone on your trees and shrubs, your evergreens will set you steps ahead in quality and appearance! 


For a Spruced Up Table

Holidays are the season of hosting. Add a special touch to your gathering by gathering your own fresh and fragrant decor to festively set the table!

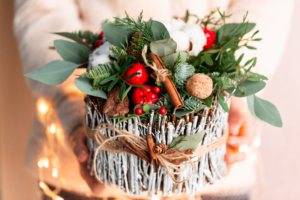
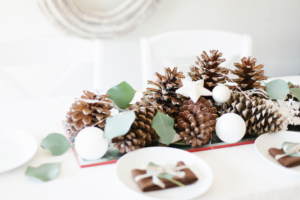
Peruse your backyard or local park for pinecones, and use them to create a centerpiece for your dinner table. The key to a strong centerpiece is to create dimension without creating a distraction. Arrange your pinecones in a shallow dish with your choice of candles, pine sprigs, fresh cinnamon sticks, and small birch branches. P.S. If you’re feeling especially crafty, paint the edges of the pinecones white for a snow-frosted look! 

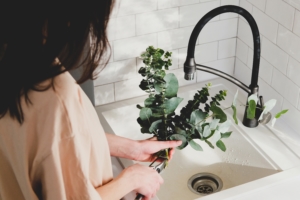
Eucalyptus is an evergreen native to Australia, famous for its fragrance, health benefits, and appearance. It’s also an easy yet classy option for a centerpiece! Trim your eucalyptus houseplant or shop your local garden store for fresh branches, then create a layered arrangement with real or artificial winter fruits. Pomegranates, pears, apples, or cranberries are all great options! Warning: eucalyptus can be toxic to cats and dogs, so be sure to keep this arrangement out of reach if you have pets. 

For a Holly Jolly Home

The lights have been strung, the mantel’s been decked, and the table is set… holiday decor transforms a house into a home! To wrap things up, here are some final plant-centric decorations to jingle the holiday spirit into any room. 

Opt against an artificial tree and forage for a branch that can fill its spot. A Charlie Brown Christmas, anyone? This decor option isn’t for everyone, but with a little white or gold spray paint, an elegant jar as a base, and a few ornaments, the simplest backyard branch can transform into a classy decoration. 

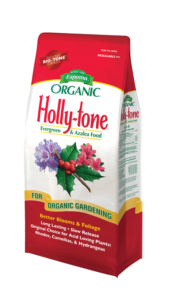
Has your holly tree been thriving thanks to Espoma Organic Holly-Tone? Incorporate that beautiful growth and upgrade your ambient lighting by wrapping sprigs of holly around LED candles using twine or decorative ribbons! You can also mix in eucalyptus leaves for a more well-rounded look. Stagger the height of the candles and arrange in groups on countertops, coffee tables, desks, or any surface that needs a little cheer.

*****

With these decor suggestions, your space is sure to feel merry, bright, and fresh for the holidays. Have a festive plant-centric decor idea that we missed? 


Share it with us on our Facebook page

Or on our YouTube Page

Tag us on Instagram!


Featured Products: 


Where to Buy

https://www.espoma.com/wp-content/uploads/2022/12/annie-spratt-QKo-op_gR9I-unsplash-scaled.jpg 1625 2560 Matt Dauphinais https://www.espoma.com/wp-content/uploads/2023/05/espoma-logo340w-1.png Matt Dauphinais2022-12-07 18:27:132022-12-07 18:27:13Plant-Centric Picks for Decking Your Halls This Season

VIDEO: Kaleb Wyse Answers Prayers With New Church Planter!

November 23, 2022/in Blog, Espoma Videos, Fruits & Vegetables - None, Kaleb Wyse

When there’s an important gardening project to be done… you call Kaleb Wyse. ? And he always brings his trusty Espoma Organic products to make sure it’s a job well done! This time he’s tackling a tricky planter in front of his grandparents’ church that gets a lot of sun, a lot of wind, and a lot of eyes on it. Fortunately with our Espoma Organic Potting Soil Mix and Plant-tone, those plants will stay looking heavenly! Check out the full video below to watch Wyse Guide work his magic. 

Learn more about Wyse Guide here:

YouTube: https://www.youtube.com/user/TheGrayBoxwood 

Facebook: https://www.facebook.com/WyseGuide/ 

Instagram: https://www.instagram.com/WyseGuide/ 

Website: https://www.wyseguide.com/ 


Featured Products:


Where to Buy

https://www.espoma.com/wp-content/uploads/2022/11/Church-Planter-for-Grandma-11-scaled.jpg 1708 2560 Matt Dauphinais https://www.espoma.com/wp-content/uploads/2023/05/espoma-logo340w-1.png Matt Dauphinais2022-11-23 15:13:262022-11-23 15:13:26VIDEO: Kaleb Wyse Answers Prayers With New Church Planter!

BAGR 154: How to Build a Terrarium

November 21, 2022/in Blog, Bloom and Grow Radio

This blog is inspired by Episode 154 of Bloom and Grow Radio Podcast, where host Maria Failla interviewed Patricia Buzo of Doodle Bird Terrariums.

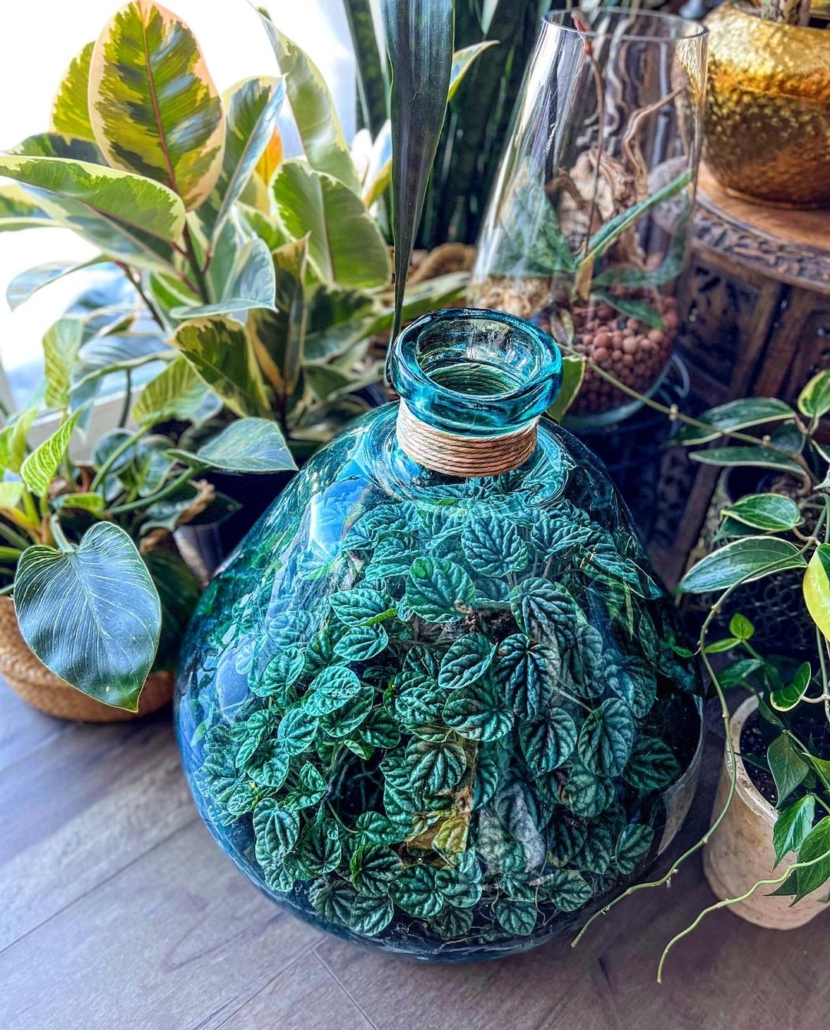
Terrariums do so much more than encapsulate our plants within the confines of a vessel. They capture a feeling. They capture a sense of wonder that a simple potted plant just can’t do. We can create entire worlds within a terrarium, and even ecosystems. They become a place that we can escape into for a mindful moment and use to amplify our passion for playing.

In this blog, terrarium guru Patricia of Doodle Bird Terrariums and Maria from Bloom & Grow Radio break down the differences and similarities of terrariums, paludariums, and vivariums to equip you with the knowledge you need to set your first one up!

What’s the Difference Between Terrariums, Vivariums, and Paludariums?

In the plant community, a terrarium usually refers to a small glass jar or fishbowl that has only plants inside. It’s not going to house any type of pet. 

A vivarium, on the other hand, contains pets like frogs or lizards, but has plants too. It’s also typically much bigger than a terrarium.

A paludarium is a type of vivarium that’s usually an even larger enclosure. It incorporates both terrestrial and aquatic elements into it, so it’s like having an aquarium and a terrarium in one. It often houses animals like fish, lizards, or frogs in the top portion.

Benefits and Common Problems of Growing in a Terrarium

One of the benefits to a terrarium is being able to grow diverse plants that you might not have otherwise been able to, as they create a microclimate of higher humidity. Most miniature terrarium plants need very high humidity, which likely doesn’t exist in your home or garden! 

Another benefit of terrariums is that they can be portable. If you’re traveling a lot and miss your plants, you can simply place them in a jar and take them with you.

A common problem in terrariums though, is mold growth. The warm, humid environment creates perfect conditions for mold to take over and eat away at your plants. You can prevent mold growth by avoiding biodegradable items in your terrarium like sticks, leaves, and pine cones. Adding little creatures like springtails and isopods (aka rolly pollies) that feed on decomposing materials can also significantly reduce mold growth. 

How to Choose the Best Terrarium Plants

When choosing which plants you want in your terrarium, opt for smaller varieties of plants to avoid requiring you to keep sizing up your vessel. 

Take advantage of the high humidity terrarium conditions and choose humidity-loving plants. Look for plants in the terrarium or fairy garden section at your local nursery for options. 

Small and miniature orchids work really well in terrariums, growing only an inch or two high with pretty flowers. Peperomia Ripple (Peperomia caperata) grows well in a bigger jar and loves the terrarium environment. 

Asparagus ferns (Asparagus aethiopicus), the little tree plant (Biophytum sensitivum), jewel orchids (Ludisia discolor), and creeping figs (Ficus pumila) are also great plant options for terrariums.

How to Set Up a Terrarium 

Materials Needed: 

  • Aquarium tongs
  • Spray bottle
  • Scissors
  • Small glass container
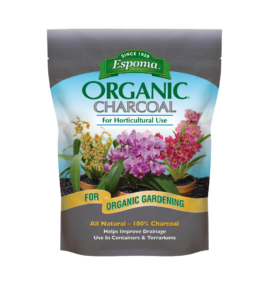
  • Drainage layer: Espoma’s Horticultural Charcoal
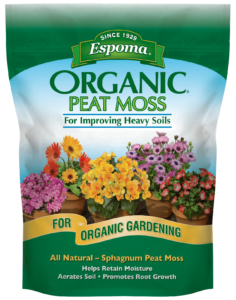
  • Soil: Espoma’s peat moss or coco coir base mixed with Espoma’s perlite or Espoma Potting Mix 


Step 1: Make a list of plants you want in your terrarium. Do a quick search of conditions they prefer, including light, temperature, and moisture. 

Step 2: For a humid-loving plant, choose a jar with a lid to maintain humidity. For a plant that needs to dry out a bit, opt for an open jar. You can find great jars secondhand at thrift stores or estate sales, but affordable glass jars are also available at home goods and craft stores.

Step 3: Layer your materials in your glass jar with horticultural charcoal, soil, and plants. Use aquarium tongs to place your plants in the soil and scissors to trim excess plant material. 

Step 4: Water your terrarium using distilled water. Use a spray bottle for moss and if you have rooted plants, pour a small amount of water onto the soil. 

Step 5: Add your bioactive creatures like springtails or isopods and place your lid on top for humidity-loving plants. (This is optional.)

Step 6: Put your completed jar in bright, indirect light and enjoy your new terrarium! 

*****

For a more in-depth look at building terrariums, vivariums, and paludariums, check out Patricia Buzo’s book, A Family Guide to Terrariums. 

About Bloom & Grow Radio Podcast

 Bloom & Grow Radio Podcast helps people care for plants successfully and cultivate more joy in their lives. Host Maria Failla, a former plant killer turned happy plant lady, interviews experts on various aspects of plant care, and encourages listeners to not only care for plants, but learn to care for themselves along the way.

About Our Interviewee

Patricia Buzo founded Doodle Bird Terrariums in 2008 out of her love of plants and creating unique works people would treasure. Each terrarium she creates is handcrafted using the highest grade plants and supplies, utilizing special tricks to carefully package these fragile vessels so they arrive safely.

Now, over 10 years later, she has authored the book A Family Guide to Terrariums, inspired many on her Instagram account, and has been featured in The New York Times.

​​Follow Lisa:

Website

Instagram

Blog

Shop


Featured Products:


Where to Buy

https://www.espoma.com/wp-content/uploads/2022/11/280107698_1828951650627149_8927427597614221368_n.jpg 1167 1080 Matt Dauphinais https://www.espoma.com/wp-content/uploads/2023/05/espoma-logo340w-1.png Matt Dauphinais2022-11-21 17:24:402022-11-21 17:29:10BAGR 154: How to Build a Terrarium

VIDEO: Succulent Success with Garden Answer!

November 7, 2022/in Blog

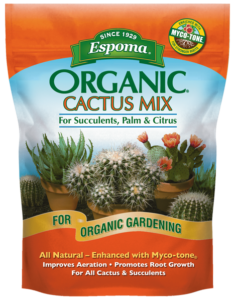
Everyone loves an aesthetically-pleasing succulent arrangement, and with Garden Answer’s guidance, you can create one for your own home. Plus, with Espoma Organic’s Cactus Potting Mix full of the nutrients you need to set your succulents up for success, you can focus on having fun with the colors, shapes, and textures of these special plants! 


Learn more about Garden Answer here:

https://www.youtube.com/c/gardenanswer 

https://www.gardenanswer.com/

https://www.facebook.com/gardenanswer

https://www.instagram.com/gardenanswer/


Featured Products:


Where to Buy

https://www.espoma.com/wp-content/uploads/2022/11/succulent-thumbnail.png 1356 2532 Matt Dauphinais https://www.espoma.com/wp-content/uploads/2023/05/espoma-logo340w-1.png Matt Dauphinais2022-11-07 15:09:222022-11-07 15:09:22VIDEO: Succulent Success with Garden Answer!

VIDEO: Houseplant Heaven with Garden Answer

October 26, 2022/in Blog, Espoma Videos, Garden Answer, Greenhouse Gardening, Indoor Gardening

Is it even possible to have too many houseplants? Not if you’re an expert like Garden Answer! With the help of Espoma’s Organic Potting Mix, walk through a whole haul of exciting, unique, and beautiful houseplants from the research phase all the way to repotting. 


Learn more about Garden Answer here:

https://www.youtube.com/c/gardenanswer 

https://www.gardenanswer.com/

https://www.facebook.com/gardenanswer

https://www.instagram.com/gardenanswer/


Featured Products:


Where to Buy

https://www.espoma.com/wp-content/uploads/2022/10/thumbnail.jpg 1080 1920 Matt Dauphinais https://www.espoma.com/wp-content/uploads/2023/05/espoma-logo340w-1.png Matt Dauphinais2022-10-26 18:45:572023-12-04 12:39:03VIDEO: Houseplant Heaven with Garden Answer

VIDEO: Catch up with Summer Rayne Oakes’ Shade Garden

September 10, 2022/in Blog, Gardening, Gardening Projects

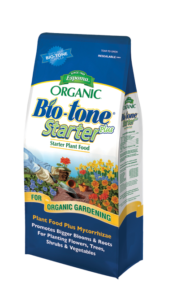
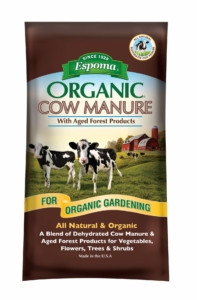
Wow! Look how much the shade garden bed at Flock Finger Lakes has grown. With the help of Espoma Organic Bio-tone Starter Plus and our Organic Cow Manure Compost Blend, your garden can thrive season after season too. 


Learn more about Summer Rayne Oakes here:

Website: homesteadbrooklyn.com

Instagram – @homesteadbrooklyn

YouTube – Summer Rayne Oakes

Twitter – @sroakes

Facebook – Summer Rayne Oakes


Featured Products:


Where to Buy

https://www.espoma.com/wp-content/uploads/2022/07/Shade-Garden-May-IMG_2376-1-scaled.jpeg 1707 2560 Matt Dauphinais https://www.espoma.com/wp-content/uploads/2023/05/espoma-logo340w-1.png Matt Dauphinais2022-09-10 09:33:042022-09-22 10:27:28VIDEO: Catch up with Summer Rayne Oakes’ Shade Garden

VIDEO: Summer Rayne Oakes’ Acid-Loving Groundcover Garden!

September 7, 2022/in Blog, Gardening

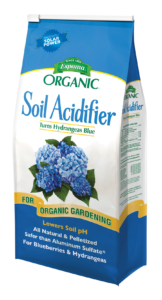
Add a little pH pep to your step—your acid-loving plants will really thrive with our Espoma Organic Soil Acidifier. Take it from Summer Rayne Oakes at Flock Finger Lakes as she walks you through her acidic, edible groundcover garden!

Learn more about Summer Rayne Oakes here:

Website: homesteadbrooklyn.com

Instagram – @homesteadbrooklyn

YouTube – Summer Rayne Oakes

Twitter – @sroakes

Facebook – Summer Rayne Oakes


Featured Products:


Where to Buy

https://www.espoma.com/wp-content/uploads/2022/07/Acid-Loving-Plants-IMG_2543-scaled.jpeg 1707 2560 Matt Dauphinais https://www.espoma.com/wp-content/uploads/2023/05/espoma-logo340w-1.png Matt Dauphinais2022-09-07 17:26:022022-09-10 09:42:44VIDEO: Summer Rayne Oakes’ Acid-Loving Groundcover Garden!

Seed Starting 101: How to Start Seeds Successfully

April 5, 2022/in Blog, Bloom and Grow Radio

Seed starting setup

Seed starting is upon us in the gardening world! There is no better way to connect with the food we eat than by growing it ourselves. Starting edible plants from seed can be intimidating, but we’re here to break it down and answer all your burning questions. 

This blog is inspired by Episode 114 of Bloom and Grow Radio–where host Maria Failla interviewed Joe Lamp’l–the Joe behind The joe gardener Show.

Before we dive into the how of seed starting, let’s understand the why. 

Why Start Your Garden from Seed? 
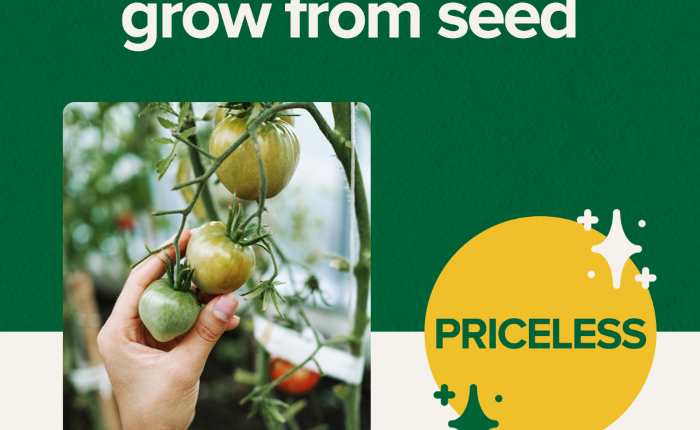
In our world of instant gratification, what’s better than starting your gardening season way sooner than most gardeners?! When you start seeds indoors, you get your hands in the dirt and get a jump on the growing season. And what a rewarding feeling it is to start your plants from seed, and enjoy the journey of bringing them from seed to plate. 

If you love your edibles, decide what you want to eat and which varieties you want. Don’t leave it up to what’s available at the garden center. Think about how much you can choose when you start from seed: flavor, varieties, and the stories behind different heirlooms. You can really expand your food choices when you get to pick exactly what you grow. 

Another great reason to start your own seeds is to make sure you’re growing the right kind of plant for your needs. Do you absolutely love tomatoes, but only have a small balcony to grow them? Look for microdwarf tomato varieties that only grow about 1-2 feet tall! If you have a short growing season, you’d also want to make sure you choose “early” or “short season” plant varieties. 

Starting from seed offers us the ability to be in control of the varieties we grow, plan in advance, and save lots of money in the long run. Speaking of starting seeds on a budget…

How to Get Your Seed Starting Setup for Under $100

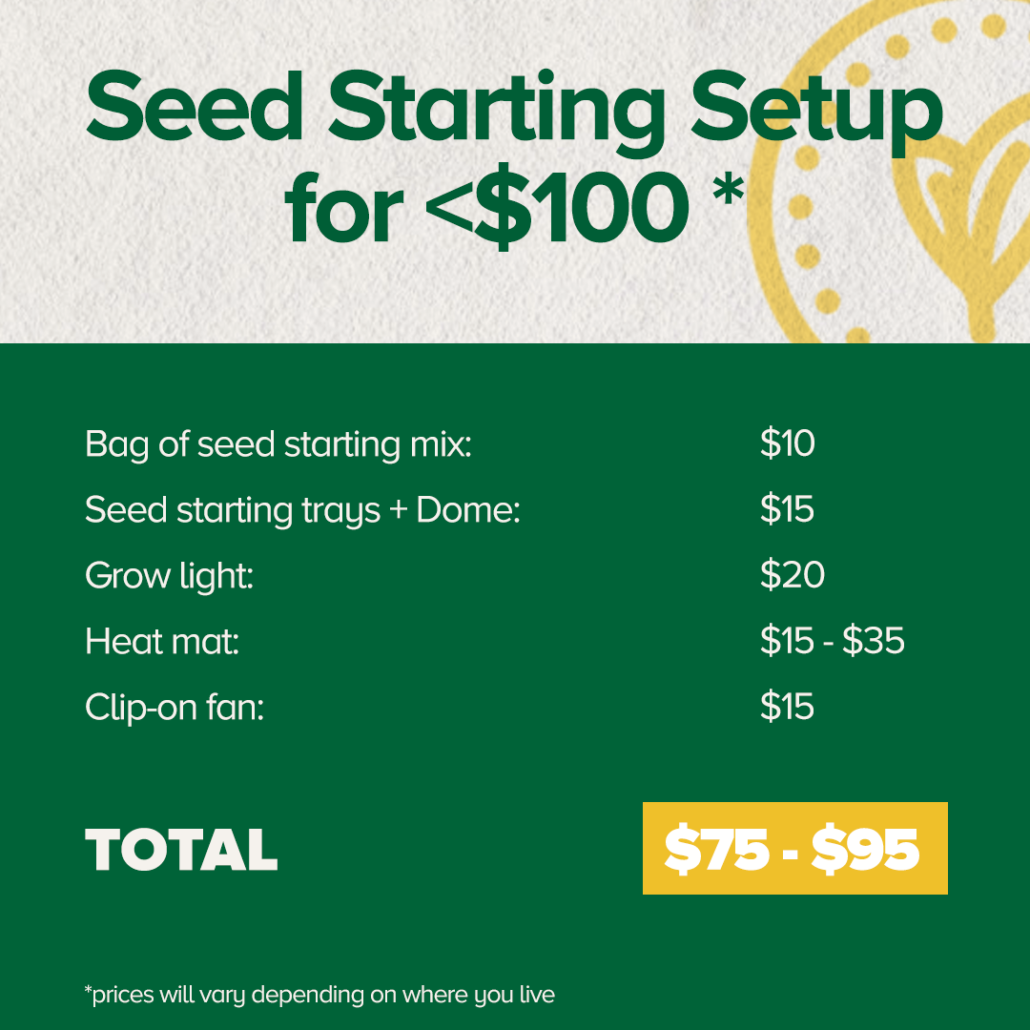
Your seed starting setup can be super budget-friendly if you take the time to look at the components. For under a hundred dollars, you can put together everything you need! Let’s break down the materials, costs, alternatives, and conditions you need for seed starting. 
Seed Starting Mix

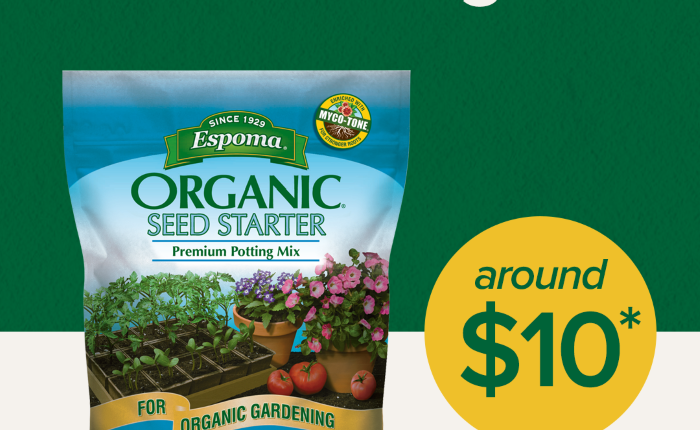
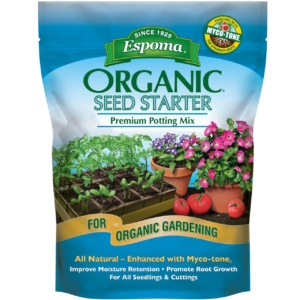
To start, you need a good seed starting mix. It’s called a “mix,” because there’s really no soil in it. It’s made of natural ingredients like peat moss, vermiculite, and perlite. A bag of seed starting mix is going to cost between $5-$10.

Espoma Organics takes the guesswork out of your selection by providing their high quality seed starting mix. 
Seed Starting Trays

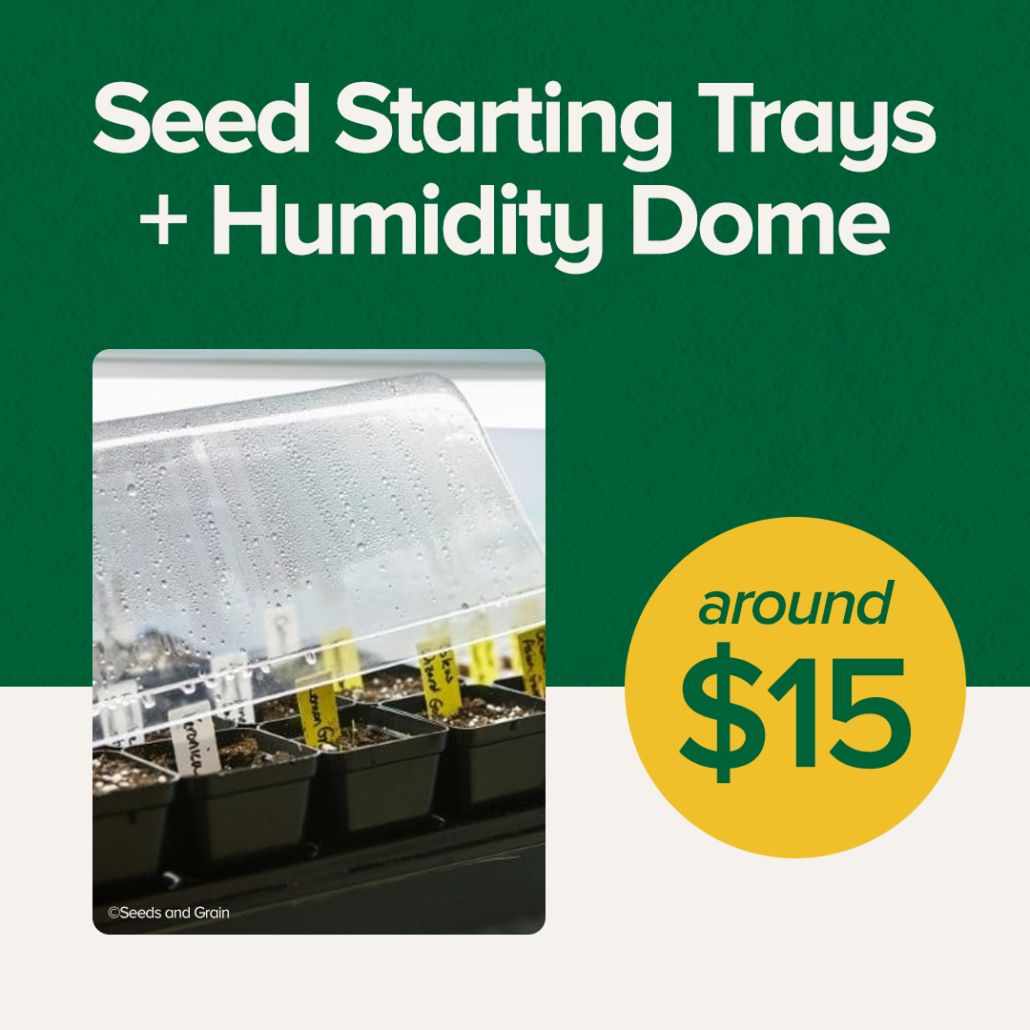
With one bag of seed starting mix, you can fill about two seed starting trays, which is your next material needed. Seed starting trays can give you anywhere between 18 to 72 cells to sow your seeds. You can get two trays for about $10. 

Look for seed starting trays with cells about 3.5 inches or smaller. In a traditional seed starting tray, cells are deep so seedling roots have more room to grow down. About 4 weeks from germination you’ll have to transplant your seedlings into a larger individual pot, AKA “potting up”.
Best Grow Lights for Seed Starting

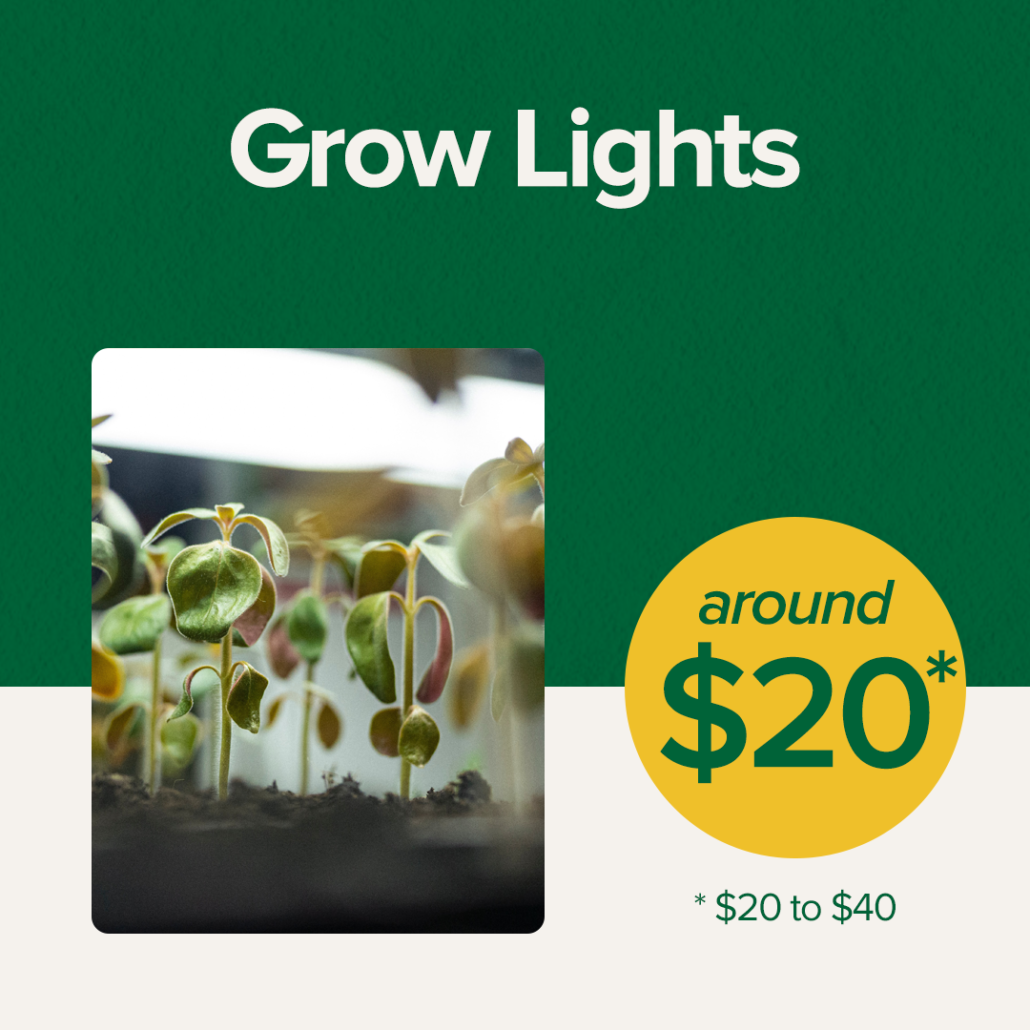
Next is a grow light. Grow lights are where you could spend a lot of money in your seed starting setup, but if you’re on a budget, there is nothing wrong with buying an LED or fluorescent shop light for $20. You can get your seeds sprouted and ready for planting outside in good condition with a very inexpensive shop light. Will it be as good as a seedling that’s under a more expensive light? Maybe not, but all you’re really trying to do is rear those seedlings to the point that they are ready to go outside. Once they get outside, Mother Nature knows what to do and so does that seedling.
What are Heat Mats for Seed Starting important?

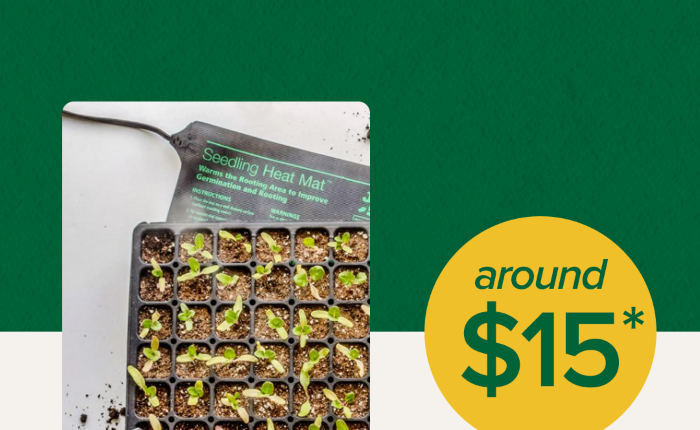
Heat mats are seed starting game changers. Heat mats raise the soil temperature, which helps your seeds sprout faster. Seeds have an ideal range of soil temperature in which they sprout the best, and can be anywhere from 65 to 85 degrees Fahrenheit. Seed mats will cost you between $15 and $35, depending on whether you get a thermostat attached.

Once most of your seeds have germinated, remove them from the heat mats. If you leave your seedlings on heat too long, they can start to become leggy. 
Humidity Dome for Germination

You’ll also want a humidity dome. It’s a clear plastic top that you put over the seed tray to hold the moisture in the soil until the seed germinates. If you don’t have a cover on your tray, the moisture won’t stay in the soil and the seed is not as likely to germinate. For two humidity domes, you’ll probably pay about $6. You can also use plastic wrap and lay it over the top to hold in moisture for your seedlings. 

A key point to remember with humidity domes: once your seeds germinate, remove the humidity dome so seedlings get enough oxygen. Airflow brings us to the next material needed. 

Small Fan for Seed Starting

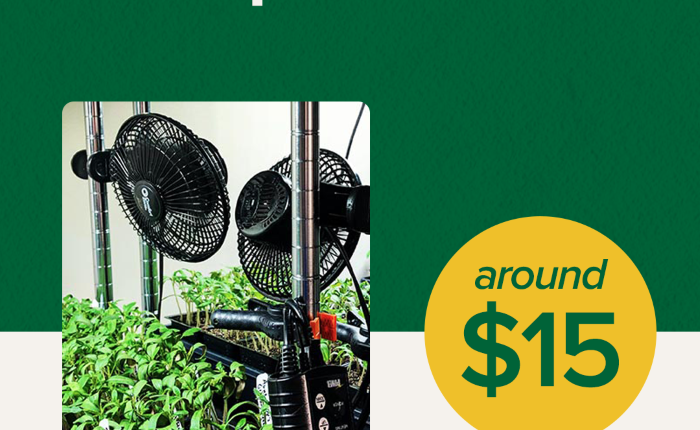
Last but not least, a fan. You can get a cheap clip-on fan for $15. Fans are important because once the seed germinates, you need air movement across that soil surface. Air movement reduces the chance of a fungal disease called damping off, which can kill your seedlings. Fans also simulate wind, making the stems sturdier and ready for outdoor conditions.
Total Seed Starting Materials Cost

Here’s the cost breakdown to get your seed starting setup for less than $100:

Bag of seed starting mix: $10

2 seed starting trays: $10

Shop light: $20

Heat mat: $15 – $35

Humidity dome: $6

Clip-on fan: $15

TOTAL: $81 – $96

All about Seeds: Where to Buy Them, Expiration Dates, & Non-GMOs

It’s important to find a good seed company. Here are some tips when you’re searching: 

  • Look for companies that have been around for a while with a good reputation. 
    • Do they have good customer service? 
    • Are their staff knowledgeable about their seeds? 
  • Find local or regional seed companies that grow their seeds close to home. Some seed companies can outsource their seeds from overseas from a huge commercial supplier. It’s important to know where your seeds are grown. 
  • When you grow seeds adapted to your area, plants have a much better success rate. The more you grow those seeds and save them, the more adapted they’ll become to your specific microclimate too! 

Seed Expiration Dates 

Seed packets will show the day that the seed was packed. Assuming you have leftover seeds and you keep them in a cool, dark, dry place, they will last anywhere from as little as one year to many years, depending on the seed. 

How do you know when a seed is still good or if it’s gone bad? Do a germination test! Before you plant your seeds, put about 10 seeds in a damp paper towel in a plastic bag. Check the moisture daily and after about 10-14 days, your seeds will either have sprouted or not. If 7 out of 10 sprouted, your viability is about 70%. Depending on your viability you can either plant extra or compost unusable seeds.

What are Non-GMO Seeds?

GMO stands for Genetically Modified Organism. Many seed companies have jumped on the bandwagon saying all of their seeds are “certified non-GMO.” There actually aren’t any GMO gardening seeds available for home gardeners. None of the seeds you purchase will ever be GMO seeds. GMO seeds are present in the commercial agriculture industry, but it’s expensive to produce a GMO seed and it’s not anything that we’re going to even be able to buy. So if a company is touting non-GMO seeds, that’s true, they are. But so are everyone else’s.

The Best Time to Start Your Seeds

The most important date you need to know is the last day that you are potentially going to have frost. This is called your frost-free date in Spring. You can find yours by Googling “last frost date” in your area. Once you have that date, then you work backward to about 6-8 weeks. That’s when you’ll be sowing most of your seeds.

You want to time your seed starting so you give your seeds about 6-8 weeks of growing time indoors. By the end of the 6-8 weeks, seedlings will have grown to a sturdy size and are then ready to grow outdoors. If you choose a good seed company, there should be lots of information about this on the back of the seed packet.

If you start your seeds too early, you risk your plants getting too big and outgrowing their space. They’re going to be looking for resources that you probably can’t provide indoors, like more light, nutrition in the soil, and space to grow. The longer your seedlings are confined indoors without the right environment, the more stressed they become. Timing when you plant your seeds is crucial to the seed starting process. 

Let’s Get Planting! 

Now that you’ve got your seed starting setup and timing down, how do you get your seeds in the soil? 

First, look at the information on your seed packet. It will typically have all that important seed starting information you need, including how many weeks to start indoors, days to maturity, and growth patterns. 

Make sure your seed starting mix is pre-moistened, like a damp sponge. Most seeds don’t need light to germinate, but they don’t need to be planted very deeply either. Once you have your seeds in, sprinkle a little bit of extra seed starting mix on top. Spray the tops of the soil gently with water so you don’t move the seeds around too much.

When your seeds are planted, place your humidity dome on top, put your tray on your heat mat, and turn your lights on. Your seedlings are going to sprout in a matter of days to a week, maybe two weeks at most. Once your seeds germinate, remove your humidity dome and turn on your fan. From there, you’re just ensuring that the soil stays moist.

The first leaves that come up are called seed leaves, or cotyledons. In a few weeks, your plants will grow new “true” leaves. Once those new true leaves emerge, you can start to add small amounts of supplemental fertilizer.

Your job over the next 4-5 weeks will be monitoring plant growth and making sure everything looks good. Keeping the lights at the proper distance above the tops of the seedlings is also key–not too close, not too far away.

The Final Step: How to Harden Off Your Plants

Hardening off is about 7 to 10 days of transitioning your seedlings slowly to outdoor conditions. You slowly increase the tender, new leaves’ exposure to sun and wind over about two weeks. Make sure outdoor temperatures are above 45 degrees Fahrenheit with no inclement weather during this period, and bring plants indoors every evening.

Here is a rough schedule to follow: 

  • Days 1-2: 1-3 hours outdoors in shade
  • Days 3-4: 3-5 hours outdoors in shade
  • Days 5-6: 3-5 hours outdoors in morning sun
  • Days 7-8: 7-12 hours outdoors in sun
  • Days 9-10: Leave plants outdoors overnight 

Once you’ve gotten your plants used to the outdoor elements, they’re all ready to be planted in their new homes outdoors! 

*****

Featured Products:


Where to Buy

https://www.espoma.com/wp-content/uploads/2022/04/Seed-starting.png 500 500 espoma https://www.espoma.com/wp-content/uploads/2023/05/espoma-logo340w-1.png espoma2022-04-05 08:25:302023-12-06 13:46:36Seed Starting 101: How to Start Seeds Successfully

Video: Planting Dahlias with Garden Answer

February 15, 2022/in Blog, Espoma Videos, Flowers, Garden Answer

Take a look at how Laura from @GardenAnswer plants Dahlias with the help of Espoma! 

Featured Products:
 

Where to Buy

https://www.espoma.com/wp-content/uploads/2022/02/Dahlias.jpg 1080 1920 espoma https://www.espoma.com/wp-content/uploads/2023/05/espoma-logo340w-1.png espoma2022-02-15 08:34:032023-02-08 19:19:05Video: Planting Dahlias with Garden Answer
Page 19 of 32«‹1718192021›»
Where to Buy

Get News & Updates

Recent Posts

  • Simple Fall Plantings 🪴🌻🍁 with Garden Answer
  • Video: How to Manage a Wild Garden with Summer Rayne Oakes 🌿🌸
  • VIDEO: Planting Beautiful New Plants and Feeding the Lawn Organically 🌸🚜🌱 with Garden Answer
  • VIDEO: Hydrangea Care Tips 🌿🌸 with Summer Rayne Oakes
  • VIDEO: Planting Boxwoods & Hydrangeas with Garden Answer

Tags

All-Purpose Potting Mix bio-tone Bio-tone Starter Bio-tone Starter Plus Cactus Mix caring for houseplants Container Gardening DIY project Espoma espoma grown espoma organic Espoma Organics Espoma Video fall gardening Family fert flower garden flowers garden Garden Answer Gardening gardening tips gardens grow holly-tone houseplants Indoor! indoor gardening indoor plants Kaleb Wyse organic organic fertilizer Organic Gardening organic plant food Organic Potting Mix Outdoor Gardening Planting plants Potting Mix potting soil Spring Gardening summer rayne oakes vegetable garden Vegetable Gardening Wyse Guide

Espoma. A Family Tradition Since 1929.

Espoma Organic logo
  • Espoma Dealer
  • Espoma Pro
  • Garden Club
  • Privacy Policy

Scroll to top