Organic Gardening
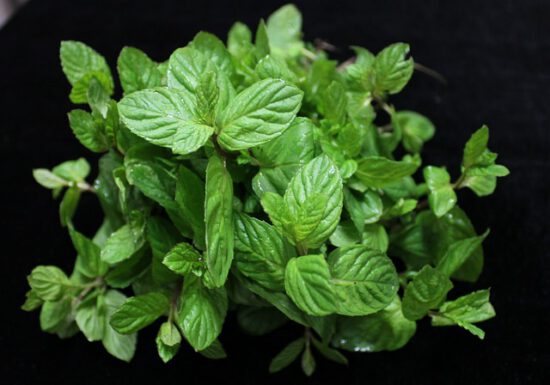
Grow Fresh Herbs at Your Fingertips
Forget dried, stale or store-bought herbs. There’s a cheaper, closer and fresher alternative. Plant an herb container garden near your…
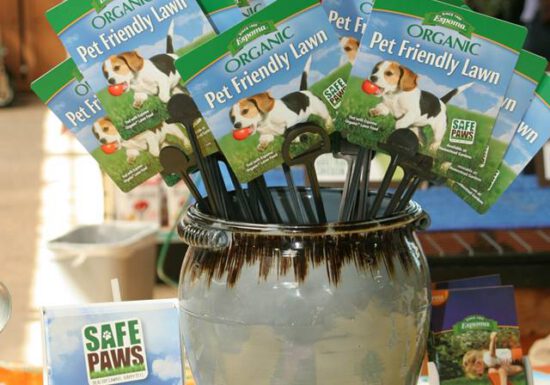
Safe Paws for Pets Everywhere
Have you heard about our Safe Paws initiative and April’s Safe Paws Challenge? The Espoma Company is equipping pet owners…
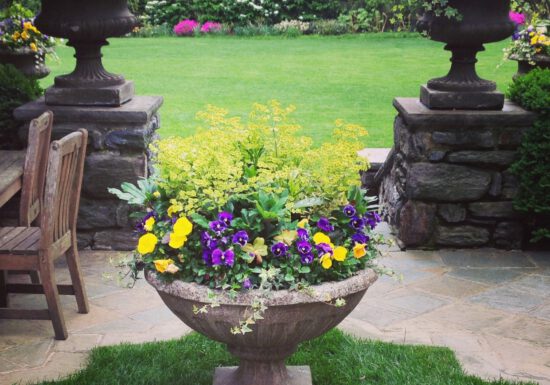
Mother’s Day Container Garden Ideas
Freshly baked chocolate-chip cookies, homemade sandwiches with the crusts cut off and secret passwords— mom did it all for you.…
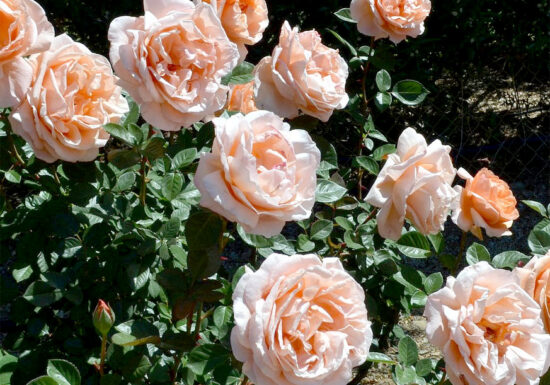
Get More Blooms on Roses with a Monthly Organic Feeding
Imagine growing a rose bush bursting with big, beautiful flowers. It’s easy. All your roses need is a well-balanced meal.…
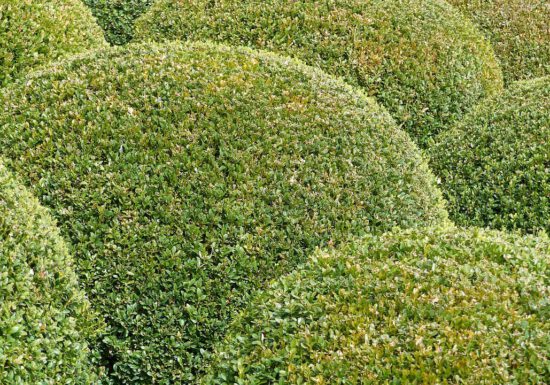
Feed Boxwood with Organic Plant Food in Early Spring
Evergreens — the name says it all. These plants and shrubs add color to your garden all year long, even…
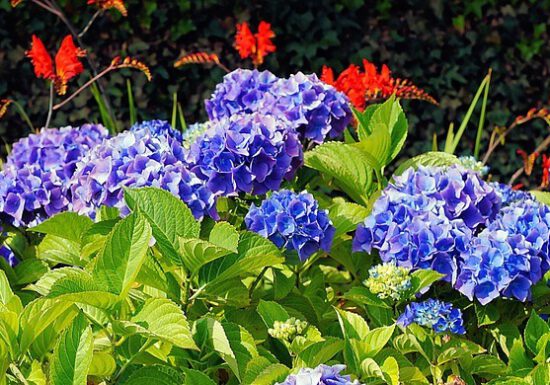
How to Turn Pink Hydrangeas Blue
Picture the bluest hydrangea you’ve ever seen. It’s easy, isn’t it? This vibrant flower is as bright and bold as…
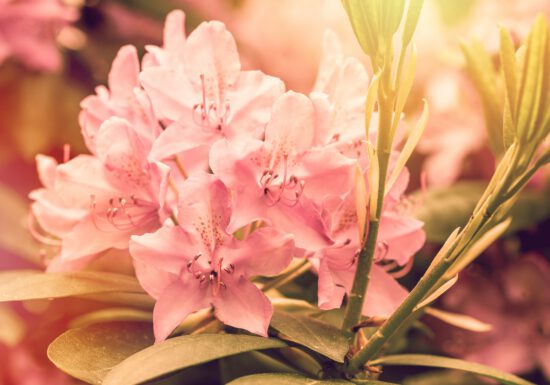
How to Plant Colorful Flowering Shrubs: Azaleas and Rhododendrons
A yard without shrubs is like a completed puzzle, minus one piece. The look is almost perfect, but something is…

Start Seeds Indoors in 10 Easy Steps:
Planting seeds inside is the first step toward Spring! Starting now means you’ll be planting seedlings outside in just 4…