
Tag Archive for: Organic Gardening
Espoma’s Total Guide to Growing Hydrangea’s
Find everything you need to know about growing hydrangeas below!
Choose the right Hydrangea for you – Growing hydrangeas is easy! Simply answer these questions to find a hydrangea variety that will thrive in your garden.
Best Hydrangeas for Beginners to Grow – Oakleaf hydrangeas can tolerate colder weather, handle more sun, withstand drought, are more disease/pest resistant and grow in sandy soil better than other hydrangeas.
Best Hydrangeas to Grow in Full Sun – Most hydrangeas prefer only morning sun. Yet one type of hydrangea can soak up the sun all day: the panicle hydrangea.
Hydrangeas that Bloom All Summer – Reblooming hydrangeas flower on both new and old growth, meaning you can enjoy flowers from June until the first frost. They’ll continue to bloom long after other flowering shrubs and perennials have stopped.
How to Get the Best Hydrangea Blooms – Getting off to the right start in the right location is the difference between a hydrangea bush that blooms for years and one that never does.
Growing Hydrangeas in Containers – No matter how much space you have, find the perfect-sized hydrangea for you. You can even grow hydrangeas in a container.
The Best Way to Plant Hydrangeas – Hydrangeas are like the little black dress of the garden. They’re chic and always in style. Though, hydrangeas will deliver way more wow with their color-changing flowers.
How to Prune Hydrangeas – Before you prune hydrangeas, you need to know which type you have. Take this quiz to find out what type of hydrangea you have and when to prune.
Pink or blue – Create a blue hydrangea simply by amending the soil. Most hydrangeas, except white ones, change color based on the pH or acidity levels of their soil.
When to fertilize your hydrangea – Knowing whether your soil is acidic or not is the first step to healthier plants season after season.
Nix Hydrangea Problems – From spots to foliage holes, find out what’s up with your hydrangea.
Keep Pests and Diseases Away from Hydrangeas – Hydrangeas are generally pest and disease free, but when your flowers are looking less than stunning, it’s hard not to panic.
Tips for Transplanting Hydrangeas – Change the look of your yard by giving your hydrangeas more space to grow with these steps.
Hydrangea Hype: Garden Inspiration – With big colorful blooms and beautiful green foliage, summer’s favorite flower makes a bold statement in any garden.
Guide to Fall Hydrangea Care – Hydrangeas are strong and can come back from almost anything when given enough time and proper care.
Companion Plants for Hydrangeas – If you’re looking for ways to make your hydrangeas pop even more, try these companion planting tips.
More is More: Hydrangeas that Bloom All Summer
Once upon a time, hydrangeas would only bloom once a season. Not anymore! Now, you can choose a variety of hydrangeas that bloom all summer long. You can even prune these at any time.
Reblooming hydrangeas flower on both new and old growth, meaning you can enjoy flowers from June until the first frost. They’ll continue to bloom long after other flowering shrubs and perennials have stopped. Long lasting blooms of blue, violet, pink, white, or chartreuse add brilliant pops of color to any garden.
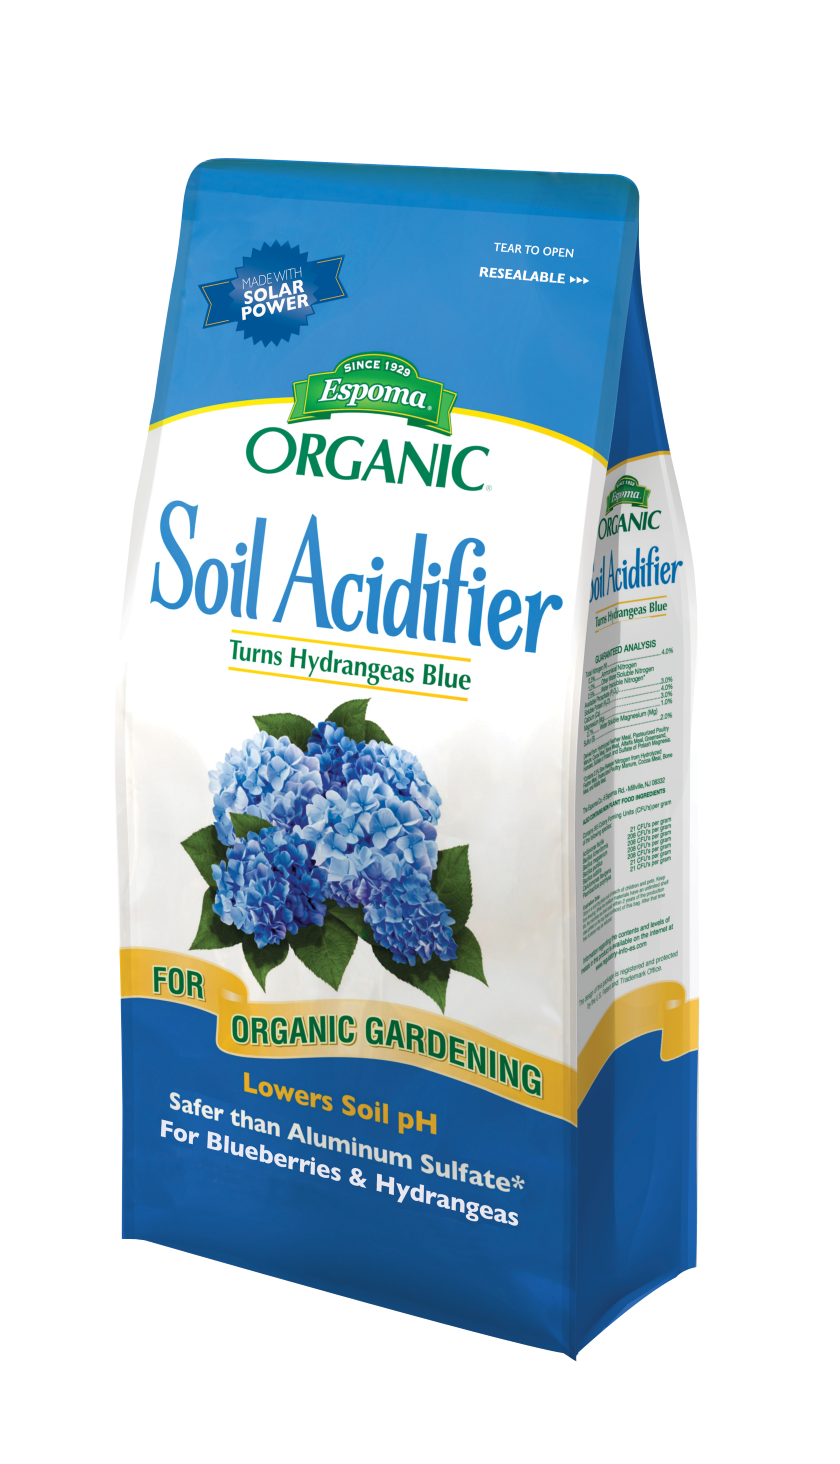
Plus, these hydrangeas perform a magic trick. Depending on your soil’s acidity, the hydrangea color changes. Creating breathtaking blue hydrangeas is extremely easy. All you need to do is amend your soil with Espoma’s Organic Soil Acidifier.
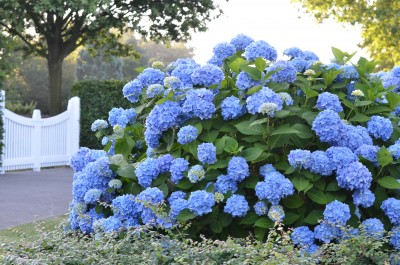
Photo courtesy of Bailey Nurseries
The Original Endless Summer Hydrangea – A beautiful game changer! The Original Endless Summer hydrangea was the first non-stop blooming hydrangea. Plus, it’s easy to care for. You’ll be wowed by its color-changing blooms all season.
Hydrangea Type: Mophead
Shrub Type: Deciduous
Light: Part sun-mostly shade
Size: 3-5’ H x 3-5’ W
Zone: 4-9
Blooms: Late-spring-early fall. Blooms can be blue, purple or pink based on soil pH.
Features:
-
- Blooms all season
- Very disease tolerant
- Easy care
- Works in container gardens
Soil: Moist, well-drained soil. 5.5 or lower soil pH for blue blooms. 5.5-6.5 soil pH for purple blooms. 6.5 soil pH or higher for pink blooms.
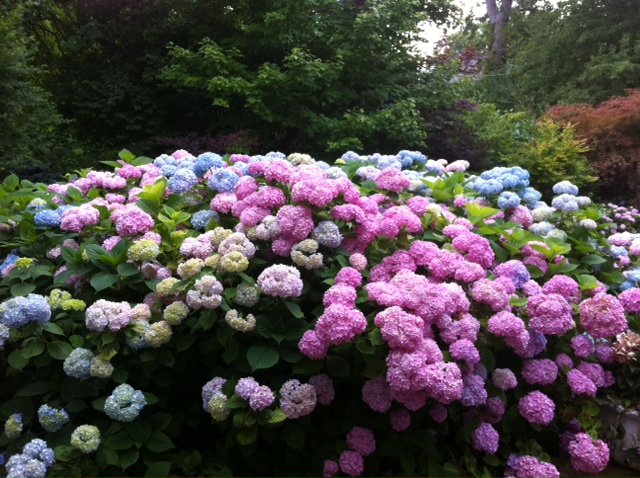
Photo courtesy of Doreen Wynja for Monrovia
Penny Mac Hydrangea – Large flowers that just keep blooming! The Penny Mac hydrangea is super easy to care for and seems to thrive on neglect. While the blooms can change color, they’re naturally a vivid blue.
Hydrangea Type: Mophead
Shrub Type: Deciduous
Light: Part sun
Size: 4-6’ H x 3-4’ W
Zone: 5-8
Blooms: Mid-summer-early fall. Blooms are typically blue, but can be changed to pink or purple based on soil pH.
Features:
- Attracts birds
- Repeat bloomer
- Fast growing
- Easy care
Soil: Moist, well-drained soil. 5.5 or lower soil pH for blue blooms. 5.5-6.5 soil pH for purple blooms. 6.5 soil pH or higher for pink blooms.
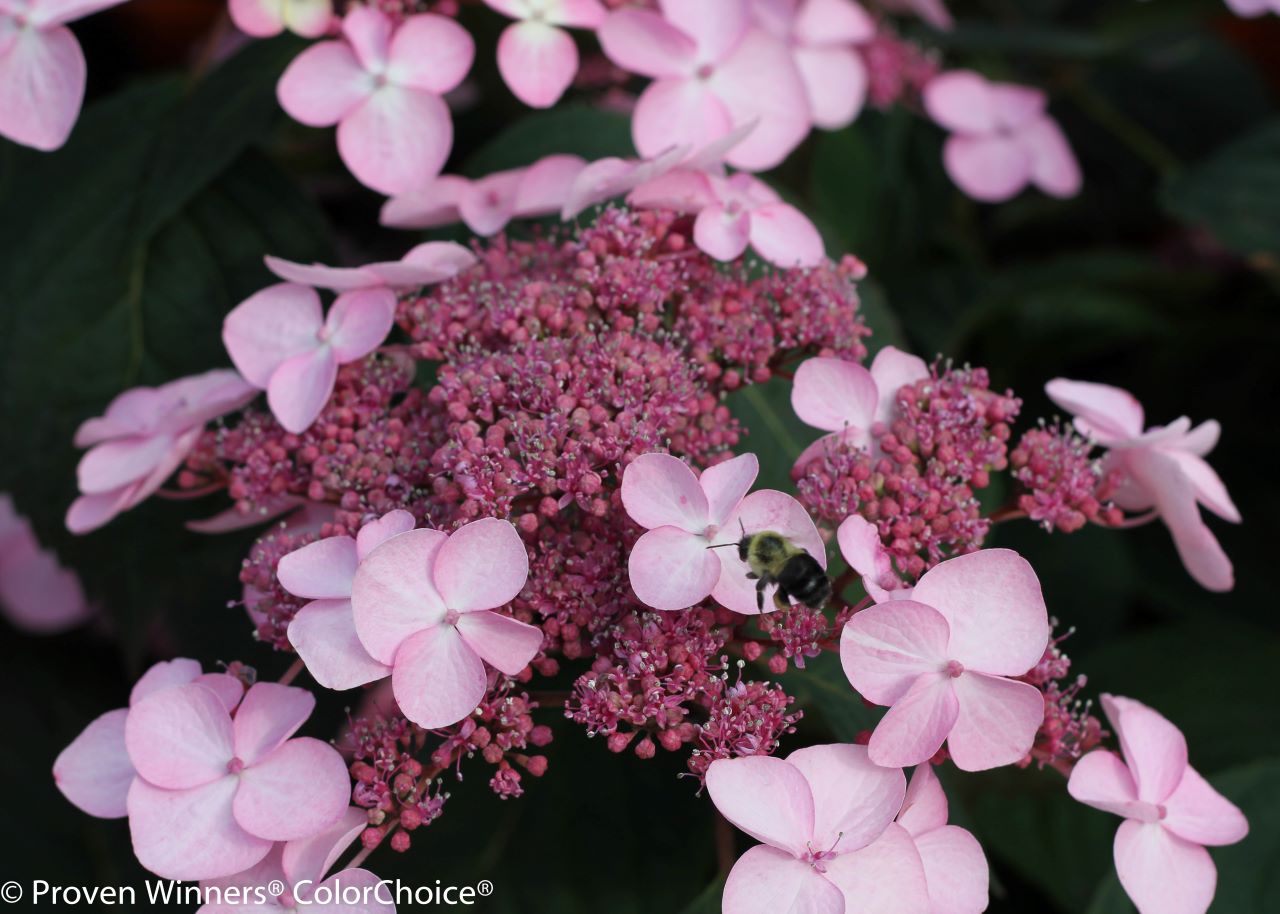
Let’s Dance Starlight Hydrangea – You’ll feel like dancing when you see this breath-taking bloom. It’s elegant, bright and beautiful textured. Plus, it’s the first-ever, re-blooming lacecap hydrangea.
Hydrangea Type: Bigleaf
Shrub Type: Deciduous
Light: Full-part sun
Size: 2-3’ H x 2-3’ W
Zone: 5-9
Blooms: Mid-summer-early fall. Vivid, lacecap blooms can be blue, purple or pink based on soil pH.
Features:
- Small hydrangea
- Repeat bloomer
- Works in container gardens
- Salt tolerant
Soil: Prefers moist, well-drained soil. 5.5 or lower soil pH for blue blooms. 5.5-6.5 soil pH for purple blooms. 6.5 soil pH or higher for pink blooms.
Keep the blooms coming all season long with the hydrangea that speaks to you! Want one that grows in full sun? Learn about the best hydrangeas for beginners. Find out even more about hydrangea care in our Ultimate Hydrangea Guide!
Paw-lease Petscape the Yard this Spring
“Paw-lease, let us go outside!” your pets seem to be pleading as they flash you their saddest puppy dog eyes.
After spending most of their winter indoors, pets are springing to life – and pawing at the door.

Before you let your pets frolic outside this spring, petscape and create a safe and pet-friendly outdoor landscape.
Who Let the Dogs Out?
Pass on Pesticides. The most important way to keep pets safe outside is to use organic lawn care products. It’s scary to hear, but dogs whose owners applied chemical herbicides were 4.4 times more likely to develop bladder cancer, according to research. Remind your friends and families to grow a Safe Paws lawn. Always.
No-No Cocoa. Skip the cocoa mulch when petscaping. While this mulch is a true beauty, dogs can’t resist its chocolatey smell. As you may have guessed, cocoa mulch is dangerous and toxic to dogs when eaten.

Flower Power. Curious dogs and cats often want to see what those fragrant, colorful flowers taste like. While some plants are fine for pets to sample, others are poisonous. Before adding another plant or shrub to your garden, check if it’s safe for your pets.
Compost Ghost. While composting is great for the planet, it’s not as great for your pets. As food and garden waste breaks down, mold may grow. So if your pets nibble your compost, they can become sick. Symptoms range from excessive drooling or panting to vomiting and seizures. Keep compost bins closed or out of pets’ reach.
Your pups and kittens will want to play fur-ever in their Safe Paws lawn. So, go what’s the harm of one more game of fetch? You did use organic lawn care products after all!
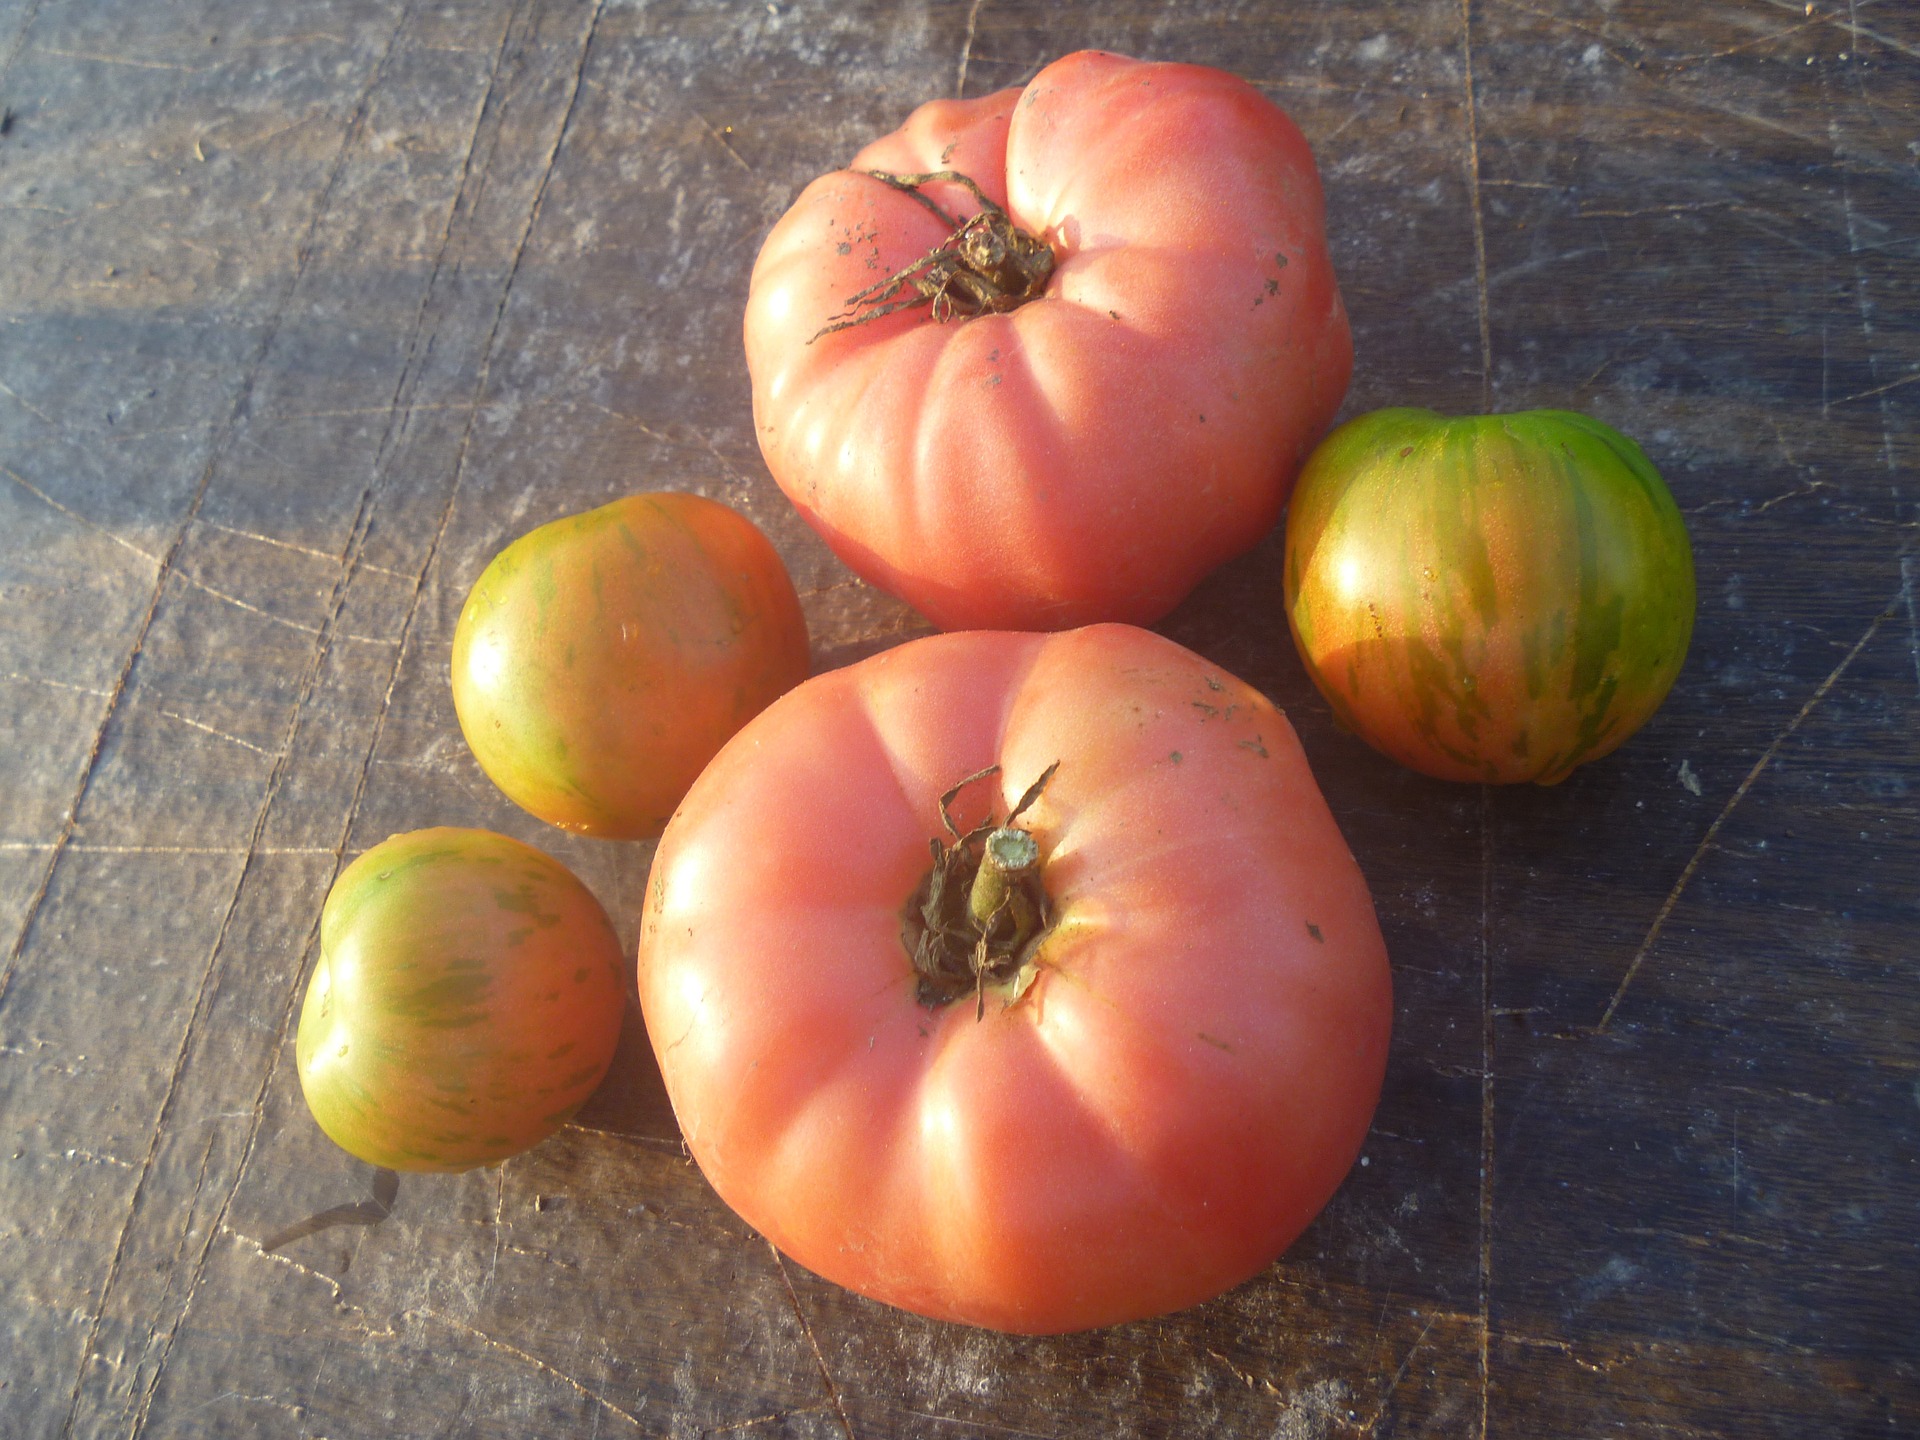
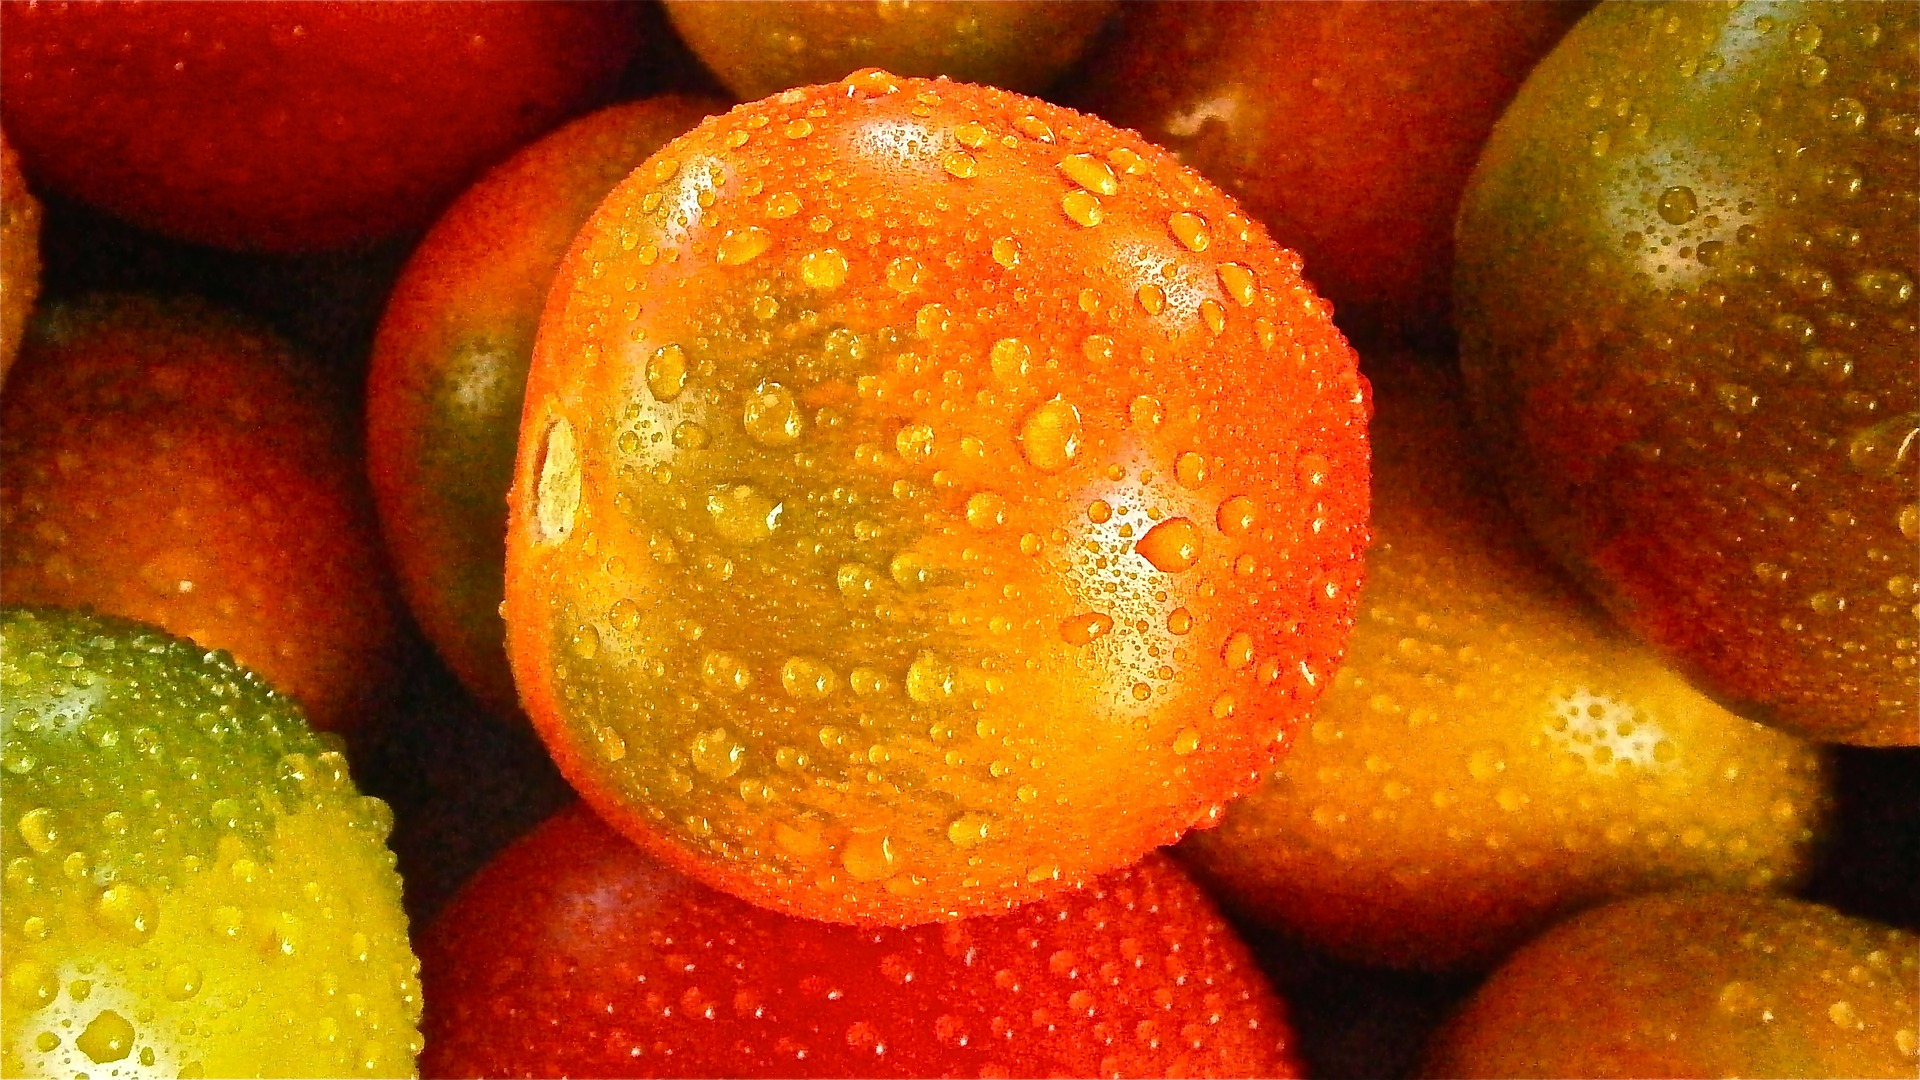
The Best Heirloom Tomatoes to Grow
Have you wondered why heirloom tomatoes taste so much better than those conventional ones from the store?
Conventional tomatoes have been bred for long shelf life, disease resistance, high yield and even for their looks! Some say all the flavor and taste has been bred out of them, too.
So whether you say to-may-to or to-mah-to, we’re here to help you choose the perfect heirloom tomato variety for you.
What is an Heirloom Tomato?
Heirloom tomatoes come from seeds that have been handed down from farmer to farmer for generations for their special characteristics and varieties must be 50 years old at least. Because of this, heirloom tomatoes have minimal disease resistance.
Heirloom varieties are open-pollinated–meaning that the seeds you collect will produce plants almost identical plants year after year. That’s key to their survival.
Many heirlooms have been passed down generation to generation. Seeds, once considered valuable property, traveled country to country in pockets or through letters. Varieties come from Central America, Russia, Italy, Japan, France, Germany and Kentucky. Here are a few of our favorites.
Best Heirloom Tomatoes to Grow
Pink Brandywine– This is hands-down the yummiest and most popular heirloom. Dating back to 1885, these tomatoes ripen late in the season, but delight with huge tomatoes with even bigger flavor. Plus, Pink Brandywine tomatoes grow well in containers.
- Growth Type: Indeterminate
- Time to Maturity: 85-100 days
- Taste and Texture: Intense, full flavor with a rich, velvety texture
- Light: Full sun
- Plant Size: 4-9’
- Spacing: 24-36” apart
- Staking: Yes – Cage or stake
Black Cherry – This black, heirloom cherry tomato is somewhat disease resistant and easy to grow – even in containers. The truly striking color makes these cherry tomatoes an instant conversation (or kabob!) starter.
- Growth Type: Indeterminate
- Time to Maturity: 65-75 days
- Taste and Texture: Sweet meets smoky flavor with a meaty texture
- Light: Full sun
- Plant Size: 5-8’
- Spacing: 24-36”
- Staking: Yes – Cage or stake
Cherokee Purple – Cherokee purple tomatoes may look eccentric, but boy, do they taste good! Believed to be passed down from Cherokee Indians, this variety produces significantly more tomatoes than other heirlooms.
- Growth Type: Indeterminate
- Time to Maturity: 75-90 days
- Taste and Texture: Sweet, juicy and savory with a thin skin
- Light: Full sun
- Plant Size: 4-9’
- Spacing: 24-36”
- Staking: Yes – Cage or stake
Striped German/Old German – This sizzling red and orange tomato looks like a work of art. Slice it open, and you’ll be delighted by its intricate texture and pattern. Also called “Old German,” this sunny tomato produces huge beefsteak tomatoes. It does need constant, proper care to thrive.
- Growth Type: Indeterminate
- Time to Maturity: 75-85 days
- Taste and Texture: Incredibly juicy with a faintly tart flavor and meaty texture
- Light: Full sun
- Plant Size: 4-8’
- Spacing: 24-36”
- Staking: Yes – Cage or stake
Wapsipinicon Peach – Bright in color and flavor, these tiny, fuzzy yellow tomatoes make the perfect snack. Named for the Wapsipinicon River in Northeast Iowa around 1890, Wapsipinicon Peach tomatoes are resistant to rot and field blight. Plus, they are quite prolific!
- Growth Type: Indeterminate
- Time to Maturity: 75-80 days
- Taste and Texture: Sweet flavor with little acidity and fuzzy, thin skin
- Light: Full sun
- Plant Size: 4’
- Spacing: 24-36”
- Staking: Recommended – Cage or stake
Why Should I Grow Heirlooms?
We believe the flavor of heirlooms is so superior that no garden would be complete without them. Try a variety this year, and we’re sure you will agree. You will be tasting a little bit of history all summer long.
When you’re organic gardening, be sure to feed tomatoes lots of Tomato-tone during the growing season.
Total Guide to Growing Tomatoes
For good reason, tomatoes are the popular kid in the garden. Everyone wants to grow them, but not everyone knows how! So we have collected everything we know about tomatoes – from choosing which tomatoes to grow to how to harvest – and put it in one place!
Have success with Espoma’s Total Guide To Growing Tomatoes!
Five questions to ask before growing tomatoes – Know your tomatoes! Answer these five questions before deciding what tomato varieties to grow.
Best Tomato Varieties for Beginners – Depending on what you’re making and where you live, some tomatoes really are better! With more than 7,500 varieties, you have to know exactly what you’re looking for.
Should I grow heirlooms? – Heirloom tomatoes come from seeds that have been handed down from farmer to farmer for generations for their special characteristics and varieties must be 50 years old at least. Because of this, heirloom tomatoes have minimal disease resistance.
Hybrid tomatoes – With over 7,000 varieties, picking the right tomato to grow can seem overwhelming. If you want your tomato to have it all — flavor, disease resistance, texture and more – try modern, hybrid tomatoes.
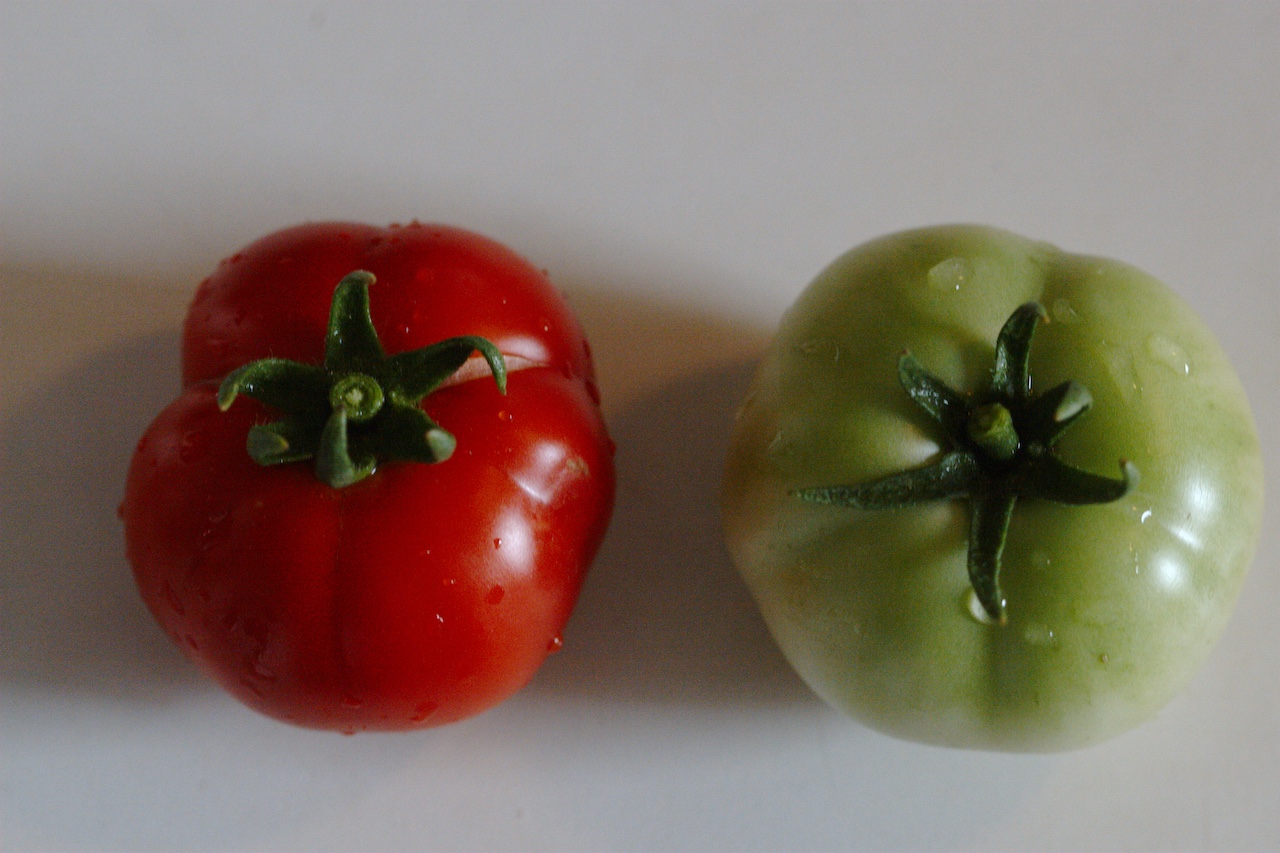
Non-Red Tomatoes – When growing tomatoes in your organic garden, you probably envision swathes of red. However, tomatoes were not always red. The earliest varieties were yellow and orange.

Starting tomatoes from seed – In practically no time at all, you can start tomato seeds. The best way to get a head start on growing tomatoes is to start seeds indoors 4-6 weeks before the last spring frost date in your region.
How to start tomato and pepper seeds indoors – The best way to get a head start on growing tomatoes is to start seeds indoors. Whether you’re growing cherry tomatoes or hot peppers, visit your local garden center to pick up supplies.
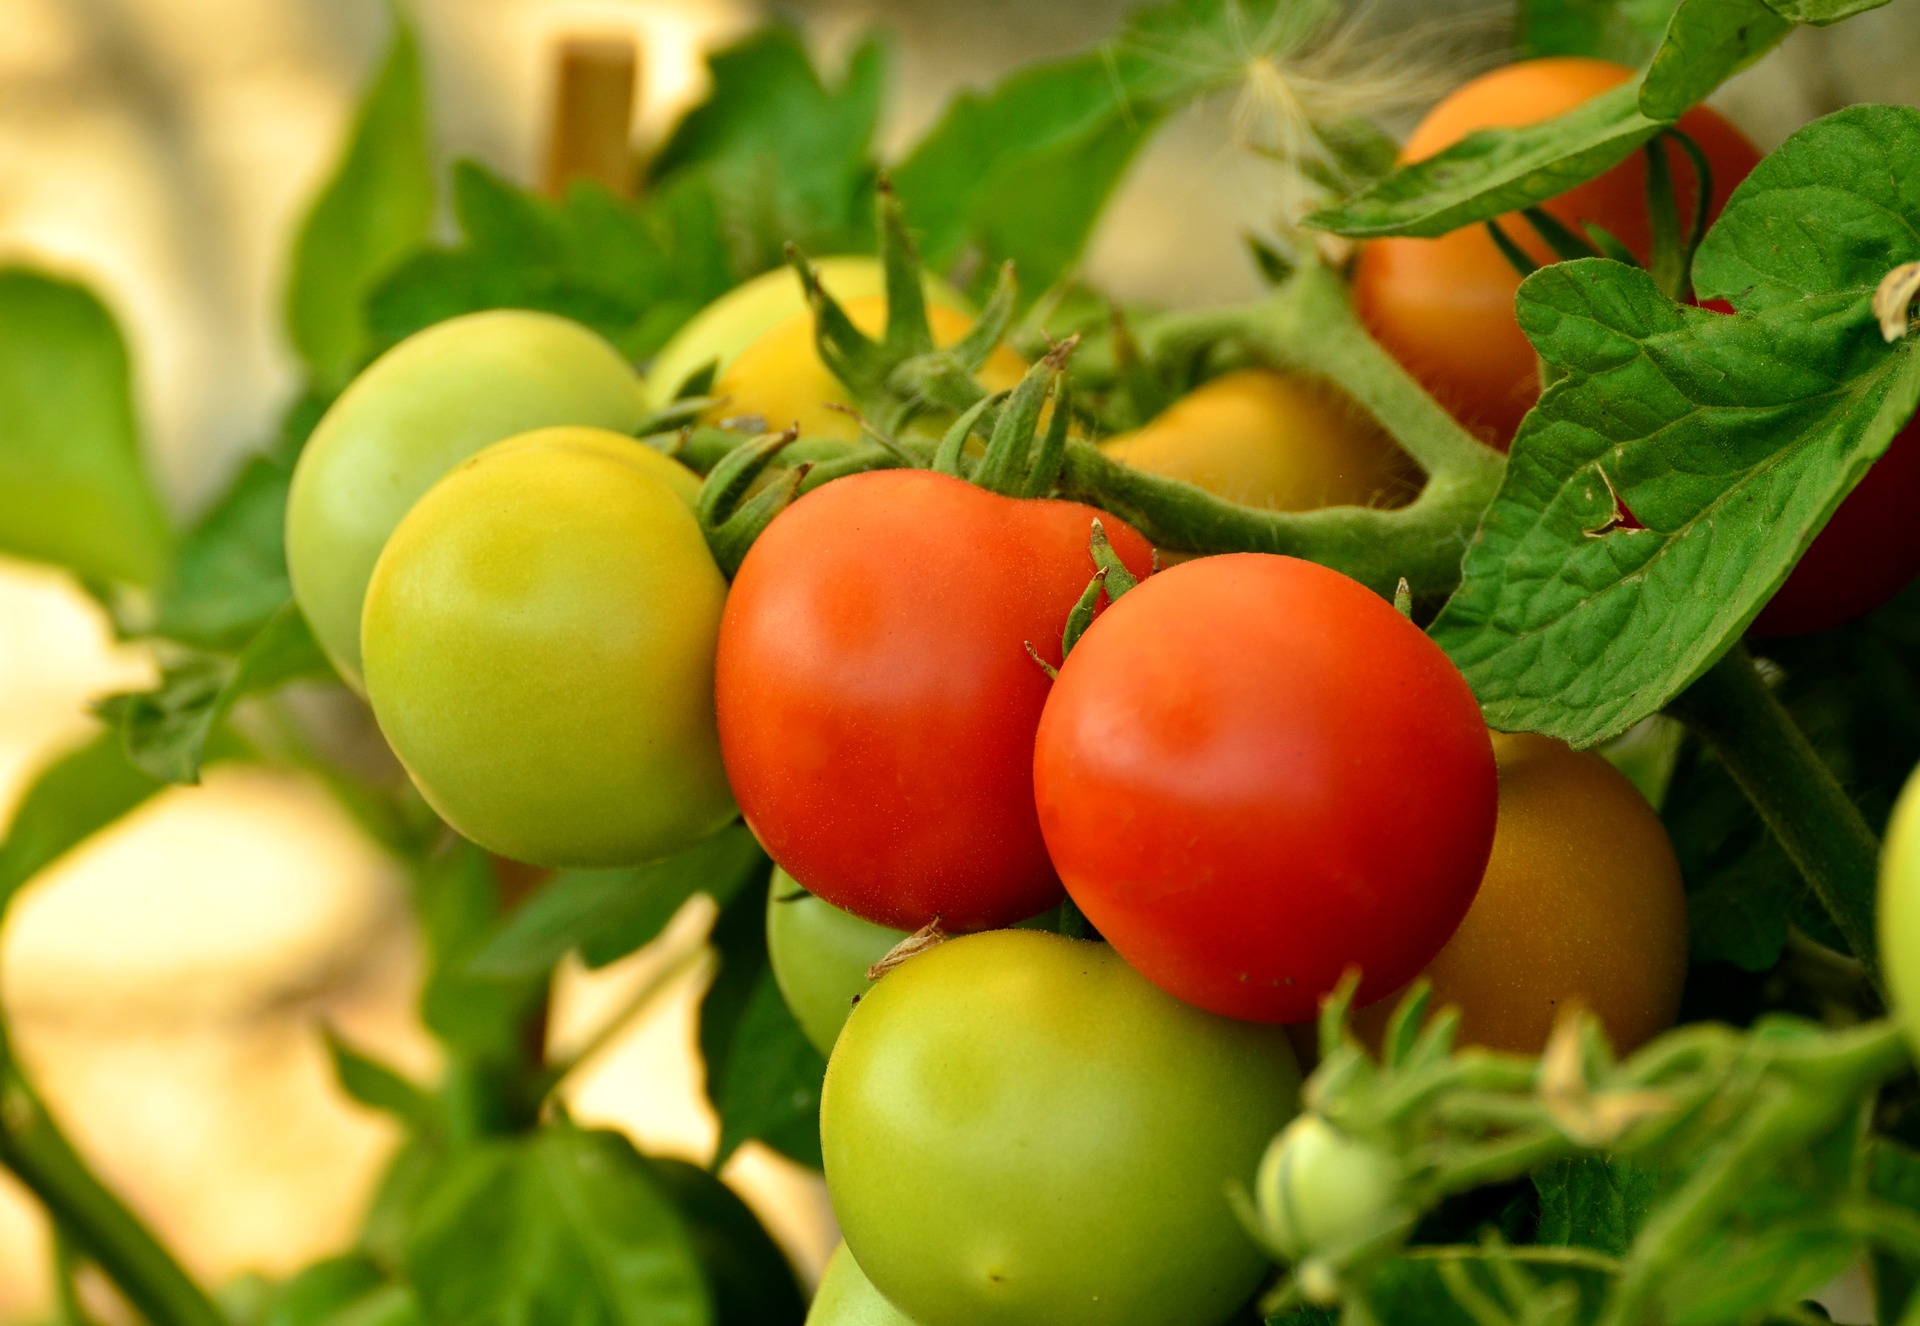
How to plant tomatoes – Seeing red tomatoes peek through the green leaves in your garden is a true sign that summer is here. The first harvest of the season provides opportunities to finally try those delicious garden-to-table recipes.
How to Grow Tomatoes in Containers – Laura from Garden Answer demonstrates how to grow tomatoes in planters.
Ensuring soil health – Soil, as you may have thought, is not dirt. Healthy soil is a collection of creatures, minerals and living material that holds water and nutrients like a sponge, making them readily available for plants. To continue to grow big, juicy fruits and vegetables, you need to make sure you’re feeding your soil.
Growing tomatoes in containers – Tomatoes grown in portable containers are just as tasty and satisfying as garden grown. Plus, containers are versatile and can easily be moved from one spot to another to suite your gardening needs.
Growing tomatoes upside down – Laura from Garden Answer demonstrates how to make an upside down tomato planter. She uses Espoma’s new liquid fertilizer to give plants the nutrients they need to grow.
Turn your tomato garden upside down – This summer, put a new twist on growing tomatoes by adding upside-down tomato planters to your organic vegetable garden.
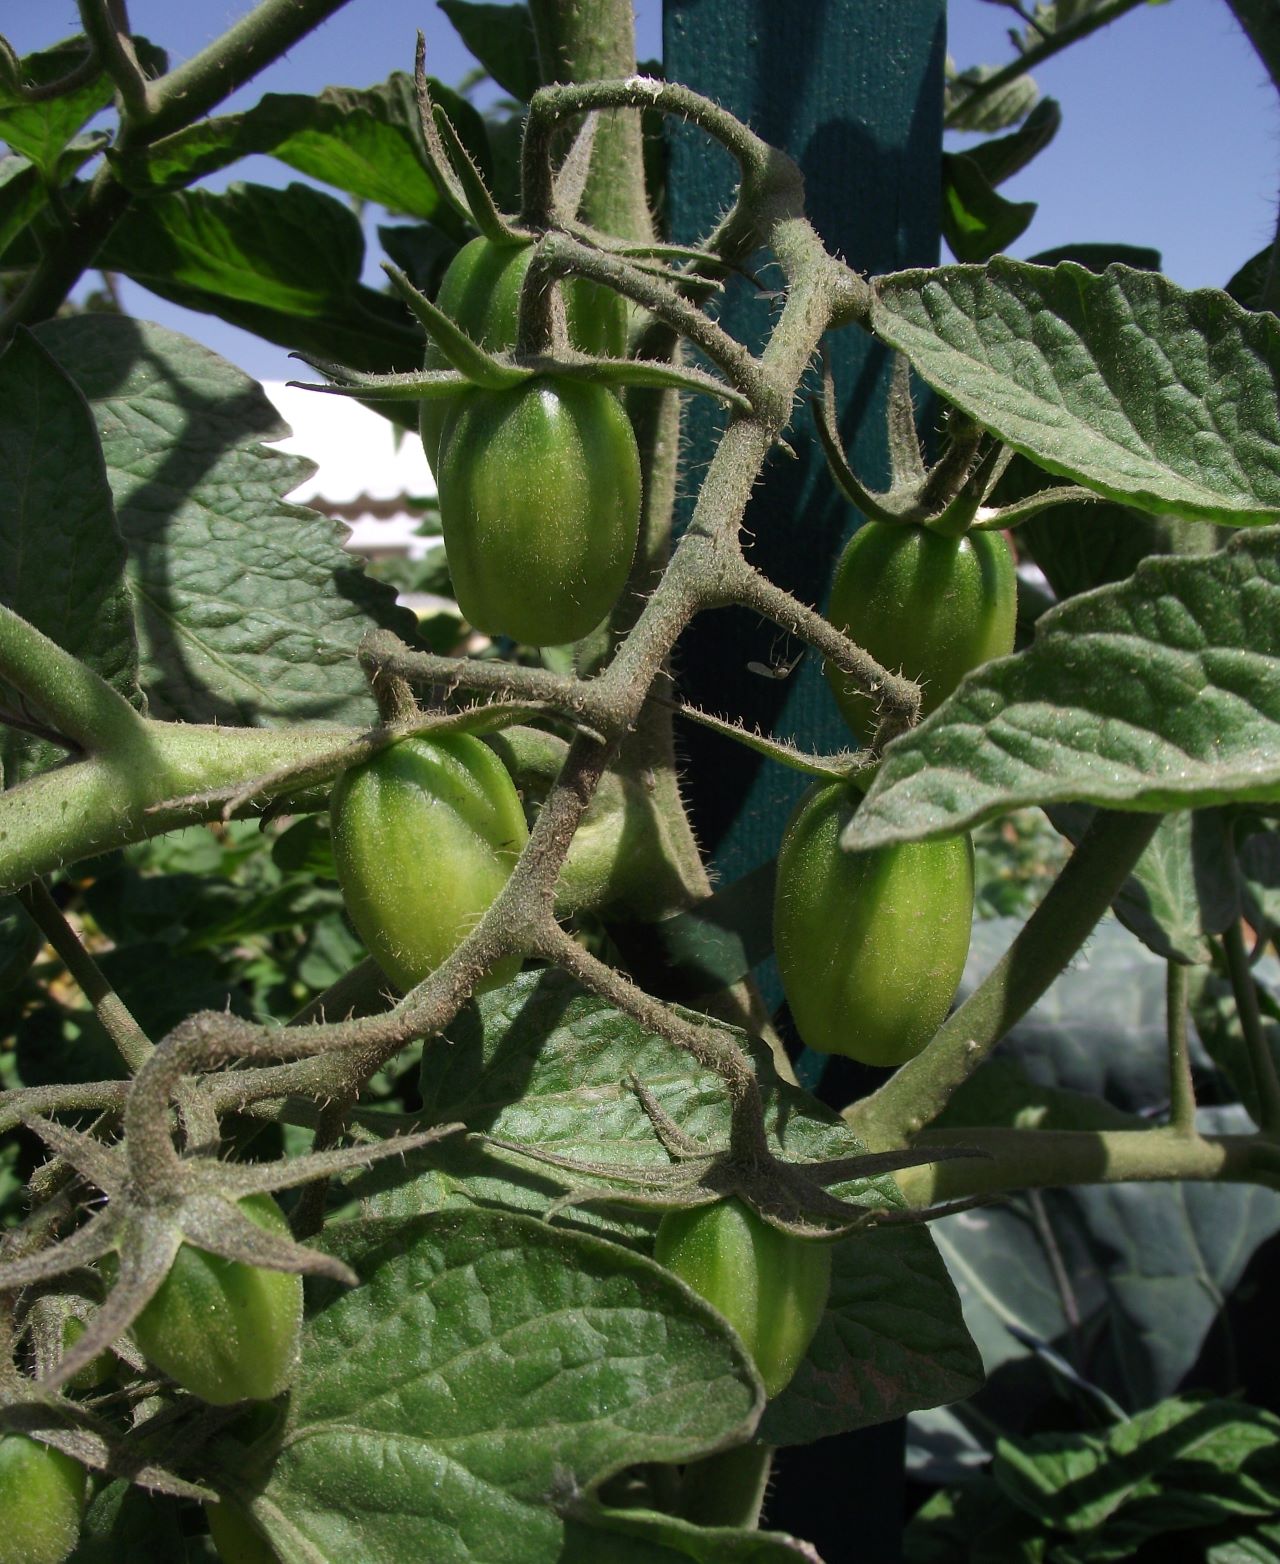
Growing tomatoes – To pick the tomatoes best for you, decide if you’d like to snack on tomatoes throughout summer. These are known as Indeterminate. Or if you’d like your crop to ripen at once at the end of summer, select determinate.
Companion Planting for Beginners – Find out how to your plants can help each other in this tutorial with Laura from Garden Answer. She’ll walk you through the basics of what it is, how to get started and how she companion plants in her own garden.
How to fertilize tomatoes – Tomatoes and peppers have big appetites, so they need plenty of organic food. Since plants get all their nutrients from the soil, their all-you-can-eat buffet runs out quick. Feed them right, and they’ll burst full of fresh produce.
3 Ways to Support Tomatoes – Use tomato cages, wood or metal stakes, or a trellis to give plants extra support. It’s really a matter of preference which one you choose. The most important thing is that you’re keeping plants off the ground to avoid pests, diseases and rot.
How to mulch tomato plants – Add mulch, a natural covering on top of soil, to keep moisture in, block weeds and provide added nutrients.
How to prune tomatoes – Tiny tomato seedlings can vigorously turn into huge bushes in no time. In fact, they’ve even been known to bend cages and pull stakes out of the ground!
What are tomato plant suckers? – Tomato suckers are small shoots, or leaves, that sprout out from where the stem and the branch of a tomato plant meet. Although relatively harmless to the plant, suckers don’t serve much of a purpose.
How much water do tomatoes need? – When, and how frequently, you should water your tomato plants depends on the variety, size and location.
6 Secrets to Get The Best Tomatoes – Every tomato has the potential to be great and some extra attention now will pay off big time come harvest. Set the stage for a stellar performance by this year’s crops with these tips.
Blossom end rot – If a dark, water soaked spot has formed on your tomato you may have blossom-end rot. This problem is likely caused by an imbalance of calcium in the plant.
Tomato woes – How to solve common tomato diseases – If you spot a worrisome sign on your tomatoes, here’s how to identify and fix it – the organic, natural way!
Keep Tomatoes from Cracking and Splitting – Tomatoes split open when the fruit outpaces the growth of the skin — usually after a heavy rain. The bad news: split tomatoes can introduce bacteria into the fruit and cause them to rot.
Protect your plants – 4 common tomato pests – It doesn’t matter if you’re growing hybrids or heirlooms, there are a few pests you don’t want around. Identify harmful pests early before damage is done.
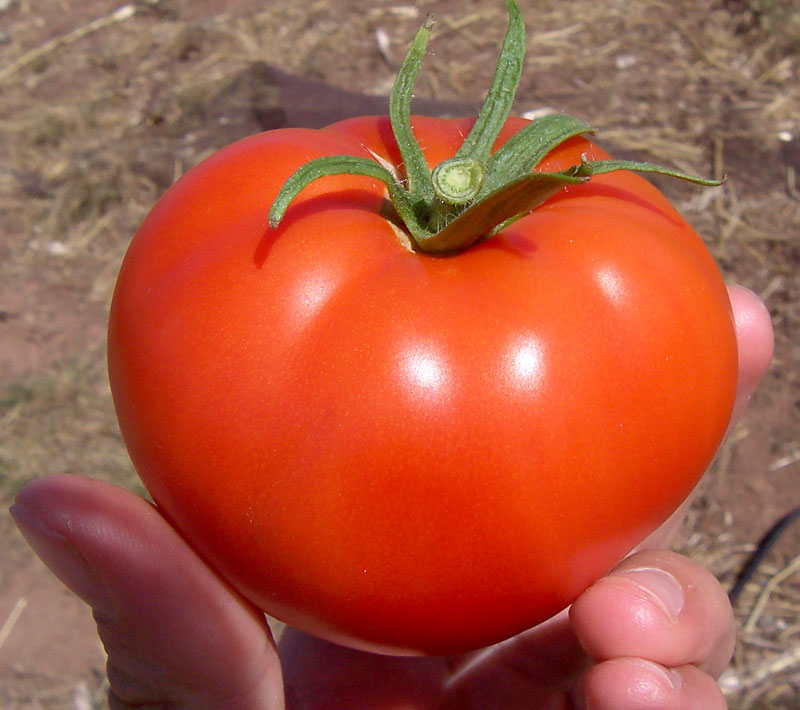
Harvesting tomatoes made easy – Whether you’re cooking, canning, freezing or simply eating your tomatoes raw, you’ll want to pick them at the perfect moment. These harvesting tips will ensure your organic tomatoes are ripe when picked.
Step-by-step Instructions to Can, Save and Preserve Tomatoes – Preserve tomatoes now to enjoy the sweet rewards of your summer veggie garden long after harvest season is over.
Saving tomato seeds – Tomato seeds might be available at the store year-round, but saving your own is satisfying and easy.
Tomato recipes – Make sure to pick tomatoes when they are just right to enjoy with your favorite tomato recipes. These harvesting tips will ensure you get a flavorful tomato every time.
Our Favorite Tomato Varieties: Hybrids
With over 7,000 varieties, picking the right tomato to grow can seem overwhelming. If you want your tomato to have it all — flavor, disease resistance, texture and more – try modern, hybrid tomatoes.
The term hybrid means tomatoes are bred from two different varieties to get the best traits from each parent. Kind of like you!
Hybrid tomatoes are bred for traits such as long shelf life, disease resistance, high yield and even for their looks. After WWI, hybridization made tomatoes easier to grow, sell and transport to restaurants and grocery stores across the county.
These hybrid varieties can be just as tasty as heirlooms. Especially when fed organically with plenty of Tomato-tone during the growing season.
The Best Hybrid Tomatoes to Grow
Better Boy Tomato
Better Boy – A Guinness Book of World Records champion, yielding nearly 350 pounds of tomatoes from a single plant over one season, Better Boy really is better! This disease-resistant, flavorful and easy-to-grow tomato is a classic with the perfect balance of acid and sugar.
- Disease Resistance: F, V, N, T
- Growth Type: Indeterminate
- Time to Maturity: 70-75 Days
- Taste and Texture: Beefsteak
- Light: Full Sun
- Plant Size: 5-8’
- Spacing: 36”
- Staking: Yes – cage or stake
Early girl tomato. Photo courtesy of Mika Matsuzaki
Early girl – If you want tomatoes ASAP, this is the plant for you. This disease-resistant and flavorful plant is a favorite of many gardeners. Its little sister, Bush Early Girl, is perfect for growing in containers.
- Disease Resistance: F, V
- Growth Type: Indeterminate
- Time to Maturity: 50 days
- Taste and Texture: Meaty with a great aroma
- Light: Full sun
- Plant Size: 6-8’
- Spacing: 36”
- Staking: Yes – cage or stake
Juliet Tomato
Juliet – Referred to as a mini roma because of its shape, Juliets are sweet, crack-resistant tomatoes. Long vines continue setting fruit all summer long and can withstand hot temps.
Keep in mind that if you grow hybrids, you’ll have to buy new seeds each year. Seeds from a hybrid tomato are not as strong as their parents.
Five Questions to Ask Before Growing Tomatoes
Know Your Tomatoes: To find just the right tomato for you, answer these five questions before deciding what tomato varieties to grow.
1. How important is disease resistance? Modern, or hybrid, tomatoes are bred to resist diseases. Heirloom tomatoes, on the other hand, are mostly untouched, and can be more susceptible to diseases.
On the plant tag or seed packet, check the letters after the variety name to see how what diseases and pests they can be resistant to. Look for the V and F since they’re the two most common tomato diseases.
Here are the most common tomato codes to look for in order to protect your plants:
- V = Verticillium Wilt
- F = Fusarium Wilt
- N = Nematodes
- T = Tobacco Mosaic Virus
- A = Alternaria
2. Determinate or indeterminate? Do you want your tomatoes to ripen all at once or all season?
Determinate tomatoes (DET), or bush tomatoes, ripen all at once. Within a week or two, you’ll have one, huge crop of tomatoes. Then, they’re done!
Indeterminate tomatoes (IND), or vine tomatoes, produce tomatoes all season until the first frost.
3. How long is the time to maturity? This number lets you know how long before your tomato seedlings produce their first crop. Some tomatoes mature in 50 days while others take 90 days. Consider how long your growing season is – and when you’d like to bite into that first, homegrown tomato.
4. What flavor and texture do you prefer? The most fun question to answer! Choose acidic or sweet, mealy or meaty and firm or soft skin. Many varieties even list the best uses – sauces, salsa, salads or snacks.
And always remember, feed tomatoes lots of Tomato-tone during the growing season.
5. What’s the difference between heirloom and hybrid tomatoes?
Heirloom tomatoes come from seeds that have been handed down from farmer to farmer for generations for their special characteristics and varieties must be 50 years old at least. Because of this, heirloom tomatoes have minimal disease resistance. Popular varieties include Black Cherry, Brandywine and Cherokee Purple.
Hybrid tomatoes, sometimes called modern tomatoes, are bred from two different varieties to get the best traits from each parent. Traits can include disease resistance or thick skin. Seeds from hybrid tomato plants are essentially sterile since they’ll never be as strong as the parents. Popular varieties include Roma, Early Girl and Beefsteak.
Grow both hybrids and heirlooms to find out which ones you like eating best.
Flip, Fill and Feed with Espoma’s NEW Liquid Plant Foods
Organically feeding your favorite plants just got way easier – and faster. Say farewell to messy measuring and that fishy smell of other organic, liquid fertilizers.
And say hello to Espoma’s new line of liquid plant foods. Learn more about our new collection below.
Hello, Healthy! Espoma’s New, Liquid Organic Plant Food
Here are a few reasons our new liquid plant line will become one of your favorite things.
- Instant Nutrition. Espoma’s new liquid plant foods feed your plants instantly – and organically. With these, you can feed your plants faster than you send a text!
- Scientifically Magnificent. Our new liquid fertilizers are scientifically proven to grow bigger, better plants with larger blooms. What gives them their mighty power? We’ve loaded them with kelp extracts, humic acids and beneficial microbes.
- Less Mess. Ready, set, pop! The new Easy Dose cap on our liquid plant foods effortlessly measures each dose of fertilizer! No more messy bottles, measuring mistakes or spills.
- Flip, Fill and Feed. All you do is pop the lid, hold the bottle upside down and voila! The perfect amount of liquid fertilizer drops into your watering can.
- Cause for Safe Paws. Our new liquid fertilizers are 100 percent organic and safe to use around children and pets. Safe Paws approved!
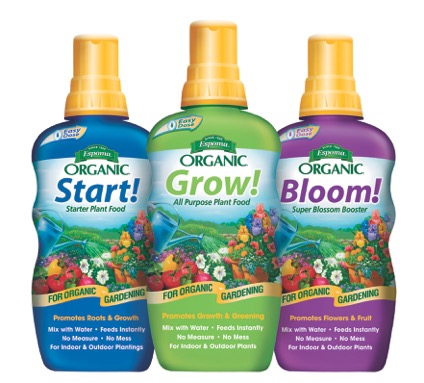
Meet the New Liquid Plant Food Trio
Bigger, better plants are only a flip away!
- Begin with Start! Flip open this starter plant food which helps plants get established fast while growing strong roots.
- Go with Grow! Add this all-purpose, organic plant fertilizer to promote rapid root growth and encourage green foliage.
- Boom with Bloom! Call in the super blossom booster which promotes and prolongs flowering while stimulating the growth of more blooms!
Try our new liquid organic plant foods with organic potting soil for super amazing results. Can’t wait to see what big beauties you grow!
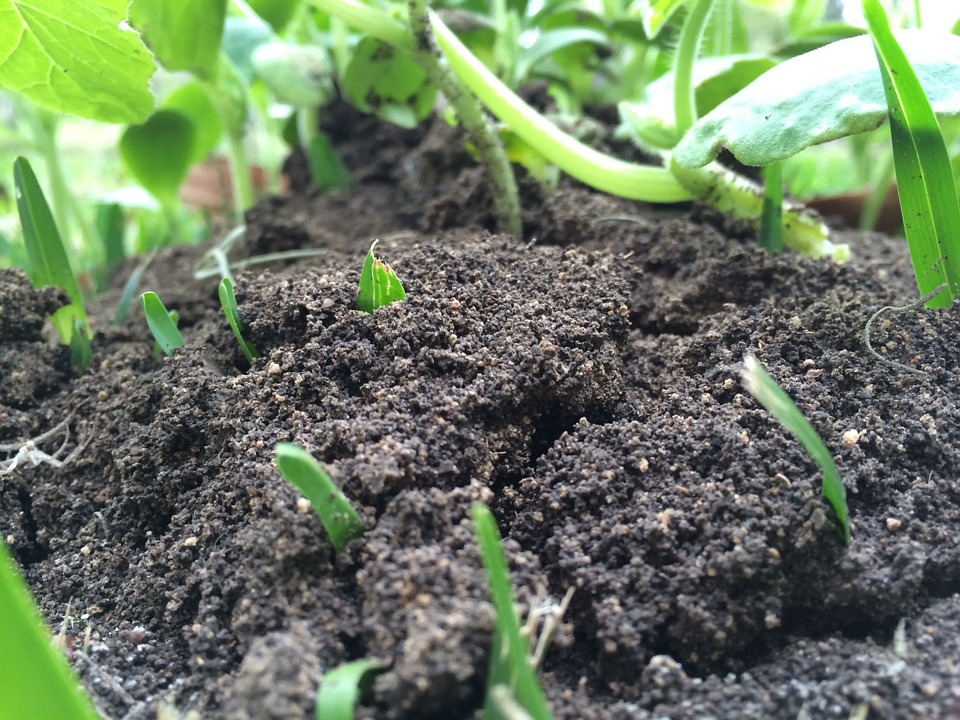
The Dirt on Improving Your Soil
Sunflowers bigger than the sun. Cherry tomatoes tastier than cherries. Yes! Your flowers and veggies can be that good. All they need is healthy soil.
Boost your entire garden by starting from the ground up: the soil.
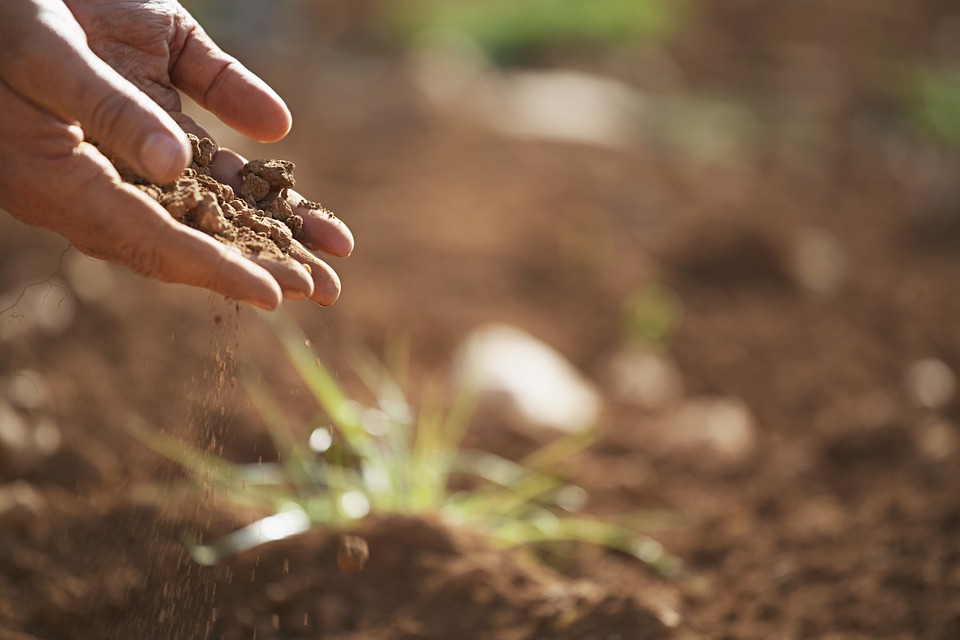
Soil, as you may have thought, is not dirt. Healthy soil is a collection of creatures, minerals and living material that holds water and nutrients like a sponge, making them readily available for plants. To continue to grow big, juicy fruits and vegetables, you need to make sure you’re feeding your soil.
Think of your soil as a bank, you need to continue to make deposits so you can make withdrawals when you need to. If you continue to draw all of the nutrients out of it until it’s dry and clay-like, you’ll be disappointed in your harvests.
Different Types of Soil
Soil can be clay-like, sandy or loamy. Ideally, you have loamy soil that is well-draining and full of organic matter.
- Clay soil holds little water and air and is typically “heavy.” The particles are small and packed tightly, making drainage very slow.
- Sandy soil has large, loose particles. Although it contains lots of air, it doesn’t retain moisture well because it drains so quickly, allowing nutrients to leach through the soil.
- The ideal soil, loamy, is just the right mixture of clay, silt and sand. It holds nutrients and drains well, making it ideal for growing most fruits and vegetables.
To find out what kind of soil you have, thoroughly wet a patch of soil then let it dry for a day. Clay soil will remain in a tight ball and feel slippery. Soil that is gritty and crumbles is sandy. And slightly crumbly soil that stays in a ball is loamy.
The Golden Ticket to a Greener Garden: Compost
In organic gardening, compost is as good as gold! Scout’s honor.
1. Go for the Gold. There’s no such thing as too much compost. Compost adds nutrients, improves soil structure and helps retain water. Compost should make up 25 percent of each planting bed or container.
2. DIY the Good Stuff. Skip the bagged compost and make compost for free by recycling food scraps. Use a compost tumbler, and turn once a week.
3. Fashion It Faster. Jumpstart your compost by adding our Organic Composter Starter, which speeds up decomposition. Then turn on the turbo by shredding scraps first.
4. Split the Spoils. Fill your compost with an even split of brown and green. Green goods, such as food and garden scraps, add nitrogen while brown items, such as paper and leaves, complement with carbon.
Build Even Better Soil
Start with the composting tips above. Then take your soil to the next level.
1. Take the Test. Before planting, test your soil to see exactly what organic amendments it needs.
2. Curb the Chemicals. Step away from the chemical fertilizers – for the sake of your garden and pets! Opt for organic fertilizers that improve soil as they break down.
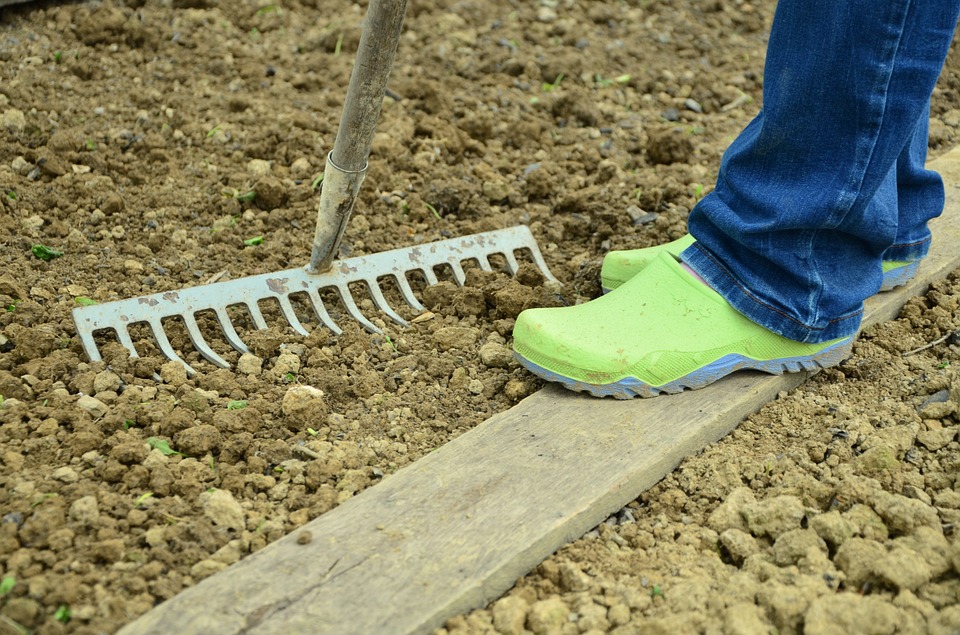
3. Make It with Mulch. Now, protect your golden soil with magic mulch. Mulch helps moderate soil temperature, prevents soil compaction and stops weeds, too.
Hands down, the best gift you can give your garden is golden soil. All your plants will be bigger, stronger and dare we say, happier!