Video: Planting Honeyberries with Garden Answer
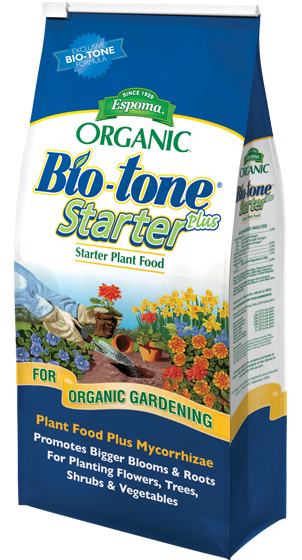
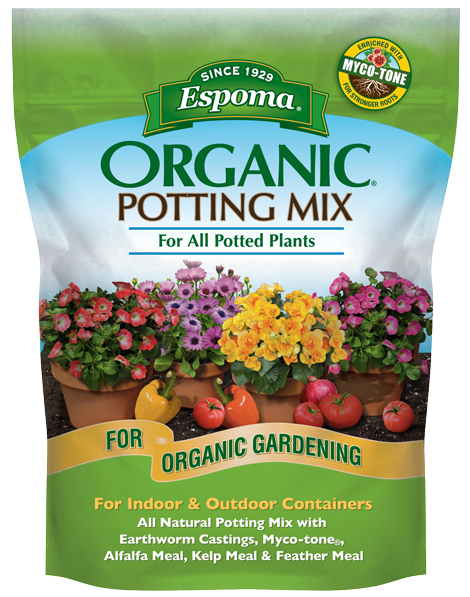
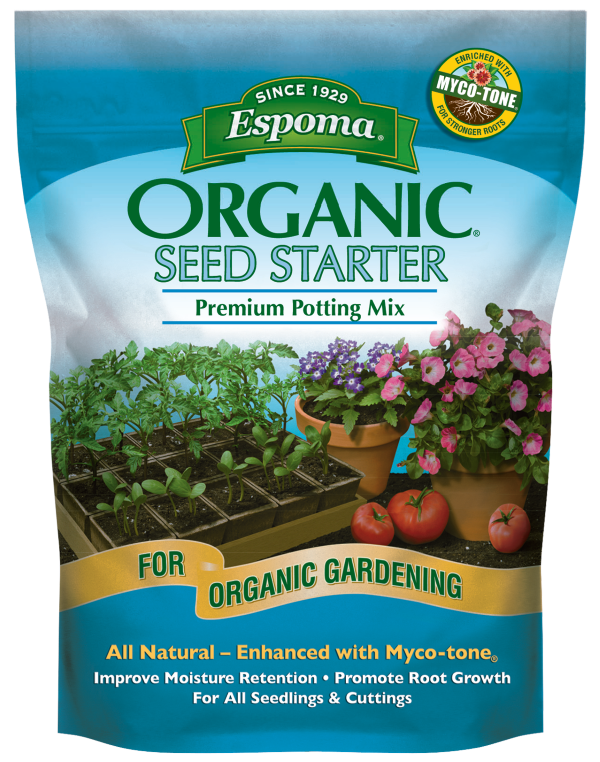
Spring is here, which means it’s time for new blooms and berries! Laura from Garden Answer uses Espoma Organic Potting Mix and Bio-tone Starter Plus to help her shrubs get a healthy start.
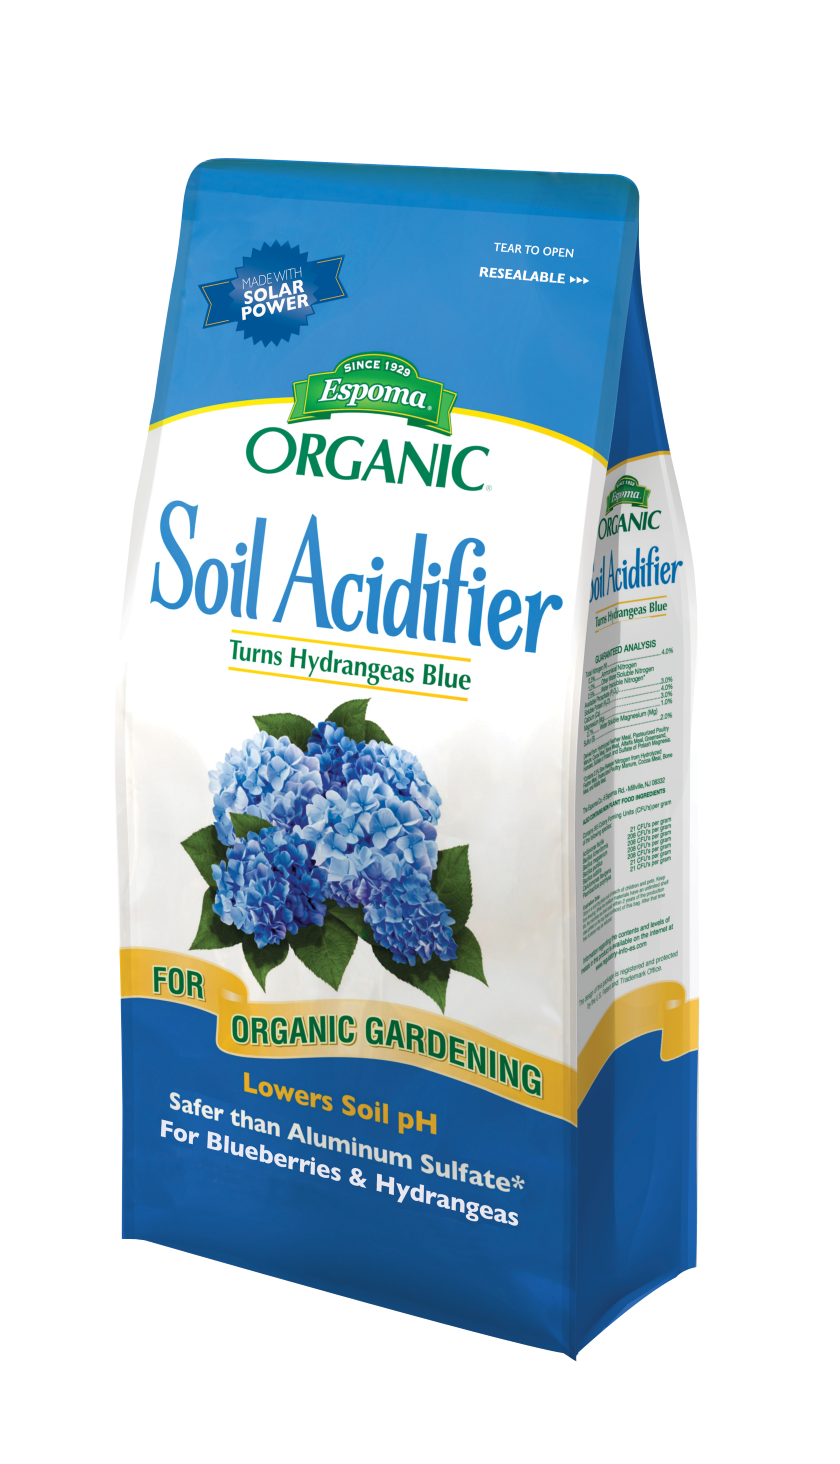
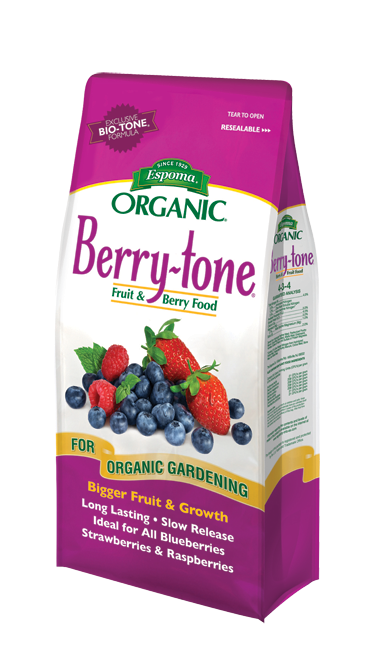
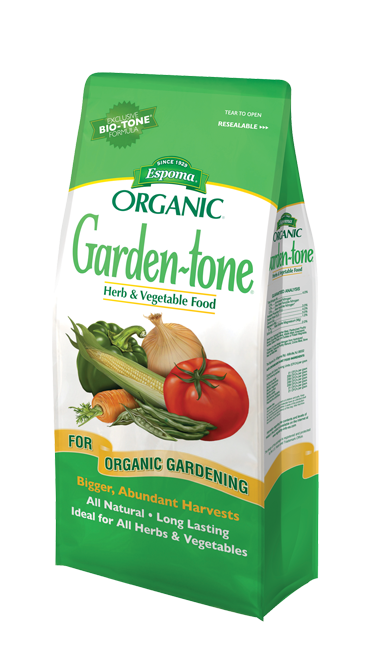
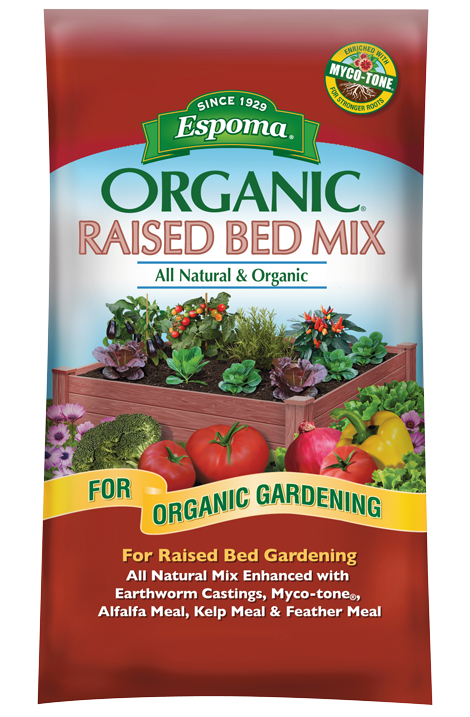
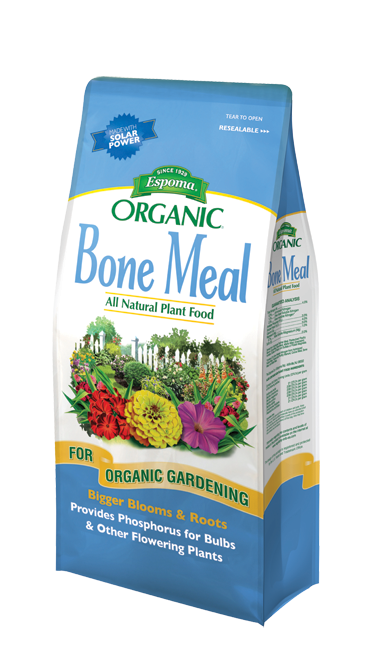
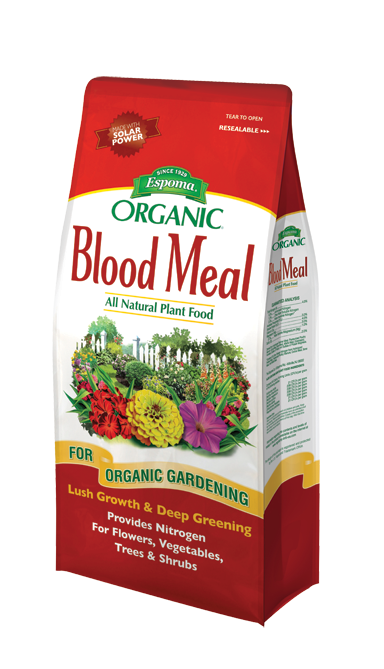
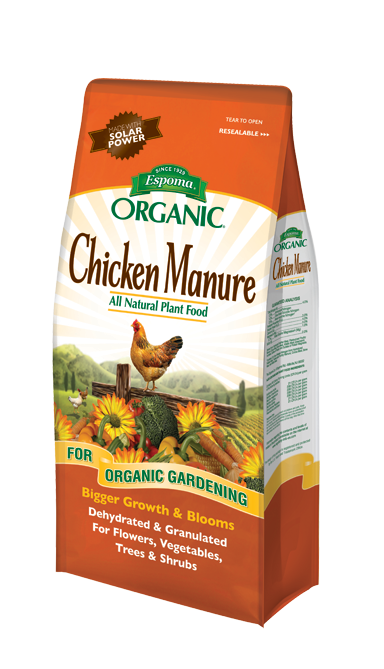
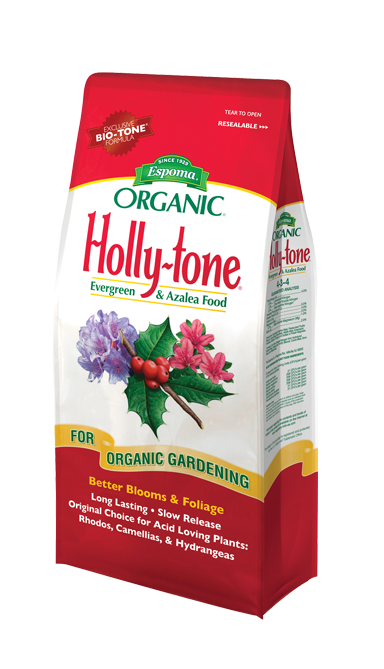
Featured Products: