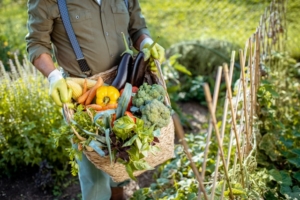
Edible landscaping is a fun way to add beauty and flavor to your garden. You can enjoy the beauty of plants and gorgeous curb appeal, while also harvesting delicious fruits, vegetables, and herbs. It can add flavor, nutrition, and beauty to your garden, and provide food for your family. Here are 10 tips to get started.
This blog is inspired by Episode 91 of Growing Joy with Maria Podcast, where host Maria Failla interviewed her mom, lovingly referred to as “Mama Failla” to share her top 10 tips for Edible Landscaping and Gardening.
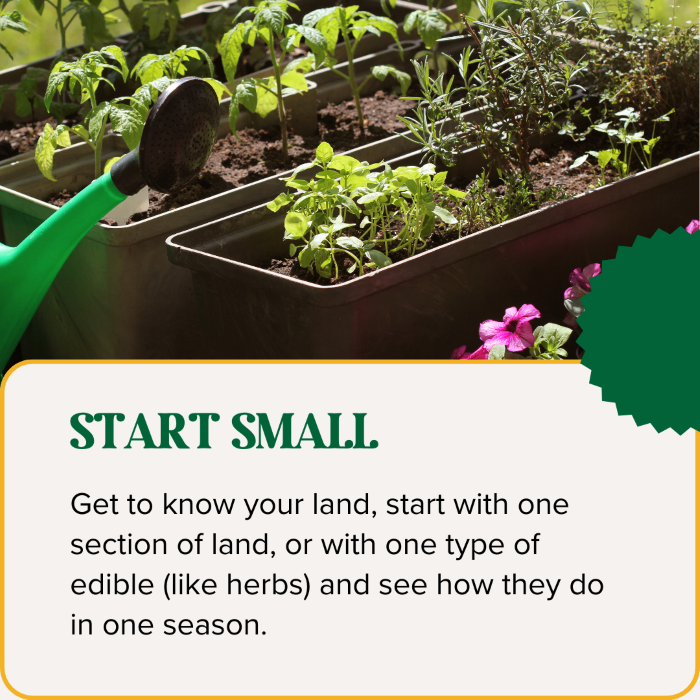
Start Small
Take the time to familiarize yourself with your land and start with a small section or specific edible plants that you love to eat. This approach allows you to learn and adapt as you go. Maria and her Mom suggest starting with herbs, as they are easy to grow and provide a variety of flavors and colors. Basil is their favorite!
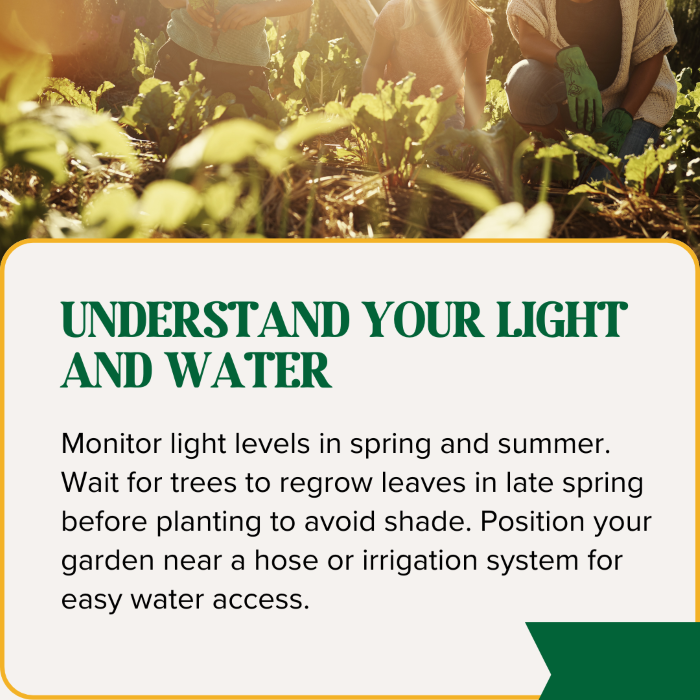
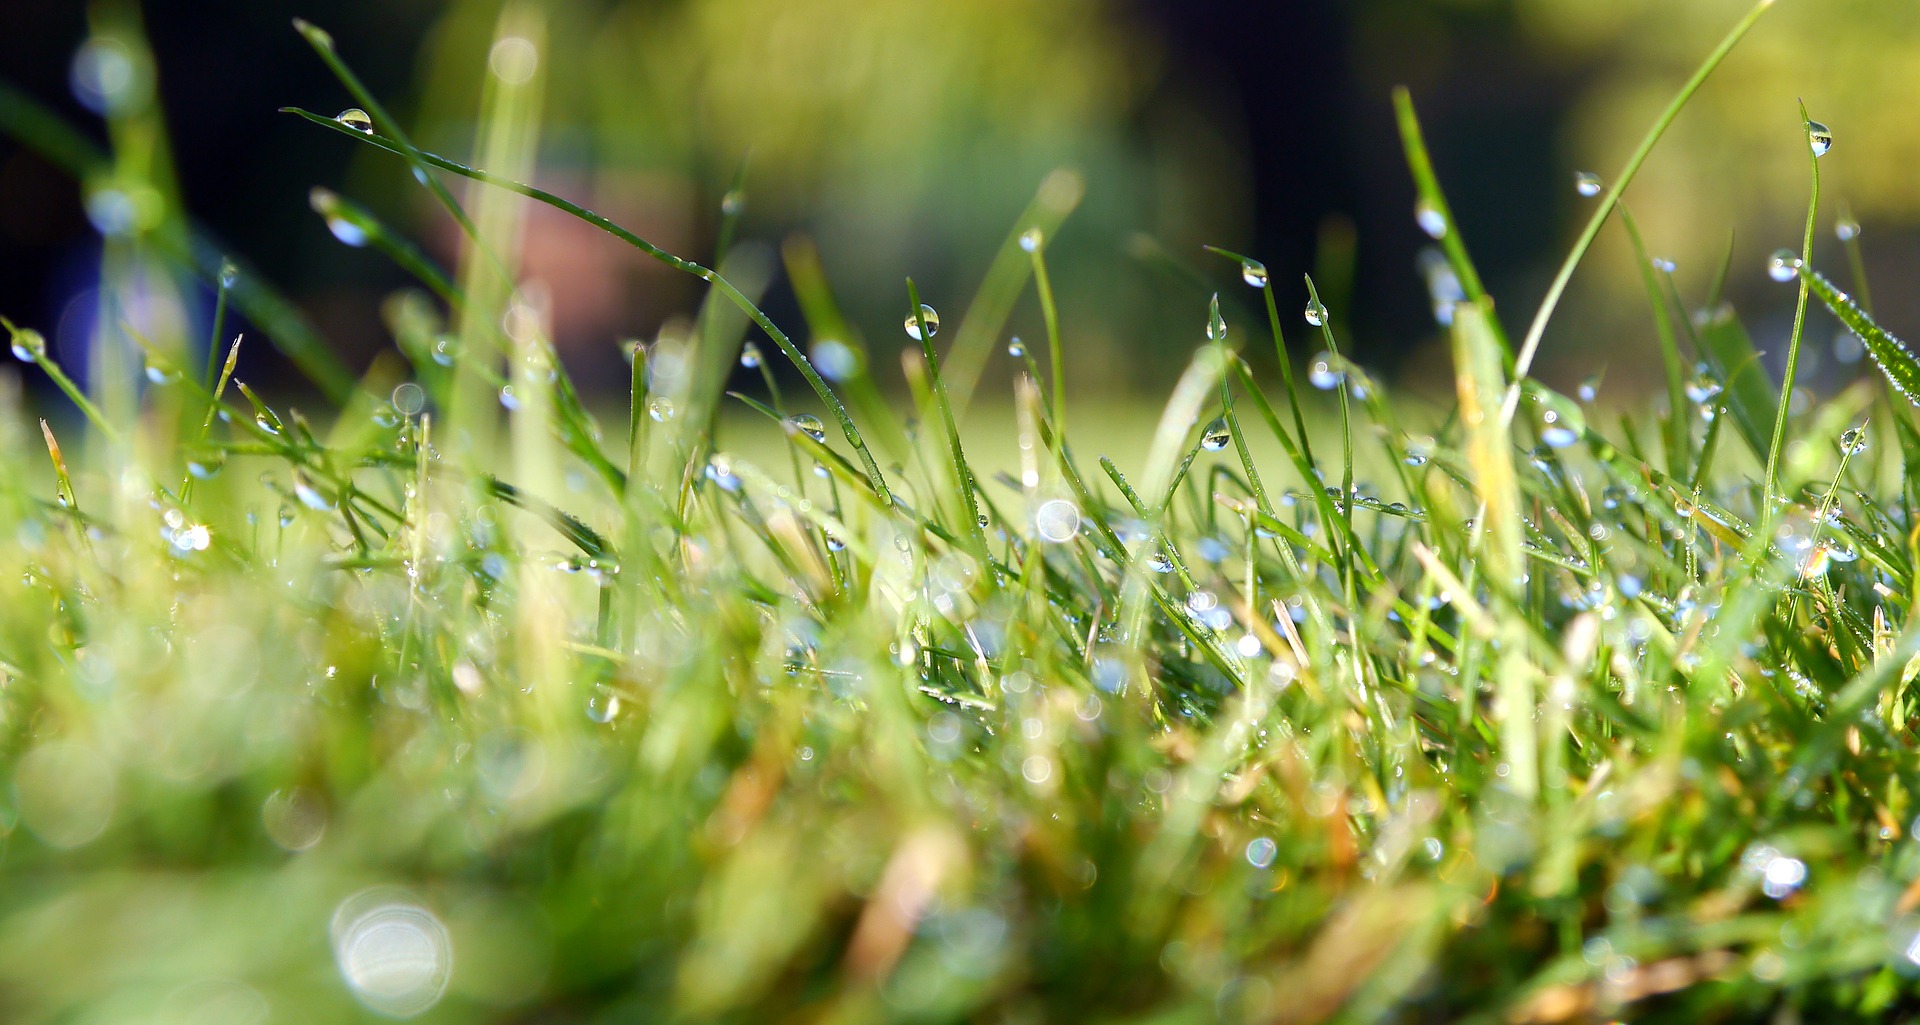
Understand your light and water
Keep an eye on your garden’s light and water needs. During the warmer months, track the sunlight patterns in your garden to ensure adequate exposure. For convenient watering, plan your garden near a hose or irrigation system. If you’re hand-watering, make sure your garden is a manageable size and within your ability to water effectively. When planting, you can use Espoma Organic Bio-Tone Starter Plus to promote strong root development. This will enhance water absorption for your plants.
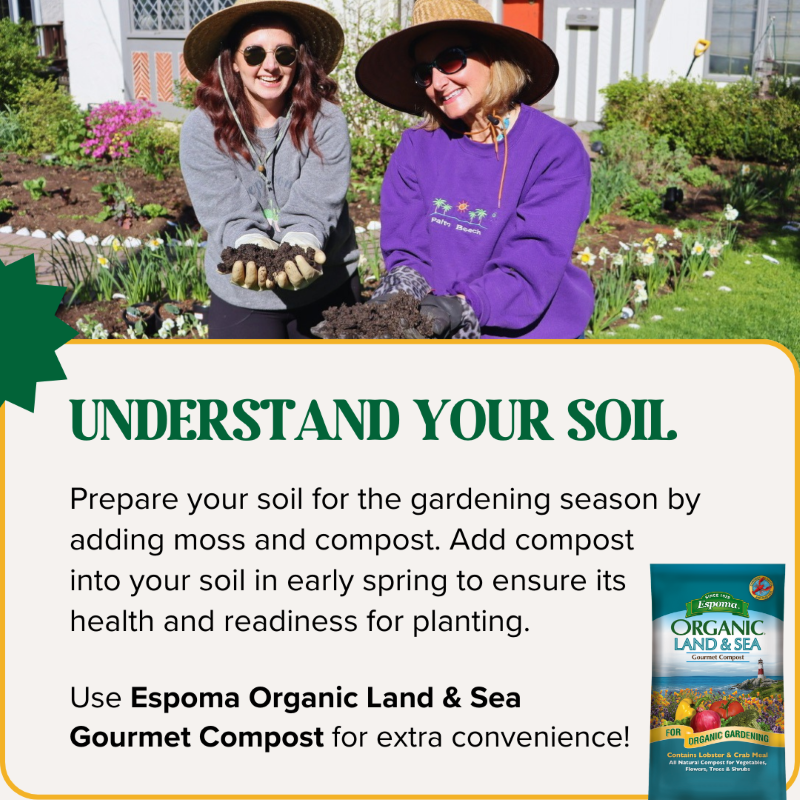
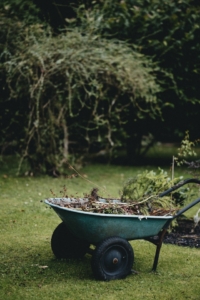
Understand your soil
Know your soil by getting a local soil test. Then get it ready for planting season by adding a healthy dose of compost and organic matter. Compost is like a multivitamin for your soil, providing essential nutrients and improving soil health. Choose soil and compost that you can transport easily such as Espoma Organic Land & Sea Gourmet Compost.
Check out this fun compost bag hack, Maria’s plant friend Melody taught her.
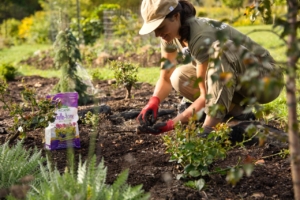
Pick what you can do, what you want to do, and what you can afford to do
Choose plants that suit your taste, capabilities, and wallet. Divide and reuse perennials to keep costs down and select plants that grow joy. Consider a blend of annuals and perennials for season-long blooms, and boost the soil with Espoma Organic Bulb-Tone when planting bulbs like daffodils and tulips.
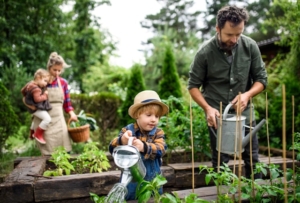
Get family and friends involved
Turn gardening into a bonding experience by involving your loved ones in composting and gardening tasks. Assign different garden tasks to family members and share cuttings and plants with neighbors. Teach children in your neighborhood about how plants grow.
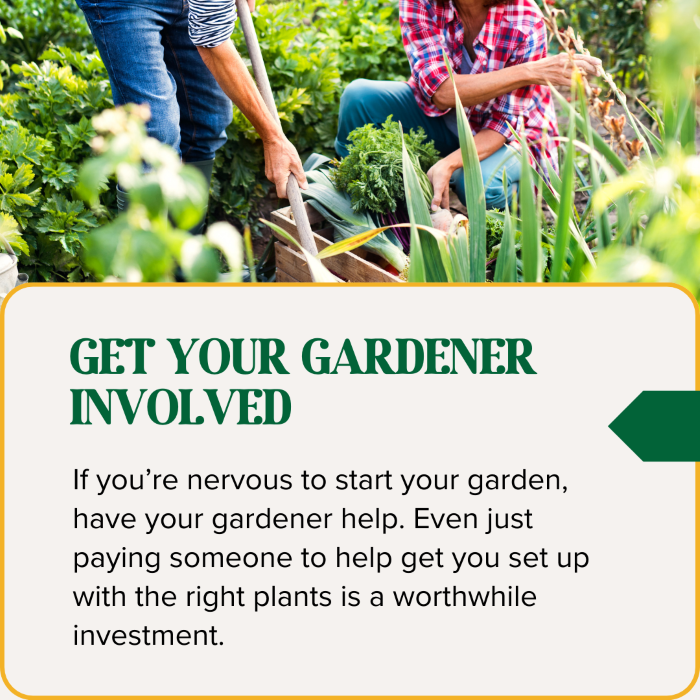
Get your gardener involved
If you’re a novice or unsure about your soil, bring in a gardener to give you a hand. They can help pick the right plants and assist with composting and waste disposal. Espoma Organic Garden Lime can adjust your soil’s pH, creating the perfect environment for your plants under the guidance of your gardener.
Plan your seasons
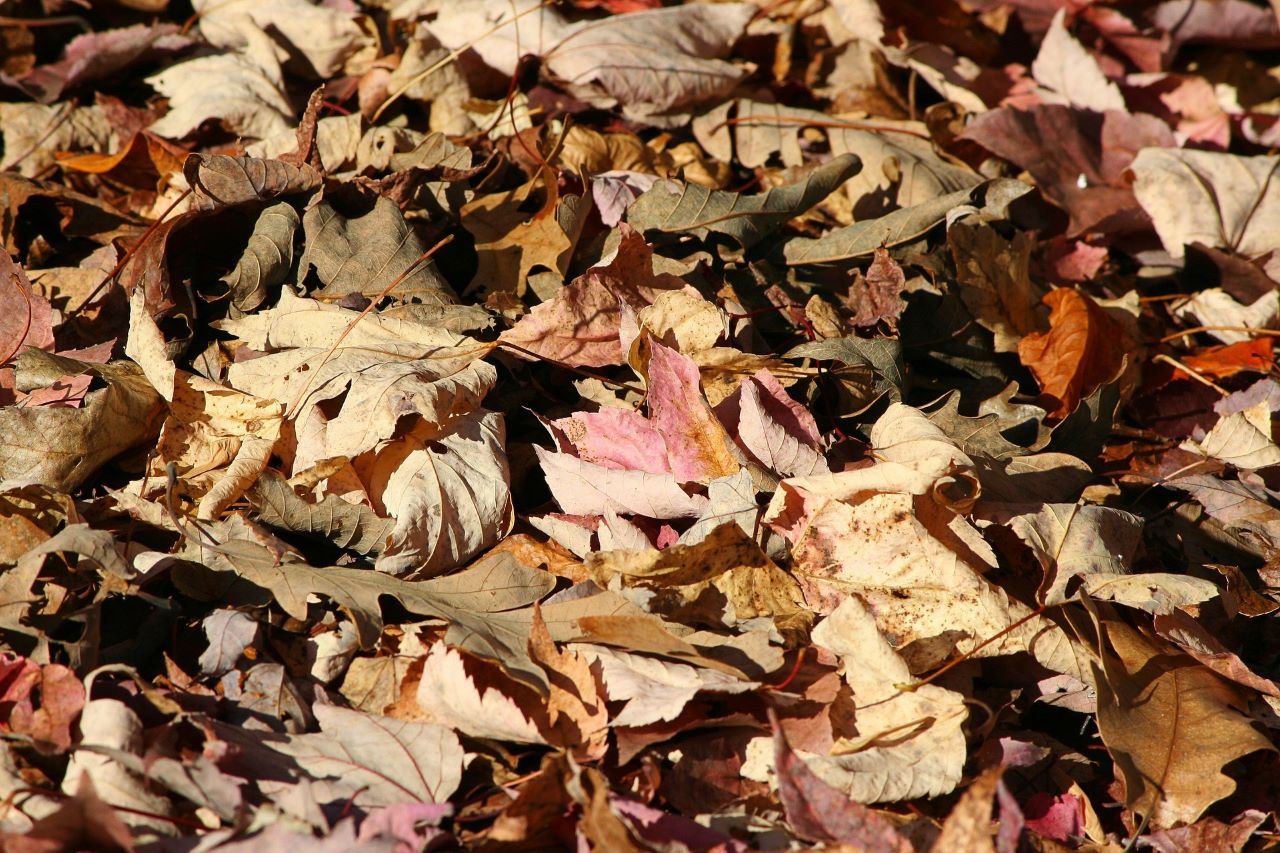
Strategize your garden layout with the seasons in mind. Plant bulbs in the fall for a burst of springtime flowers and add annuals for a summer color party. Plan for winter too with sturdy plants like cabbage and nourish your plants throughout the year with Espoma Organic Plant-tone and Garden-tone.
Start with annual color
Brighten up your garden with vibrant annuals like impatiens, begonias, and coleus. Play with textures for extra visual appeal, unless you’re aiming for a specific plant variety. Improve the growth and vitality of your flowers with Espoma Organic Flower-Tone, a premium flower food that promotes abundant blooms and vibrant colors.
Choose a time to devote to your garden
Gardening loves regular care, so it’s important to set aside specific time to tend to your garden. Three times a week should do the trick, preferably in the cooler mornings. Regular maintenance, like weeding, keeps your garden looking tidy. Use Espoma Organic Weed Preventer to naturally control weeds and create a barrier that saves you time and effort.
Mama Failla’s rules for protecting yourself in the garden
Enjoy gardening but remember to stay safe. Dress in closed-toed shoes, long pants tucked into socks, and a long-sleeved shirt with cuffs that cover your hands. Double-glove to keep your hands clean. Top it off with a hat and sunglasses to protect your skin from the sun, and consider a visor to shield the back of your neck.
By following these tips and putting in the necessary time and effort, your edible landscape will flourish, providing you with a source of joy, beauty, and fresh, homegrown produce. Enjoy your gardening journey and reap the rewards of your efforts!

*****
Featured Products:


 What is Composting?