Large, gorgeous palms can bring the vibes of the tropical jungle right into your home. With huge leaves cascading over delicate stems, it’s hard not to love these beautiful plants. However, palms are notoriously tricky plants to successfully care for indoors. In this blog, we’ll cover how to not kill palms and how to properly care for them.
This blog is inspired by Episode 125 of Bloom and Grow Radio Podcast, where host Maria Failla interviewed Chris Satch of The NYC Plant Doctor.
Most Common Houseplant Palms
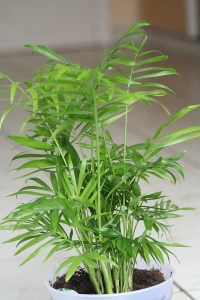
Palms are in the palm family, Arecaceae. One of the most common houseplant palms we see is the parlor palm (Chamaedorea elegans).
Other common indoor palms include the fishtail palm (Caryota mitis).

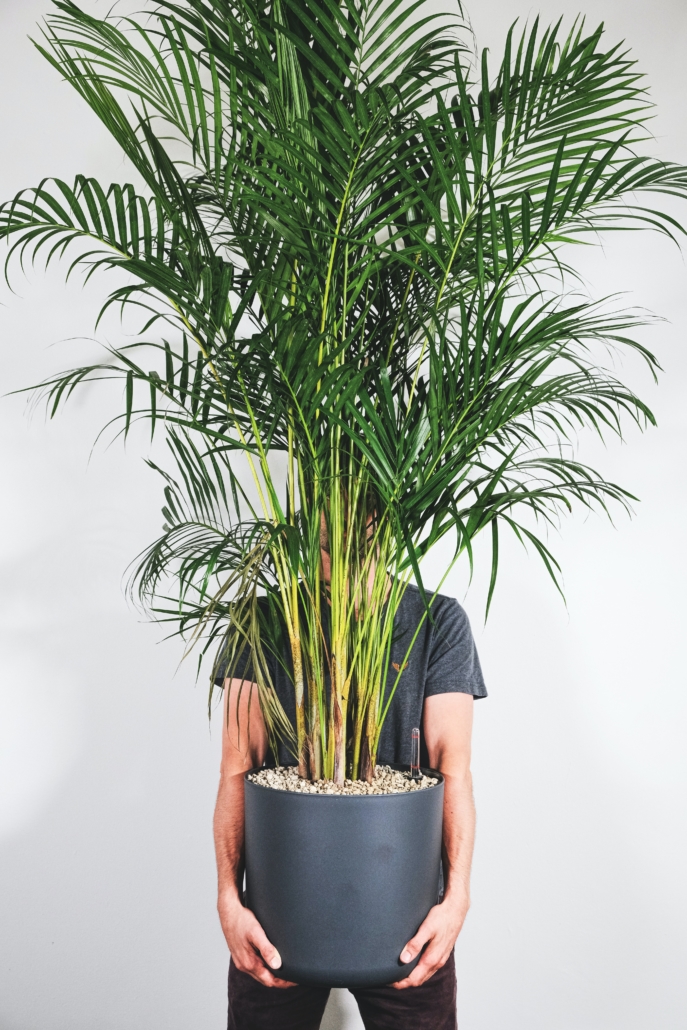
and the areca palm (Chrysalidocarpus lutescens).
Indoor palms need filtered water and increased humidity.
Palms can unfortunately be quite finicky and a little more difficult than other houseplants. There are quite a few types of palms, but we will focus mostly on parlor palm care.
Parlor palms do not like a lot of salts or hard water, because salts can damage the leaves and turn the tips black.
Indoor palms also prefer more humid environments. Humidity and salt damage are both abiotic damage, which means they’re caused by a non-living thing and should affect the plant evenly and symmetrically. A trick for palm diagnosis is salt damage often looks black, while humidity damage is brown.
Watering Houseplant Palms
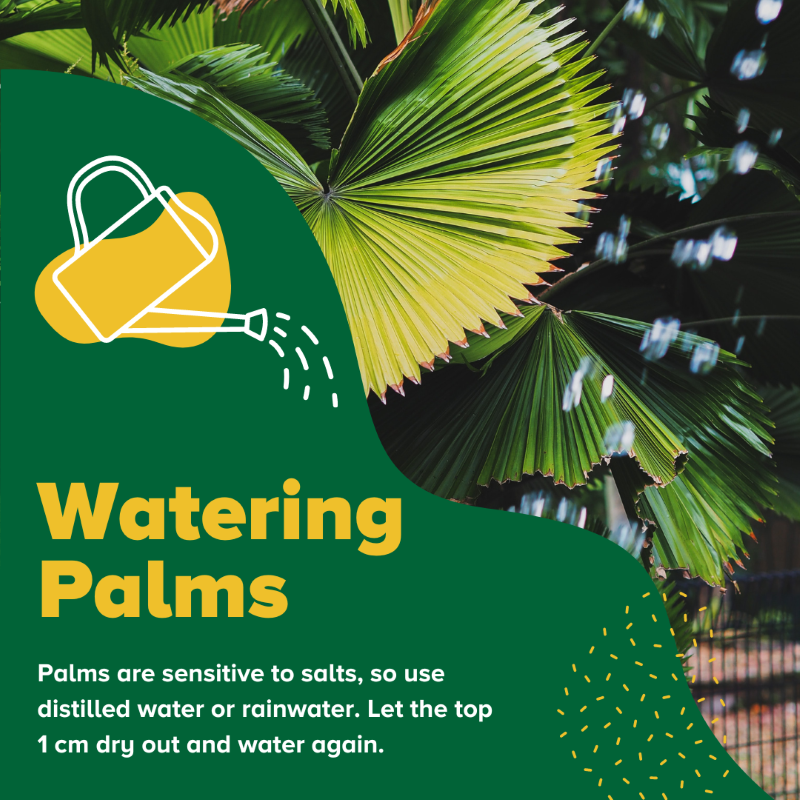
Because indoor palms are sensitive to salts, use distilled water or even better, rainwater.
Watering palms can be very nuanced, because a palm is a thin-leafed plant and any plant with very thin leaves goes through water quickly. While you want the soil to dry out enough to prevent fungus gnats, you don’t want it to stay dry for long.
A general watering rule for palms is to let the top centimeter of soil dry out, and then water again. Make sure they don’t get too dry between waterings.

Light Requirements for Houseplant Palms
The parlor palm is specifically sold as a low-light plant, but it really isn’t a low-light plant. Because palms are so slow growing, they need quite a bit of sun indoors. A bright, sunny window is a great spot for an indoor palm.
Why Are My Palm Leaves Yellow?
If your new leaves are significantly paler than the rest, that’s an indication your palm needs more light.

The Best Temperature for Houseplant Palms
Palms don’t like ambient cold temperatures and certainly don’t like cold drafts. First, indoor palms will stop growing if they get too cold. And once they do get warmer temperatures, they’ll actually wait to start growing to make sure their environment won’t get cold again.
Houseplant palms really love warm, tropical “vibes” indoors so make sure your environment is around 65-80 degrees.
How Much Do You Fertilize Houseplant Palms?
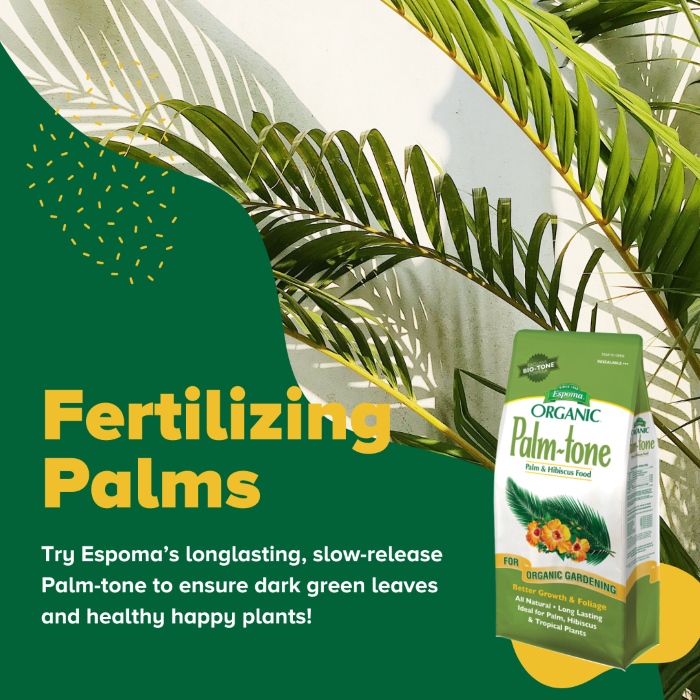
If you consider how palm trees grow outdoors, many of them grow in poor, sandy soils without many nutrients. To replicate that for indoor palms, they really don’t need to be fertilized often.
Try Espoma’s long lasting, slow release Palm-tone to ensure dark green leaves.
Repotting Houseplant Palms
Indoor palms dislike their root mass being disturbed. When you do repot an indoor palm, try not to loosen the soil or disturb the root mass. Try to keep it as intact as possible.
Pro tip: do not plant palms in terracotta pots. Not only does terracotta dry the plant out too much, but it also holds onto salts. Stick with plastic or sealed ceramic pots to set yourself up for success.
Houseplant Palm Pests
Indoor palms are also very susceptible to pests. Their thin leaves and clumped roots lend to many insects hiding in the foliage. Pests like spider mites, mealy bugs, scale, and aphids are all possible on indoor palms.
To manage pests, take your palm outdoors for treatment when the weather is warm, if possible. Use a hose with a strong water blast to dislodge as many insects as possible. Use the force of the water to spray the undersides of the palm too, since many pests will cling to the bottom of the leaves.
Don’t Get Discouraged!
If you decide to try and care for a palm indoors, know that this is not a beginner plant. You might need to try one or two varieties until you find the right fit. However, if you can get your palm in the right light with clean water, they can be a wonderful addition to your home as a WOW factor statement plant.
*****
About Bloom & Grow Radio Podcast
Bloom & Grow Radio Podcast helps people care for plants successfully and cultivate more joy in their lives. Host Maria Failla, a former plant killer turned happy plant lady, interviews experts on various aspects of plant care, and encourages listeners to not only care for plants, but learn to care for themselves along the way.
About Our Interviewee
Chris Satch is a professor at the New York Botanical Gardens and an expert in all botanical, horticultural, and plant-related topics. Often called The Plant Doctor, he has helped thousands of people with gardening or houseplant problems to achieve success.
With his M.S. in Plant Science from Rutgers University, and his vast experience doing plant research and working in the horticulture industry, he helps plant lovers find solutions for themselves and their businesses.
Follow Chris:
Instagram: @botanictonic | @nycplantdoctor
Website
Parlor Palm Care article
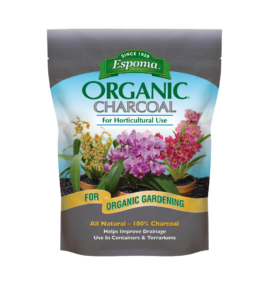
Featured Products: