
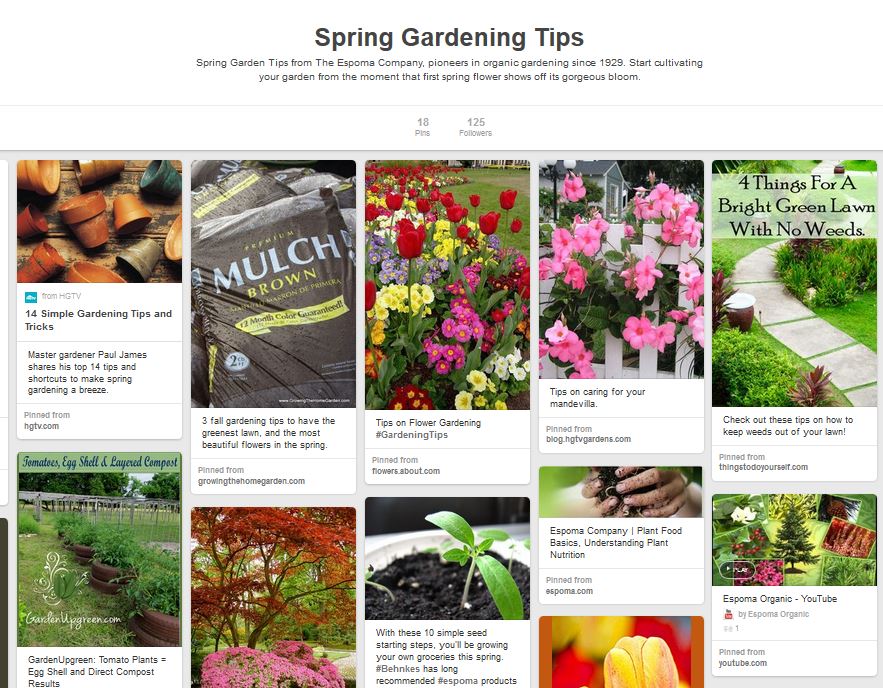
A Seed Ahead: Preserving Tomato Seeds
You’ve had a great season tending to your tomato plants! But with the summer winding down and chilly days coming soon, you may be wondering what to do with your tomato plants now.
Get a head start on spring by preserving the seeds from your tomatoes.
Tomato seeds might be available at the store year-round, but saving your own is satisfying and easy. Luckily, September is the perfect time to begin planning for next year!
How do I pick which seeds to preserve?
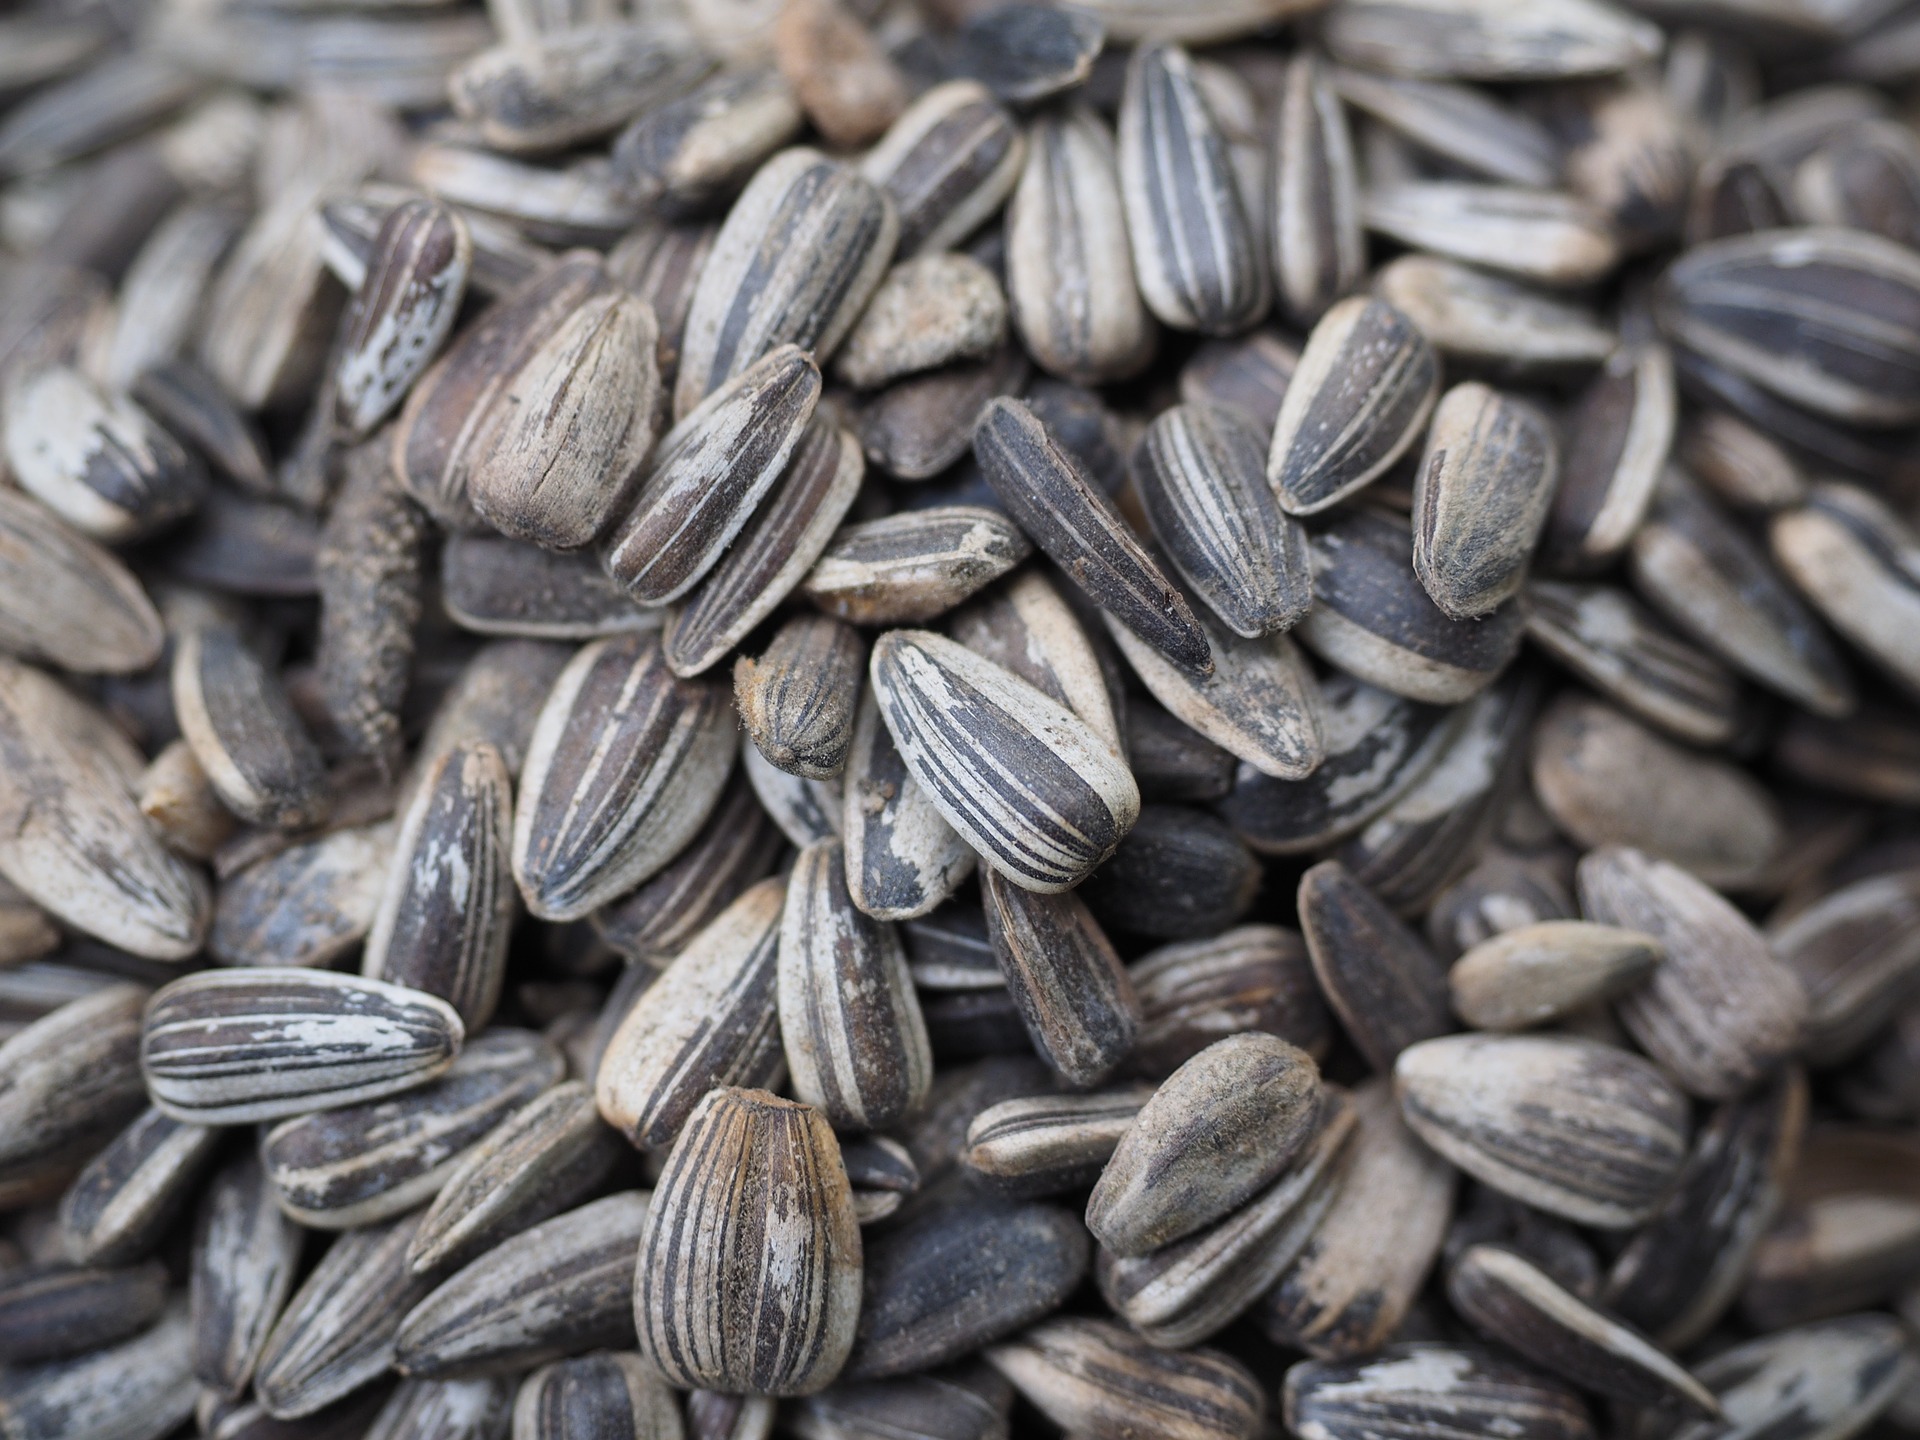
The general rule of thumb is to only take ‘open-pollenated’ seeds or heirlooms. Hybrid plants often produce sterile seeds. Or, they do not produce seed with the same desirable traits of the parent plant.
Harvest seeds from tomatoes that are healthy and embody the characteristics you’re interested in preserving. For example, you could pick seeds from the juiciest tomatoes, or the ones with the most interesting colors. It’s your choice, but make sure you pick from healthy plants. Unhealthy plants could carry illnesses.
If possible, save seeds from multiple plants.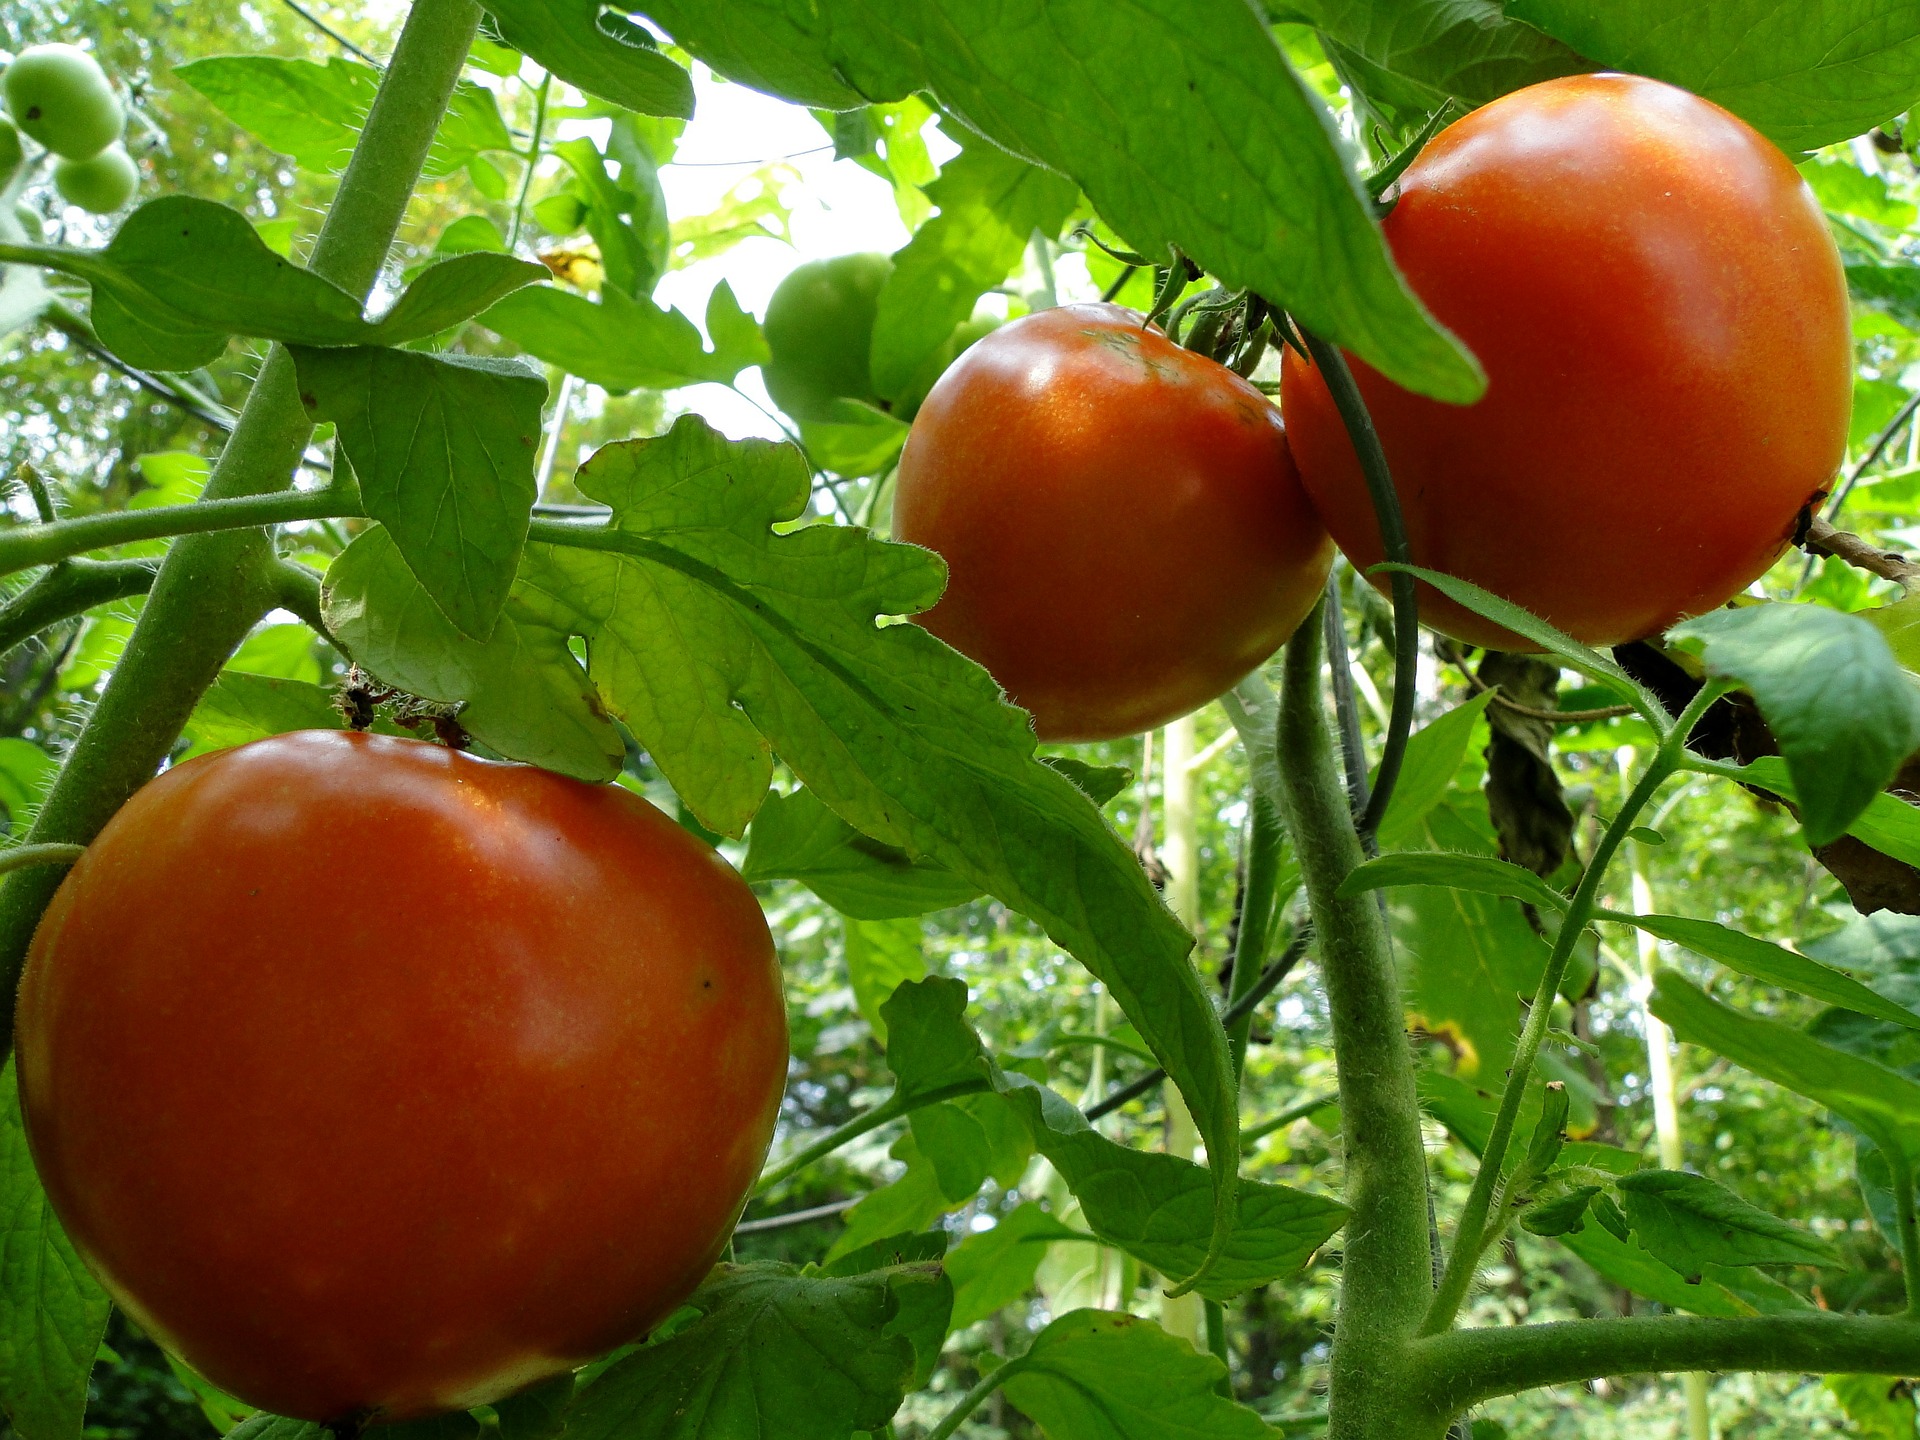
Method 1: Air-dry
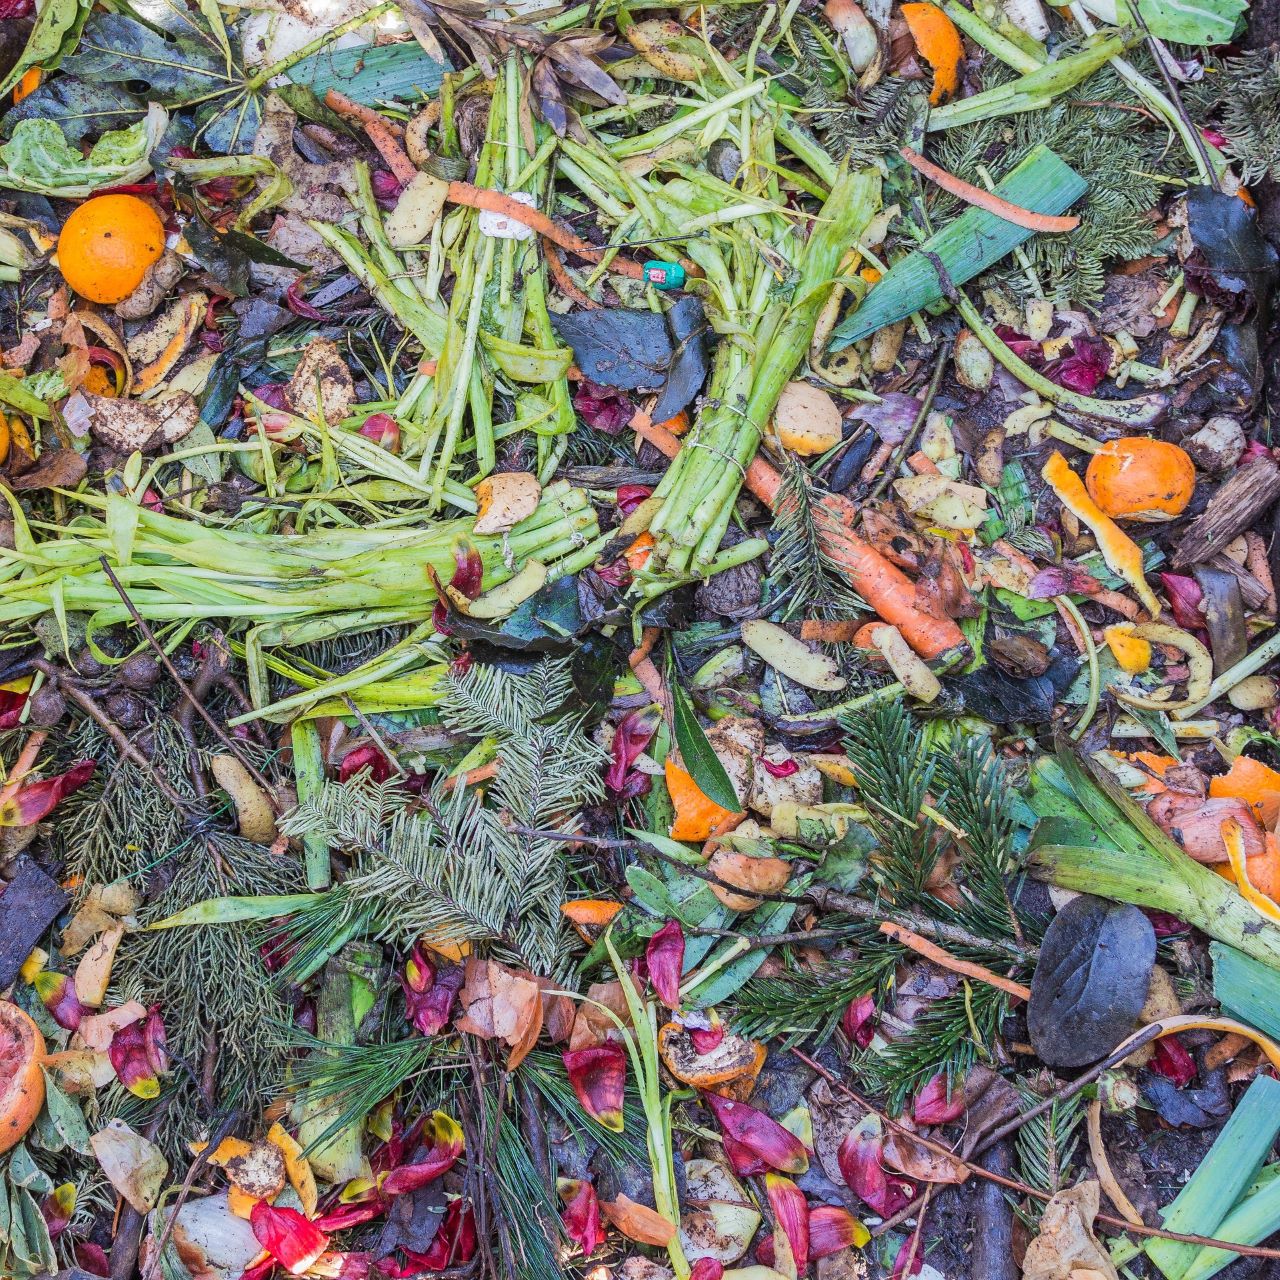
This method is pretty simple. Open the tomato and remove the seeds, squeeze them onto a paper towel, wait for the seeds to air dry and then store them in a jar, an envelope or even the same napkin. This method is quick and straightforward.
Method 2: Ferment
It’s not absolutely necessary to ferment your tomato seeds, but fermenting makes it easier to completely separate seeds from the gel that surrounds them. Fermenting also eliminates the bad seeds and reduces the possibility of seed-borne disease for next season.
1. Wash the tomatoes. Slice each in half across the middle (not the end with the stem). Squeeze the seeds and juice into a (labeled) glass or plastic container.
2. Set containers aside when half-full. Place containers in an area that is out of direct sunlight and out of the way, so the fruit flies and odor will not bother you.
3. Let the seeds sit for three to five days or until the surface of the container shows a whitish mold. This is a good thing! The seeds should be floating at this point. In warmer climates, you may need to add some water to keep the seeds afloat.
4. Gently scrape the mold off with a spoon. Do not remove the seeds.
5. Fill the container with water and then stir it. The seeds you want will sink to the bottom.
6. Pour off the excess to remove floating seeds and pulp.
7. Repeat the process until the good seeds, at the bottom, are cleaned.
8. Pour the good seeds into a strainer, then rinse and drain them.
Storage
An airtight container works best for storage. When packaged correctly, tomato seeds remain usable for up to six years!
You can place the seeds in the refrigerator or freezer, but the seeds will last even when stored at room temperature. When you’re ready to use the seeds, if they’ve been chilling in a refrigerator or freezer, let them adjust to room temperature first to prevent excess condensation from creating any damage.
Be sure to visit us on our Facebook page or Twitter page and tell us how you plan to preserve your tomato seeds!
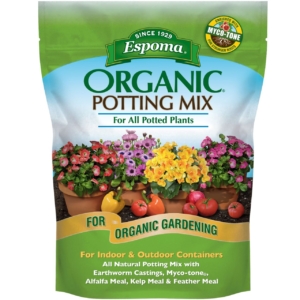
Featured Product:


