Bringing Plants Indoors for the Winter
How to Overwinter Your Plants
Laura with Garden Answer is answering some commonly asked questions on how to get your plants and containers prepared to bring inside for the winter. She lays out her step-by-step instructions on how to keep your plants happy and healthy, even when they are inside.
Step 1 – Figure Out What You Want to Bring Inside
Walk around your garden and gather what you want to save. Think about your succulents, perennials and herbs out in the garden. Even, window boxes, displays and smaller containers can survive indoors with a little bit of help.
Once you have gathered everything you want to bring inside, think about the containers they are currently in. Will they work for inside your home? Will you dig something out of your garden that needs a new container? These questions will lead you to gather the right supplies.
Step 2 – Gather All Your Supplies in One Place
It’s easier to have one designated area to work. It will keep you from moving your supplies all over your garden and keep the mess contained.
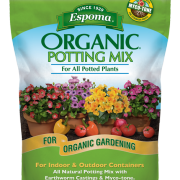
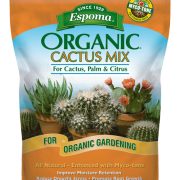
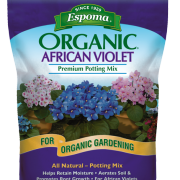
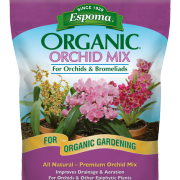
Tools you might need are a trowel, a shovel, snips, pruners, gloves and containers. If the containers were previously used, be sure to sanitize them with 1-part bleach to 10-parts water to rid of any insects or diseases that may be hiding. The last thing you will need is the right kind of soil. Succulents and cactus, African violet and orchids and regular everyday plants all have different soil needs to thrive.
Step 3 – Groom and Trim Plants
Trim off any leggy branches or make any aesthetic cuts. Also, trim dead leaves and spent blooms as those are what diseases and insects use to find their way indoors.
Step 4 – Check for Insects
It’s best not to bring insects inside your home. Be sure to check the top of the soil, the top of leaves and the underside of leaves. Anything that is crawling around in there should stay outside. This will guarantee other houseplants will not be infected later on.
Step 5 – Refresh Your Soil
If you aren’t repotting, evenly scrape off the top inch or two, whatever will come up easily, and replace it with fresh soil. This will help ensure all insect eggs are out of the soil.
Step 6 – Repot If Necessary
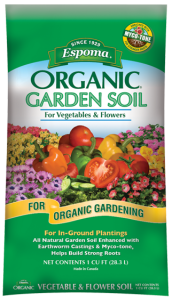
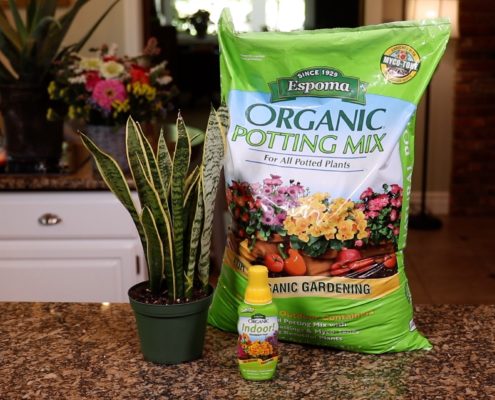
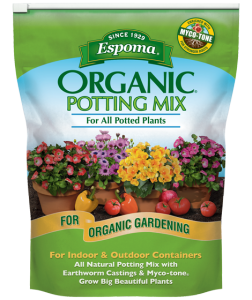
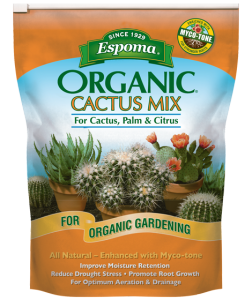
Now is the time to repot any containers if they need to go up a size or you want to match your interiors. This is also when you should pot anything that you have dug up from the garden. Remember, use the right kind of soil for your plants. Espoma has soil for every kind of plant.
Step 7 – Water with a Deep Soak
While this isn’t required to do before moving your plants into the house, it is highly recommended. While they can still drain outdoors, give your plants a big drink of water. It will help get them established in their new containers and release the nutrients in the fresh top soil.
Step 8 – Bring Your Plants Inside
Think about how much light each of these plants need and find the appropriate place to put them. If they like full light, find a window with bright light they will enjoy living in for a few months. It’s best to place a saucer underneath each of the pots to catch anything that may find its way out.

