Autumn Fairy Garden DIY (Extended Cut)
Cooler temperatures, changing leaves, crisp apples and pumpkin picking are all signs that fall is here. Make fall come to life in your very own fairy garden!
Fairy gardens do better when in an area protected from the elements. When thinking about where to create or place your fairy garden, think about the environmental factors like wind and rain that can ruin the garden. When Laura is done creating her fairy garden, she will place it on her covered porch where it will be protected!
Before we begin, there are a few things to note:
- There is no drainage in this miniature garden, so water lightly and only when the plants need it. Laura suggests using a syringe to get the right amount of water exactly where it’s needed.
- If using shapecrete, it may still be soft after 30 minutes of curing, so don’t put too much weight on it. It will continue to cure for 24 hours.
- This is a seasonal project, so before winter comes find a new home for the plants, either in a greenhouse or indoors, in order to preserve them.
Watch Laura dive into this fun autumn fairy garden! Here is a list of supplies she uses.
Materials Used:
Old Suitcase
Heavy Black Plastic
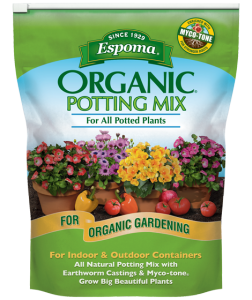
Espoma’s Organic Potting Mix
Small Plants
Tree Figurines with LED lights
Shapecrete
Native soil
Putka Pods (Look like Miniature Pumpkins)
Autumn Themed Fairy Figurines and Décor
Mulch
Embellishments
Plants Laura Used:
Tiny Tim Euphorbia
Irish Moss
Straw Flower
Creeping Jenny
Sempervivums
How to Create an Autumn Fairy Garden:
- Line an old suitcase with heavy plastic in order to preserve it and keep the soil in one place.
- Fill with Espoma’s Organic Potting Mix and trim the excess plastic from the container to make it look clean and precise.
- Add plants. Remember to work from back to front adding height and texture to the miniature landscape. Use plants that will stay small, so they don’t outgrow your garden.
- Add tree figurines. If they light up, keep them near the sides so the cords don’t get wet.
- Create a road or pathway for your fairies. Cut photo paper to make a guide where you want the road to go. Mix water with shapecrete and pour between the photo paper. Let dry 30 minutes before removing the paper. It’ll continue to cure for 24 hours.
- Now is the time to set the autumn scene and add in your fairy garden figurines. Laura used putka pods, miniature straw bales, apples in a barrel, a Farmer’s Market stand, a worker and a truck full of pumpkins! Feel free to add some mulch and native soil to give it an authentic field feel.
- Decorate the lid of your suitcase with fall themed embellishments. Laura added a bunting banner in fall colors.
Enjoy your new fairy garden!
Use Espoma’s organic potting mix in your fairy garden.
