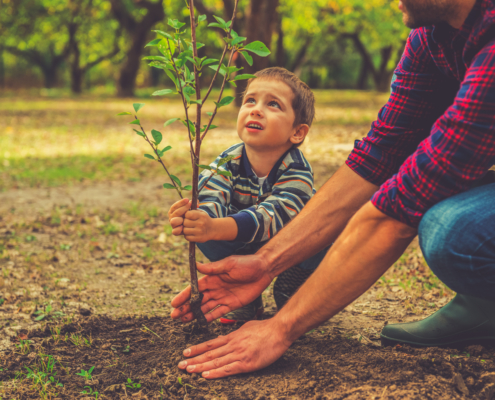
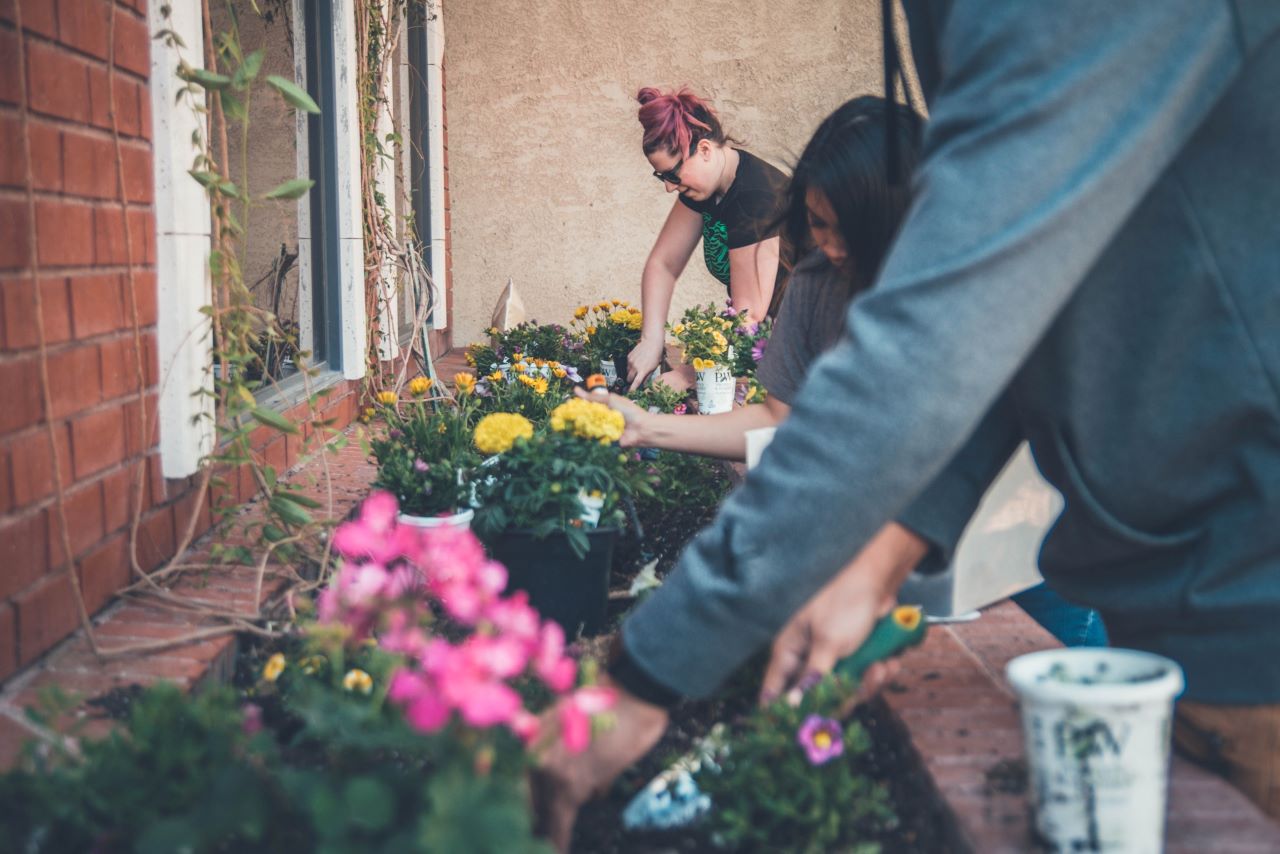
An edible garden can be a wonderful addition to any home. But with all of the information out there on vegetable gardening, it can feel overwhelming to start. This blog is here to help people who are in their first few years of vegetable gardening by covering the need-to-know basics.
This blog is inspired by Episode 89 of Bloom and Grow Radio Podcast, where host Maria Failla interviewed Toby Adams, the Director of the Edible Academy for the New York Botanical Garden.

What Vegetables Should I Grow as a Beginner?
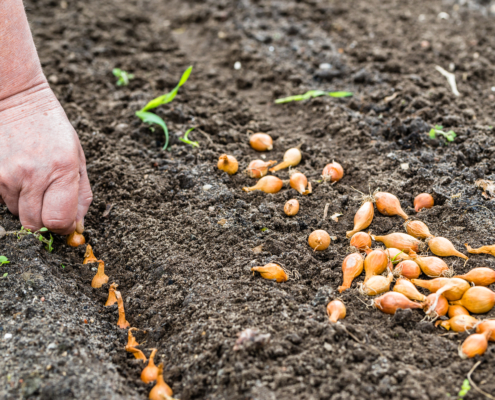
You might be tempted to try growing lots of different vegetables, especially as a beginner. But it’s best to start with just a few varieties and get really good at growing them. From there, you can expand your vegetable garden in the following years, slowly building on your mastery.
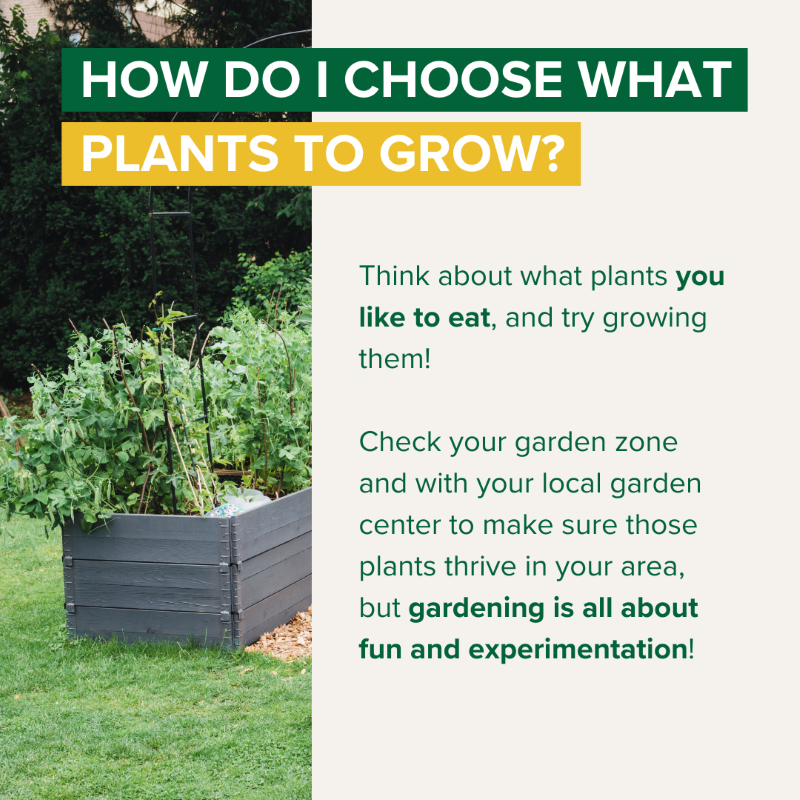
So, where do you start? The simplest way is thinking about what you like to eat! Create a small list of vegetables you purchase regularly at the grocery store or farmer’s market. Then do a little research about the plants themselves and what they require to grow. You may find that some vegetables don’t grow well where you live, or you might be hindered by your growing set up in size, sun, and scale.
Next, think about your location. If you’re growing in a place like New York City or other Northeastern U.S. locations, you’re likely to have different seasons. Spring and fall are referred to as cool seasons. There are groups of plants that do well in cool weather with some warm days, but colder nights. There are also warm season crops that grow best in summer with no chance of frost.
If you go back to your wishlist, you can figure out which plants are cool season versus warm season crops, and plan from there. Here are some examples of cool and warm season vegetables:
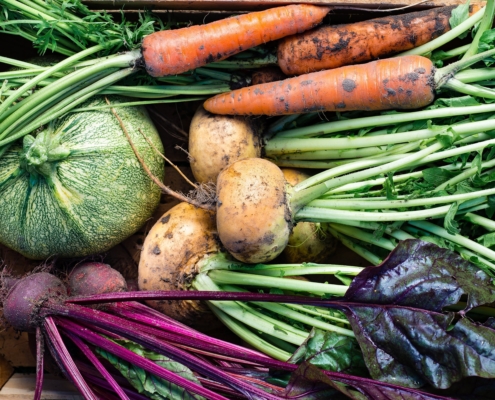
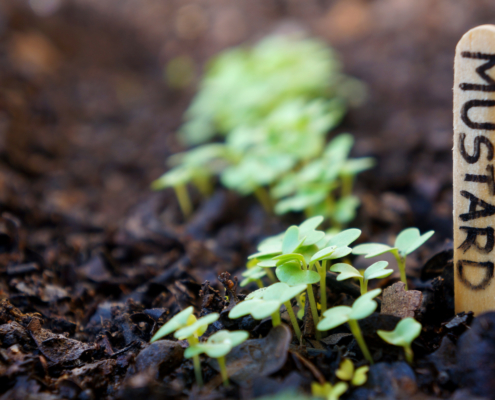
Cool season vegetables: lettuce, radish, peas, spinach, carrots, kale, cabbage.
Warm season vegetables: squash, tomatoes, peppers, eggplant, beans, corn, cucumbers.
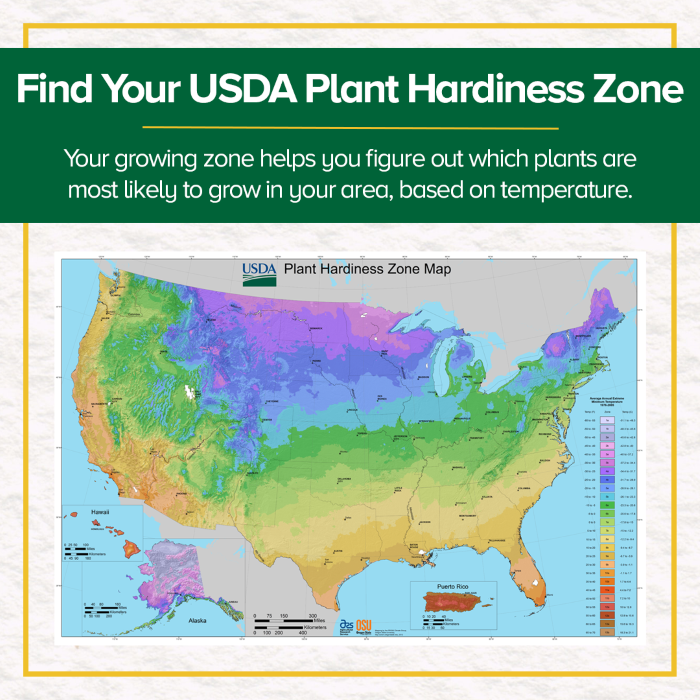
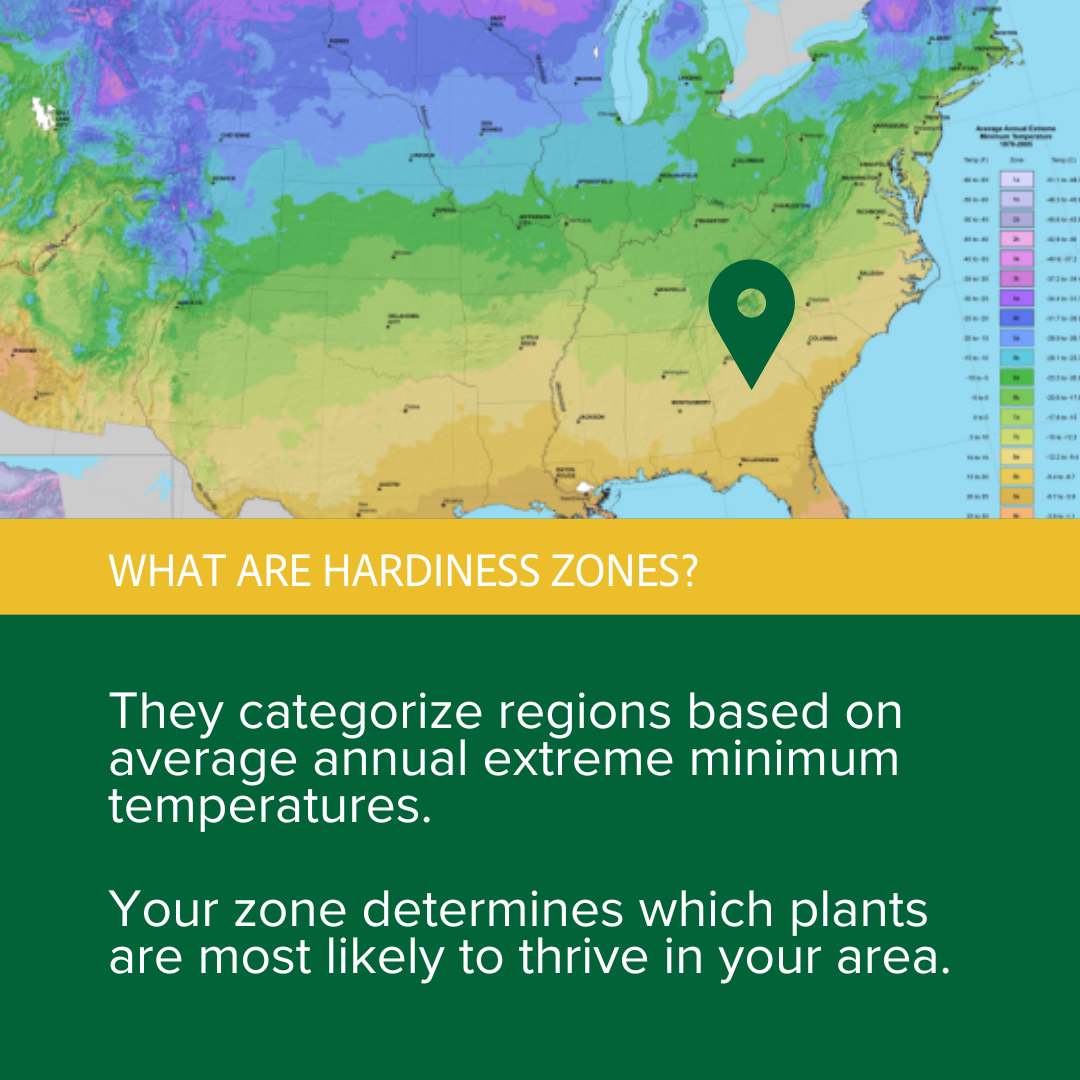
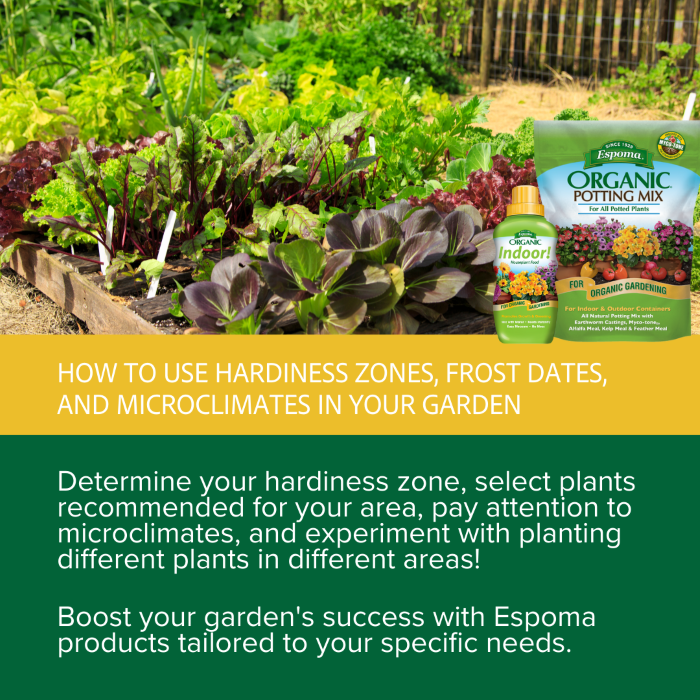
What’s a Hardiness Zone?
If you’re in the U.S., you can find your USDA plant hardiness zone by entering your zip code. This helps you determine which plants are most likely to grow well in your area based on temperature.
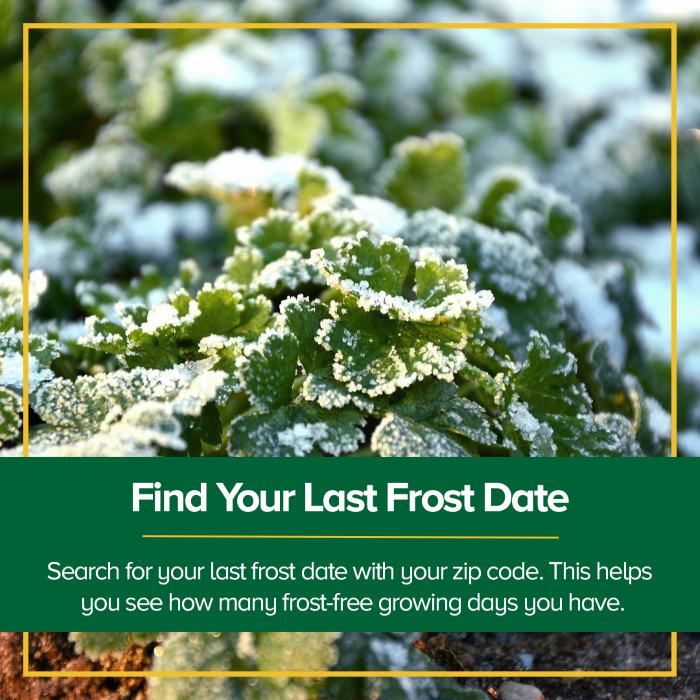
Once you find your hardiness zone, you can also search for the last frost date in your zip code. Your first and last frost dates will show you how many frost-free growing days you have in a season. This can help you figure out which warm and cool season crops will grow best in your area.
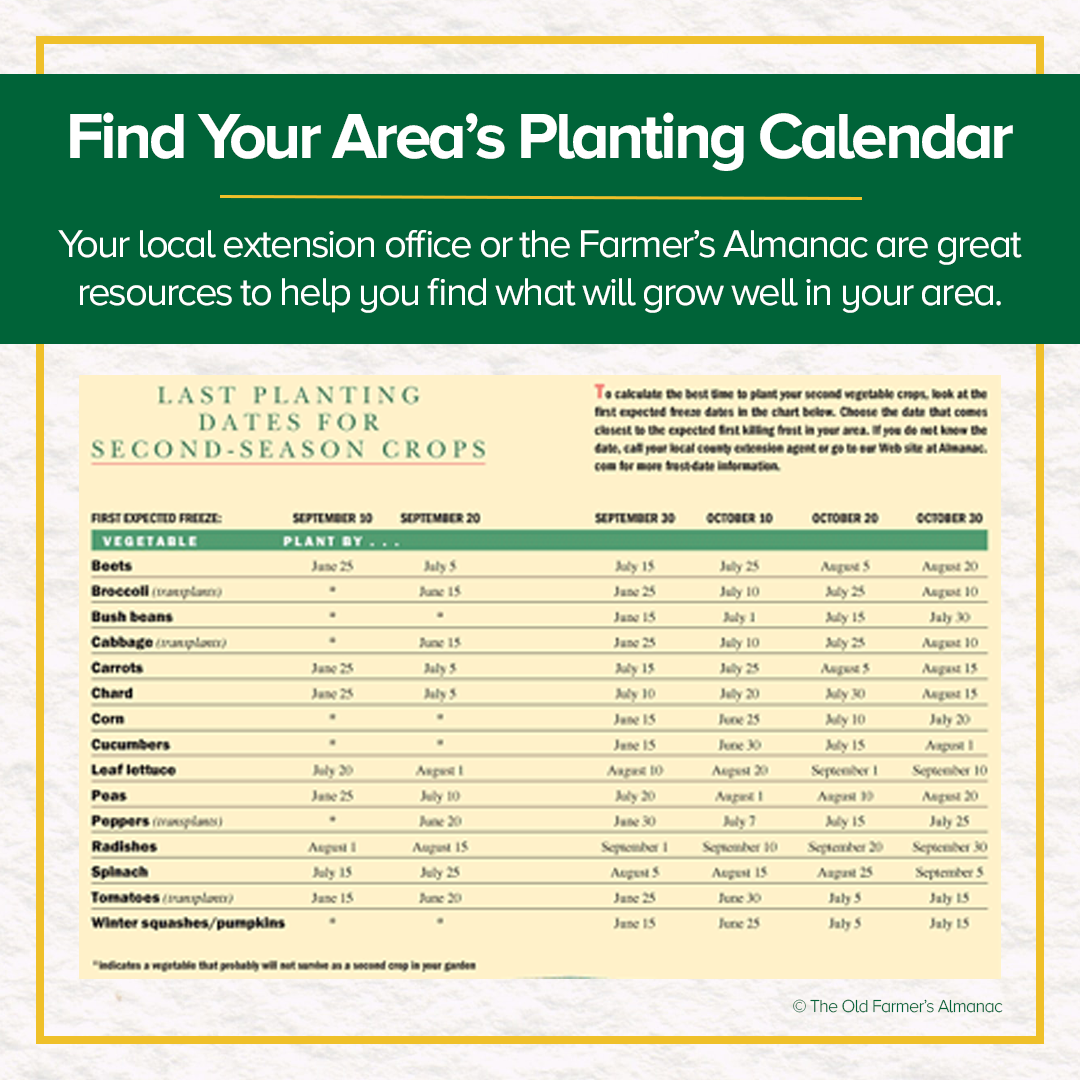
From there, you can even find helpful planting calendars for your area through resources like your local extension office, local or online gardening groups, and the Farmer’s Almanac.
What Do Vegetables Need to Grow Successfully?
There are a handful of factors that go into a successful vegetable garden. Below we’ll cover space, sun, water, soil, and fertilizing.
How Much Space Do My Vegetables Need?
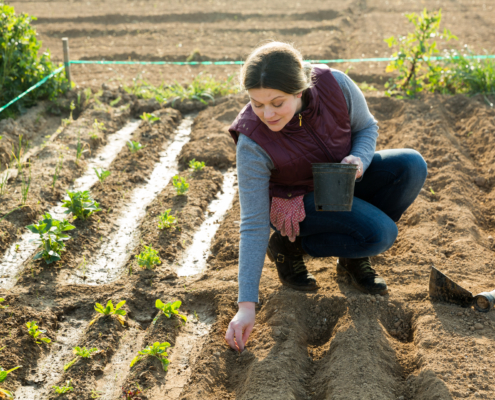
Once you’ve got your list of vegetables, think about other growing factors like space requirements. Some plants require more space, while smaller varieties can be planted in small containers.
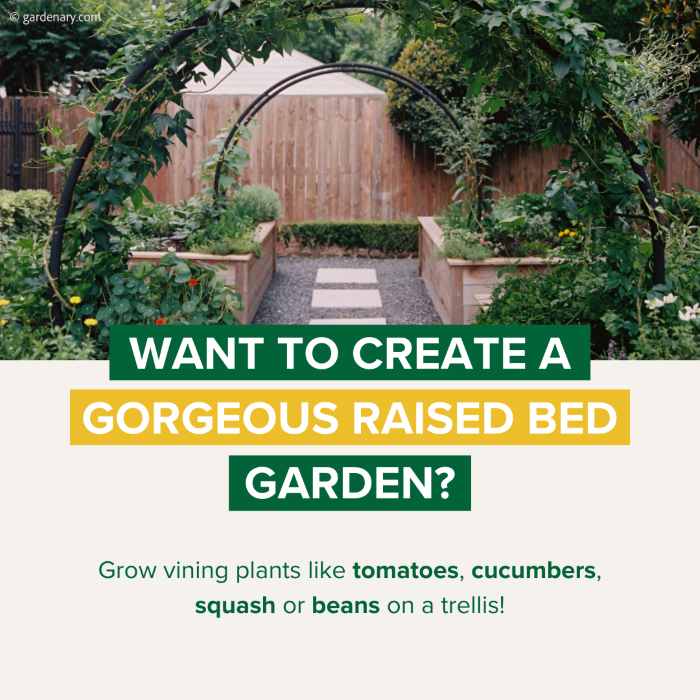
A tomato plant, for example, needs about 18 – 24” to grow successfully. If you’re growing tomatoes in containers, make sure to only plant one tomato per container.
On the other hand, leafy greens like lettuce and spinach can be planted close together and harvested as baby greens.
How Much Sun Do I Need for My Vegetable Garden?
The next component of successfully growing vegetables is sun exposure. Most vegetables need a minimum of six hours of direct sunlight, but eight hours is ideal. Think about your garden placement based on how much sun each area receives.
An easy way to determine how much sun your garden gets is to do a sun analysis. If you have a full day at home, check the area every hour and make note of whether it gets direct sun or not. At the end of the day, add up how many hours of direct sun you get. This will help you determine which plants will thrive in your area.
Be aware though, if you’re doing your sun analysis in winter and you have trees nearby, those trees will actually have a full canopy of leaves in summer that will cast shade.
An easy way to start is keeping in mind the following: in the Northern hemisphere, gardens that face South will get the most sunlight. Eastern gardens will receive gentle morning sun and Western gardens will receive hotter afternoon sun. Northern gardens will receive the least amount of light and may cause issues for successful growing.
How Much to Water Vegetables
Water is another key aspect of vegetable gardening. The amount you water will depend on the time of year, the needs of each plant, and the other growing conditions in your garden. A general rule is that plants don’t like to sit in water, but they do need consistent water.
Deep watering your plants with longer, less frequent periods of watering will encourage robust root systems that grow deep into the soil. During Summer months, this can look like watering 3-4 times a week at 30 minute intervals, depending on your climate.
What’s the Best Soil for Edible Plants?
Last, you’ll need a soil medium based on where and how you’re growing. A well-draining soil that contains organic food for your plants, like compost and fertilizer, is a good option.
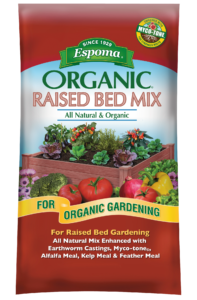
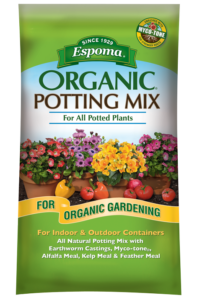
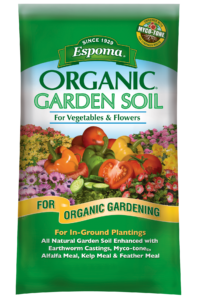
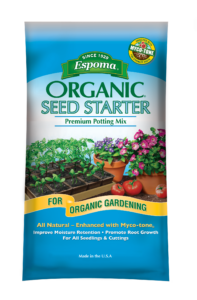
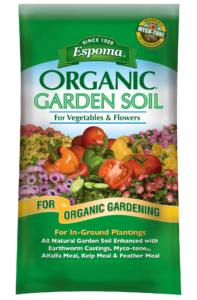
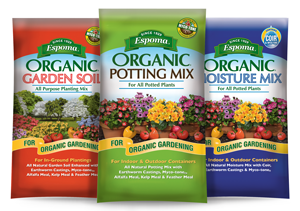
If you’re growing in containers, Espoma’s Organic Potting Mix works great for growing vegetables. If you have an outdoor growing space, the Raised Bed Mix or the Vegetable & Flower Garden Soil work well for edible plants.
Whatever soil you choose, make sure that it has good drainage. Most of your plants’ root systems need oxygen to grow and don’t like to sit in water.
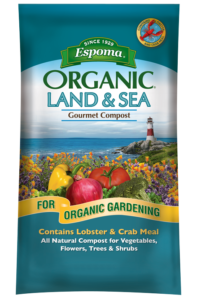
If you’re growing in an in-ground garden, a soil test is essential to know what nutrients and heavy metals are in your soil. Your local extension office may have soil testing or be able to direct you to companies that do. You can use Espoma Organic Land & Sea Compost to amend your soil.
Do I Need to Fertilize My Vegetable Garden?
Plant nutrients are broken up into macro and micronutrients. The main macronutrients you need to know about are the famous NPK: Nitrogen (N), Phosphorus (P), and Potassium (K).
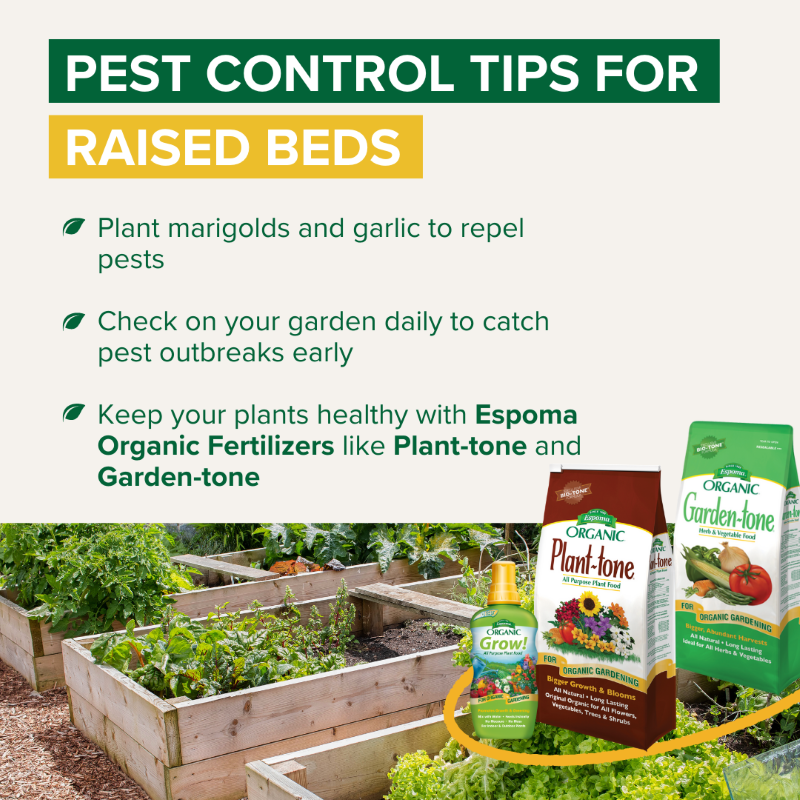
Starting with high quality soil and compost sets your edible garden up for success. Throughout the growing season, your vegetable garden will use up and absorb many of the macronutrients in your soil, and they will often need to be replaced by using fertilizers.
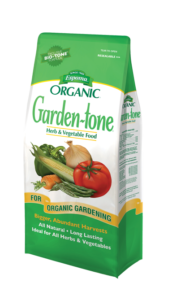
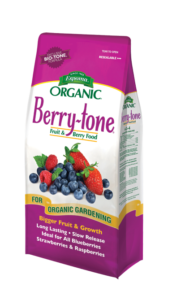
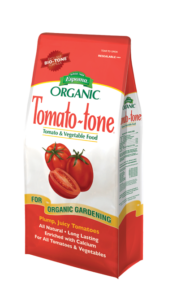
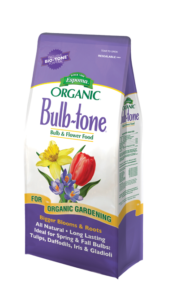
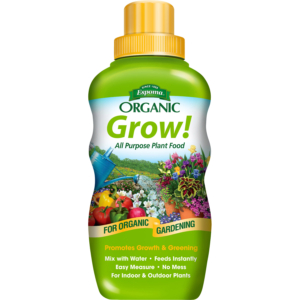
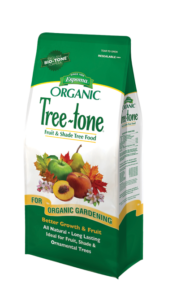
Use a general fertilizer like Garden-tone or use the plant-specific fertilizer line of “Tones” that Espoma has to offer like Tomato-tone, Berry-tone or Bulb-tone. For a list of Espoma’s wide varieties of “tones,” visit our website.
The Best Vegetable Gardening Advice
What’s the best advice you can get on starting your edible garden? Just start! Remember to try growing only a few different vegetables, making sure they have the right conditions, and expand from there. We hope this blog inspired you to try growing some of your own vegetables right in your own backyard!
*****
About Bloom & Grow Radio Podcast
Bloom & Grow Radio Podcast helps people care for plants successfully and cultivate more joy in their lives. Host Maria Failla, a former plant killer turned happy plant lady, interviews experts on various aspects of plant care, and encourages listeners to not only care for plants, but learn to care for themselves along the way.
About Our Interviewee
The NYBG Edible Academy is a state-of-the-art educational facility featuring hands-on activities and innovative programs that help children, families, teachers, and the general public learn about growing and preparing vegetables, fruit, and herbs while encouraging a lifelong interest in gardening, nutrition awareness, and environmental stewardship. Toby Adams has worked at the NYBG for almost 20 years, and has a passion for helping people understand how to grow food.
Follow the New York Botanical Garden:
Website
Online Courses
Instagram
Facebook
Featured Products: