6 Fall Veggies to Plant Now
August is here, summer is coming to an end, and you are just weeding and waiting. You’re in the summer slump.
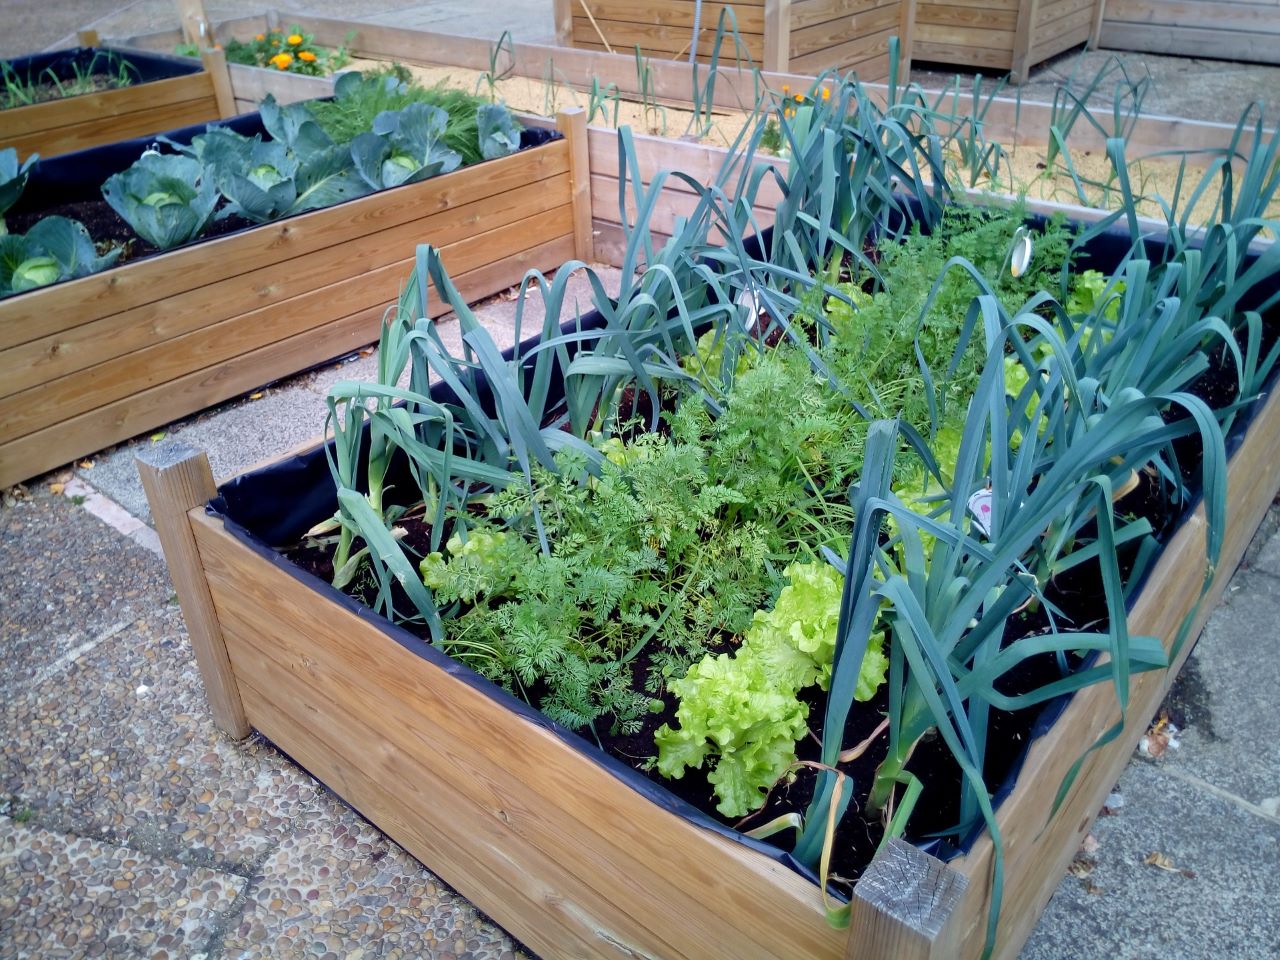
Time to snap out of it! Get your garden thriving with fresh fall vegetables in your succession garden. You have a time left before the first frost comes around and you hang up your gardening tools. Don’t know what to plant? We can help with that! Give veggies a head start by planting seeds indoors.
6 Fall Vegetables for Succession Gardening
1. Collards – As one of the most cold-hardy plants, collards are great for fall weather. Collards are able to handle temperatures as low and the high teens. For a fall harvest, count back six to eight weeks before your first frost. This allows for sweeter leaves during a fall and winter harvest.
2. Kale – As part of the Brassicafamily, kale grows well in cool weather. Count back six to eight weeks before the first frost to start planting for a fall harvest. Depending on your USDA zone, you can continue planting into the fall. Maintain moisture in the leaves to ensure they are tender. Packed full of nutrients, kale is a great fall vegetable.
3. Lettuce – With different varieties, you can mix and match the lettuce in your garden. Count six weeks before the first frost to start planting. You can sow every two weeks up to the first frost for an extended crop. You can continue after the frost by using a hardier variety, such as romaines or butterheads.
4. Mustard Greens – Mustard greens have seeds that are easy to plant straight into your garden. They germinate well and grow quickly. Count back three weeks before the first frost to start planting. If you want a more successive harvest, plant every three weeks starting mid-summer. They do not grow well in summer, so starting them now is perfect for your fall flavors.
5. Beets – Beets love cold weather. In the southern states, they can be grown all winter long. In the northern states, make sure the soil is cooler (around 41F). Thinning your rows allows your beets to spread out and grow fuller. You can use the greens you thinned for a good salad mixing.
6. Turnips – Planting turnips in the fall makes the plant tenderer and sweeter than the spring. Sow your seeds in the late summer, early fall months to get a fall harvest. Start your turnips with seeds as they do not transplant well.
Remember to keep your plants watered well and fertilize regularly with Espoma’s GROW! Liquid Fertilizer.