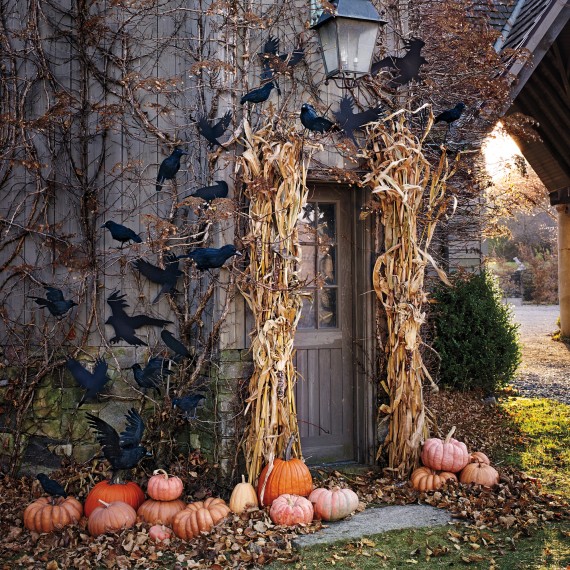
Grab Your Books for a Lesson in Gardening 101
Back to Gardening School: A Fresh Start for Your Garden
Remember the excitement of a new school year? Fresh notebooks, a backpack ready for adventure, and the feeling that anything was possible. That same sense of renewal is waiting in the garden this season.
Whether you’re just starting out or brushing up on your skills, it’s the perfect time to get back to the basics. Sharpen those tools (and pencils) and let’s head to Gardening School.
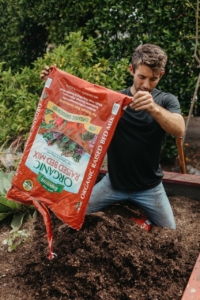
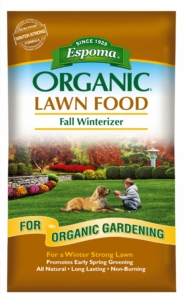
1. Build a Strong Foundation
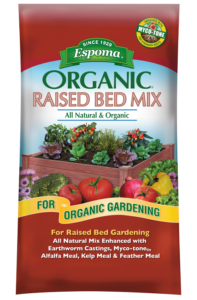
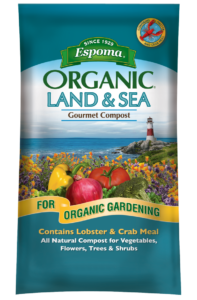
Every successful garden begins with healthy soil. Start with a quick soil test to understand what nutrients your garden may be missing, then build from there. For raised beds, fill them with a rich blend of natural ingredients—like those in Espoma Organic Raised Bed Mix—to create the perfect growing environment. Adding an organic compost such as Espoma Organic Land & Sea Gourmet Compost further improves soil structure, boosts moisture retention, and encourages healthy microbial activity. For container plantings, Espoma Organic All-Purpose Potting Mix provides the ideal balance of drainage and organic matter to keep roots thriving. And whenever new plants go in the ground, a starter fertilizer like Espoma Organic Bio-tone Starter Plus helps them establish quickly by supporting strong, resilient root growth. With the right foundation beneath the surface, the garden above will flourish.
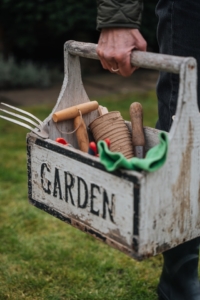
2. Check Your Supplies
Just like gathering fresh notebooks and sharpened pencils, gardeners should review their tools. Replace cracked handles, rusty clippers, or wobbly rakes so nothing slows you down during the season. A little care and preparation now saves frustration later and makes gardening smoother and more enjoyable.
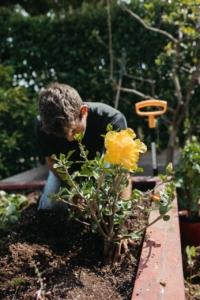
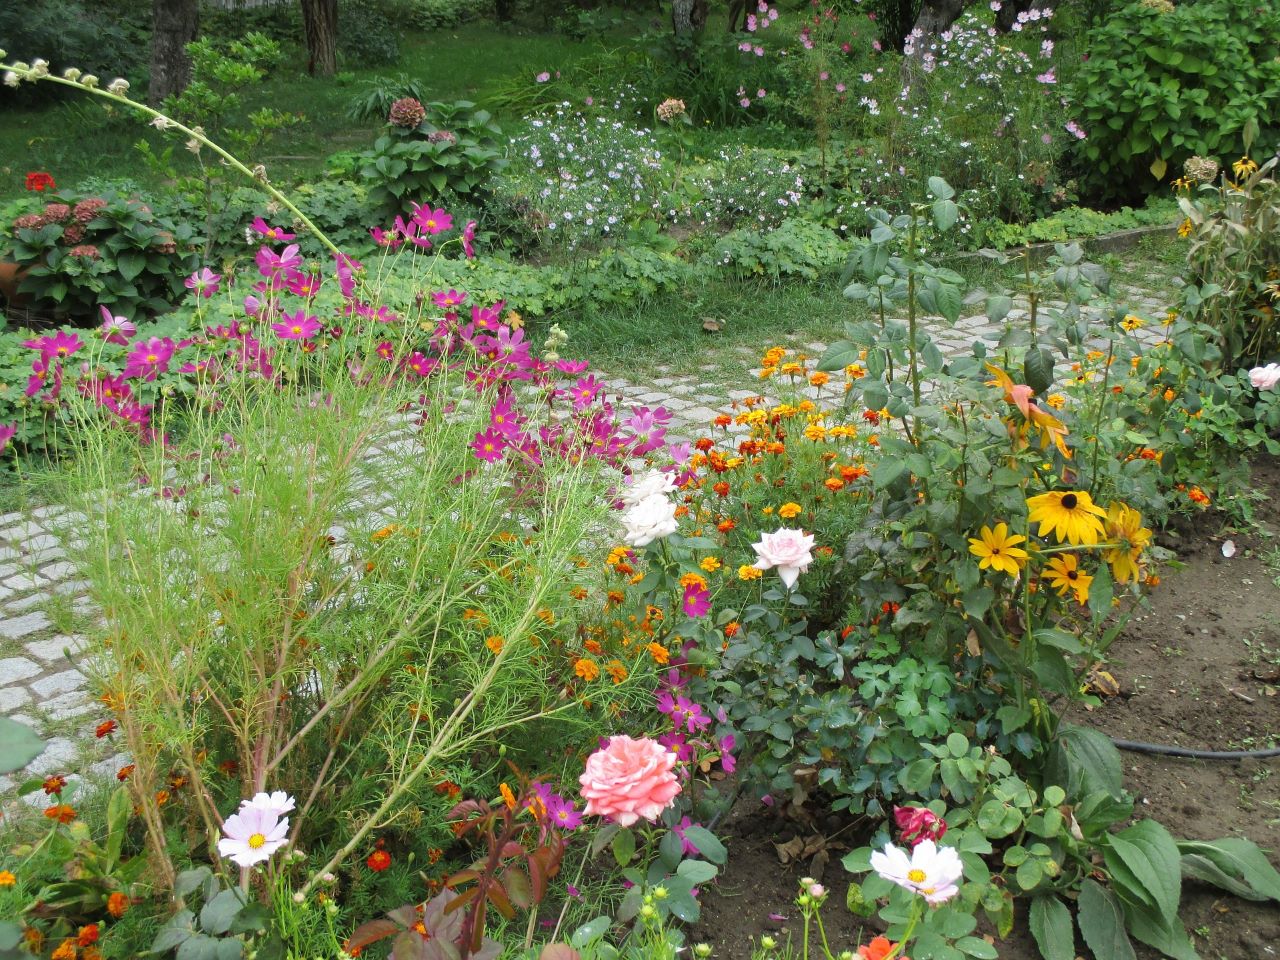
3. Redefine Your Garden’s Style
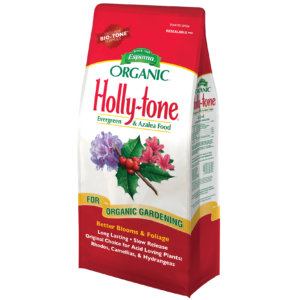
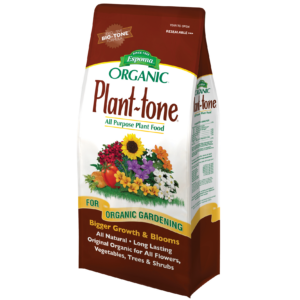
A new season is the perfect time to refresh the look of the garden. Whether the goal is calm and classic or bold and colorful, the right nutrition helps plants live up to their potential. Espoma Organic Plant-tone provides complete, balanced nutrition for a wide variety of plants, while Espoma Organic Holly-tone supports acid-loving favorites such as azaleas, rhododendrons, and hydrangeas. Feeding properly is the simplest way to bring a dream garden style to life.
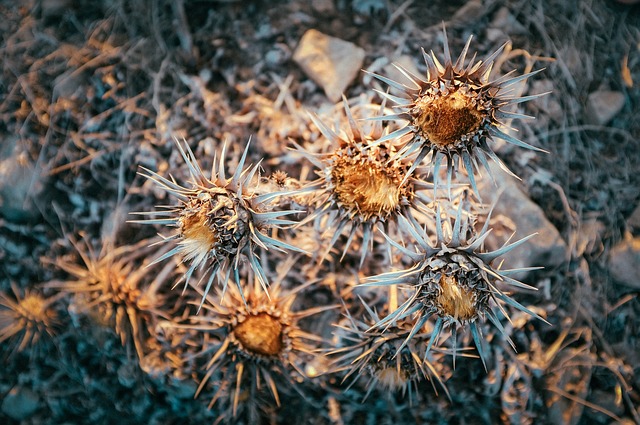
4. Learn From Last Season
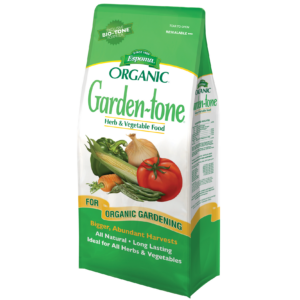
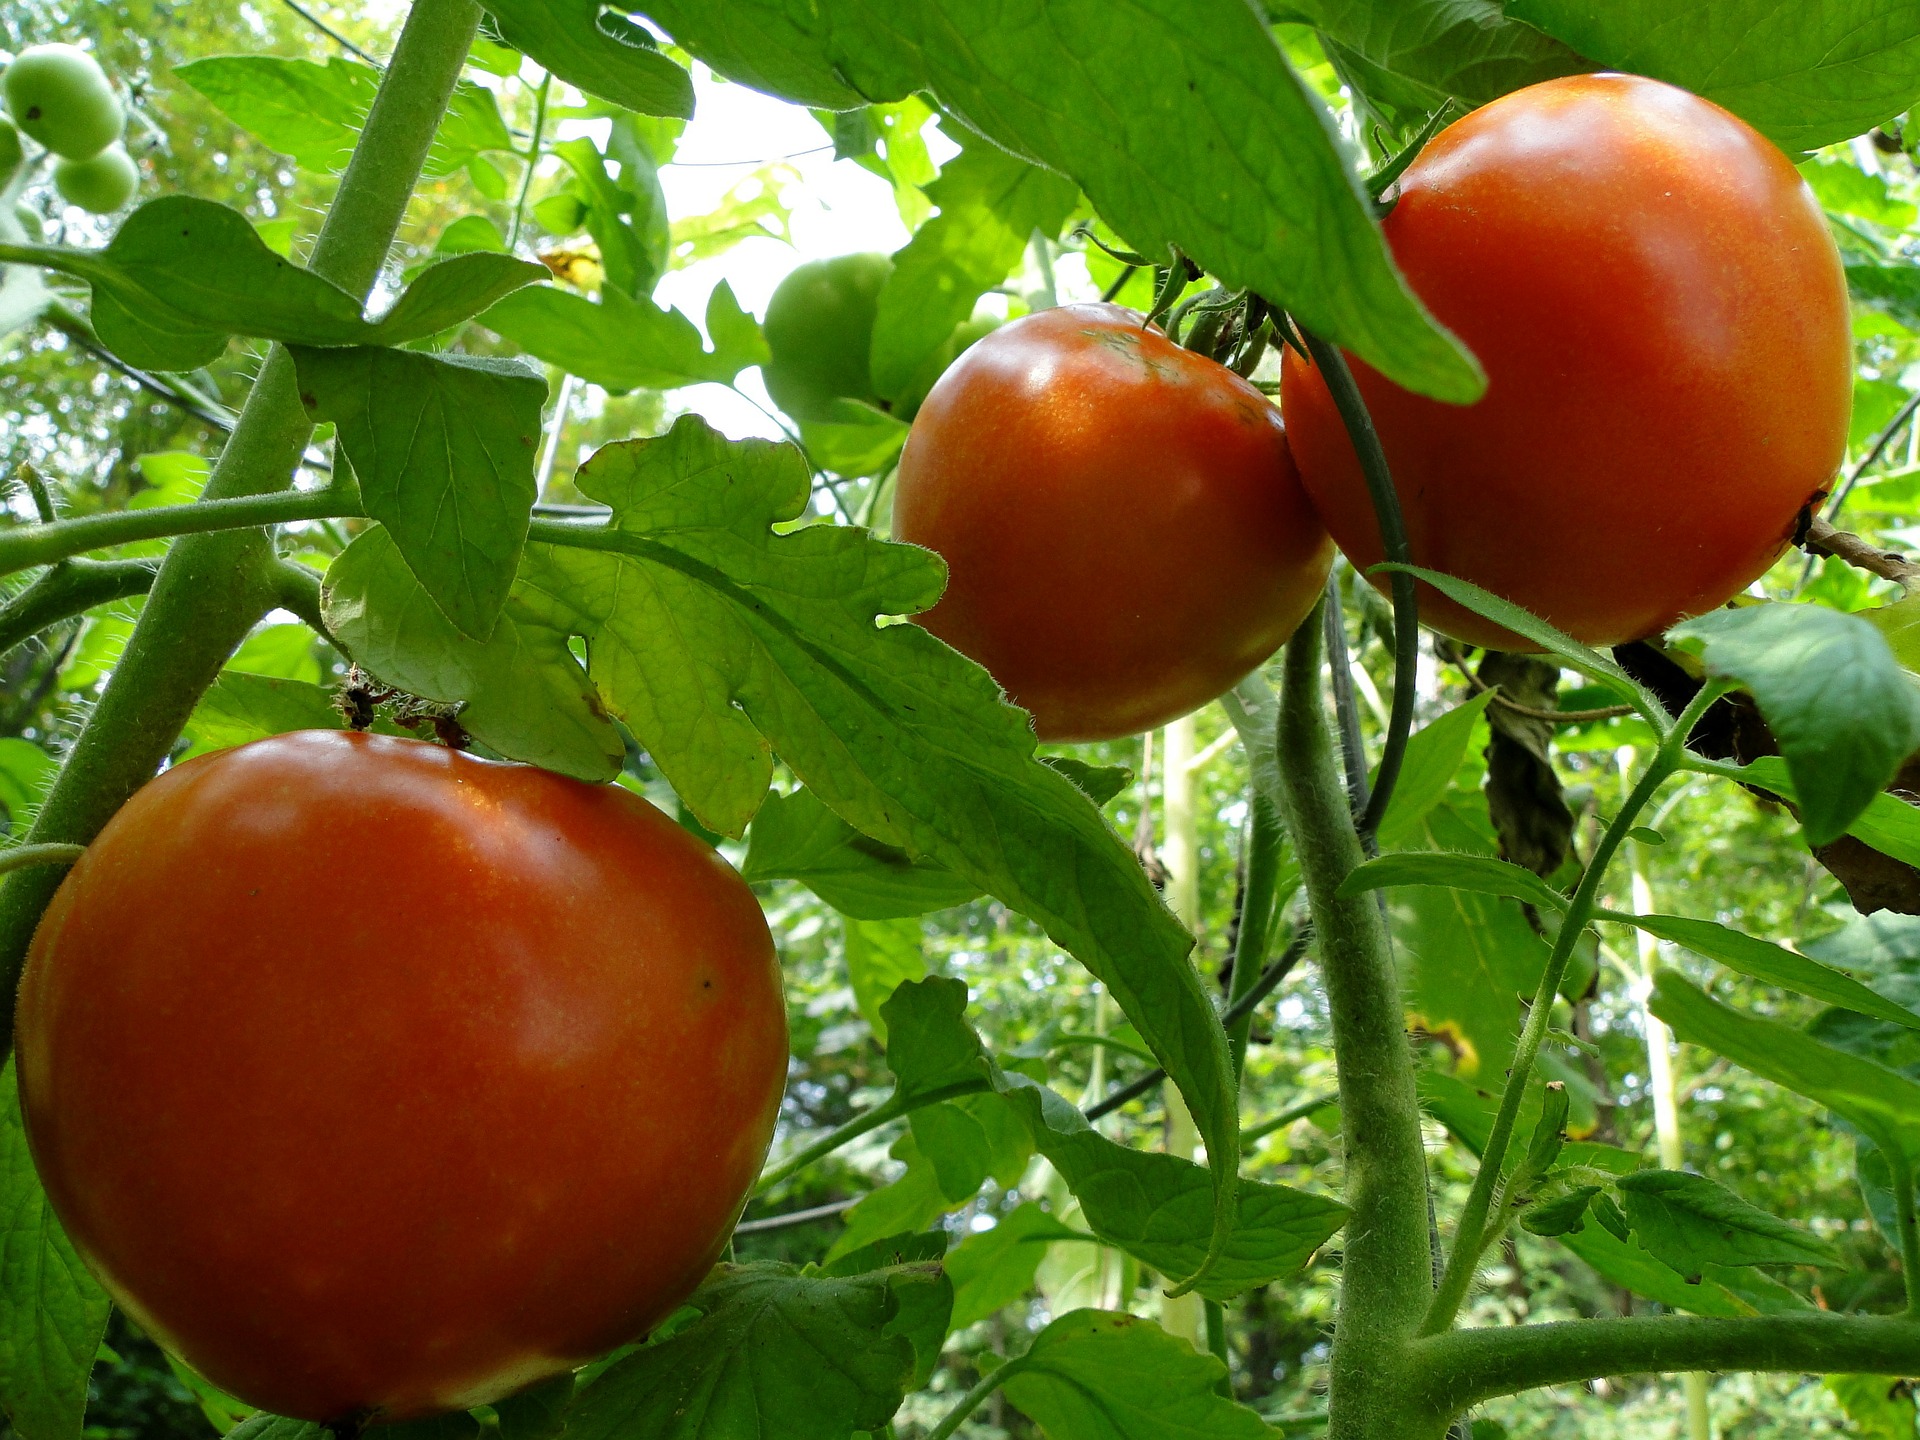
Every garden has its victories and its challenges. Take time to reflect on what thrived and what struggled, then plan for improvement. Espoma Organic Garden-tone is specially formulated for vegetables, helping ensure bigger, tastier harvests season after season. When planting new crops or ornamentals, Espoma Organic Bio-tone Starter Plus gives roots the boost they need to grow stronger and more resilient than before. Each new season builds on last year’s lessons with the right nutrition.
5. Don’t Forget Your Indoor Plants
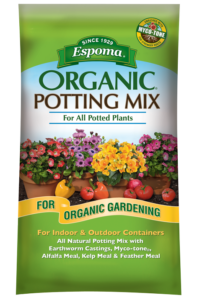
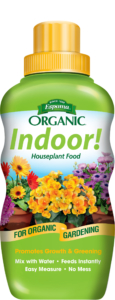
While outdoor gardens take the spotlight, houseplants need care too. Feeding them regularly keeps leaves lush, colors vibrant, and growth steady all year long. Espoma’s Indoor! organic liquid fertilizer makes it easy to give houseplants the nutrition they need with every watering. When repotting, Espoma Organic Potting Mix provides the perfect organic base to keep indoor plants healthy and happy. A thriving indoor garden completes the picture of a gardener’s success.
6. Sharpen and Shine
Tools are the unsung heroes of every garden. Taking time to clean, sharpen, and maintain them ensures they last longer and work more effectively. Well-maintained tools make every gardening task easier, allowing more energy to be devoted to growing beautiful, thriving plants.
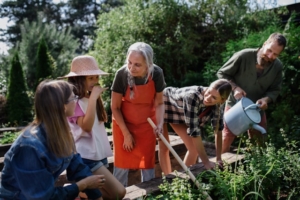
7. Grow Your Community
Gardening is even better when knowledge is shared. One of the most valuable tips to pass along is to start every planting with a quality organic starter fertilizer like Espoma Organic Bio-tone Starter Plus to set roots up for success, and then feed with Espoma Organic Plant-tone throughout the season to keep growth steady and strong. These trusted essentials have been used by generations of gardeners, and passing them along helps the whole community grow stronger together.
Graduation Time!
Congratulations—you’ve completed your Back-to-Gardening School crash course! Toss those gardening gloves in the air, because the lessons learned here will lead to healthier plants, bigger harvests, and gardens worth celebrating.
At Espoma, teaching organic gardening practices has been a passion since 1929. With products that are safe for people, pets, and the planet, Espoma is here as a mentor and partner on every gardener’s journey. Class dismissed—now go grow with confidence!
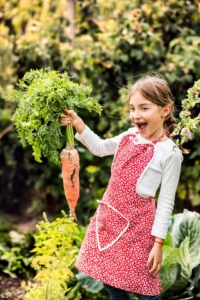
 Kids Course
Looking for a fun way to introduce kids to gardening? Check out our brand partner Farmer Nick’s course, The Adventures of Farmer Nick and Plant! Designed for children ages 4 and up, this 10-episode series inspires a love of gardening and plant science through hands-on lessons. Sometimes silly, always fun, it’s a playful way to spark curiosity and delight both kids and adults alike.
*****
Featured Products: