For many gardeners, the arrival of fall means the end of the growing season. Once the weather turns cool, it’s easy to assume that it’s time to clear out the vegetable garden and put the tools away until spring. However, fall is actually an ideal time for gardening! You can extend your productive garden season into the cooler months with simple preparations and proper plant choices.
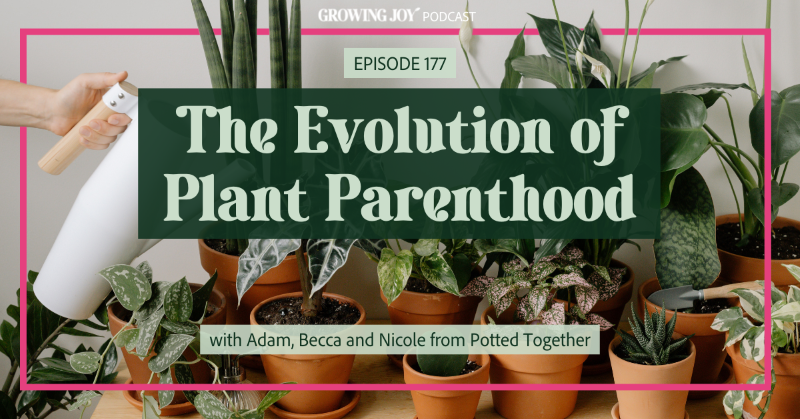
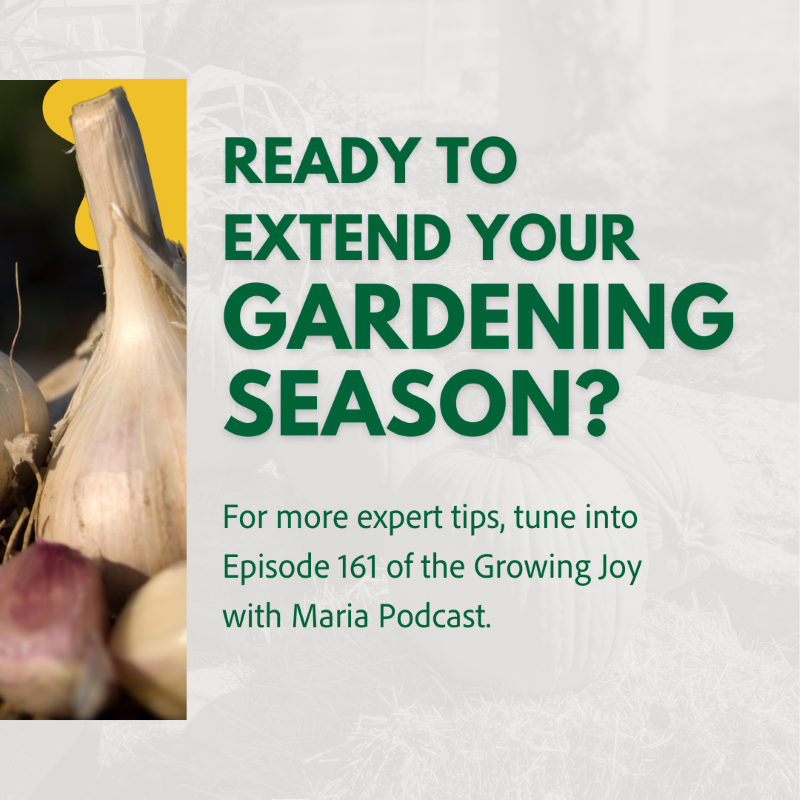
This blog is inspired by Episode 161 of Growing Joy with Maria Podcast, where host Maria Failla talks about how to keep your edible garden going strong into fall with our go-to organic gardening expert, Joe Lamp’l. His latest book, The Vegetable Gardening Book, is a complete guide to growing an organic edible garden from seed to harvest.
When to Plant Your Fall Garden
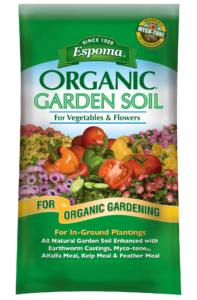
Surprisingly, plants that like the cold actually need to be planted while it’s still warm outside! This is the perfect opportunity to prepare your garden beds using Espoma Organic Garden Soil, ensuring that your plants have the best possible start.
If you plant them in August or July, they can get comfy in the warm soil. As they grow bigger, the weather gets cooler—which is precisely the environment they thrive in. It’s important to plant them early enough in the fall so they have ample time to mature before the days become shorter. If you wait too long, they might stop growing and remain at a certain stage.
Here’s the cool part: When these plants get a touch of frost, they turn sweeter. The chemical reactions triggered by frost cause sugars within the plants to become more prominent, resulting in a sweeter taste. It’s like they have a flavor makeover!
Here are some specific timeframes for planting popular fall veggies:
- Lettuce, spinach, arugula – Plant every 2 to 3 weeks from late summer through early fall.
- Radishes, kale, beets – Sow from mid-summer to early fall.
- Peas – Plant as soon as summer crops finish since peas don’t handle frost well.
- Garlic – Plant garlic cloves in late fall about 6 to 8 weeks before the ground freezes.
Best Crops for Fall Gardening
While frost renders warm-weather favorites like tomatoes and peppers useless, many vegetables actually thrive in cooler temperatures. Focus your fall planting on these cold-hardy, tasty options:
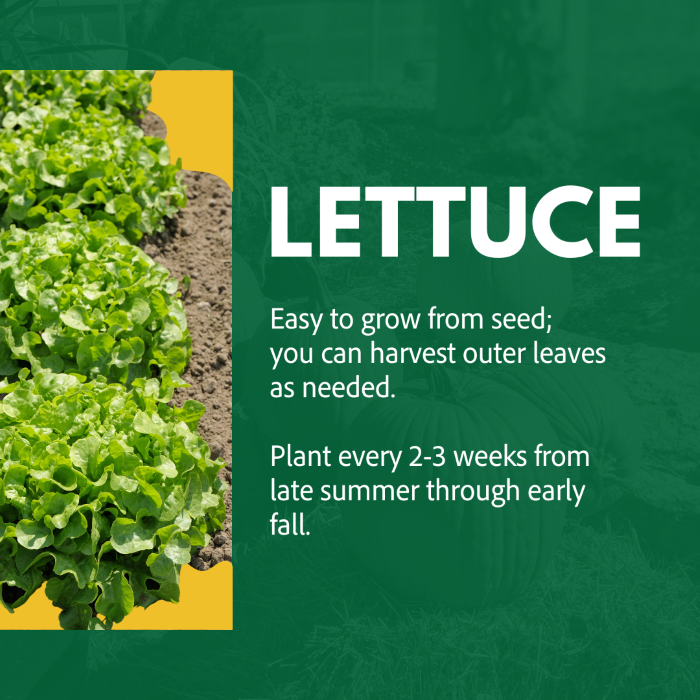
Lettuce
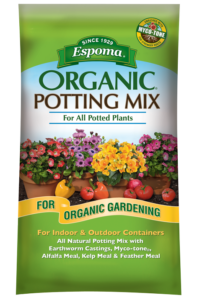
Lettuce is one of the easiest vegetables to grow in fall, thanks to its love of light, or being “photoblastic.” Simply sprinkle the tiny seeds onto the soil’s surface (Espoma Organic’s Potting Mix is a great choice here), keep them moist, and young seedlings will emerge within a couple of days. The chilly autumn nights prevent lettuce from bolting or forming flower stalks prematurely.
Kale
This superfood green becomes even more nutritious after being exposed to frost, which causes it to convert starch into sugar. That makes fall-grown kale incredibly sweet and flavorful compared to the bitter reputation it garners. It’s also one of the most cold-tolerant vegetables, lasting through winter in many regions.
Spinach
Like kale, spinach responds to cold conditions by producing more sugars. While spinach seeds can be tricky to germinate, the plants readily tolerate freezing weather. Choose “overwintering” spinach varieties to grow them in the winter months.
Beets
Beets are root vegetables that do well in the fall and are Joe’s favorite fall plants. They have an earthy flavor that some people may find off-putting, but there are now varieties available that offer all the qualities of beets you know and love, minus the strong earthiness.
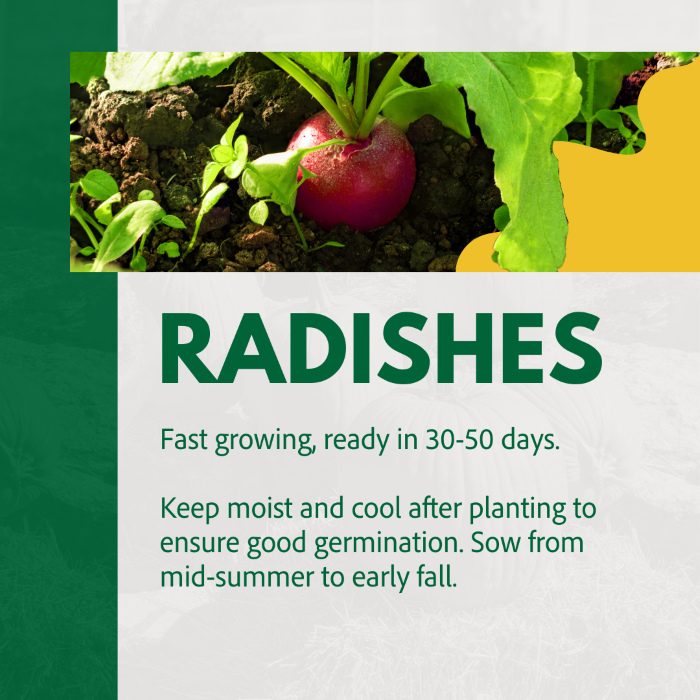
Radishes
Radishes grow crisp and rapid in the fall, ready to harvest in as little as 30 days. Succession plant them every week or two for a steady supply throughout the season.
Peas
Peas make for an excellent fall crop. They become very sweet, but keep a close eye: they aren’t as frost-tolerant as other vegetables.
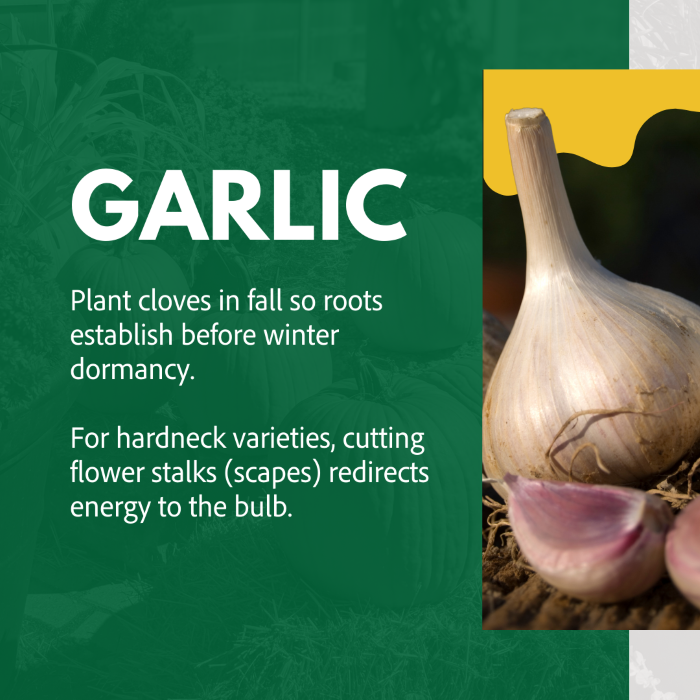
Garlic
Garlic is typically planted in November before the ground freezes. Not only is it everyone’s favorite flavor in sauces, soups, stir-fries, roasted dishes, and garlic scape pesto—but it also serves as a great pest-deterrent! Garlic is resilient and can be grown ornamentally.
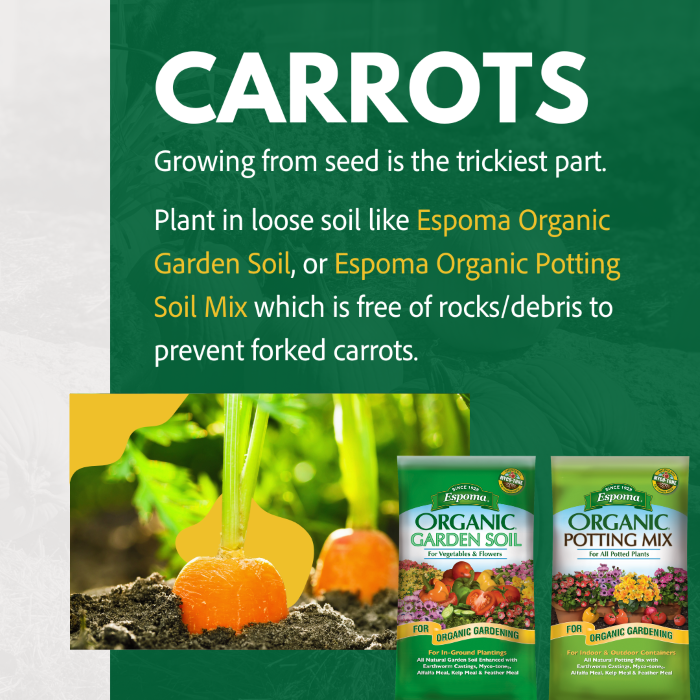
Carrots
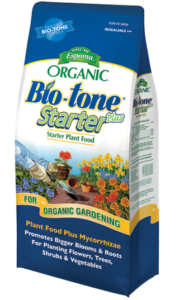
Carrots require good soil and care during germination. They should be kept moist and cool until they sprout. There is a risk of underground splitting if they encounter obstacles, but using fertilizers like Espoma Organic Biotone Starter Plus can prevent this.
Other plants to consider:
- Brussel sprouts
- Arugula
- Kohlrabi
- Cabbage
Why “Think Like a Plant”
Even experienced gardeners like Joe Lamp’l run into problems with pests, diseases, or environmental factors impacting their plants. When something goes wrong in your garden, he recommends first taking a step back (rather than blaming it on, say, cool weather).
He suggests putting yourself in the plant’s position, which is a concept Joe likes to call “planthrophormizing.” Observe its symptoms closely, then deduce what factors might be causing them. Is the plant wilting from under or overwatering? Do chewed leaves indicate pests? Are yellowed lower leaves a sign of nutrient deficiency? In such cases, Espoma’s line of organic fertilizers can be a solution, helping replenish essential nutrients and restore plant health.
Fall Gardening Mindset
In addition to crop selection and timing, Joe spoke about shifting your mindset when it comes to fall gardening. So take a minute to relax: This is a chance to slow down and decrease the intensity after the long summer months.
Many fall vegetables like lettuce and radishes mature much quicker, in 30 to 60 days, so the stakes are lower than starting a long-season crop like tomatoes or peppers. For gardeners who dealt with challenges and setbacks in the summer, fall is an opportunity to learn from mistakes and try again with a new perspective.
Start small, keep it simple, and don’t overcomplicate things.
With the right mindset and plant choices, you can enjoy fresh homegrown produce from your garden into late fall or early winter. Follow these tips to make the most of the fall gardening season. No need to put those tools away just yet!
Featured Products: