Summer Gardening
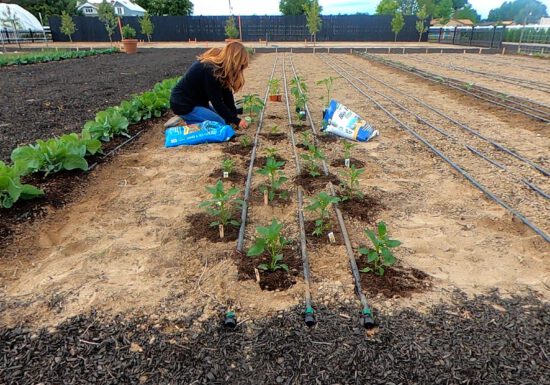
Video: Planting Peppers with Garden Answer!
Laura from @Garden Answer is planting sweet and spicy peppers in her garden! Watch to find out which Espoma products…
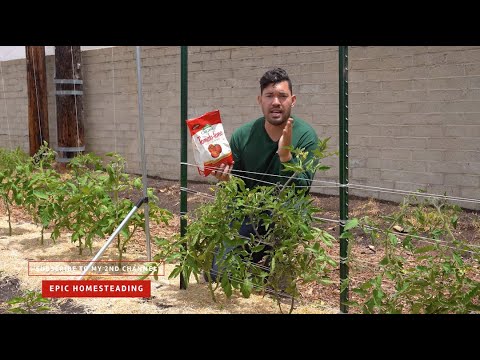
Video: How to Care for Tomatoes with Epic Gardening
Kevin from @Epic Gardening is walking us through how he plans to maintain those tomatoes he recently planted with the…
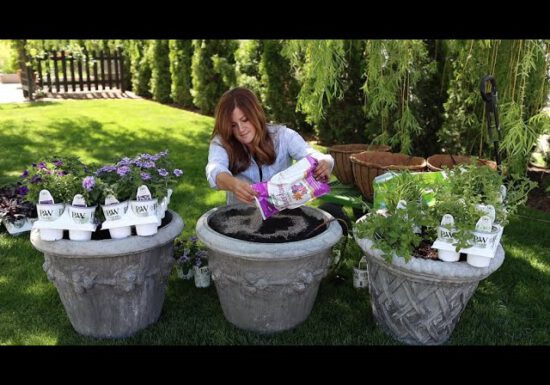
Video: Planting 2022 Recipes with Garden Answer
Follow along as Laura from @Garden Answer plants the Proven Winners 2022 Recipes of the Year using tried-and-true Espoma products!…
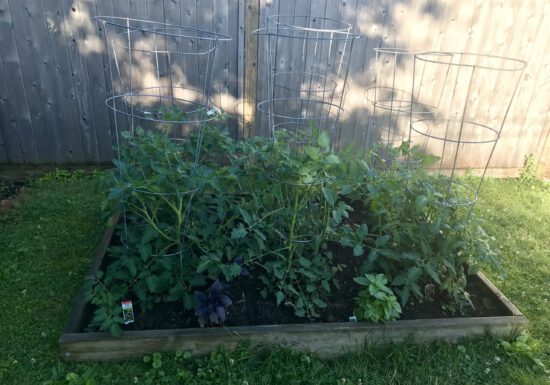
TLC for Tomatoes
Tomatoes flourish in full sun and warm temperatures. However, if you’re in short supply of sunny or warm days, havoc…
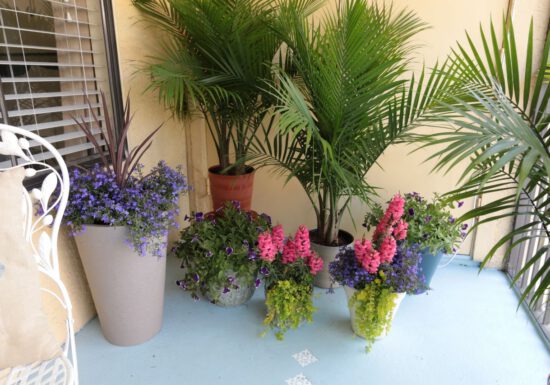
Plant Parents: Moving Plants Outdoors
Houseplants aren’t limited to staying indoors year-round, in fact they love the feeling of sunshine on their leaves and breathing…
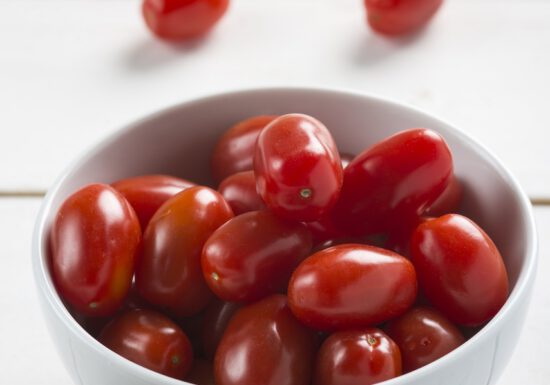
Fresh off the Vine – Harvesting Tomatoes and Recipes
Harvest is upon us! Those big juicy tomatoes are taunting you on the vine, waiting for you to enjoy! Garden…

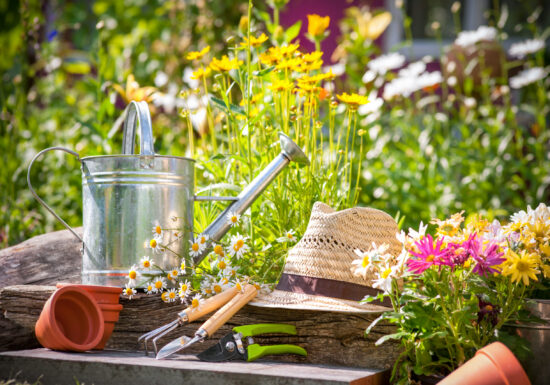
5 Ways to Give Your Summer Garden a Boost
There’s no better way to enjoy your garden than by encouraging it to grow bigger and better. Before your summer…

5 Tips for Growing Veggies in a Drought
Summer brings the prime-time vegetable growing season and the delicious harvest of our fruit and vegetable gardens. But what happens…
5 Garden Tasks to Complete this June
Summer is finally here! And we can’t wait to spend more time outdoors enjoying Mother Nature. What better way to…
Top 10 Small Space Gardening Solutions
Don’t let limited space discourage you from gardening. Whether you have a big backyard or a one-bedroom apartment, there are…
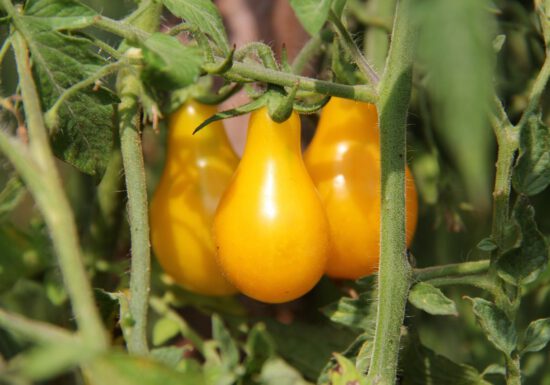
6 Secrets for Growing the Tastiest Tomatoes
A good tomato is hard to forget. You know you’ve hit the jackpot in that first, juicy bite. Every tomato…
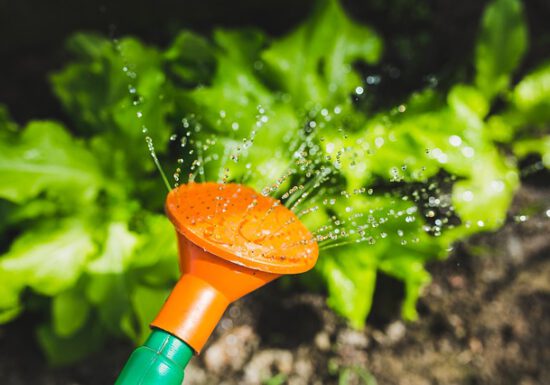
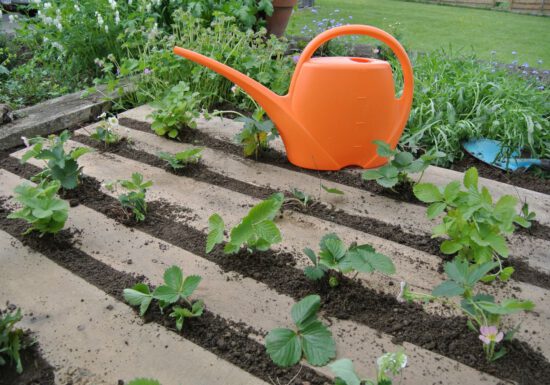
How to Water Plants When It’s Hot
When it’s hot, dry and muggy, the only cure is a cold drink. Well, your plants think so, too. The…