Growing Joy with Maria Episode 167 Blog: How to Adjust to Moving to a Different Garden Zone
Moving can be a highly positive experience, providing a sense of growth, new possibilities, and the thrill of the unknown. However, for gardeners, it can also come with some stresses—especially if one is relocating to a completely different gardening zone. This was exactly the case for Mama Failla, the beloved mother of Maria Failla, our brand partner and host of the Growing Joy with Plants Podcast.
This blog is inspired by Episode 167 of Growing Joy with Maria Podcast, where host Maria Failla interviewed her mom, lovingly referred to as “Mama Failla,” to share her tips on adjusting to a different garden zone.
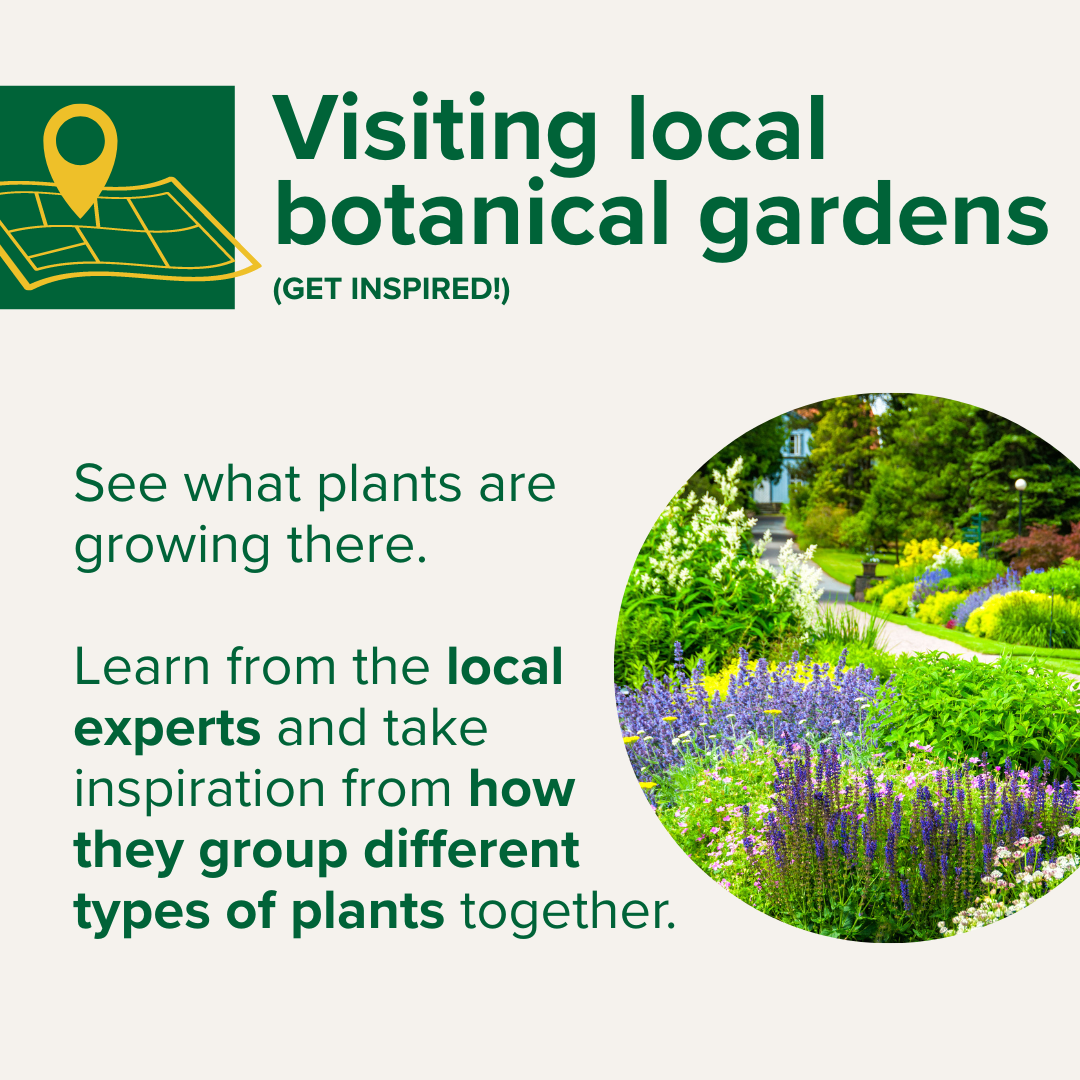
Visit Local Botanical Gardens
Not only do many botanical gardens offer classes directly from local experts, but you can also explore the grounds to see what plants are growing there! Your local botanical garden will likely be a similar garden zone to your new home, and is a great place to see what kind of plants thrive together.
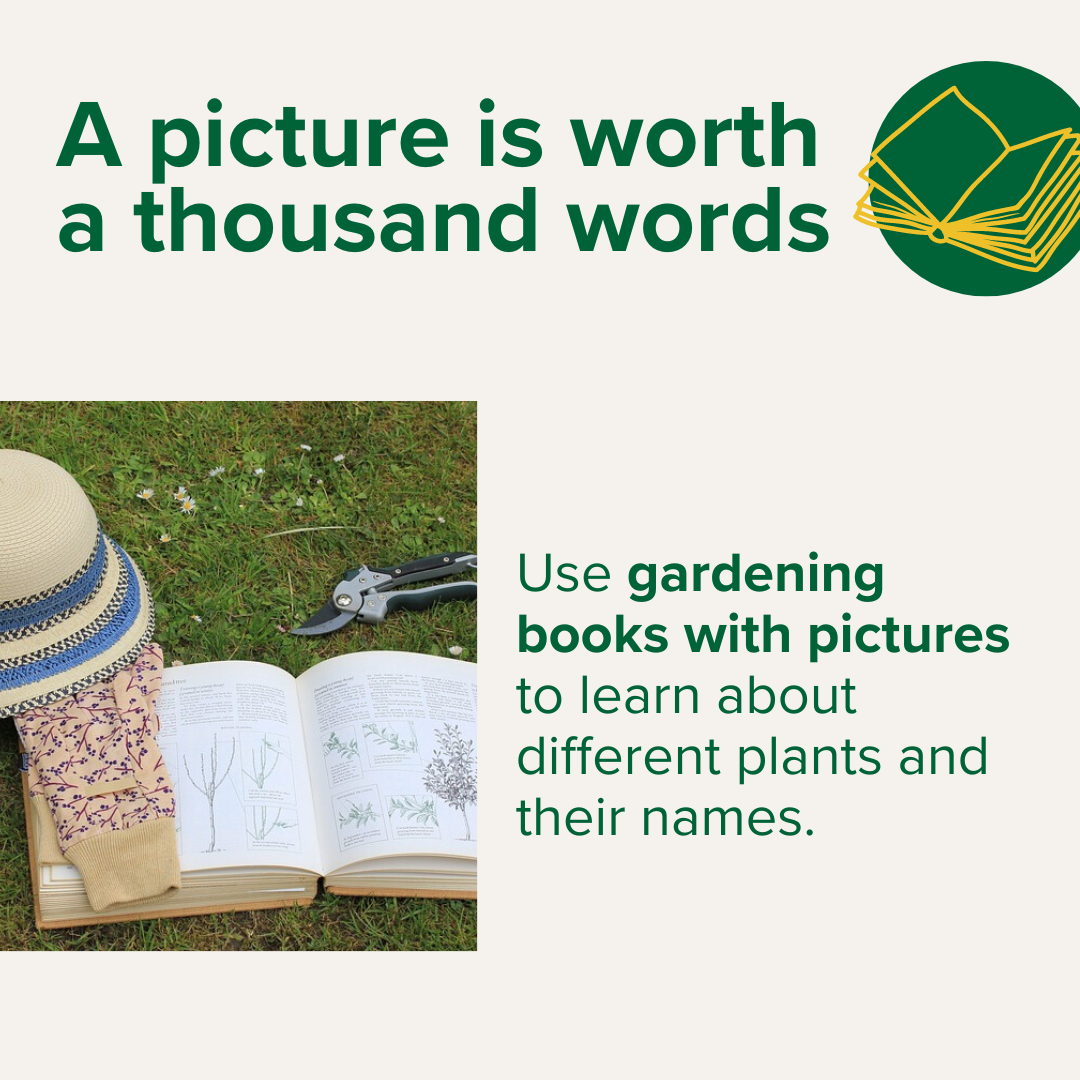
Garden Books (with pictures!)
Some people think gardening books with pictures are old-fashioned, but Maria and Mama Failla like to learn about plants visually. Books with full-color pictures alongside common and Latin name labels are incredibly helpful to understand what a plant will look like, and how to properly refer to it. That way when you start talking to fellow gardeners in your area, you’ll already sound like a pro!
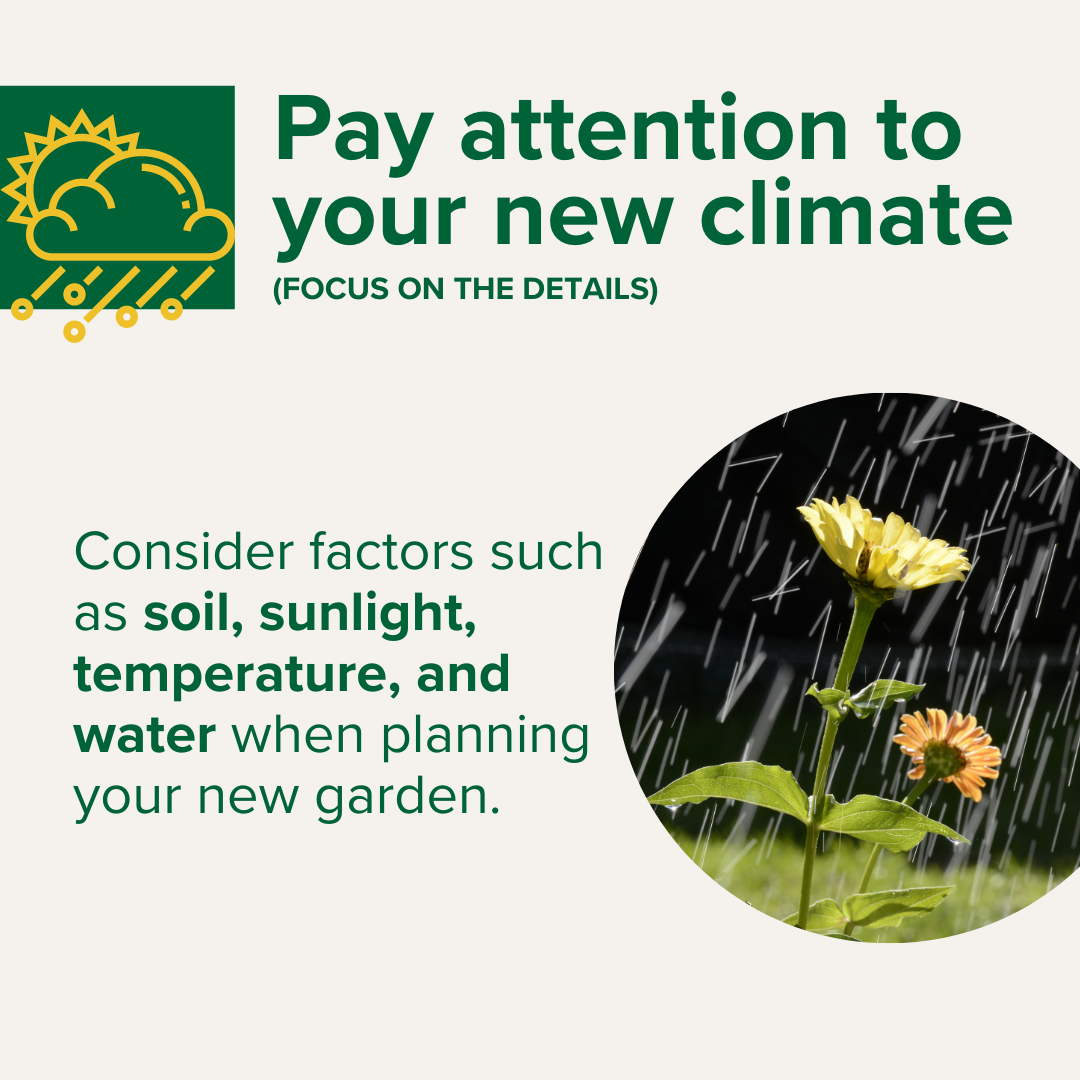
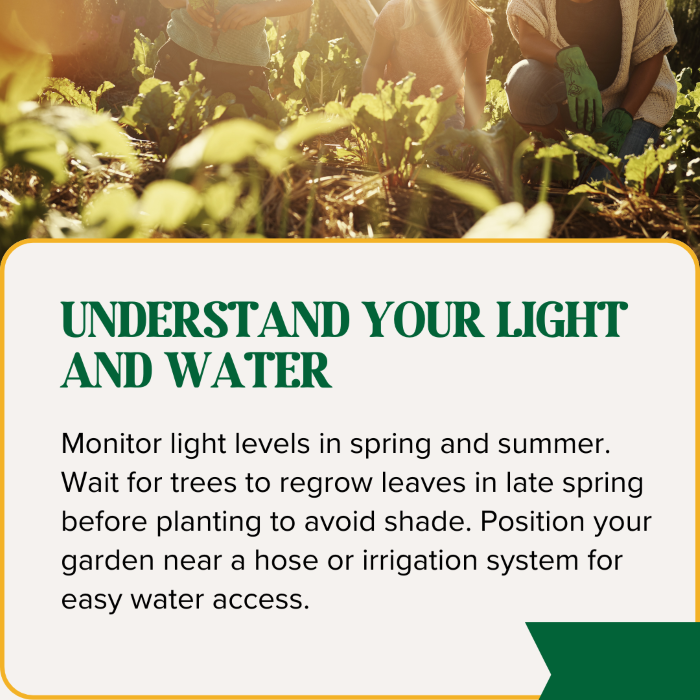
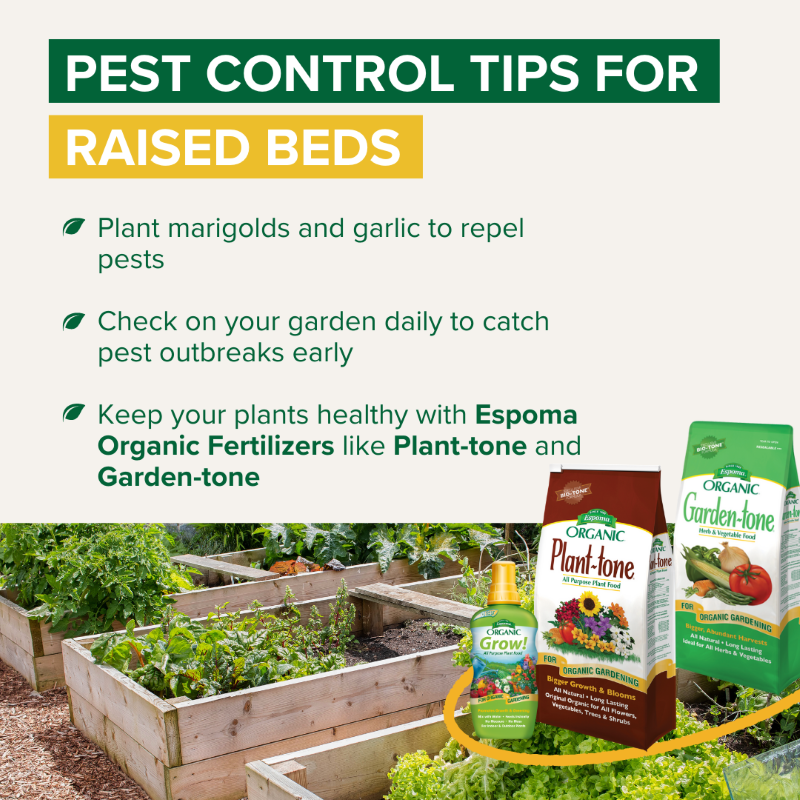
Pay Attention to the Details
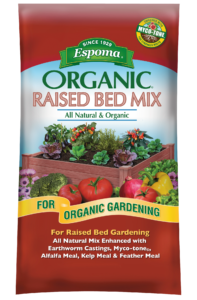
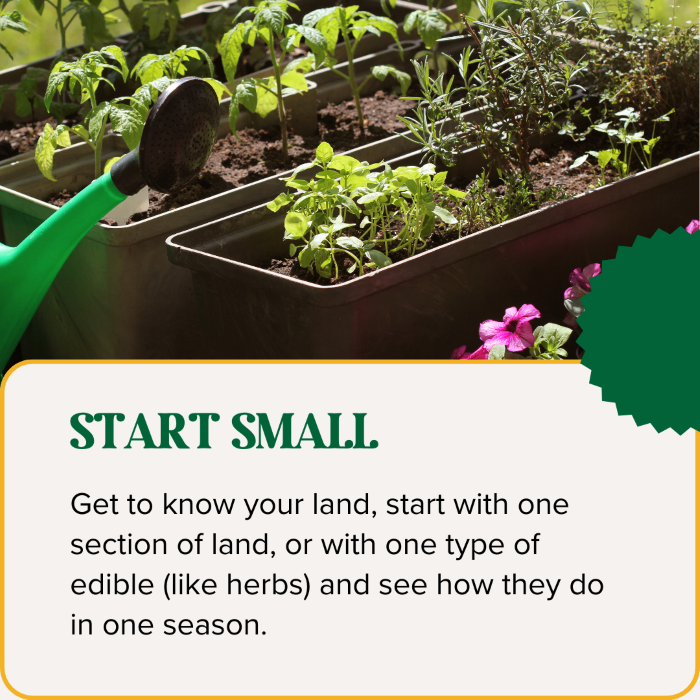
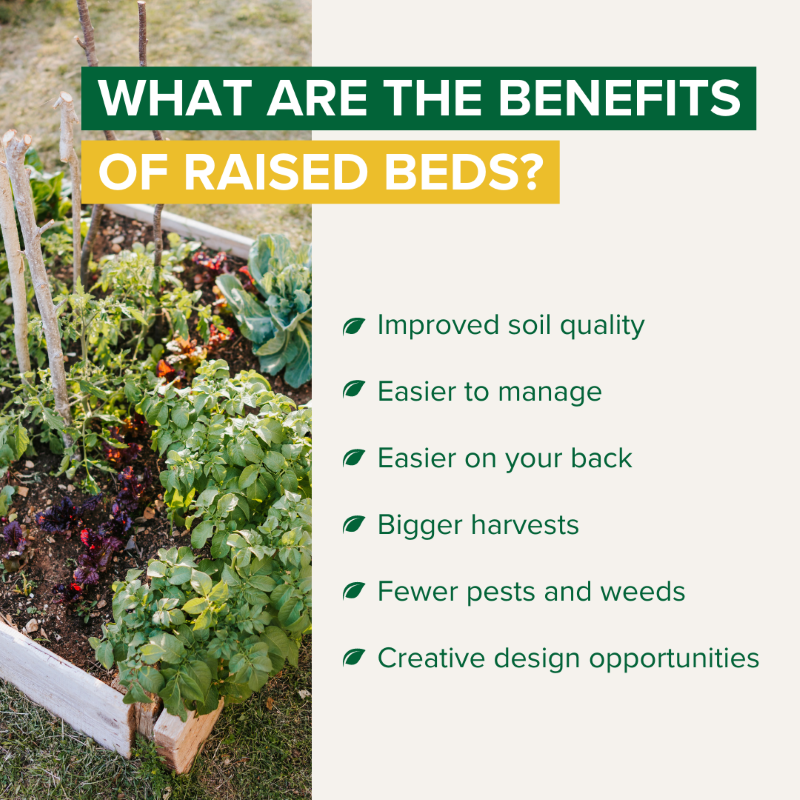
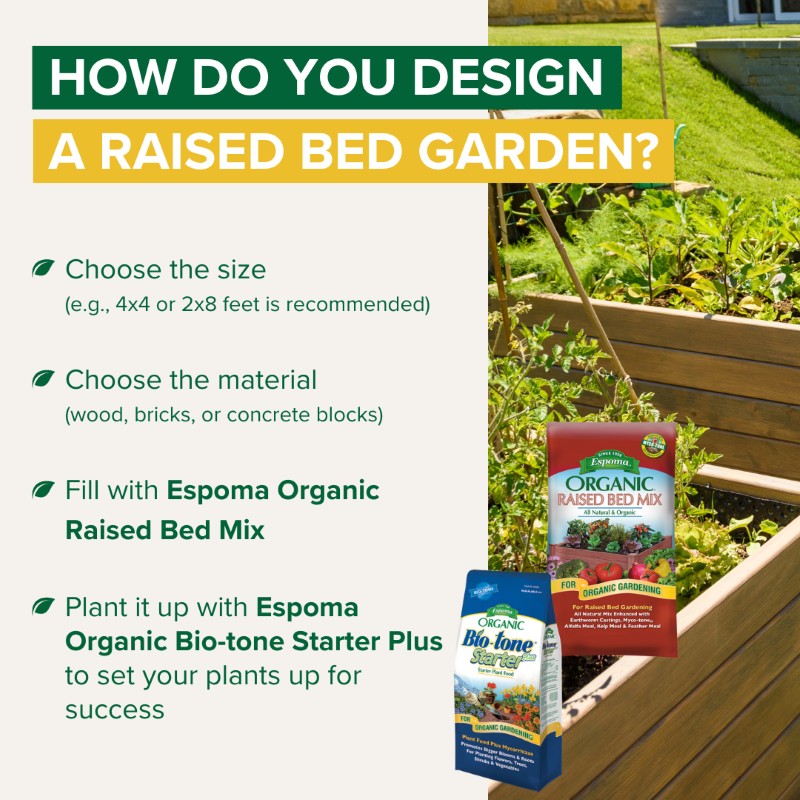
Does your new home have sun or shade? Is your local soil loamy or sandy? What’s the rainfall like? Things like sunlight, soil, temperature, and water are all crucial to consider when planning your new garden. For your first year in a new home, container gardens are a great option so you can move your plants around as you learn how these factors change throughout the seasons. Pots and raised beds can be a smart choice to achieve this, and using Espoma Organic Raised Bed Mix for raised bed plantings makes the process even easier.
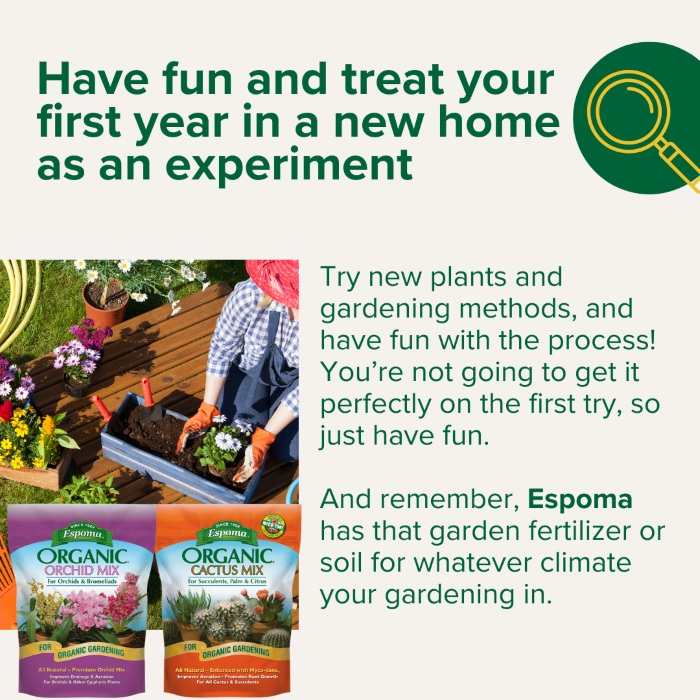
Have Fun!
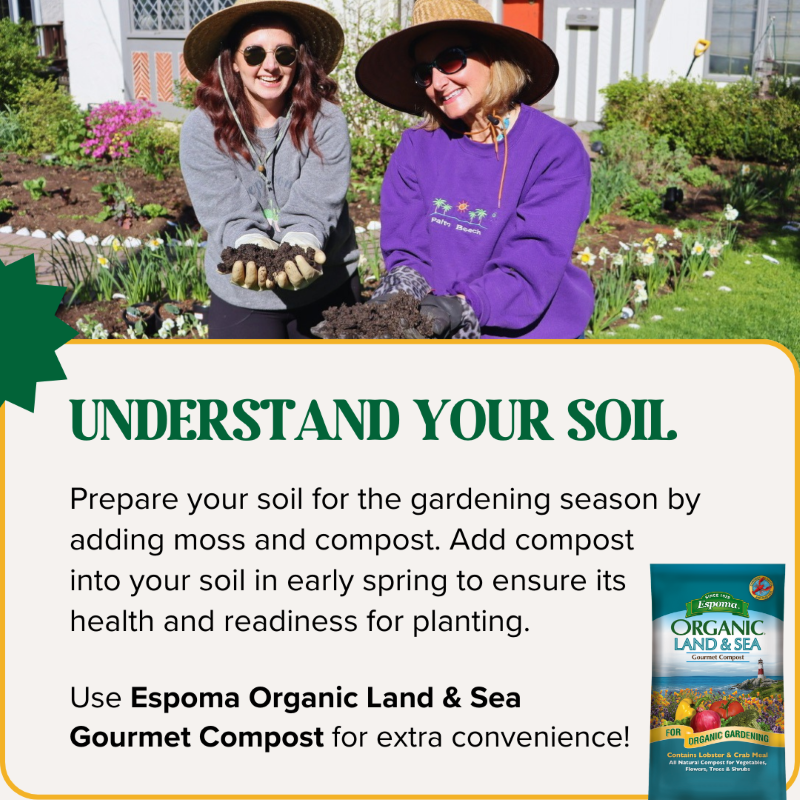
View your first year in a new garden zone as an experiment, and don’t take yourself too seriously! When Mama Failla lived in New York, she had nutrient-rich, compost-filled dirt that was easily accessible. Now that she’s moved to Florida, the soil is sandy and requires amending. It’s a completely different climate with a completely different set of plants to work with—it’s going to take some trial and error for even the most experienced gardener.
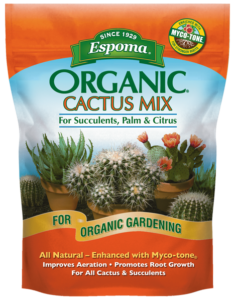
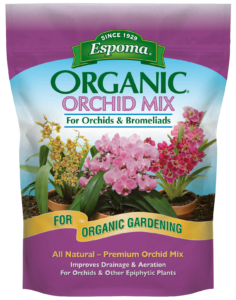
Embracing her new climate, Mama Failla has been experimenting with various types of tropical plants, and picked up some Espoma Organic Cactus Mix for the palms and citrus in her yard. She also noticed her neighbors tying orchids to their trees (another great way to learn about your new garden zone: meet your neighbors!), so she’s using Espoma Organic Orchid Mix for container orchids as well.
Seasons of Life
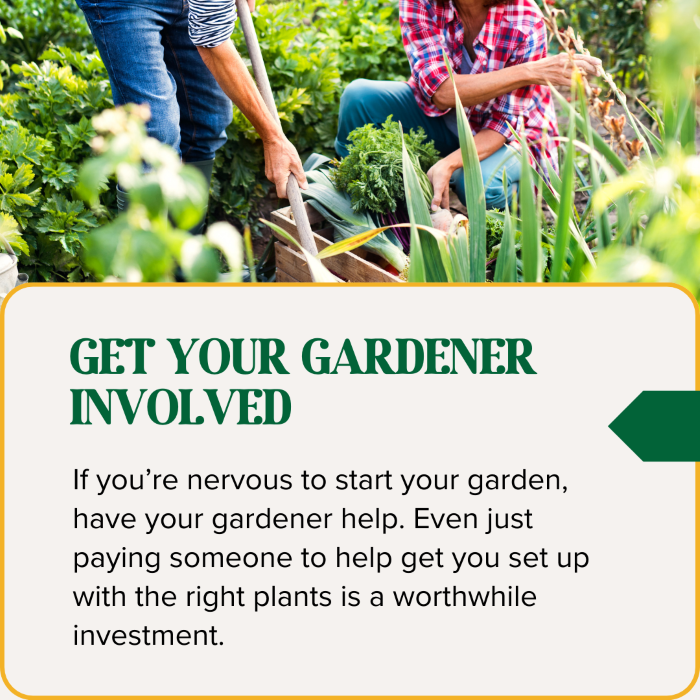
Our plants go through seasons, and so do we. Mama Failla notes that in her earlier years, she loved in-ground gardening and big garden allotments, but as she’s gotten older, she’s moving to container and raised bed gardening to make it easier for her to manage. Although her garden looks different, gardening remains an important part of her life.
Change is inevitable, whether that means moving to a new house or listening to your body’s needs. To make sure that gardening remains sustainable for you as well, it’s important to make adjustments that align with your current season of life. You can do this by setting priorities, adapting to the elements, and making conscious choices. Remember, gardening is a joy! Don’t let it become a stress.
*****
Featured Products: