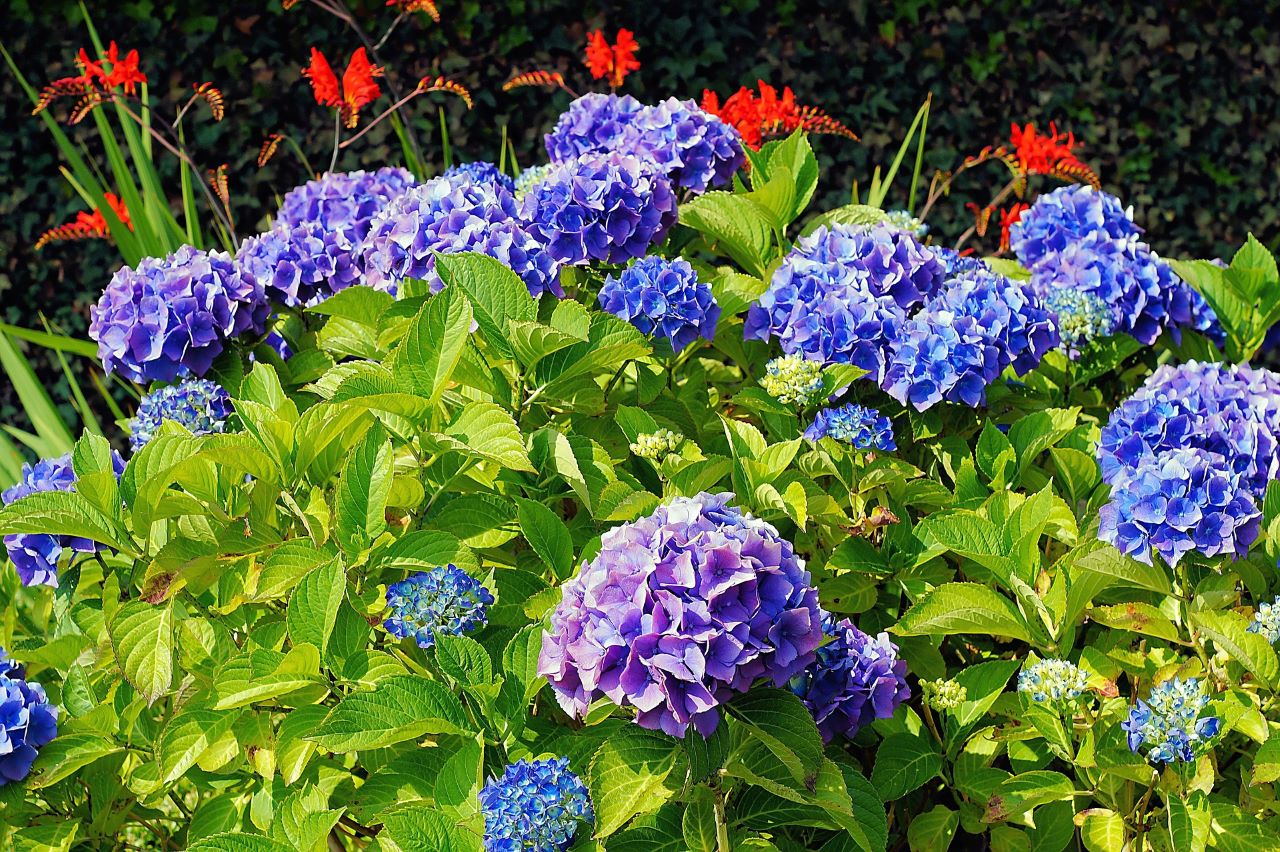
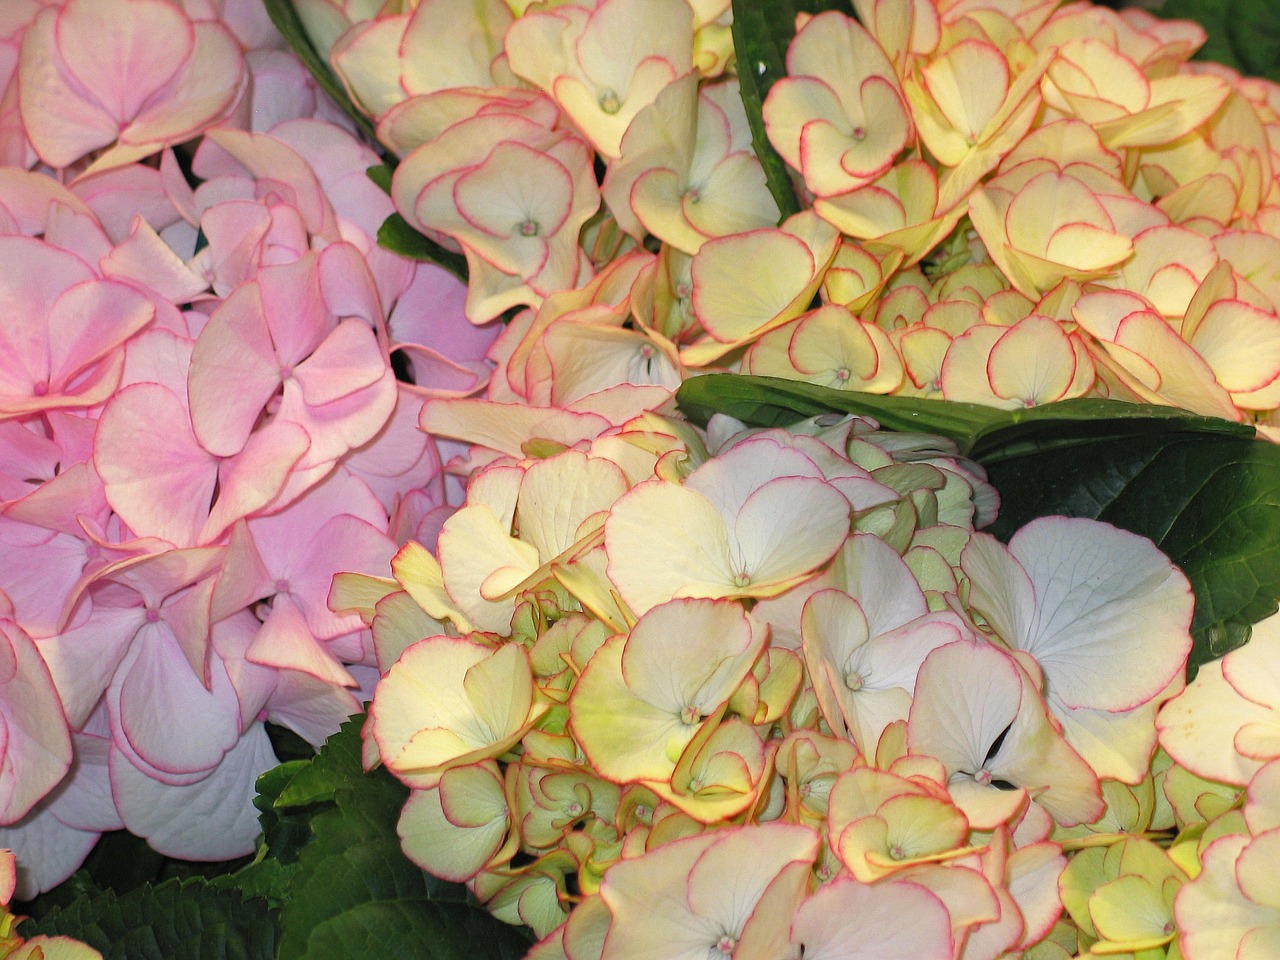
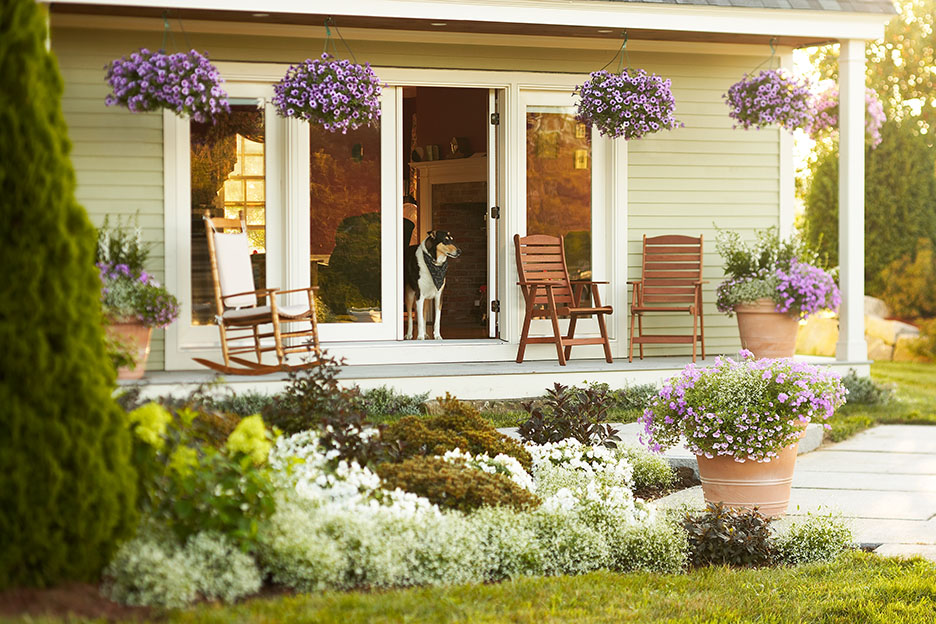
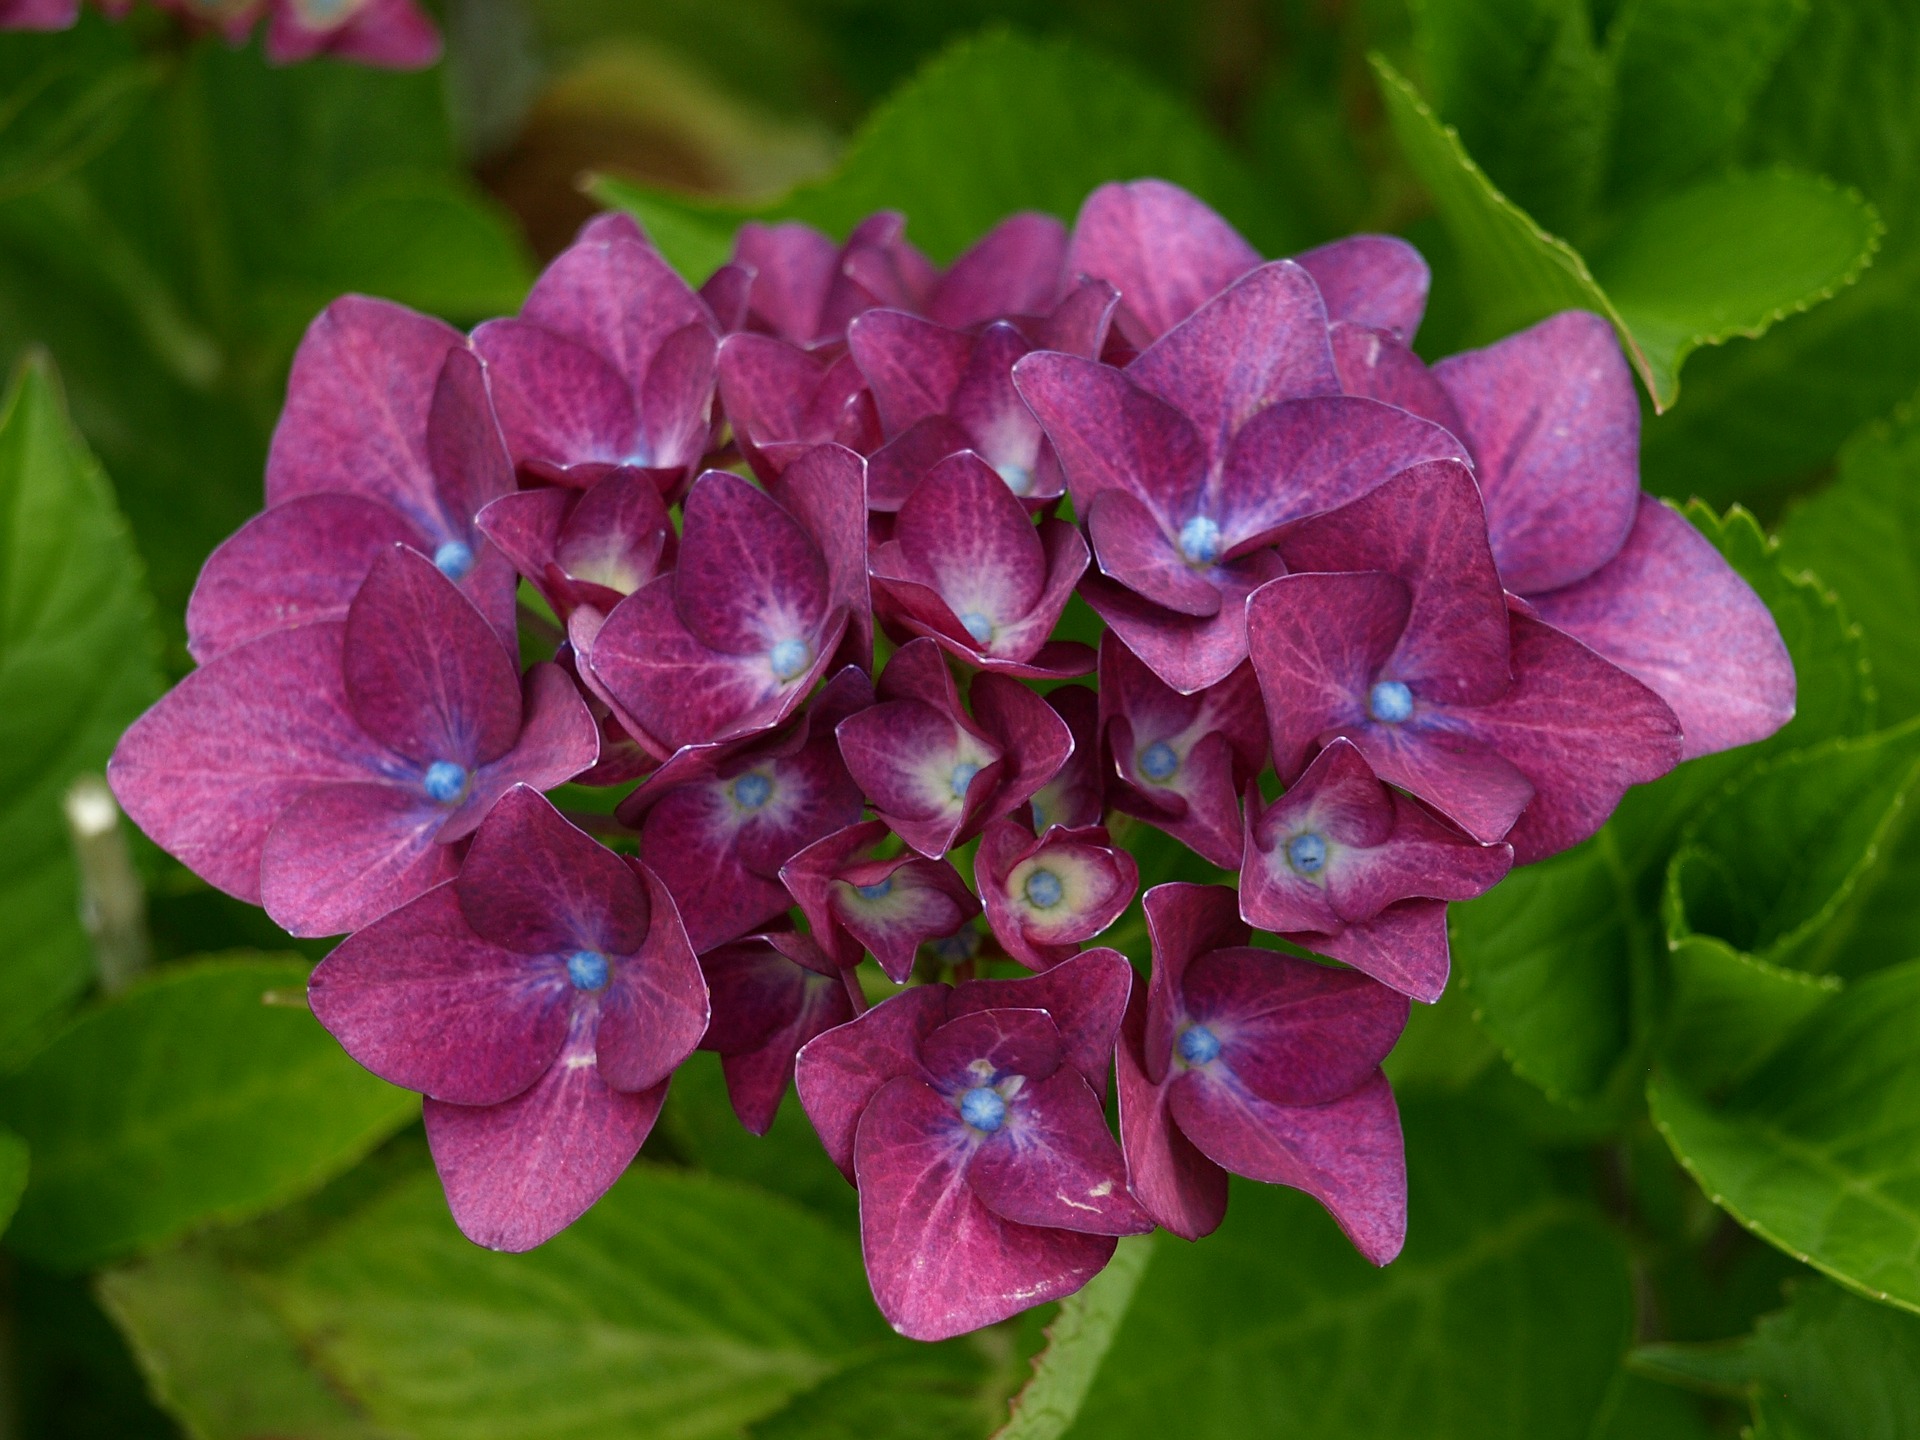
Plant Hydrangeas to Get the Best Blooms
Large, beautiful hydrangeas are a great addition to any landscape. Their bold colors make them perfect for freshly cut or dried flowers. Getting off to the right start in the right location is the difference between a hydrangea bush that blooms for years and one that never does.
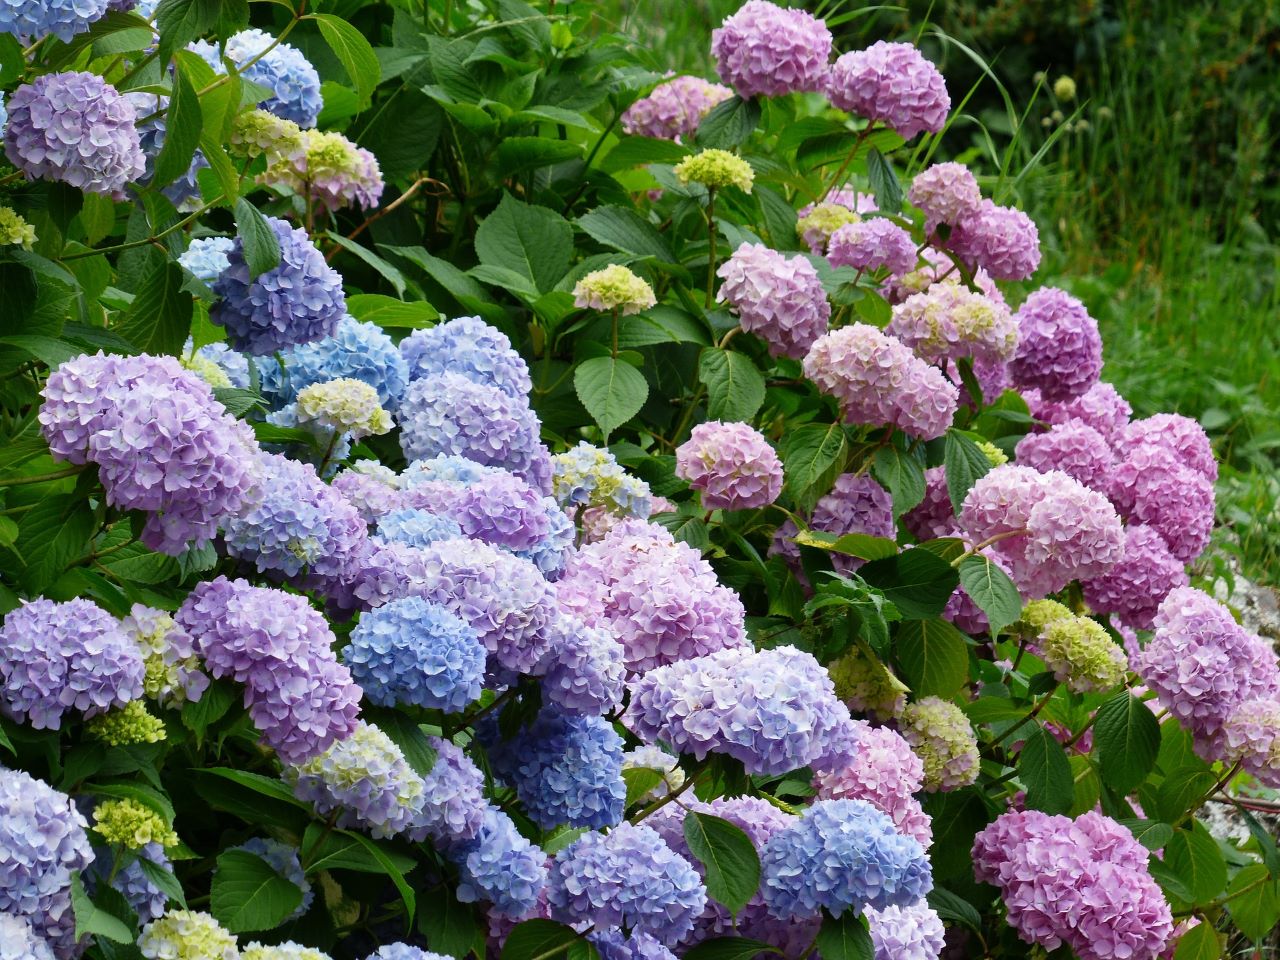
Get the beautiful blooms you desire with these hydrangea planting tips.
Where should I plant my hydrangea? Choose a spot with moist, well-drained soil. Hydrangeas can grow from 4’ to 12’ in height depending on the variety, so plan accordingly. Most hydrangeas benefit from some shade, especially in hot climates. Too much shade means your hydrangea may not grow flowers.
Check the plant tag to find out how many hours of sun your hydrangea should be getting per day. Panicle hydrangeas tolerate more sun than do other species. And if you live in a region where it gets seriously hot, your hydrangea will need more shade than those grown in colder zones. Hydrangeas in southern climates especially need frequent watering to tolerate that stress.
If you’ve noticed your hydrangea has stopped blooming in recent years, it may be time to evaluate the location. Make sure hydrangeas are still receiving enough daily light and check the growth of nearby trees. Consider moving the hydrangea to a sunnier spot.
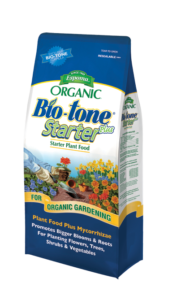
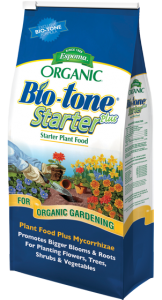
Get Ready to Plant. Once you’ve found the perfect spot, dig a hole twice as large as the hydrangea’s container. Mix in an organic starter plant food, such as Bio-tone Starter Plus, to keep roots strong. Add 1” of compost or Espoma Organic All-purpose Garden Soil to help with nutrients and drainage. Place the hydrangea in the hole at about the same height it was in the container, spreading its roots wide. Backfill the hole with soil and top with 2-3” of mulch.
Water Well. After you plant, water the hydrangea until a puddle forms. Water twice a week for a month. Then water deeply once a week until fall.
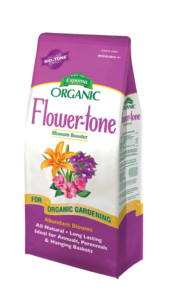
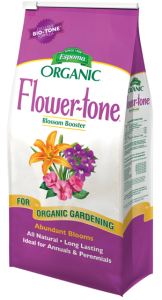
The Finishing Touch. Feed blue hydrangeas with Holly-tone to keep the soil acidic. Otherwise, opt for Flower-tone. For the best hydrangea care, feed 2-3 times throughout the growing season, which is spring until fall.
Featured in this Post: