All Purpose Garden Soil
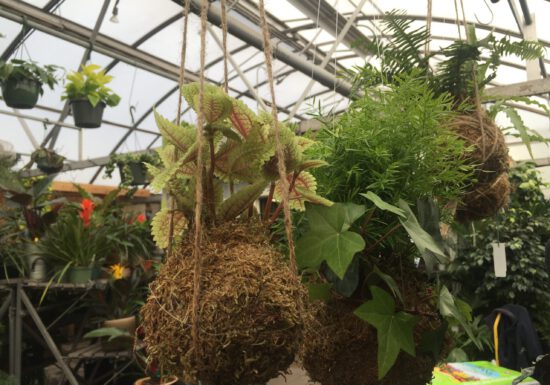
Hanging Plants: Make Your Own Kokedama
Houseplants that you don’t have to think about are the best. And extremely low maintenance ones that look great are…
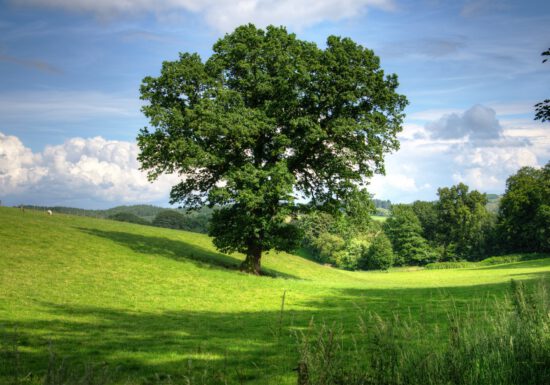
Fall is for Planting: Trees
The best time to plant a tree or shrub is in the fall. A well-placed tree will cool your home…
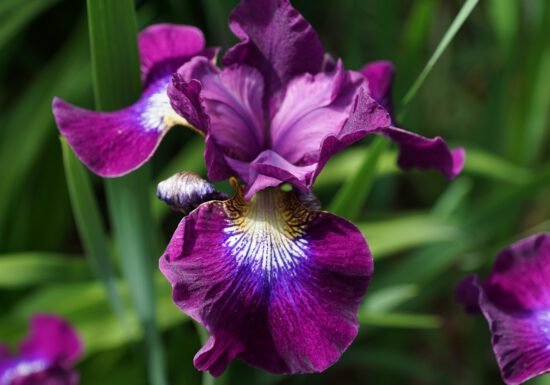
Why Fall is the Best Time to Plant Perennials
This month we’ve covered fall gardening basics, how to plant cool-season veggies and fall planted bulbs. If you’re starting to…
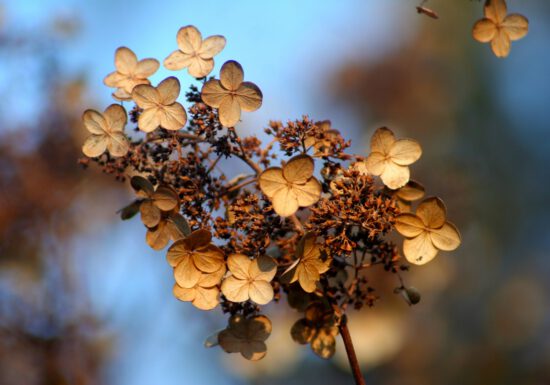
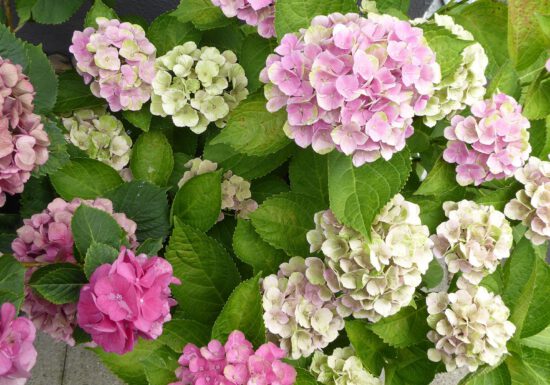
Transplant Hydrangeas in Fall
You’ve had an amazing hydrangeas season. But by now, they may have outgrown their spot in your yard. Or, they…
Plant Hydrangeas to Get the Best Blooms
Large, beautiful hydrangeas are a great addition to any landscape. Their bold colors make them perfect for freshly cut or…
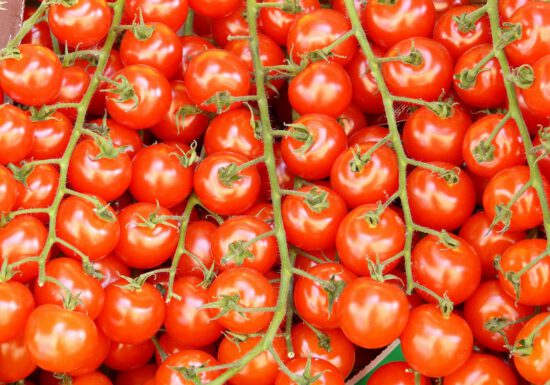
Simple Steps to Planting Tomatoes
Seeing red tomatoes peek through the green leaves in your garden is a true sign that summer is here. The…
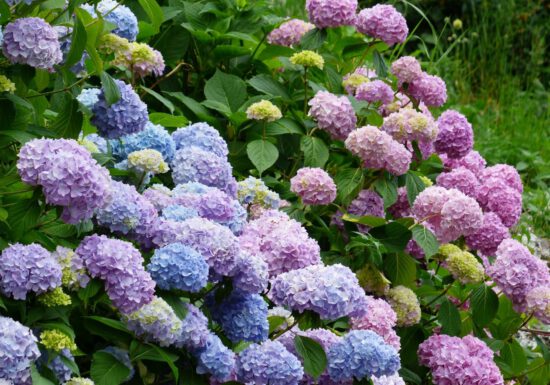
Tried and True: The Best Way to Plant Hydrangeas
Lush, lavish blooms you’ll instantly love! Hydrangeas are like the little black dress of the garden. They’re chic and always…
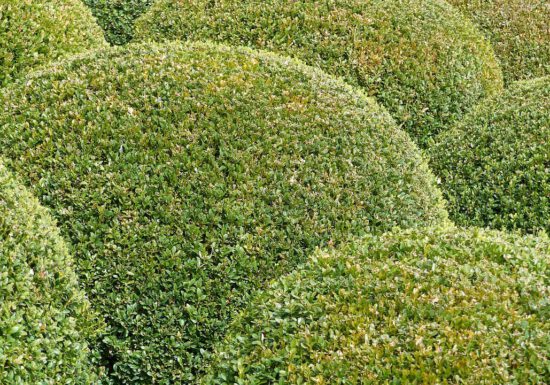
Feed Boxwood with Organic Plant Food in Early Spring
Evergreens — the name says it all. These plants and shrubs add color to your garden all year long, even…