5 Reasons to Start a Cutting Garden
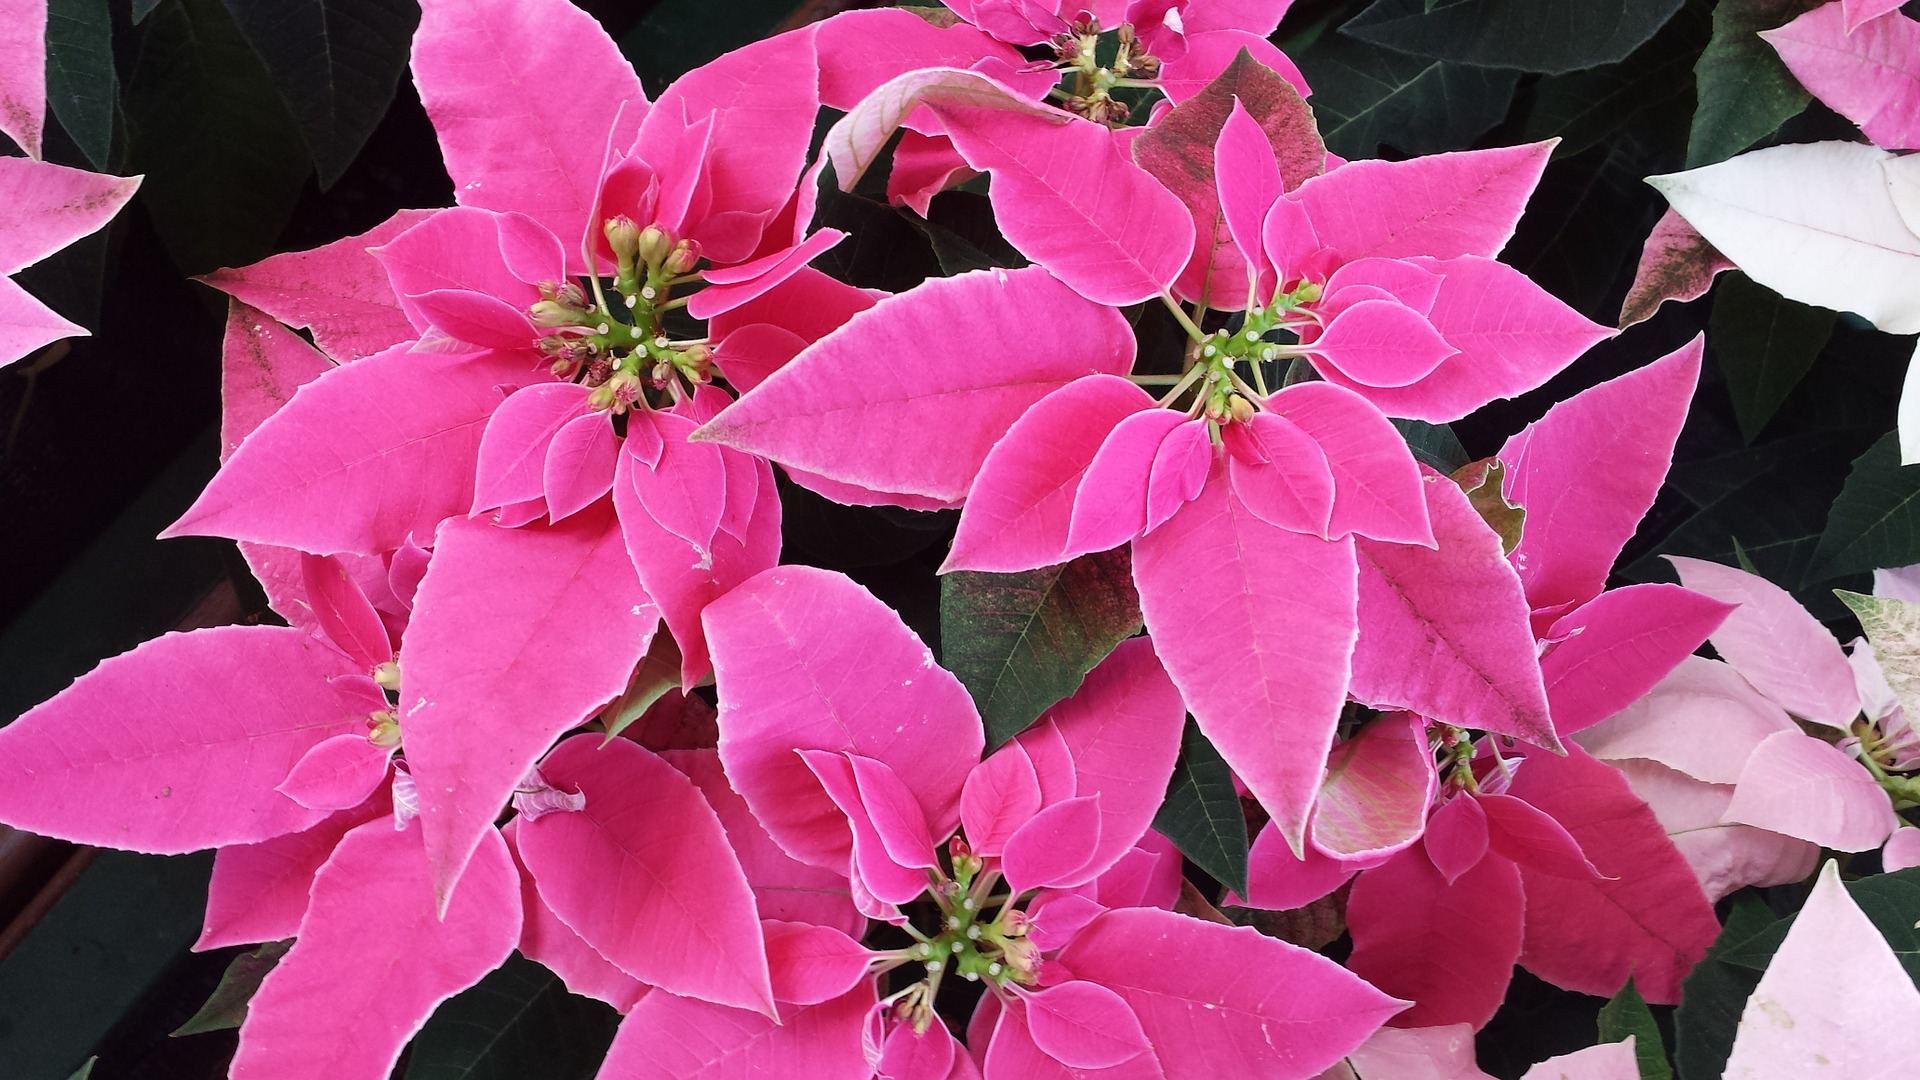
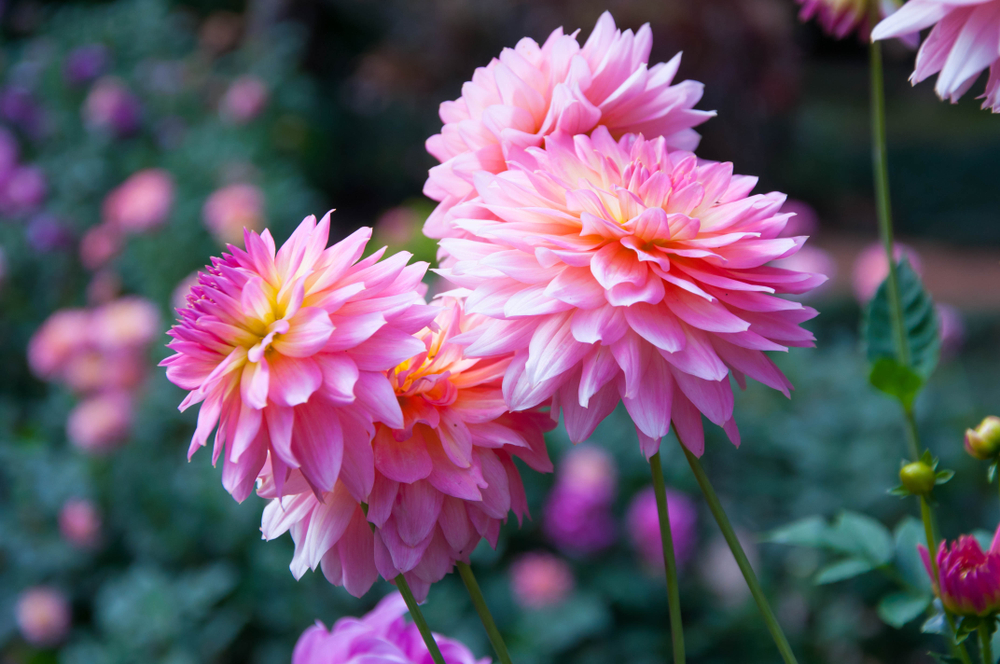
The temperature is only getting warmer, which means it’s time to start a cutting garden! From lilies, to dahlias and zinnias, you can have nonstop blooms.
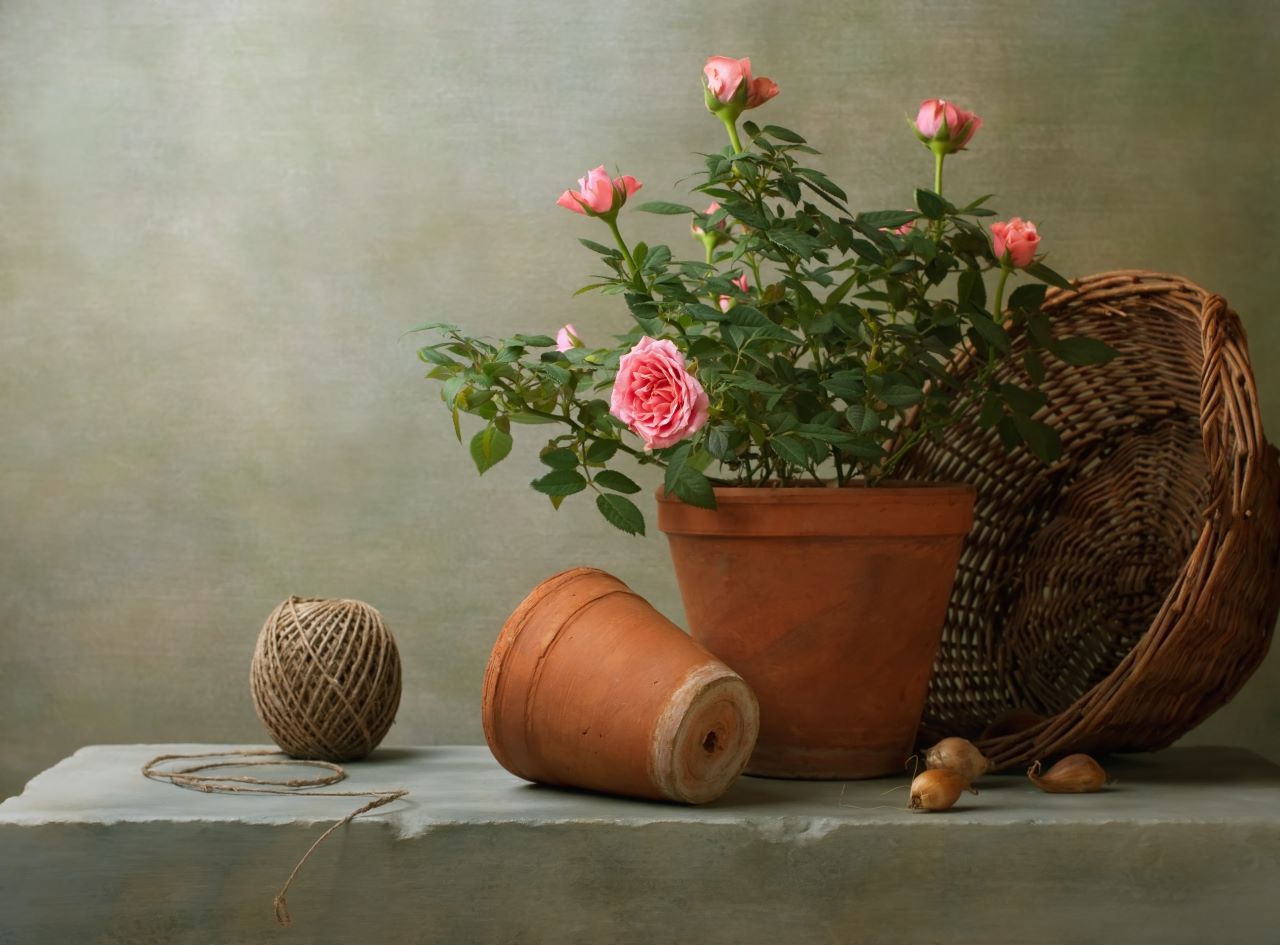
Cutting gardens can include anything from roses and shrubs to perennials, annuals and even bulbs. Cuttings from berry bushes can even make a great complement to fall bouquets. The fun doesn’t stop with just pretty vases and bouquets, you can also grow flowers for dried arrangements in the cutting garden.
You may be wondering why you would want to spend time in the sun and dirt all day. Trust us! The five reasons below are just a few personal favorites of why growing a cutting garden is worth it.
Stop by your local garden center to find out which plants will work best in your yard for your cutting garden.
5 Reasons to Start a Cutting Garden:
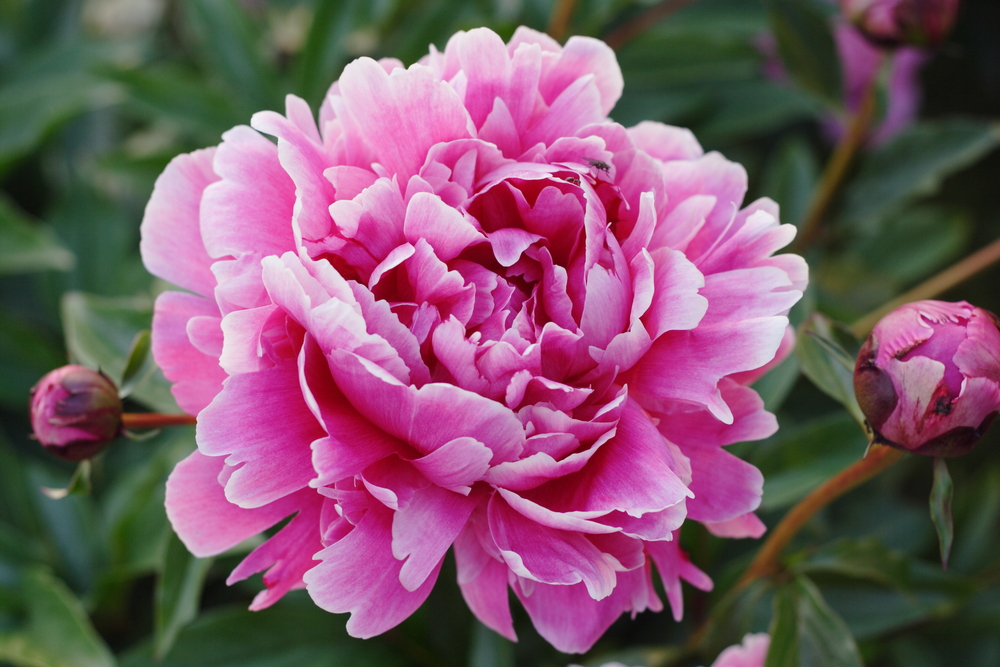
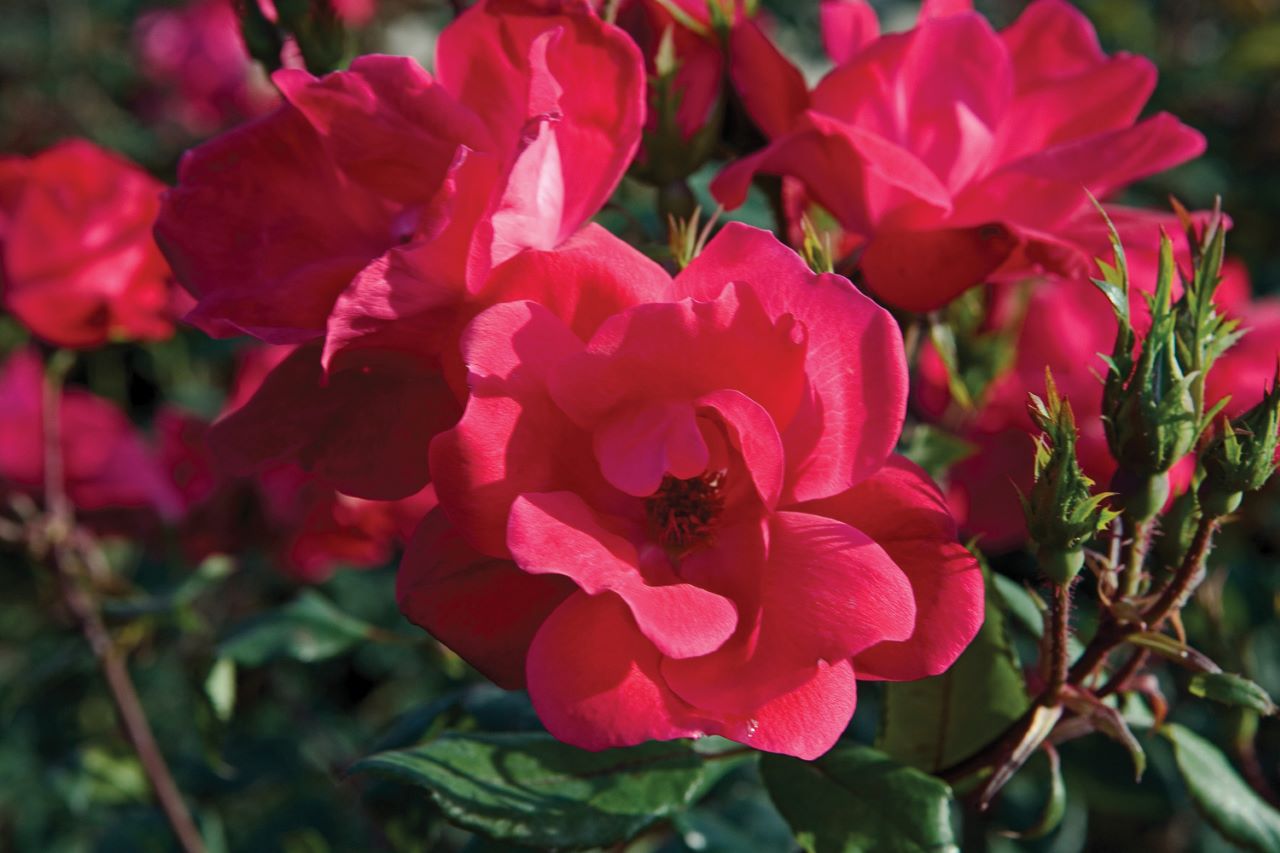
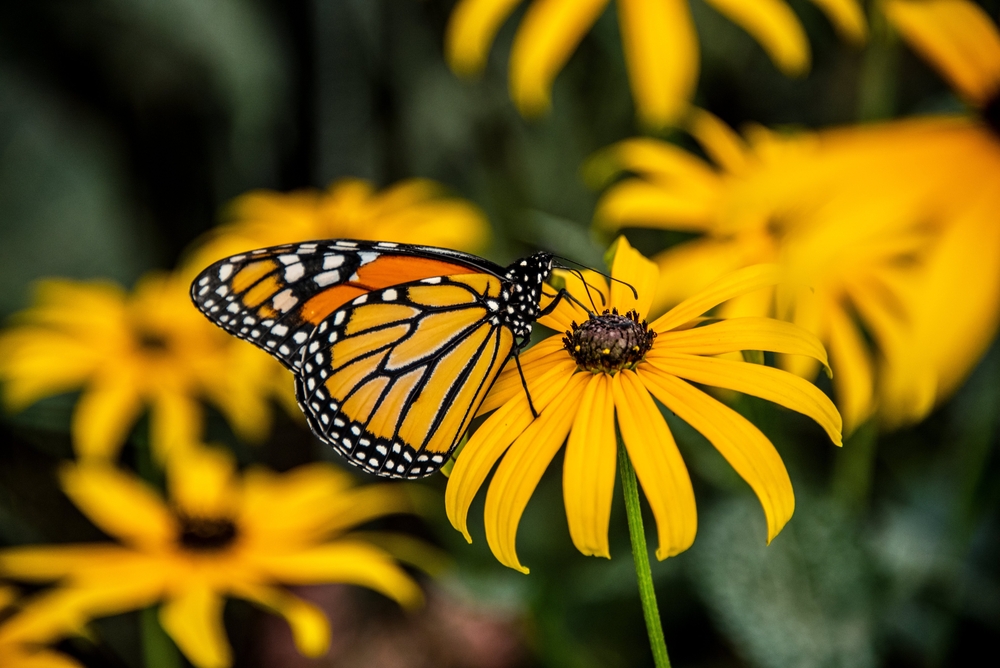
1. So Many Blooms
Nothing beats a fresh cut flower arrangement. It’s even better when it’s handpicked from your cutting garden. Enjoy blooms both in your garden and your favorite vase. Feed blooms with Espoma’s Bio-Starter Plus when you plant for extra flower power.
2. The Health Benefits
Digging, planting and working in the garden all benefits your physical and mental wellbeing. Gardening gets your body moving. Unplug from electronics for a bit and enjoy the fresh air. It will help clear your mind.
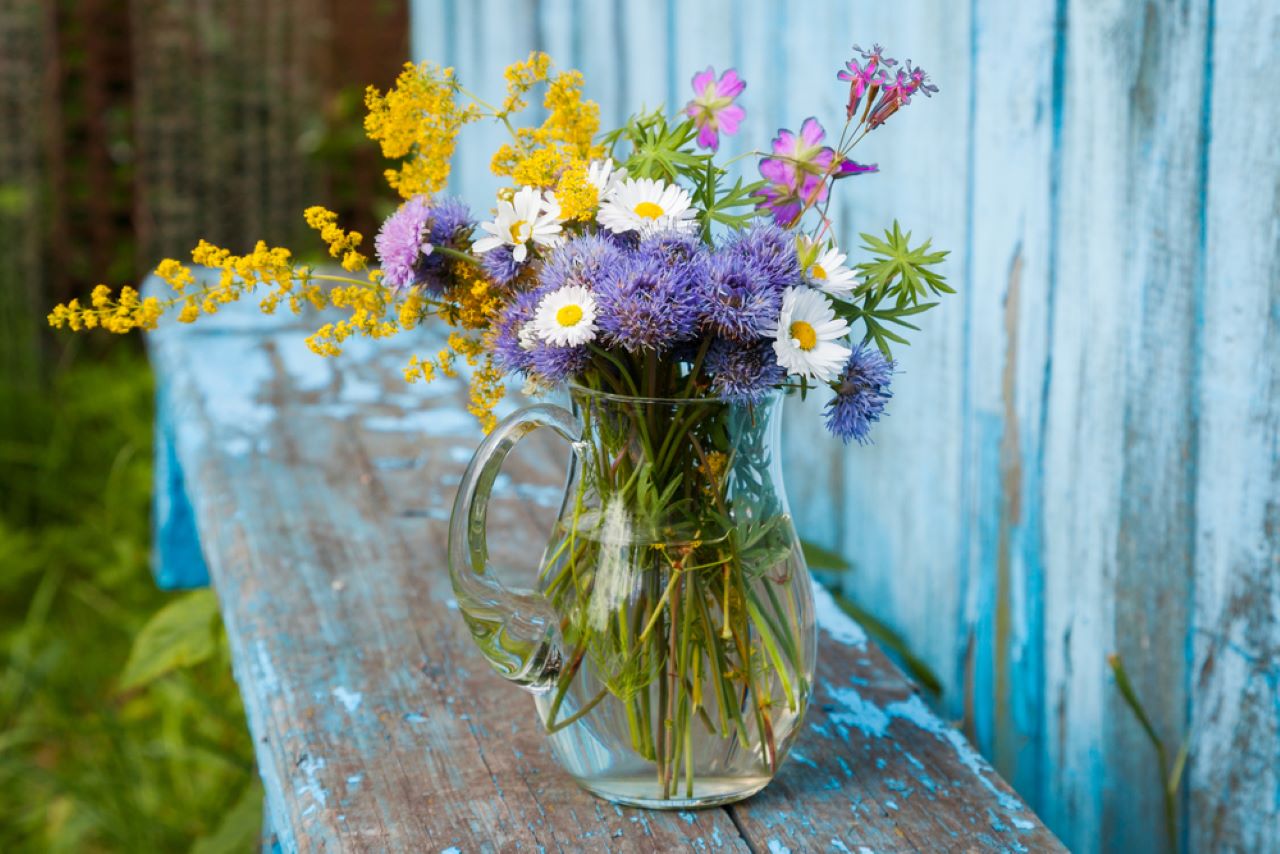
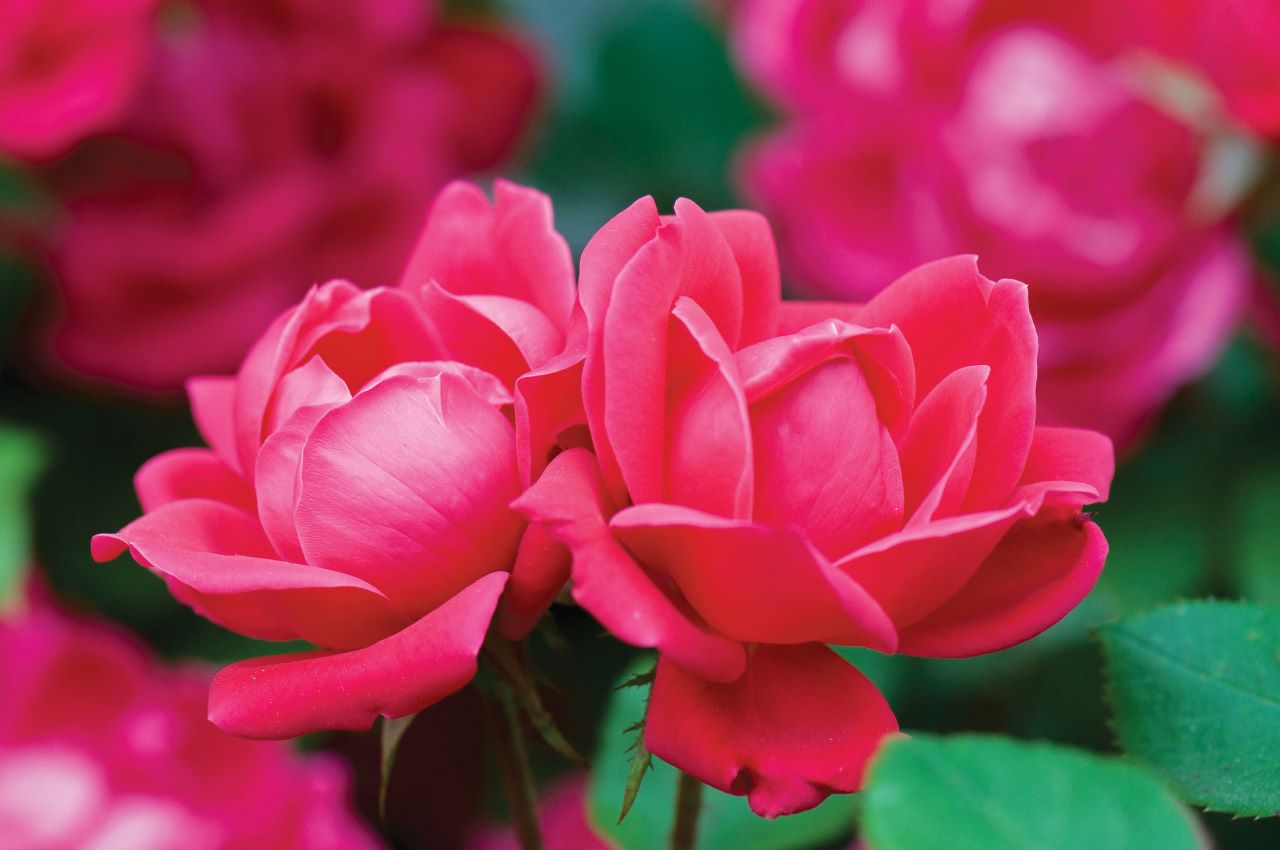
3. Unlimited Bouquets
There’s no reason to never have fresh flowers for bouquets when your cutting garden is in bloom. Those endless bouquets don’t come with a price tag and there’s no need to tip the delivery person.

4. Bring The Family Together
Gardening brings people together. Whether you are trying to get your family involved or are looking for some help, gardeners are open and honest about everything. If you don’t have a place to garden at home, join a community garden and make friends who also like to get their hands dirty.
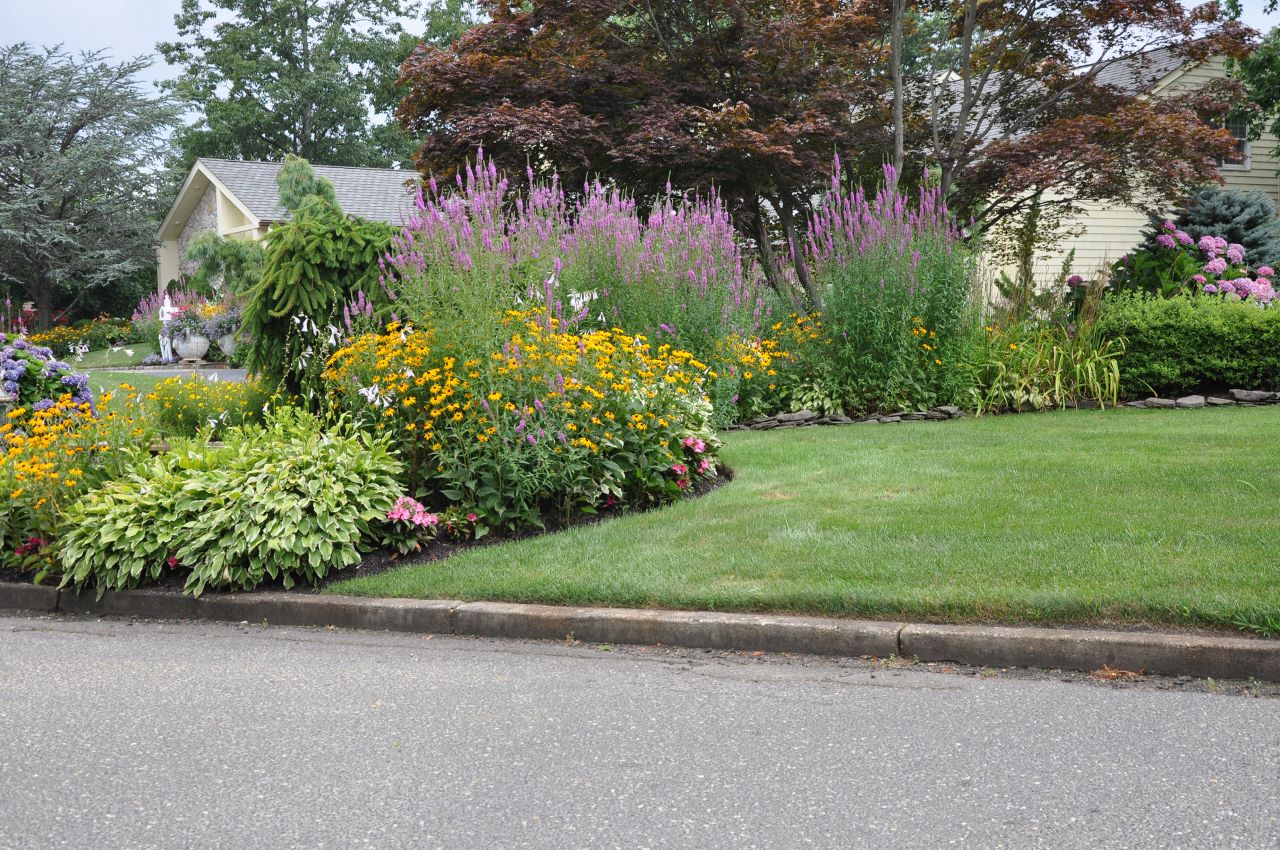
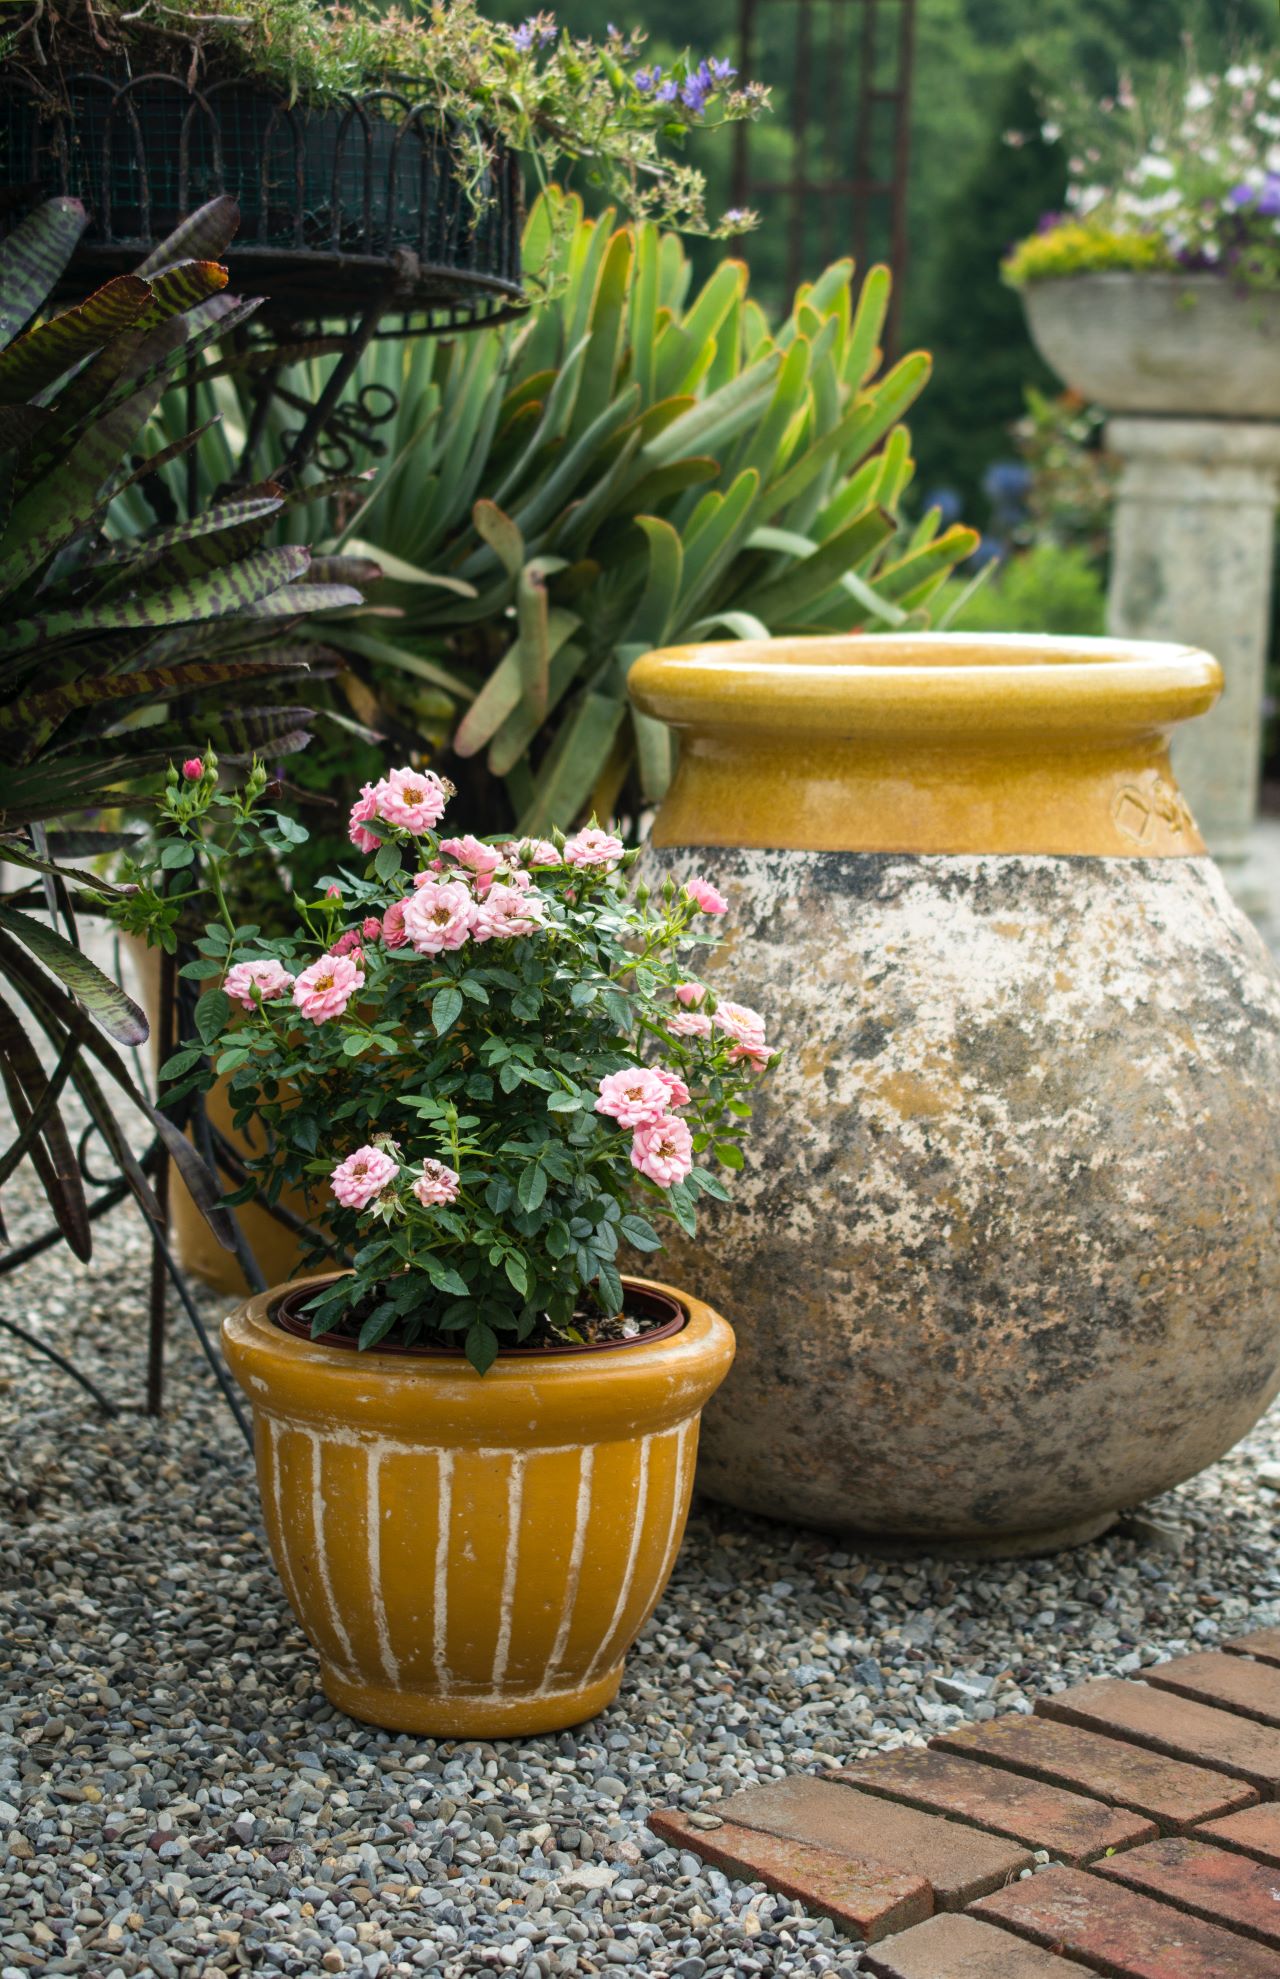
5. Boost Curb Appeal
Having a cutting garden will help boost curb appeal. Surround your property with beautiful flowers of all kinds for a look that will make your neighbors green with envy. Proper maintenance and Espoma’s liquid Bloom! will have your house looking picture perfect, and boost your real estate values, too!
Think hydrangeas would be perfect for your cutting garden? Laura from Garden Answer shows you how to plant them.
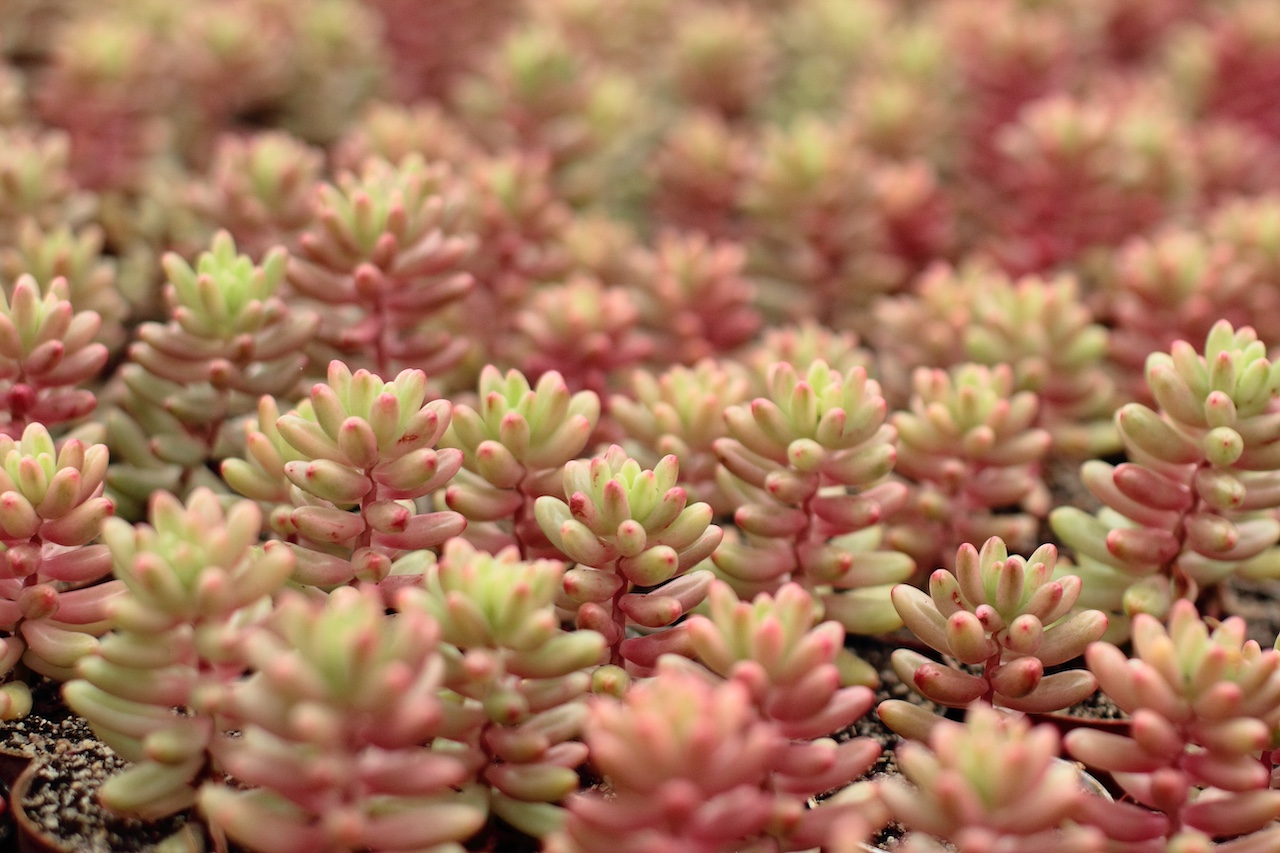
Top Picks for Growing A Cutting Garden: