Flowers
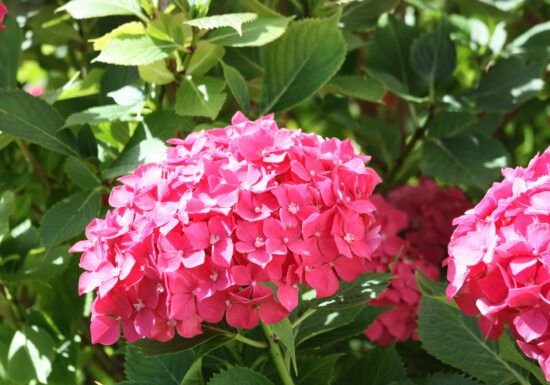
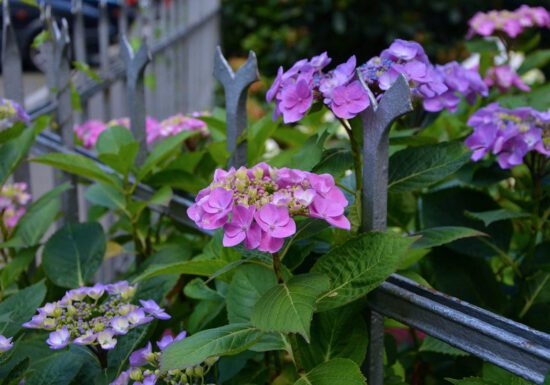
Fix It to Nix Hydrangea Problems
Hydrangeas are supposed to be forever gorgeous! The most flawless, must-have flowers in the garden! Yet, you may see black…
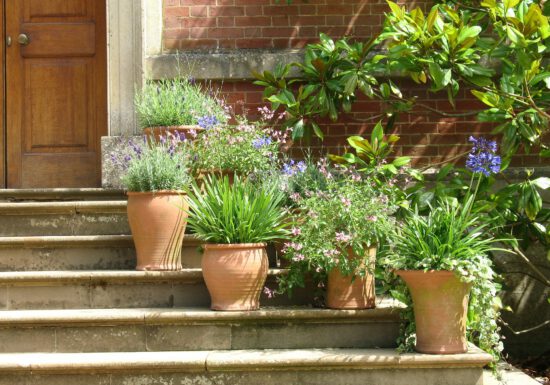
Container Garden Tip: Extend Summer Color! 🌸
4 Tips to extend the life of containers for a summer of color. Containers filled with bright blooms are…
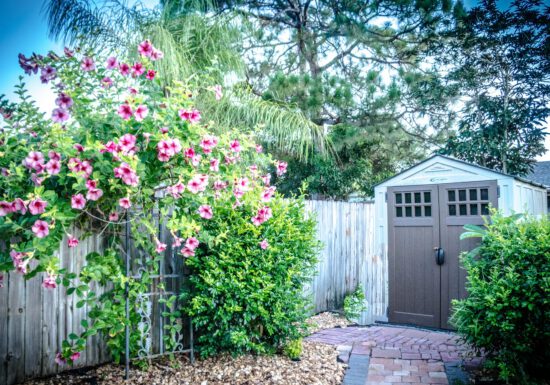
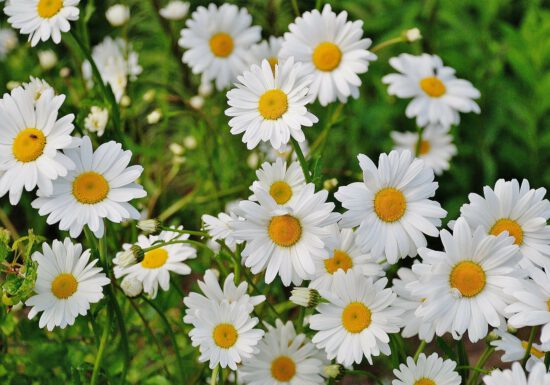
Spruce Up Your Garden Before Memorial Day Weekend
As the official kickoff to summer, Memorial Day weekend is the perfect excuse to tidy up the garden. So before…
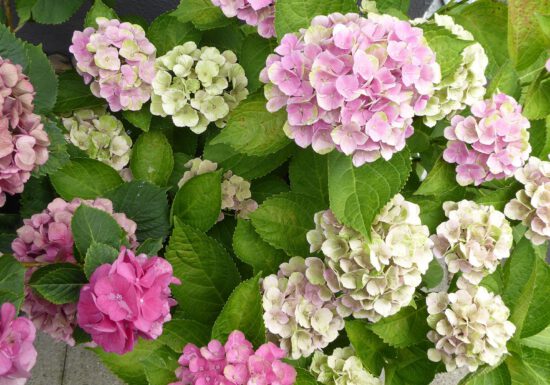
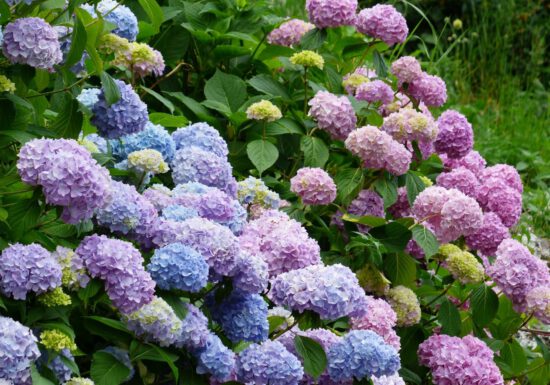
Plant Hydrangeas to Get the Best Blooms
Large, beautiful hydrangeas are a great addition to any landscape. Their bold colors make them perfect for freshly cut or…
Small but Mighty – How to Grow Hydrangeas in Containers
When we picture hydrangeas — with their larger-than-life blooms and immense foliage — we naturally envision large plants. Believe it…
$100 Mother’s Day Giveaway from Espoma
This Mother’s Day, it may be a little easier to make mom happy. Enter the Espoma Mother’s Day Giveaway for…
Prune Hydrangeas a Cut Above the Rest
Hydrangea care, specifically pruning, doesn’t have to be complicated. Honest. Even those who have been gardening for years still have…
Tried and True: The Best Way to Plant Hydrangeas
Lush, lavish blooms you’ll instantly love! Hydrangeas are like the little black dress of the garden. They’re chic and always…
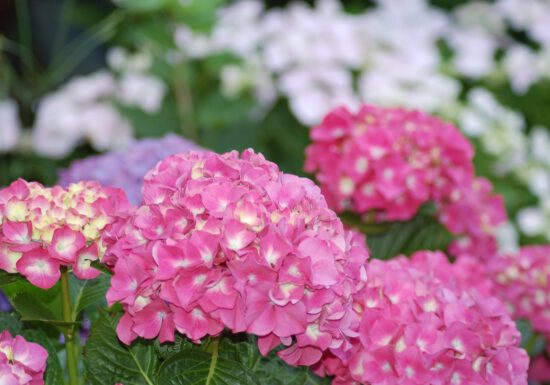
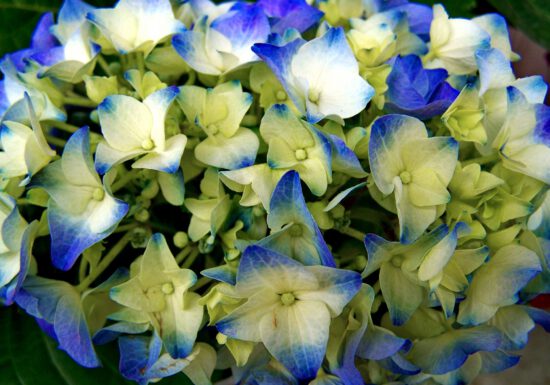
Plain as Day – Find Your Perfect Hydrangea
Who can resist color-changing blooms as huge as snowballs?! No one! That’s why no garden is complete until it has…
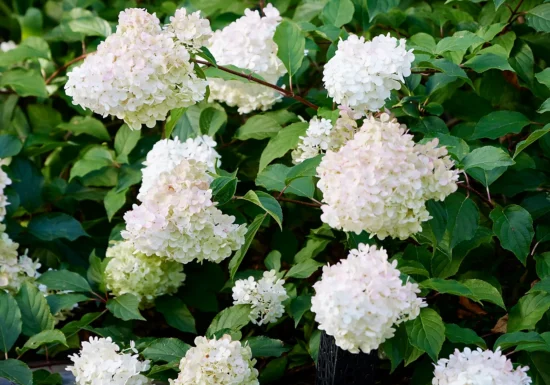
Fun in the Sun: Best Hydrangeas to Grow in Full Sun
[av_textblock size='' av-medium-font-size='' av-small-font-size='' av-mini-font-size='' font_color='' color='' id='' custom_class='' av_uid='av-1rgcf1f' admin_preview_bg=''] Most hydrangeas prefer only morning sun. Yet one type…

Easy Does It: Best Hydrangeas for Beginners to Grow
[av_textblock size='' font_color='' color='' av_uid='av-3j1uttu'] Hydrangeas are versatile and easy to grow. They are not at all particular about where…
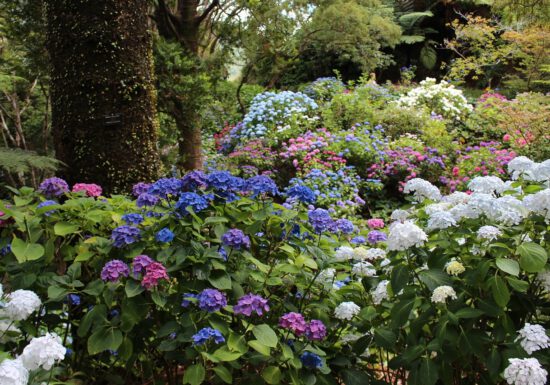
Espoma’s Total Guide to Growing Hydrangea’s
Find everything you need to know about growing hydrangeas below! Choose the right Hydrangea for you – Growing hydrangeas is…