Video: Winter Seed Sowing with Garden Answer
Interested in trying your hand at the winter seed sowing method? Follow along with @Garden Answer in this new video for some tips, tricks, and other learnings!
Featured Product:

Interested in trying your hand at the winter seed sowing method? Follow along with @Garden Answer in this new video for some tips, tricks, and other learnings!
Featured Product:
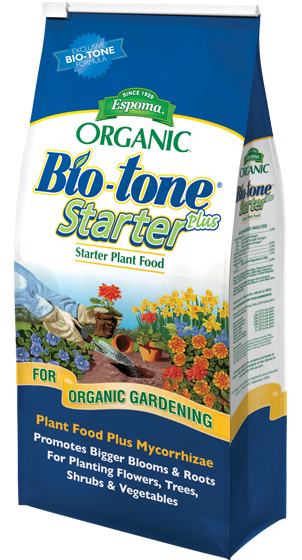
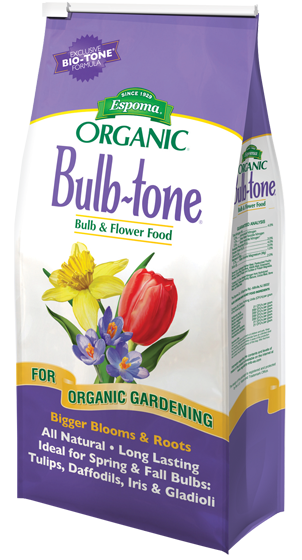
Garden Answer has so many bulbs yet to go in the ground and it’s time to finish the job. Follow along and see how a bit of Espoma Organic Bio-tone Starter Plus is key to kicking off this task.
Featured Products:
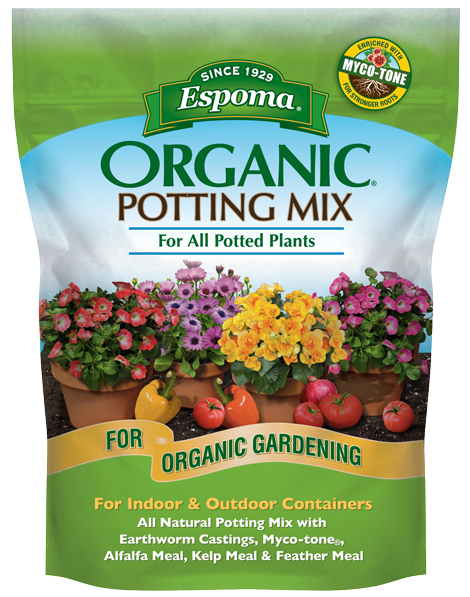
Laura from Garden Answer got her hands on some gorgeous new caladiums just in time for Christmas. Follow along for some keys to transitioning to holiday decor using Potting Mix!
Featured Products:


Starting a fun new succulent project? Take a tip from Garden Answer and kick things off with Espoma Organic Cactus Mix, which is made specifically for cactuses and succulents.
Featured Products:

A rainy week calls for an awesome indoor activity like this one! Remember: Anything that contains something is a potential planter. Watch as Laura from Garden Answer makes the most of her old tea tins using Espoma Organic Cactus Mix!
Featured Products:
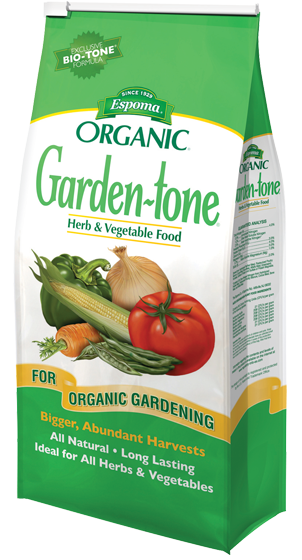
Fall crops already? That’s right! Join Garden Answer and get some great ideas for food crops in the upcoming season.
Featured Products

When planting new trees, don’t forget to add a healthy combination of Espoma Organic Bio-tone and Iron-tone to help them establish fast. Watch the full video with Garden Answer!
Featured Products:
Are your tomato plants growing out of control? Time to tie them up with Bloom and Grow Radio‘s Tying and Fertilizing Tomatoes video featuring Tomato-tone!
Featured Products:
A little vitamin boost from Bio-tone Plus before amending your soil is key when planting up a fresh tomato path. More great tips from Bloom and Grow Radio in the full video!
Products Featured
