Espoma Videos
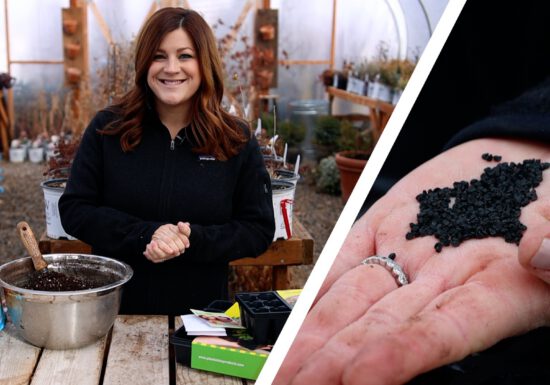
Video: Starting Onion Seeds Indoors with Garden Answer
When planting onions from seed, Espoma Organic Seed Starter is a key component in promoting root growth and improving moisture…
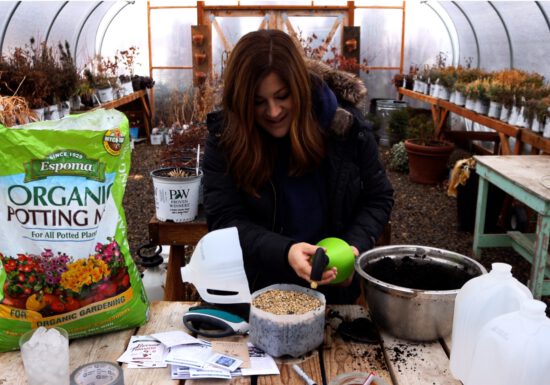
Video: Winter Seed Sowing with Garden Answer
Interested in trying your hand at the winter seed sowing method? Follow along with @Garden Answer in this new video…
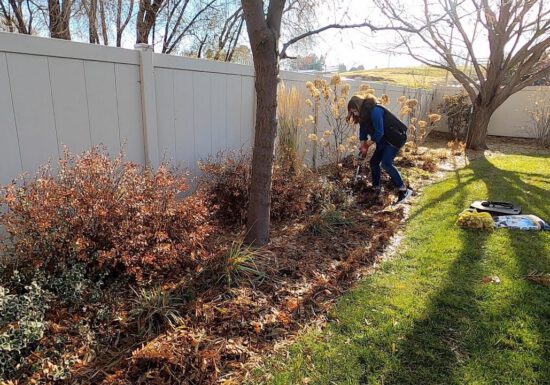
Video: Buttoning Up Winter Bulb Planting with Garden Answer
Garden Answer has so many bulbs yet to go in the ground and it’s time to finish the job. Follow…
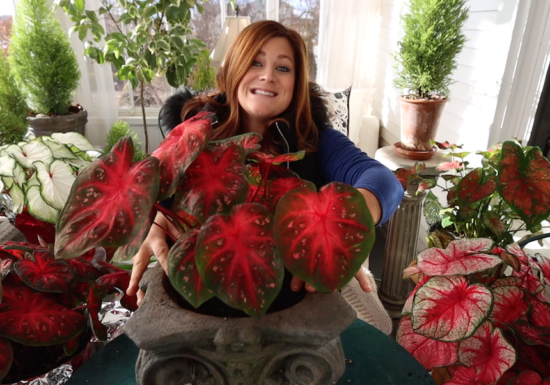
Video: Caladiums for Christmas with Garden Answer
Laura from Garden Answer got her hands on some gorgeous new caladiums just in time for Christmas. Follow along for…
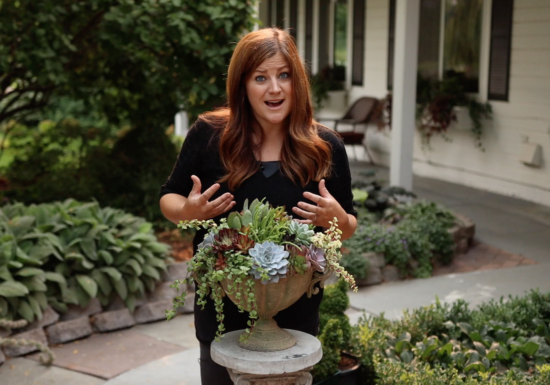
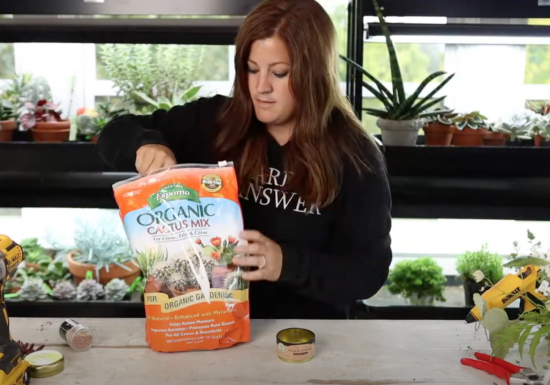
Video: Arranging Succulents in an Urn with Garden Answer
Starting a fun new succulent project? Take a tip from Garden Answer and kick things off with Espoma Organic Cactus…
Video: Making Tea Tin Arrangements with Garden Answer
A rainy week calls for an awesome indoor activity like this one! Remember: Anything that contains something is a potential…
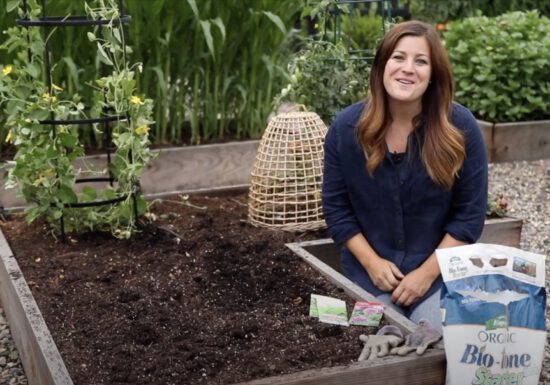
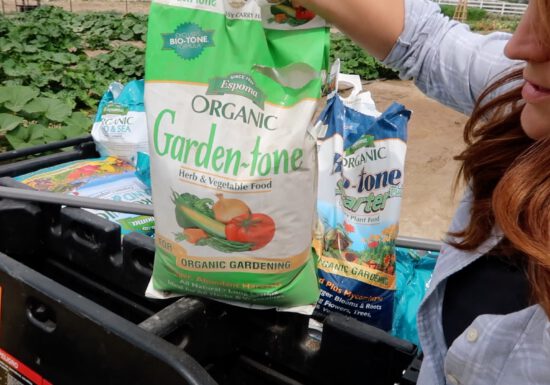
Video: Planting Fall Crops for Harvest with Garden Answer
Fall crops already? That’s right! Join Garden Answer and get some great ideas for food crops in the upcoming season.…

Video: Planting Maple Trees with Garden Answer!
When planting new trees, don’t forget to add a healthy combination of Espoma Organic Bio-tone and Iron-tone to help them…
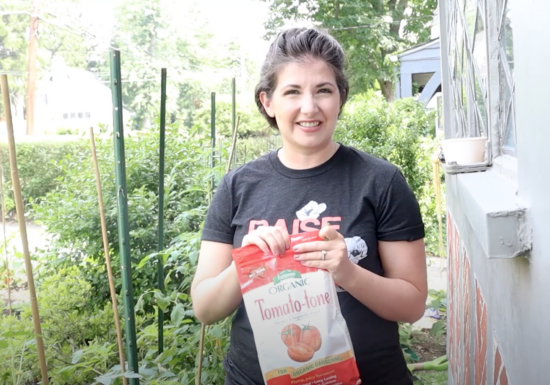
Video: Tying up & Fertilizing Tomatoes with Bloom and Grow Radio!
Are your tomato plants growing out of control? Time to tie them up with Bloom and Grow Radio‘s Tying and…
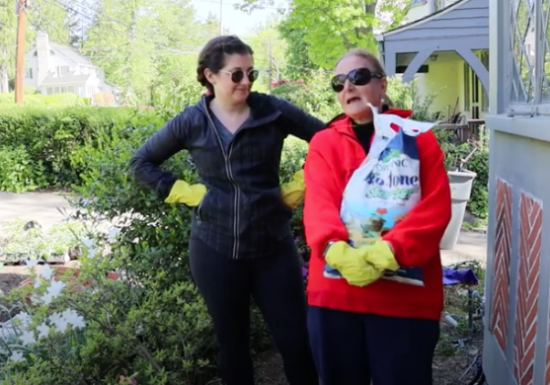
Video: Tomato Planting Tutorial with Bloom and Grow Radio
A little vitamin boost from Bio-tone Plus before amending your soil is key when planting up a fresh tomato path.…

Leaf Mulch with Garden Answer
In this fall episode of Garden Answer, Laura is making leaf mulch from her fallen leaves. It’s a free resource…