5 Romantic Red Houseplants
On Valentine’s Day, there’s always a lot of pressure to find the perfect gift, so we made it simple.
Give something that will live long past the special day, continue to grow, and offer a daily reminder of your love.
Cultivate Love with These 5 Romantic Red Houseplants
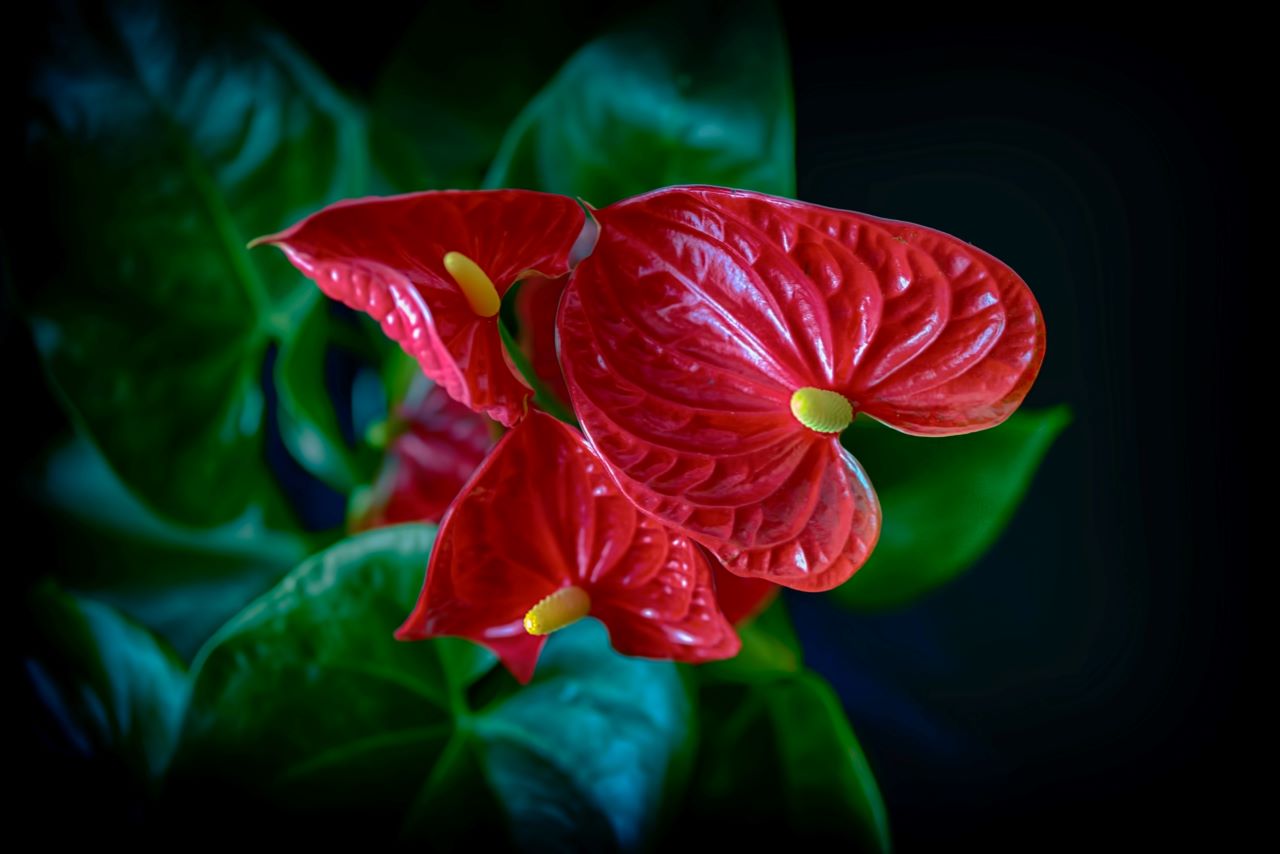
- Anthurium
This lovely houseplant has heart-shaped blooms called spades. Be sure to buy one in bloom to ensure your significant other sees the heart on your sleeve plant. Anthuriums love light, so be sure to place them in a bright area, but not directly in the sunshine.
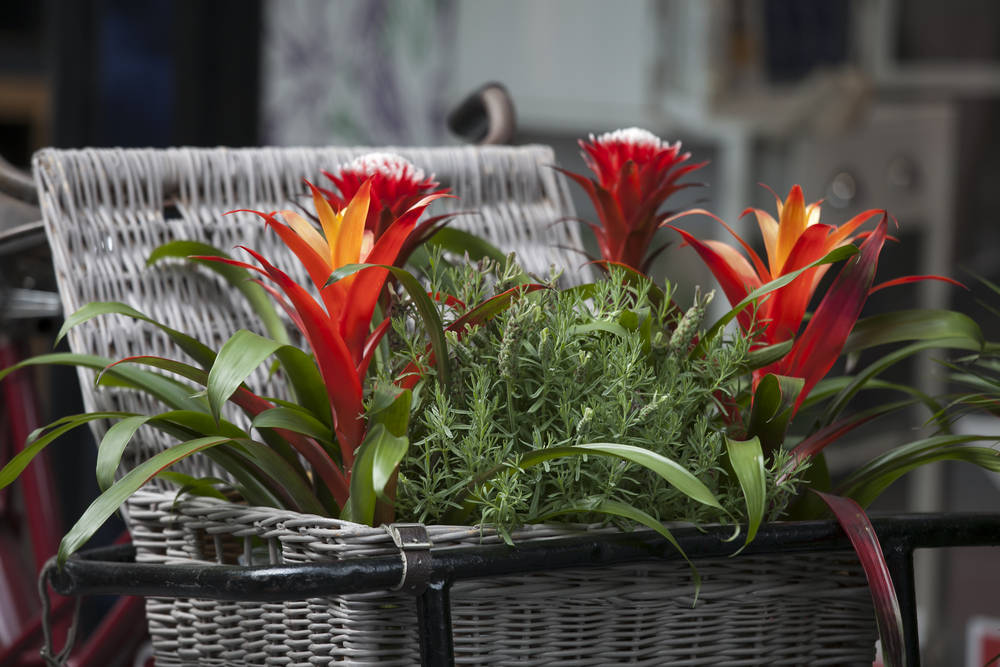
- Bromeliad
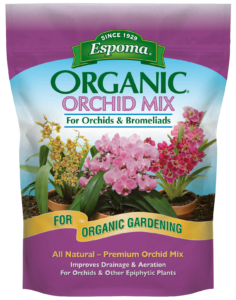
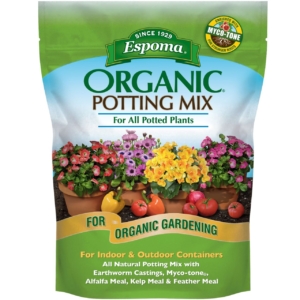
This easy-to-grow houseplant is the perfect gift. It provides an exotic touch of red to any home. Even with the thick foliage and wide leaves, it gives off a radiance that anyone will fall in love with. Be sure to use Espoma’s Orchid Potting Mix to allow proper drainage and vitality.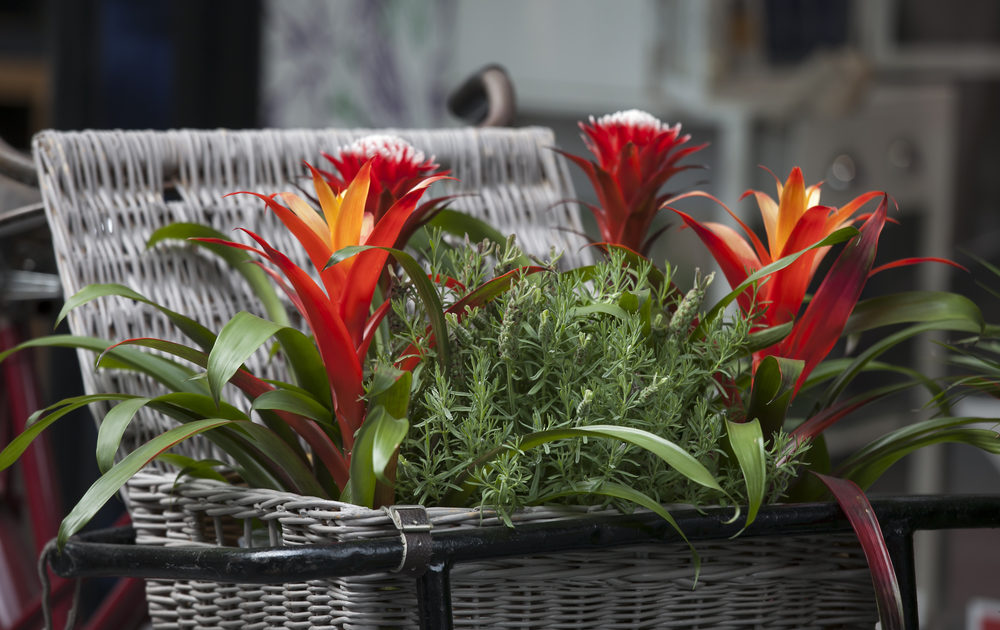
Feed regularly with Indoor! liquid fertilizer to keep your plants happy and healthy.
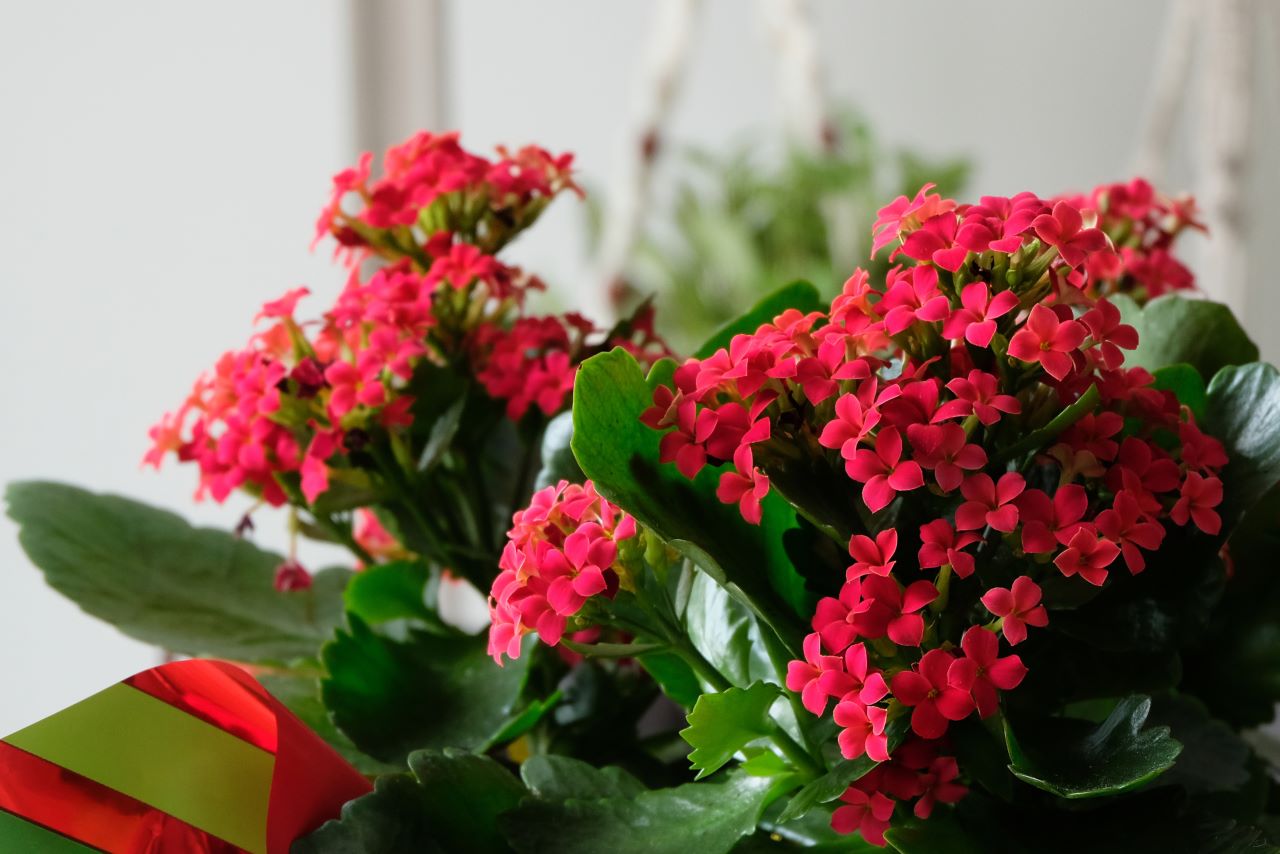
- Kalanchoe
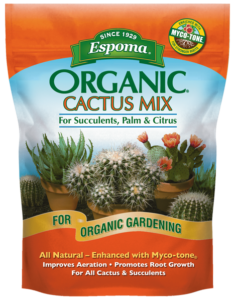
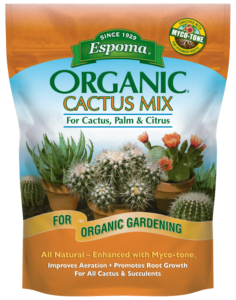
Succulent love! This succulent produces clusters of tiny red flowers which will last for several seasons. The scalloped greenery is just as gorgeous as the flowers, so you will have a showstopper year round. Use Espoma’s Cactus Potting Mix and Cactus! liquid fertilizer to be sure your Kalanchoe is happy and hearty.
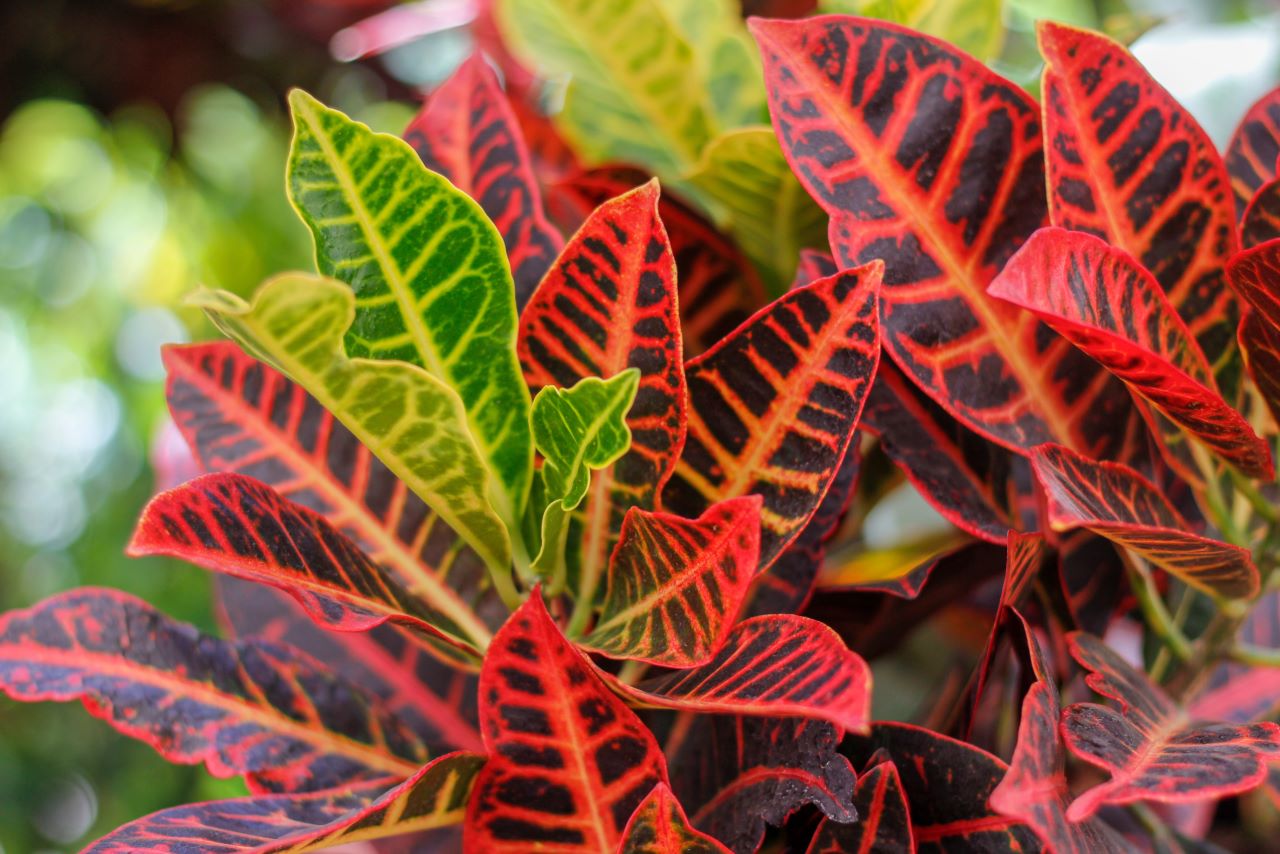
- Croton
Red can be too much for some lovers, so crotons offer the perfect balance of greenery with a subtlety of red. But don’t let it fool you, this houseplant is a bold contender. It offers texture and design to any household that needs extra energy. Crotons also help purify the air, which in turn keeps you calm and relaxed.
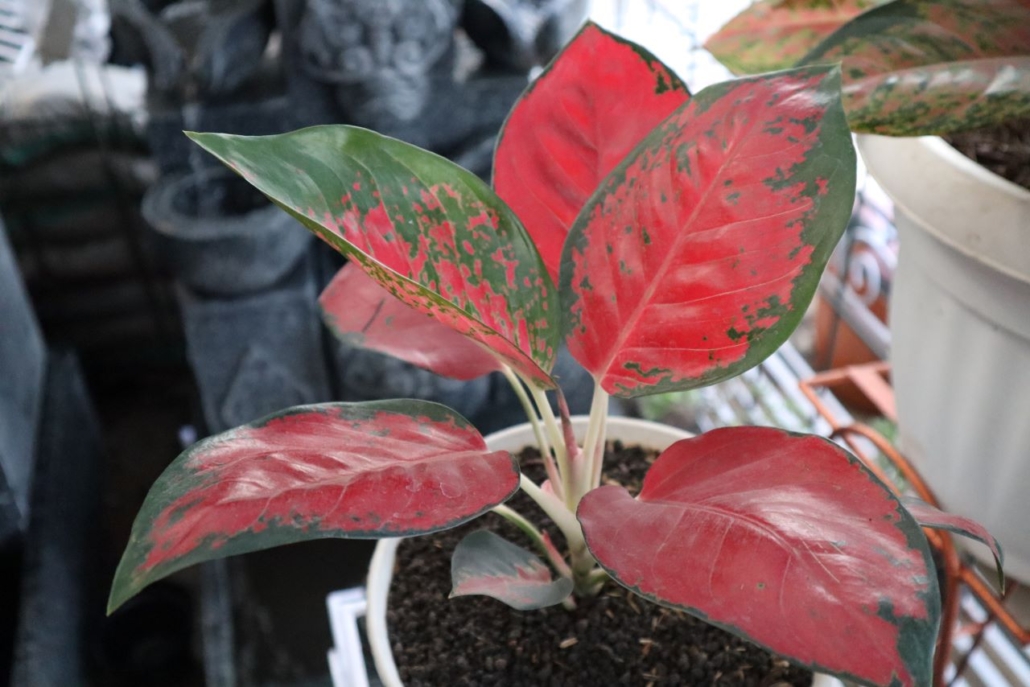
- Red Aglaonema
Another more subtle red houseplant, the Red Aglaonema is a standout in home décor. The bold foliage adds height and eye-drawing texture. Your significant other will love this easy-care plant.
Trust us, gifting any of these romantically red houseplants will show your love for years to come. Feeding plants with Espoma’s Indoor! liquid fertilizer helps keep their red vibrant.
*****
Check out this Anthurium care video by Summer Rayne Oaks:
Featured Products: