Espoma Organic
  • Products
    • Close
    • Product Line Overview
    • Plant food finder
    • Garden Fertilizers
    • Potting Soils
    • Liquid Fertilizers
    • Lawn Fertilizers
    • Single Ingredients
    • Conventional Plant Foods
    • Animal Care Products
  • Where to Buy
  • Our Story
    • Close
    • Our Story
    • Locations
    • Historical Timeline
    • Our Commitment
    • Directions
    • Solar
    • Join our Team
    • Espoma Brand Partners
  • Learn
    • Close
    • Espoma Blog
    • FAQ’s
    • Pocket Guide
    • Espoma Guides
    • Garden Clubs
    • Safe Paws Lawn
    • PRODUCT FACT SHEETS
    • Fertilizer Fundamentals
      • Close
      • Understanding Plant Nutrition
      • Reading Labels
      • Choosing the Right Type of Fertilizer
      • Terms & Definitions
    • Gardening Projects
    • Resource Links
  • Contact Us
  • Menu Menu

Tag Archive for: gardener

Fertilizing Vegetables Plants! ???with Garden Answer

August 22, 2023/in Blog, Espoma Videos, Fruits & Vegetables, Garden Answer

Join Laura @GardenAnswer as she takes you on a tour through her vegetable gardens. Experience the joy she feels bringing her harvest to the table and learn what it takes to maintain healthy vegetable plants.

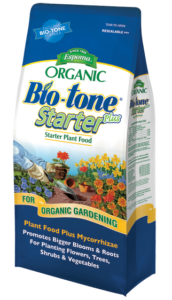
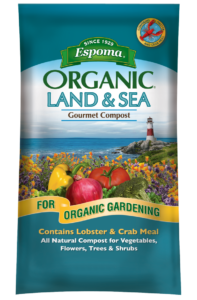
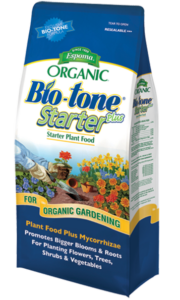
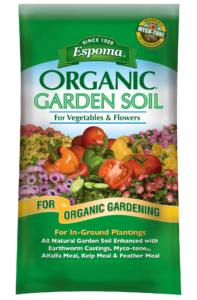
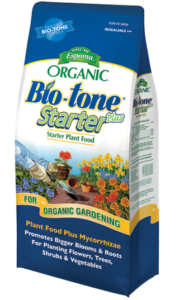
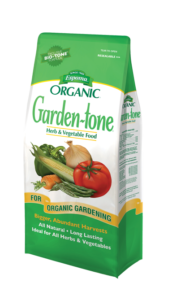
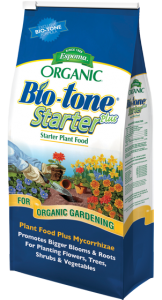
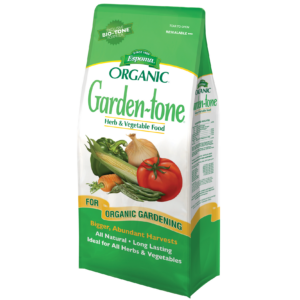
Laura enriches her soil with Espoma Organic Land & Sea Compost, creating a nutritious medium for her vegetables. At the time of planting, she uses Bio-tone Starter Plus to provide essential nutrients for establishment. For ongoing care, Laura feeds her established plants with Garden-tone, ensuring they remain healthy throughout the season and yield a bountiful harvest.

Learn more about Garden Answer here:

https://www.youtube.com/c/gardenanswer 

https://www.gardenanswer.com/

https://www.facebook.com/gardenanswer

https://www.instagram.com/gardenanswer/

Featured Products:


Where to Buy

https://www.espoma.com/wp-content/uploads/2023/08/Fertilizing-the-Vegetables.jpg 1080 1920 Matt Dauphinais https://www.espoma.com/wp-content/uploads/2023/05/espoma-logo340w-1.png Matt Dauphinais2023-08-22 15:54:102023-08-22 16:21:17Fertilizing Vegetables Plants! ???with Garden Answer

VIDEO: Houseplant Heaven with Garden Answer

October 26, 2022/in Blog, Espoma Videos, Garden Answer, Greenhouse Gardening, Indoor Gardening

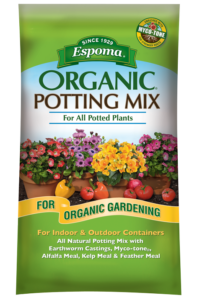
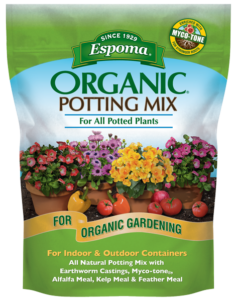
Is it even possible to have too many houseplants? Not if you’re an expert like Garden Answer! With the help of Espoma’s Organic Potting Mix, walk through a whole haul of exciting, unique, and beautiful houseplants from the research phase all the way to repotting. 


Learn more about Garden Answer here:

https://www.youtube.com/c/gardenanswer 

https://www.gardenanswer.com/

https://www.facebook.com/gardenanswer

https://www.instagram.com/gardenanswer/


Featured Products:


Where to Buy

https://www.espoma.com/wp-content/uploads/2022/10/thumbnail.jpg 1080 1920 Matt Dauphinais https://www.espoma.com/wp-content/uploads/2023/05/espoma-logo340w-1.png Matt Dauphinais2022-10-26 18:45:572023-12-04 12:39:03VIDEO: Houseplant Heaven with Garden Answer

Kaleb Wyse: My Annual Plant Haul

June 28, 2022/in Blog, Flowers, Kaleb Wyse, Spring Gardening

Kaleb Wyse, an enthusiastic fourth-generation Iowan gardener, made Wyse Guide as an outlet for his passions in gardening and cooking. This Spring, he’s sharing with us his seasonal plant haul, complete with colorful foliage, fun ferns, and cute succulents. You can watch the full video below:


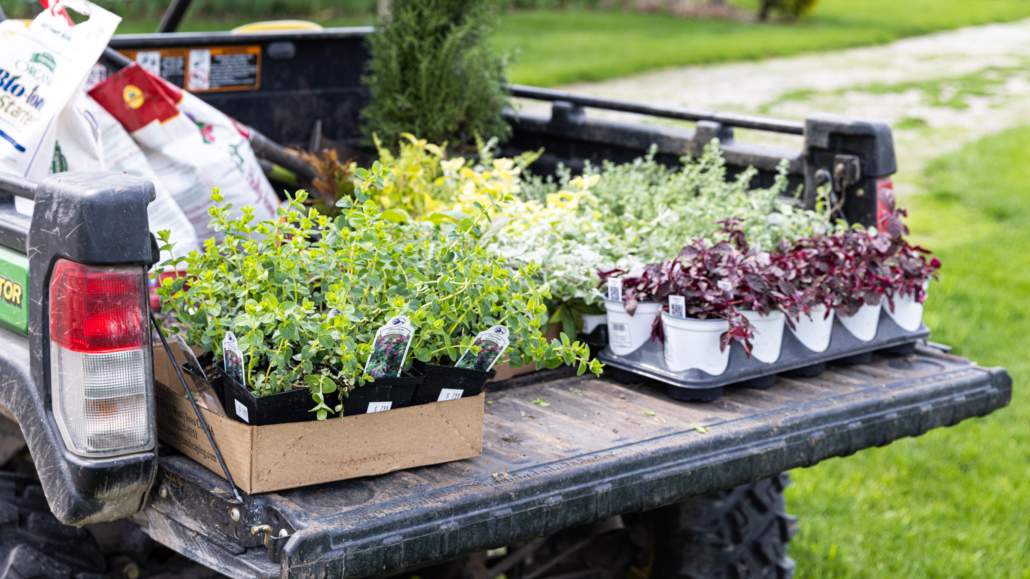
To start off with, Kaleb picked out some of his go-to annuals to fill in his yard with foliage. He grabbed some Helichrysum plants, a Limelight variety, which he thinks will pair beautifully with the yellow stripes of his Americana Agave. Kaleb also brought home some Purple Lady, Amethyst Falls (an ornamental oregano), and Variegated Lemon.

Kaleb was also excited to fill up his hanging pots with greenery. He had a problem, though. He loves the look of hanging ferns, but with a west-facing porch, he was concerned about sunlight. Luckily, over the years, he’s learned that Kimberly Queen Ferns thrive in full sun. He took a few of those and added some fun succulents around them, like String of Pearls and Senacios. Kaleb also made sure there was plenty of room for the plants to grow, so the baskets still look great when July comes around.

Before adding in his fun plants, though, Kaleb needed to make sure his greenery had all the right nutrients. He started by pouring some Espoma Organic Potting Mix into his hanging containers. This soil is great because it is so versatile and can be used on all indoor and outdoor container plants. Kaleb also added in a bit of Espoma Organic Garden-Tone. While Kimberly Queens don’t need a lot of food, it’s great to add just a little extra nutrients to help them thrive.

Kaleb ended with some words of wisdom for fellow gardeners: “Guess what, it’s not as hard as it looks. We make mistakes, things die, things grow. In the end it just makes us happy, and that’s what matters.” Stay tuned for more tips from Kaleb on Wyse Guide and right here on our own blog!

Featured Products:


Where to Buy

https://www.espoma.com/wp-content/uploads/2022/06/My-Spring-Plant-Haul-3.jpg 1280 1280 espoma https://www.espoma.com/wp-content/uploads/2023/05/espoma-logo340w-1.png espoma2022-06-28 17:14:372022-06-28 17:14:37Kaleb Wyse: My Annual Plant Haul

Seed Starting 101: How to Start Seeds Successfully

April 5, 2022/in Blog, Bloom and Grow Radio

Seed starting setup

Seed starting is upon us in the gardening world! There is no better way to connect with the food we eat than by growing it ourselves. Starting edible plants from seed can be intimidating, but we’re here to break it down and answer all your burning questions. 

This blog is inspired by Episode 114 of Bloom and Grow Radio–where host Maria Failla interviewed Joe Lamp’l–the Joe behind The joe gardener Show.

Before we dive into the how of seed starting, let’s understand the why. 

Why Start Your Garden from Seed? 
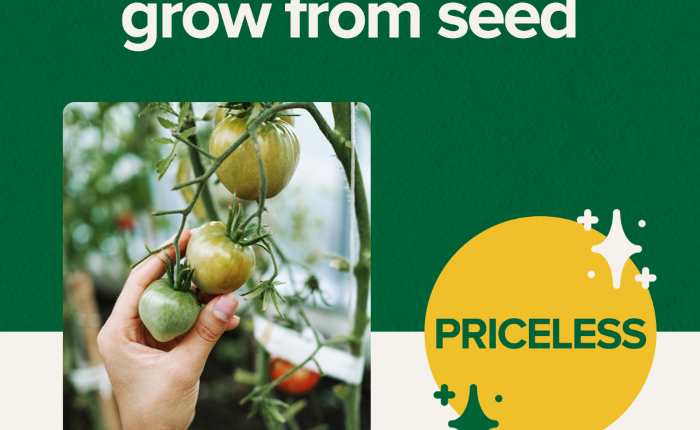
In our world of instant gratification, what’s better than starting your gardening season way sooner than most gardeners?! When you start seeds indoors, you get your hands in the dirt and get a jump on the growing season. And what a rewarding feeling it is to start your plants from seed, and enjoy the journey of bringing them from seed to plate. 

If you love your edibles, decide what you want to eat and which varieties you want. Don’t leave it up to what’s available at the garden center. Think about how much you can choose when you start from seed: flavor, varieties, and the stories behind different heirlooms. You can really expand your food choices when you get to pick exactly what you grow. 

Another great reason to start your own seeds is to make sure you’re growing the right kind of plant for your needs. Do you absolutely love tomatoes, but only have a small balcony to grow them? Look for microdwarf tomato varieties that only grow about 1-2 feet tall! If you have a short growing season, you’d also want to make sure you choose “early” or “short season” plant varieties. 

Starting from seed offers us the ability to be in control of the varieties we grow, plan in advance, and save lots of money in the long run. Speaking of starting seeds on a budget…

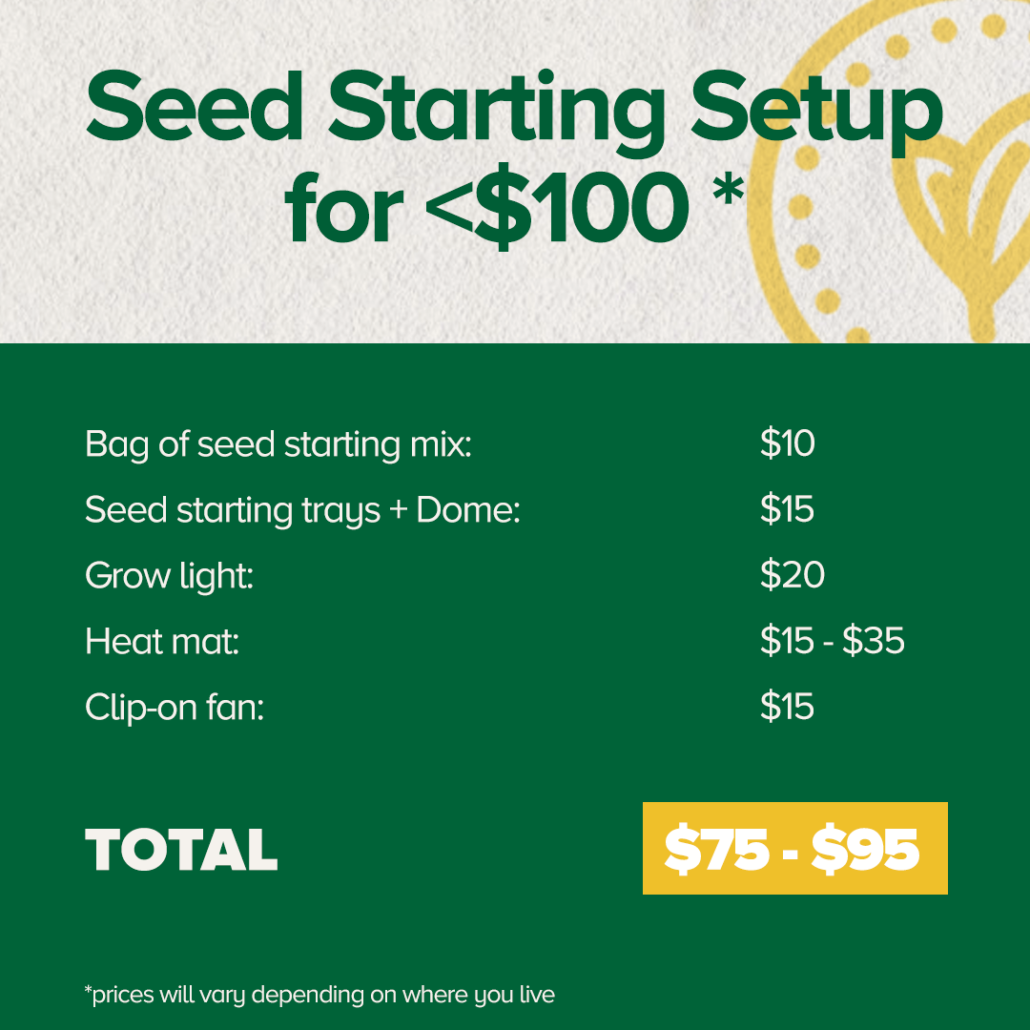
How to Get Your Seed Starting Setup for Under $100

Your seed starting setup can be super budget-friendly if you take the time to look at the components. For under a hundred dollars, you can put together everything you need! Let’s break down the materials, costs, alternatives, and conditions you need for seed starting. 
Seed Starting Mix

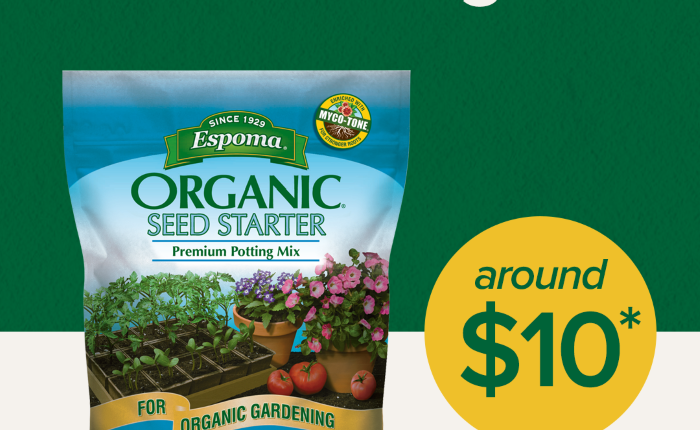
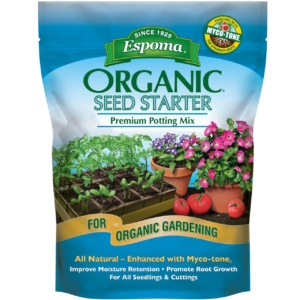
To start, you need a good seed starting mix. It’s called a “mix,” because there’s really no soil in it. It’s made of natural ingredients like peat moss, vermiculite, and perlite. A bag of seed starting mix is going to cost between $5-$10.

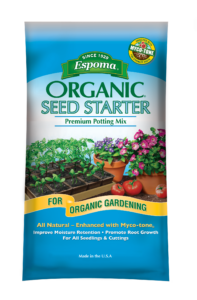
Espoma Organics takes the guesswork out of your selection by providing their high quality seed starting mix. 
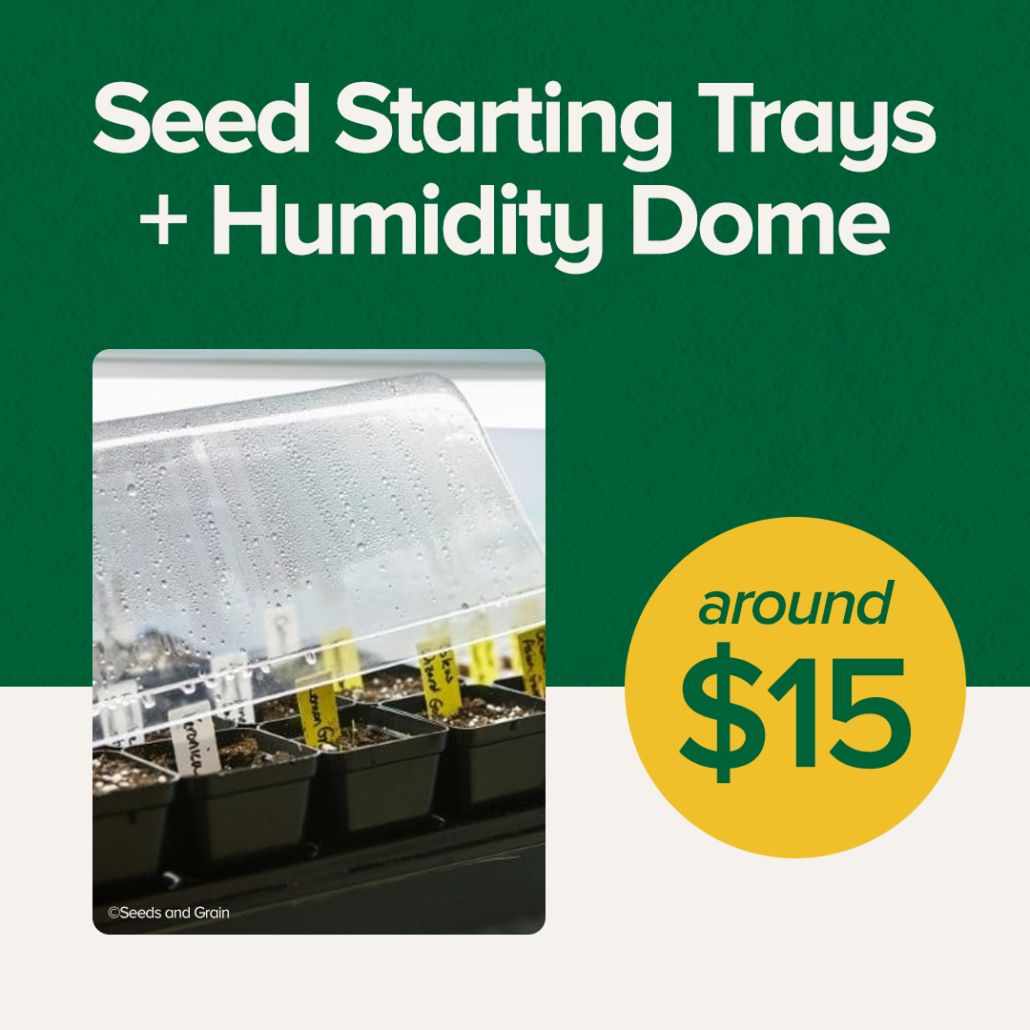
Seed Starting Trays

With one bag of seed starting mix, you can fill about two seed starting trays, which is your next material needed. Seed starting trays can give you anywhere between 18 to 72 cells to sow your seeds. You can get two trays for about $10. 

Look for seed starting trays with cells about 3.5 inches or smaller. In a traditional seed starting tray, cells are deep so seedling roots have more room to grow down. About 4 weeks from germination you’ll have to transplant your seedlings into a larger individual pot, AKA “potting up”.
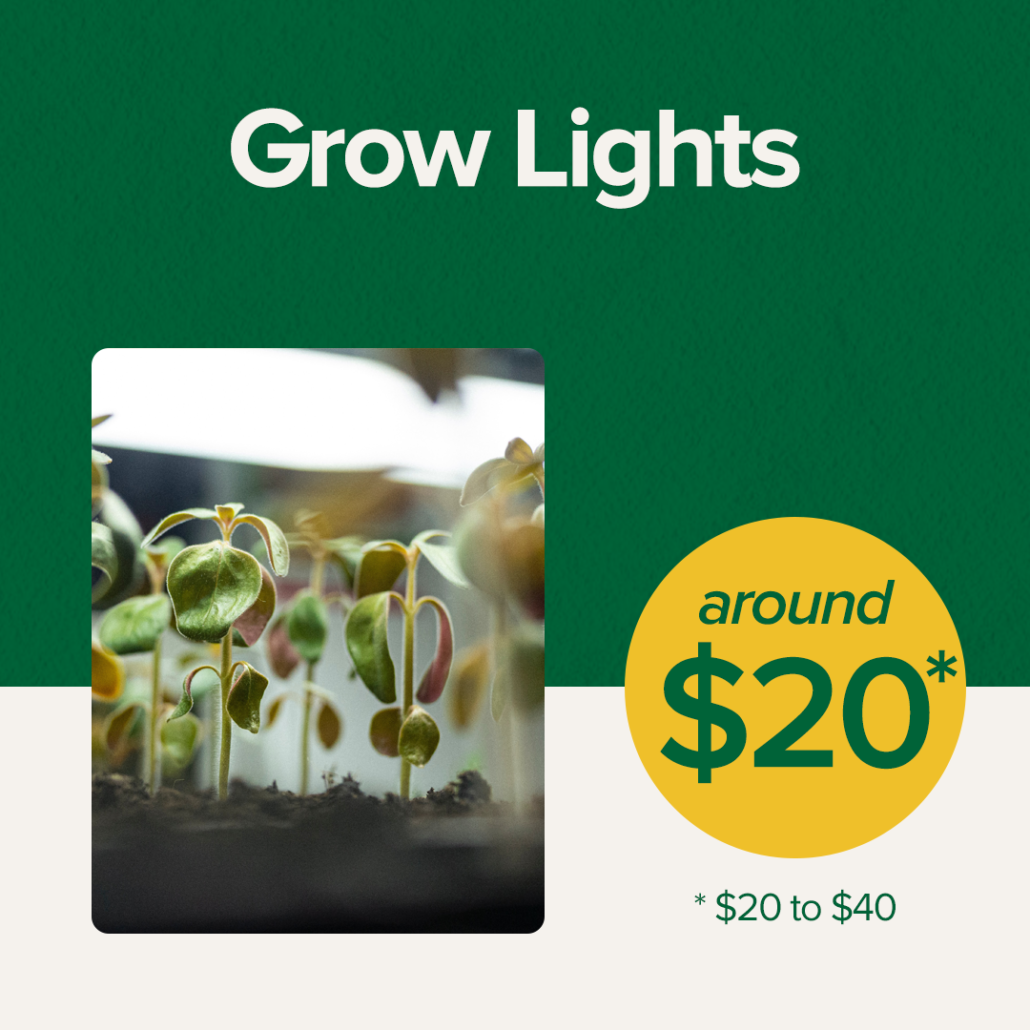
Best Grow Lights for Seed Starting

Next is a grow light. Grow lights are where you could spend a lot of money in your seed starting setup, but if you’re on a budget, there is nothing wrong with buying an LED or fluorescent shop light for $20. You can get your seeds sprouted and ready for planting outside in good condition with a very inexpensive shop light. Will it be as good as a seedling that’s under a more expensive light? Maybe not, but all you’re really trying to do is rear those seedlings to the point that they are ready to go outside. Once they get outside, Mother Nature knows what to do and so does that seedling.
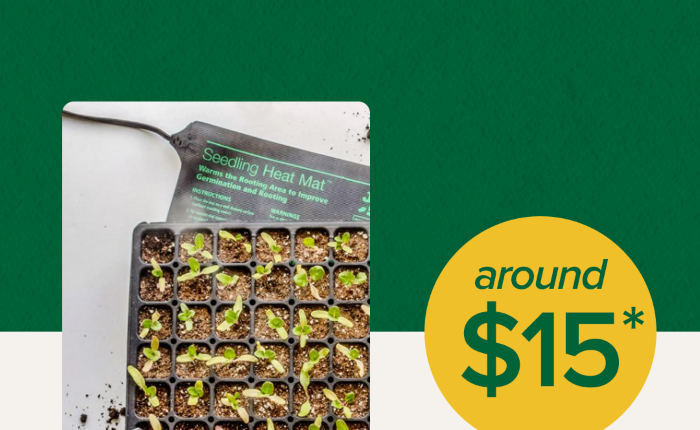
What are Heat Mats for Seed Starting important?

Heat mats are seed starting game changers. Heat mats raise the soil temperature, which helps your seeds sprout faster. Seeds have an ideal range of soil temperature in which they sprout the best, and can be anywhere from 65 to 85 degrees Fahrenheit. Seed mats will cost you between $15 and $35, depending on whether you get a thermostat attached.

Once most of your seeds have germinated, remove them from the heat mats. If you leave your seedlings on heat too long, they can start to become leggy. 
Humidity Dome for Germination

You’ll also want a humidity dome. It’s a clear plastic top that you put over the seed tray to hold the moisture in the soil until the seed germinates. If you don’t have a cover on your tray, the moisture won’t stay in the soil and the seed is not as likely to germinate. For two humidity domes, you’ll probably pay about $6. You can also use plastic wrap and lay it over the top to hold in moisture for your seedlings. 

A key point to remember with humidity domes: once your seeds germinate, remove the humidity dome so seedlings get enough oxygen. Airflow brings us to the next material needed. 

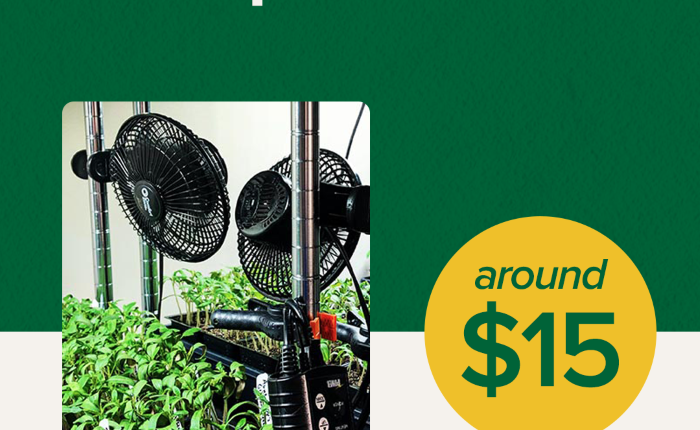
Small Fan for Seed Starting

Last but not least, a fan. You can get a cheap clip-on fan for $15. Fans are important because once the seed germinates, you need air movement across that soil surface. Air movement reduces the chance of a fungal disease called damping off, which can kill your seedlings. Fans also simulate wind, making the stems sturdier and ready for outdoor conditions.
Total Seed Starting Materials Cost

Here’s the cost breakdown to get your seed starting setup for less than $100:

Bag of seed starting mix: $10

2 seed starting trays: $10

Shop light: $20

Heat mat: $15 – $35

Humidity dome: $6

Clip-on fan: $15

TOTAL: $81 – $96

All about Seeds: Where to Buy Them, Expiration Dates, & Non-GMOs

It’s important to find a good seed company. Here are some tips when you’re searching: 

  • Look for companies that have been around for a while with a good reputation. 
    • Do they have good customer service? 
    • Are their staff knowledgeable about their seeds? 
  • Find local or regional seed companies that grow their seeds close to home. Some seed companies can outsource their seeds from overseas from a huge commercial supplier. It’s important to know where your seeds are grown. 
  • When you grow seeds adapted to your area, plants have a much better success rate. The more you grow those seeds and save them, the more adapted they’ll become to your specific microclimate too! 

Seed Expiration Dates 

Seed packets will show the day that the seed was packed. Assuming you have leftover seeds and you keep them in a cool, dark, dry place, they will last anywhere from as little as one year to many years, depending on the seed. 

How do you know when a seed is still good or if it’s gone bad? Do a germination test! Before you plant your seeds, put about 10 seeds in a damp paper towel in a plastic bag. Check the moisture daily and after about 10-14 days, your seeds will either have sprouted or not. If 7 out of 10 sprouted, your viability is about 70%. Depending on your viability you can either plant extra or compost unusable seeds.

What are Non-GMO Seeds?

GMO stands for Genetically Modified Organism. Many seed companies have jumped on the bandwagon saying all of their seeds are “certified non-GMO.” There actually aren’t any GMO gardening seeds available for home gardeners. None of the seeds you purchase will ever be GMO seeds. GMO seeds are present in the commercial agriculture industry, but it’s expensive to produce a GMO seed and it’s not anything that we’re going to even be able to buy. So if a company is touting non-GMO seeds, that’s true, they are. But so are everyone else’s.

The Best Time to Start Your Seeds

The most important date you need to know is the last day that you are potentially going to have frost. This is called your frost-free date in Spring. You can find yours by Googling “last frost date” in your area. Once you have that date, then you work backward to about 6-8 weeks. That’s when you’ll be sowing most of your seeds.

You want to time your seed starting so you give your seeds about 6-8 weeks of growing time indoors. By the end of the 6-8 weeks, seedlings will have grown to a sturdy size and are then ready to grow outdoors. If you choose a good seed company, there should be lots of information about this on the back of the seed packet.

If you start your seeds too early, you risk your plants getting too big and outgrowing their space. They’re going to be looking for resources that you probably can’t provide indoors, like more light, nutrition in the soil, and space to grow. The longer your seedlings are confined indoors without the right environment, the more stressed they become. Timing when you plant your seeds is crucial to the seed starting process. 

Let’s Get Planting! 

Now that you’ve got your seed starting setup and timing down, how do you get your seeds in the soil? 

First, look at the information on your seed packet. It will typically have all that important seed starting information you need, including how many weeks to start indoors, days to maturity, and growth patterns. 

Make sure your seed starting mix is pre-moistened, like a damp sponge. Most seeds don’t need light to germinate, but they don’t need to be planted very deeply either. Once you have your seeds in, sprinkle a little bit of extra seed starting mix on top. Spray the tops of the soil gently with water so you don’t move the seeds around too much.

When your seeds are planted, place your humidity dome on top, put your tray on your heat mat, and turn your lights on. Your seedlings are going to sprout in a matter of days to a week, maybe two weeks at most. Once your seeds germinate, remove your humidity dome and turn on your fan. From there, you’re just ensuring that the soil stays moist.

The first leaves that come up are called seed leaves, or cotyledons. In a few weeks, your plants will grow new “true” leaves. Once those new true leaves emerge, you can start to add small amounts of supplemental fertilizer.

Your job over the next 4-5 weeks will be monitoring plant growth and making sure everything looks good. Keeping the lights at the proper distance above the tops of the seedlings is also key–not too close, not too far away.

The Final Step: How to Harden Off Your Plants

Hardening off is about 7 to 10 days of transitioning your seedlings slowly to outdoor conditions. You slowly increase the tender, new leaves’ exposure to sun and wind over about two weeks. Make sure outdoor temperatures are above 45 degrees Fahrenheit with no inclement weather during this period, and bring plants indoors every evening.

Here is a rough schedule to follow: 

  • Days 1-2: 1-3 hours outdoors in shade
  • Days 3-4: 3-5 hours outdoors in shade
  • Days 5-6: 3-5 hours outdoors in morning sun
  • Days 7-8: 7-12 hours outdoors in sun
  • Days 9-10: Leave plants outdoors overnight 

Once you’ve gotten your plants used to the outdoor elements, they’re all ready to be planted in their new homes outdoors! 

*****

Featured Products:


Where to Buy

https://www.espoma.com/wp-content/uploads/2022/04/Seed-starting.png 500 500 espoma https://www.espoma.com/wp-content/uploads/2023/05/espoma-logo340w-1.png espoma2022-04-05 08:25:302023-12-06 13:46:36Seed Starting 101: How to Start Seeds Successfully

Garden Answer’s Design Tips for a Romantic Cottage Garden

June 20, 2019/in Blog, Espoma Videos, Garden Answer

English cottage gardens date back centuries. They were used to grow vegetables, herbs for healing, fruit trees, perhaps a beehive, and common flowers. The informal style went through a renaissance in the late 1800’s when they became somewhat more nostalgic than practical. 

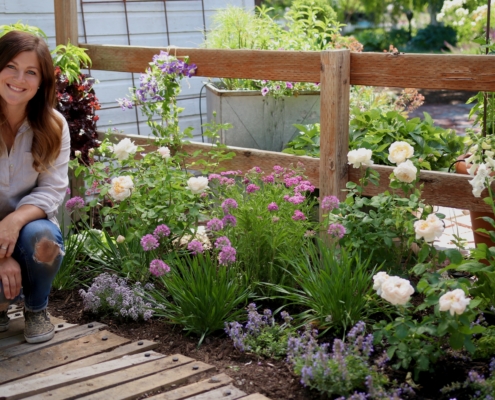
The informal aesthetic of dense planting and natural materials is still en vogue today. In this video, Laura outlines 10 design principles to help you design a cottage garden. Before you start, make sure you have plenty of Espoma’s organic Bio-tone Starter Plus plant food to make sure your plants get the best possible start.

No Straight Lines

Cottage gardens are always informal and a touch whimsical. Avoid straight lines. Gently curving edging looks more natural and playful. If your site restricts you to a straight edge, let the plants spill over it to create an unrestrained look.

Large Groups of the Same Plant

White cottage gardens are more relaxed in their design, it is still best to use large sweeps of the same plant. Think of planting in groups of three, five or seven. That is far more restful to the eye than a jumble of onsies and twosies. 

Spacing Doesn’t Matter

This is one time you do not have to follow the advice on the plant tag. Cottage gardens are always densely planted and generally grow more densely packed with time. Annuals and biennials are often used in cottage gardens and will self-sow in the border. Biennials are plants that take two years to grow and flower from seed like the foxgloves shown. Another advantage to planting things close together is that there is less room for weeds to grow.

Color Harmony

It’s very important to pick a collection of plants that have harmonious colors. Without that the border would look chaotic. Garden Answer uses a collection of soft pinks and peaches with touches of blue and lavender. It needn’t always be soft colors, but they do need to be unified in some way.

Use Varied Heights and Textures

In any planting, it’s a good idea to think about texture, height and foliage color as major design elements. Nothing blooms all the time. Varied foliage forms and colors will create interest even when the flowers aren’t in bloom. Laura uses Heuchera specifically for the silvery foliage color.

Anchor Plants/Structural Elements

This is sometimes referred to as the “bones” of a garden. It’s a structural element that all of the other plants get woven around. In this case, it’s a beautiful shrub rose named Rose ‘The Lady Gardener’, a fragrant beauty with full, apricot blossoms. The rose is repeated three times. Repetition is soothing to the eye.  It’s possible to use evergreens for a slightly more formal feel, or whatever peaks your interest.

Fragrance

The first thing everyone does when they pick a flower is to hold it up to their nose. Cottage gardens are known for their fragrance. Try to select varieties that smell good at the garden center. Roses, lavender, sweet peas, and sweet alyssum are all good choices.

Not Perfectly Maintained

Along with relaxed design principles, comes relaxed maintenance. Planting tightly will discourage weeds. Annuals like poppies will self-seed and move around the border, just like the biennial foxgloves. Weeding everything that comes up might mean that you weed out these plants and inhibit their spontaneous movements.

The Look Will Change Over Time

This style of gardening is the exact opposite of a formal border filled with geometric shaped boxwood. By its very nature this is meant to be more random. People often sow cosmos, violas and other plants that have a tendency to move around. Let them surprise you. If you really don’t like where one popped up, it’s easy enough to remove.

Be Patient

Being patient is really what gardening is all about. A garden is never really finished. Enjoy the journey!

Garden Answers Plant List

Nepeta ‘Cat’s Pajamas’ – catmint

Achillea – pink yarrow

Allium ‘Serendipity’ – ornamental onion

Rose ‘The Lady Gardener’

Heuchera Dolce ‘Spearmint’ – Coral Bells

Clematis ‘Brother Stephan’

Digitalis Foxy Hybrids –  foxglove

Lobularia ‘Blushing Princess’ – sweet alyssum

Here are more videos from Garden Answer we hope you will enjoy.

How to Plant Cottage-Style Flower Beds! 

Plant Your Window Boxes Like Garden Answer

Succulent Pot in a Pot – Quick Version

How to Re-pot Houseplants – Quick Cut

*****

Featured Products:
Where to Buy
https://www.espoma.com/wp-content/uploads/2019/06/IMG_6487.jpeg 3368 6000 espoma https://www.espoma.com/wp-content/uploads/2023/05/espoma-logo340w-1.png espoma2019-06-20 11:00:152024-09-25 16:39:24Garden Answer’s Design Tips for a Romantic Cottage Garden
Page 2 of 212
Where to Buy

Get News & Updates

Recent Posts

  • VIDEO: Planting ‘Evelyn’ Roses 🌹 with Garden Answer
  • VIDEO: Planting Potatoes & Ranunculus 🥔🌱🌸 with Garden Answer
  • VIDEO: Spring Garden Awakening with Summer Rayne Oakes 🌿
  • VIDEO: Planting Raised Beds 🌿 with Wyse Guide
  • VIDEO: How to 🌱 Grow a Whole Salad 🥗 in One Pot! 🪴 | Growing Joy with Maria

Tags

All-Purpose Potting Mix bio-tone Bio-tone Starter Bio-tone Starter Plus cactus and succulents Cactus Mix caring for houseplants Container Gardening DIY project Espoma espoma grown espoma organic Espoma Organics Espoma Video fall gardening flower garden flowers garden Garden Answer Gardening gardening tips gardens grow holly-tone houseplants Indoor! indoor gardening indoor plants Kaleb Wyse organic organic fertilizer Organic Gardening organic plant food Organic Potting Mix Outdoor Gardening Planting plants Potting Mix potting soil Spring Gardening succulents summer rayne oakes vegetable garden Vegetable Gardening Wyse Guide

Espoma. A Family Tradition Since 1929.

Espoma Organic logo
  • Espoma Dealer
  • Espoma Pro
  • Garden Club
  • Privacy Policy

Scroll to top