Garden Answer

DIY Mother’s Day Planter
Calling all moms out there! This Mother’s Day, create a gift any mom will love with the help of your…
DIY Mother’s Day Planter (Extended Cut)
Calling all moms out there! This Mother’s Day, create a gift any mom will love with the help of your…
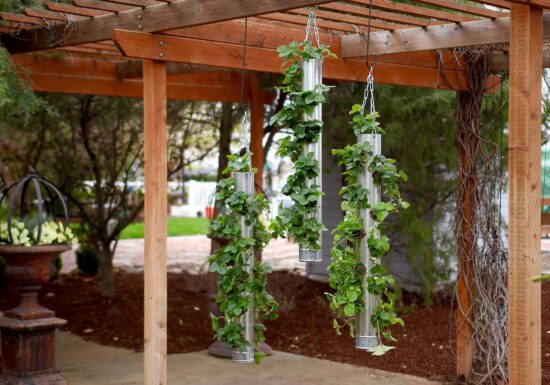
Build Your Own Vertical Strawberry Planter (Quick Version)
Have a minute? Laura from Garden Answer shows us how to make vertical strawberry planters. She walks you through step by step,…
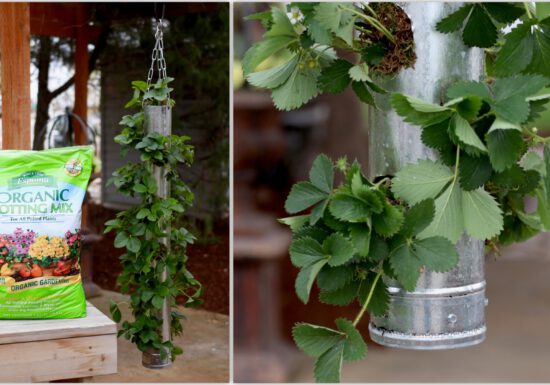
Build Your Own Vertical Strawberry Planter (Extended Version)
Need a new and updated way to grow your strawberries? Try growing them vertically! This windchime inspired planter will add life…
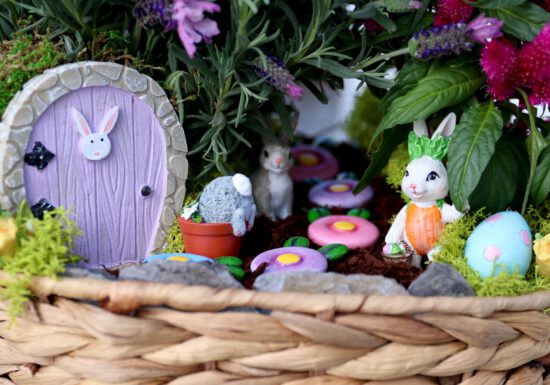
DIY Easter Rabbit Garden
Laura from Garden Answer shows you how to make a spring Easter basket! It’s the perfect decor to add…
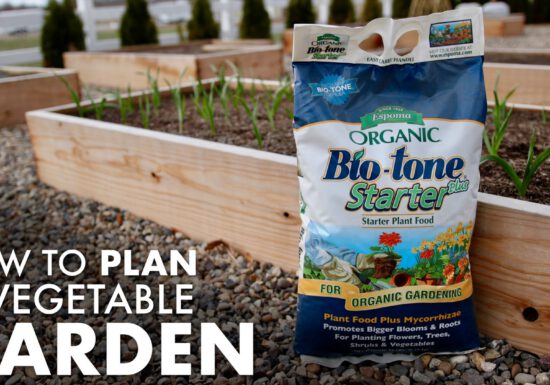
How to Plan A Vegetable Garden
[av_textblock size='' font_color='' color=''] Laura from Garden Answer guides you through the steps of planning a vegetable garden. Learn how…
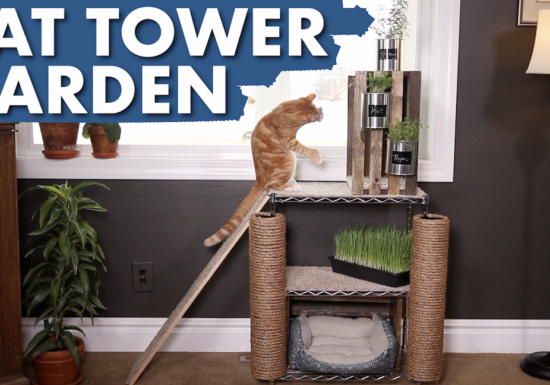
DIY Indoor Cat Tower Garden with Instructions
Even cats need a garden! Watch as Laura from Garden Answer explains how she selected the materials for and built…
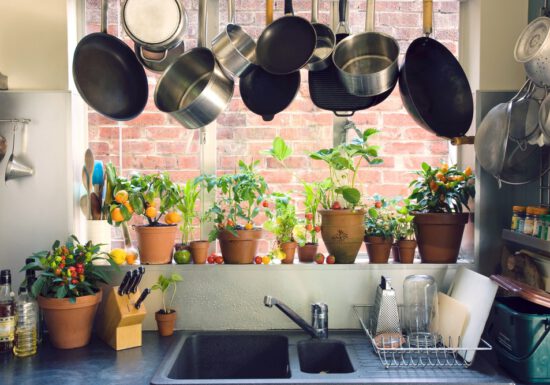
Best Houseplants for the Kitchen
Sometimes we find a beautiful houseplant and have no idea where to put it. Other times we have a space…

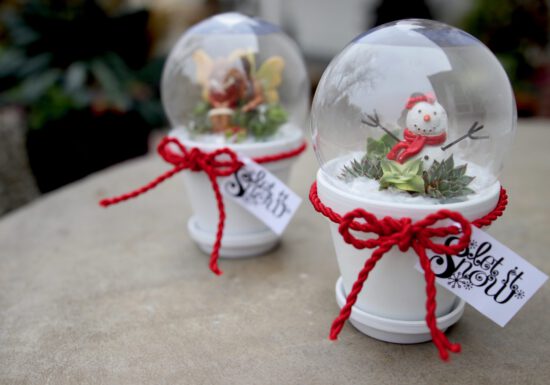
Quick Succulent Snow Globe DIY
Laura from Garden Answer shows you how to bring the outdoors in for the winter months. Make this easy potted…
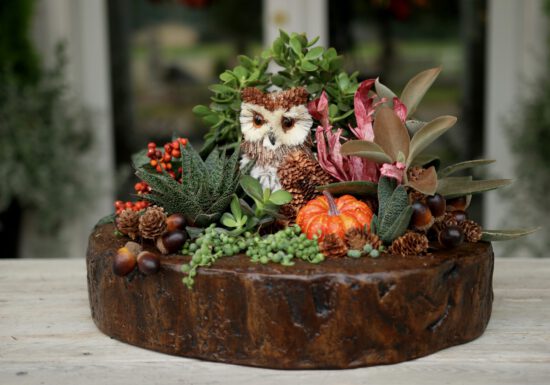
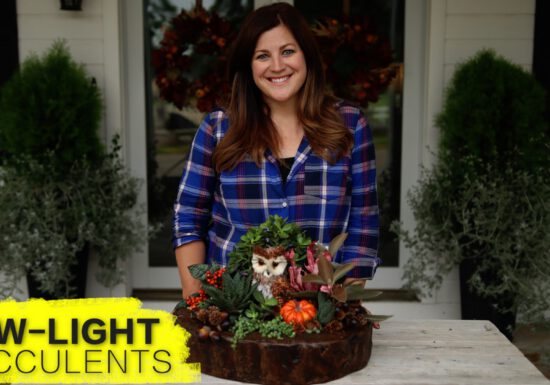
Fall Succulent DIY
Get ready for fall by creating this seasonal planter filled with low light succulents, pumpkins and owls. Laura from Garden…
Low Light Succulent Arrangement (Extended DIY)
Get ready for fall by creating this seasonal planter filled with low light succulents, pumpkins and owls. Laura from Garden…