Garden Answer
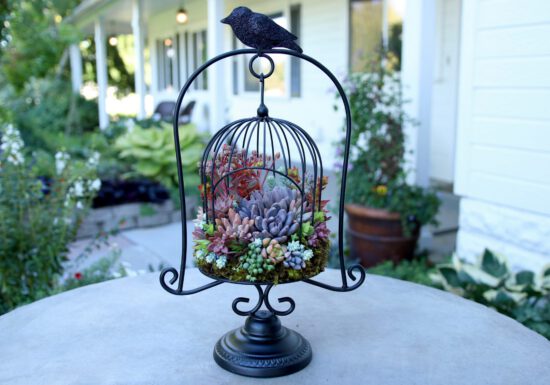
DIY Bird Cage Succulents with Garden Answer
Laura from Garden Answer makes a frighteningly good succulent bird cage to add to her Halloween decor. Follow along as…
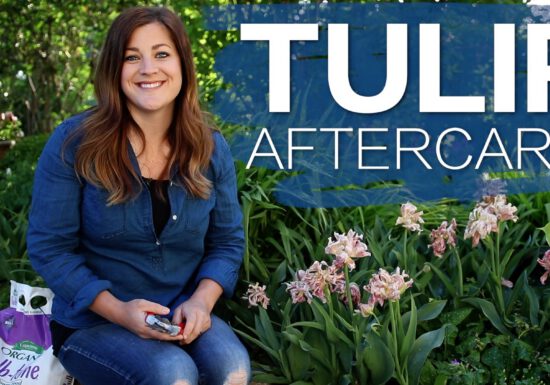
How to Care for Tulips After They’ve Bloomed
Not sure what to do once tulip blooms are finished? Laura from Garden Answer demonstrates how to care for…

Get to Know Espoma
Laura from Garden Answer tours the Espoma Company production facilities in Millville, NJ.
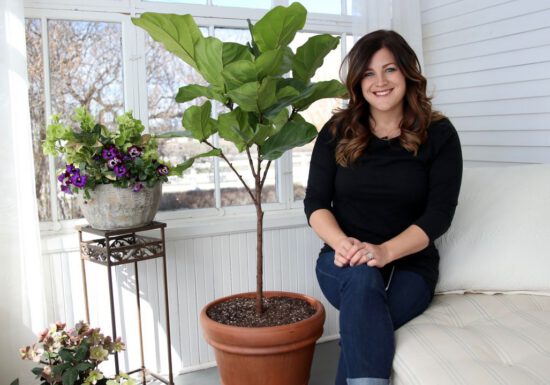
How to Care for a Fiddle Leaf Fig
Laura from Garden Answer shares her tips for caring for Fiddle Leaf Figs. This “it” plant is loved by designers…

2017 PHS Philadelphia Flower Show Walk-Through with Garden Answer
Laura from Garden Answer guides you through this walk-through of the 2017 PHS Philadelphia Flower Show, “Holland: Flowering the World.”…
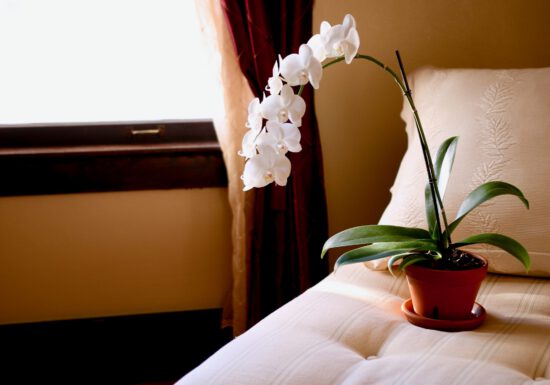
VIDEO: Orchid Care 101 with Garden Answer!
Laura from Garden Answer demonstrates how to care for moth orchids, also known as Phalaenopsis orchids. Repot, fertilize and give…

Video: How to Replant African Violets with Garden Answer!
Even African violets need to be repotted once to twice a year to keep them growing. Laura from Garden Answer…
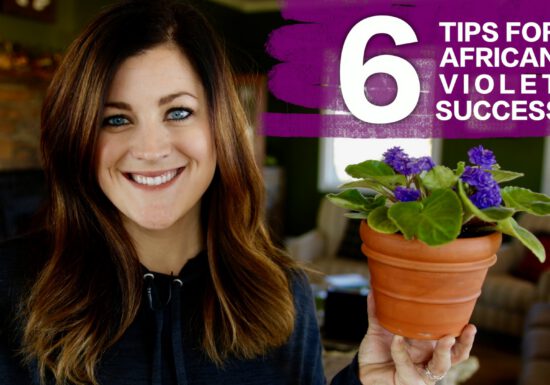
6 Tips For Caring for African Violets
Laura from Garden Answer shows you how to care for African violets. Once you get in a regular routine of…

Plant Fall Bulbs with Garden Answer
Planting fall bulbs for beautiful spring flowers is easy! Laura from Garden Answer shows you the tricks you need…
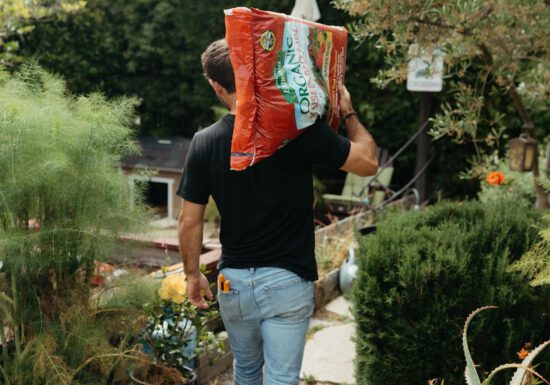
Grab Your Books for a Lesson in Gardening 101
Back to Gardening School: A Fresh Start for Your Garden Remember the excitement of a new school year? Fresh notebooks,…