Espoma Videos
Drip Irrigation with Garden Answer
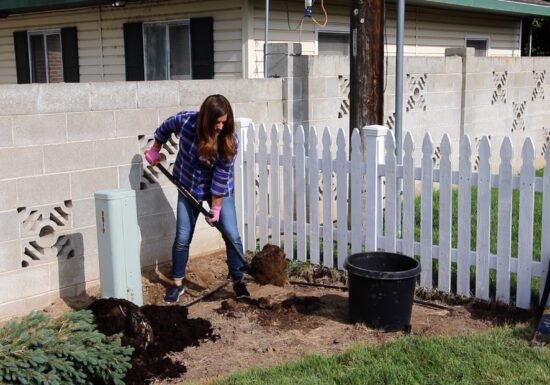
In this video from Garden Answer, Laura plants a new garden for her sister–in-law. She has already outlined the new…

How to Plant a Terrarium with Summer Rayne, Homestead Brooklyn
Terrariums are beautiful, fun to make and easy to care for. Our favorite Brooklyn plant expert, Summer Rayne Oakes, guides…
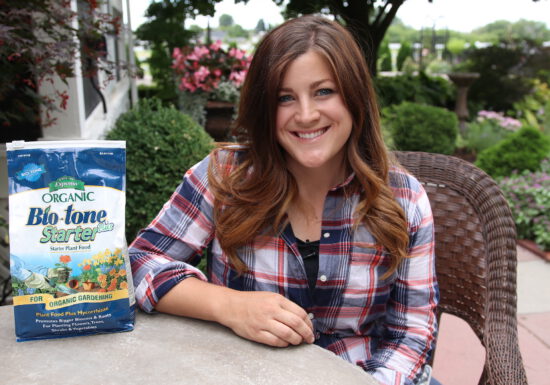
Get Plants off to a Good Start with Bio-tone Starter Plus
Why does Laura from Garden Answer use Bio-tone Starter Plus? Because it’s the ultimate starter fertilizer. Bio-tone Starter Plus is…
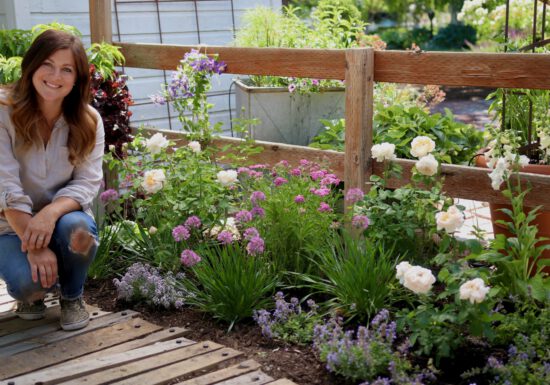
Garden Answer’s Design Tips for a Romantic Cottage Garden
English cottage gardens date back centuries. They were used to grow vegetables, herbs for healing, fruit trees, perhaps a beehive,…

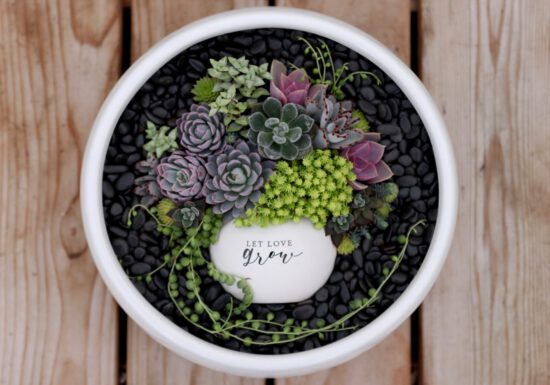
Garden Answer’s Mother’s Day Container
Mom is the best! For years, she’s showered you with love in so many ways, big and small. Now, it’s…
Spring Fertilizing Tips
Laura walks us through fertilizing trees, shrubs, perennials in early spring. Wait until you see some growth on your plant…
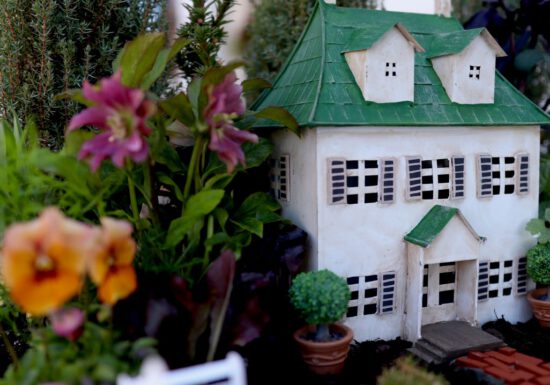
Make a Mini Formal Garden
Miniature gardens are adapted from Japanese bonsai gardens, taking the idea of shaping and caring for a miniature tree for…
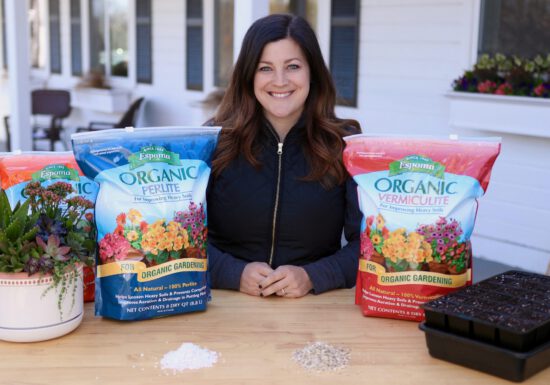
Perlite vs. Vermiculite
Perlite or Vermiculite? How do you choose which one to use? For Drainage and Aeration: Choose perlite For Water Retention:…

Dividing Aloe for Containers
Separating large aloe plants into several smaller ones is a wonderful way to propagate new plants to share with friends…

Plant your Window Boxes Like Garden Answer
Dressing up window boxes can add so much beauty and curb appeal to your home. They instantly greet you the…

Everything Old Can Be New Again with Terrariums
Terrariums are back in style and they’re a fun, easy way to grow and showoff your plants. Terrariums are made…