Espoma Organic
  • Products
    • Close
    • Product Line Overview
    • Plant food finder
    • Garden Fertilizers
    • Potting Soils
    • Liquid Fertilizers
    • Lawn Fertilizers
    • Single Ingredients
    • Conventional Plant Foods
    • Animal Care Products
  • Where to Buy
  • Our Story
    • Close
    • Our Story
    • Locations
    • Historical Timeline
    • Our Commitment
    • Directions
    • Solar
    • Join our Team
    • Espoma Brand Partners
  • Learn
    • Close
    • Espoma Blog
    • FAQ’s
    • Pocket Guide
    • Espoma Guides
    • Garden Clubs
    • Safe Paws Lawn
    • PRODUCT FACT SHEETS
    • Fertilizer Fundamentals
      • Close
      • Understanding Plant Nutrition
      • Reading Labels
      • Choosing the Right Type of Fertilizer
      • Terms & Definitions
    • Gardening Projects
    • Resource Links
  • Contact Us
  • Menu Menu

Prepare the Perfect Hanging Baskets

July 6, 2021/in Blog, Container Gardening, Flowers

Summer is here, but it’s not too late to put together the hanging basket of your dreams! If you’ve ever struggled to create a hanging basket that lasts all season long, we’ve got you covered. Keep reading for five tips to achieve the perfect hanging basket that will make all your neighbors jealous.

1. Choosing the Right Basket

While this may seem like simply a stylistic choice, choosing the right size and type of basket is crucial to your hanging basket’s success. Your basket should be at least 14’’ to 16” so that your plants’ roots aren’t taking up all of the space in the pot by early summer.

It’s also important to consider the look you want to achieve. If you want to keep it simple, regular hanging pots will do the trick. If you’re feeling a bit more advanced, and want to aspire towards a “flower globe” look with plants pouring out of the basket from all directions, try a wire basket with a fiber liner.

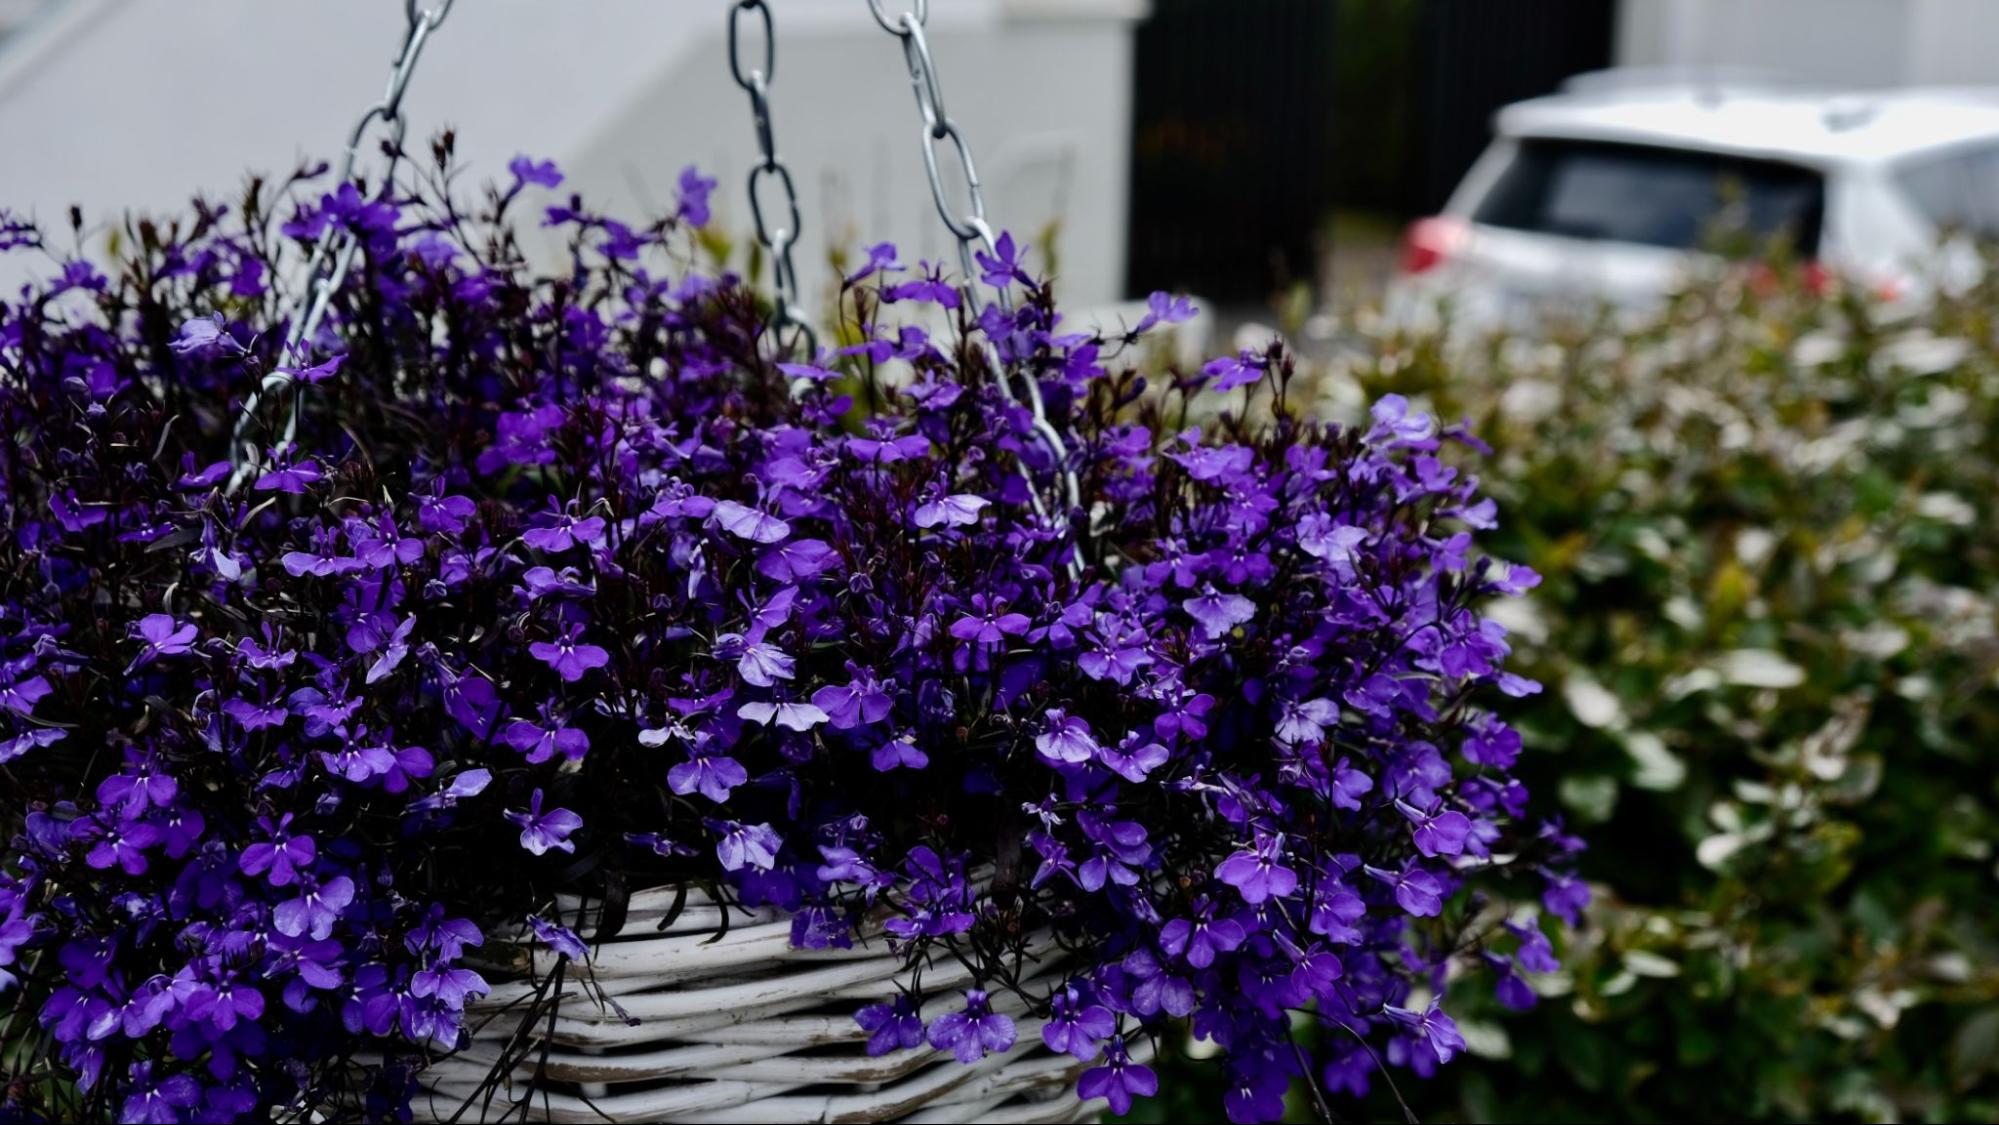
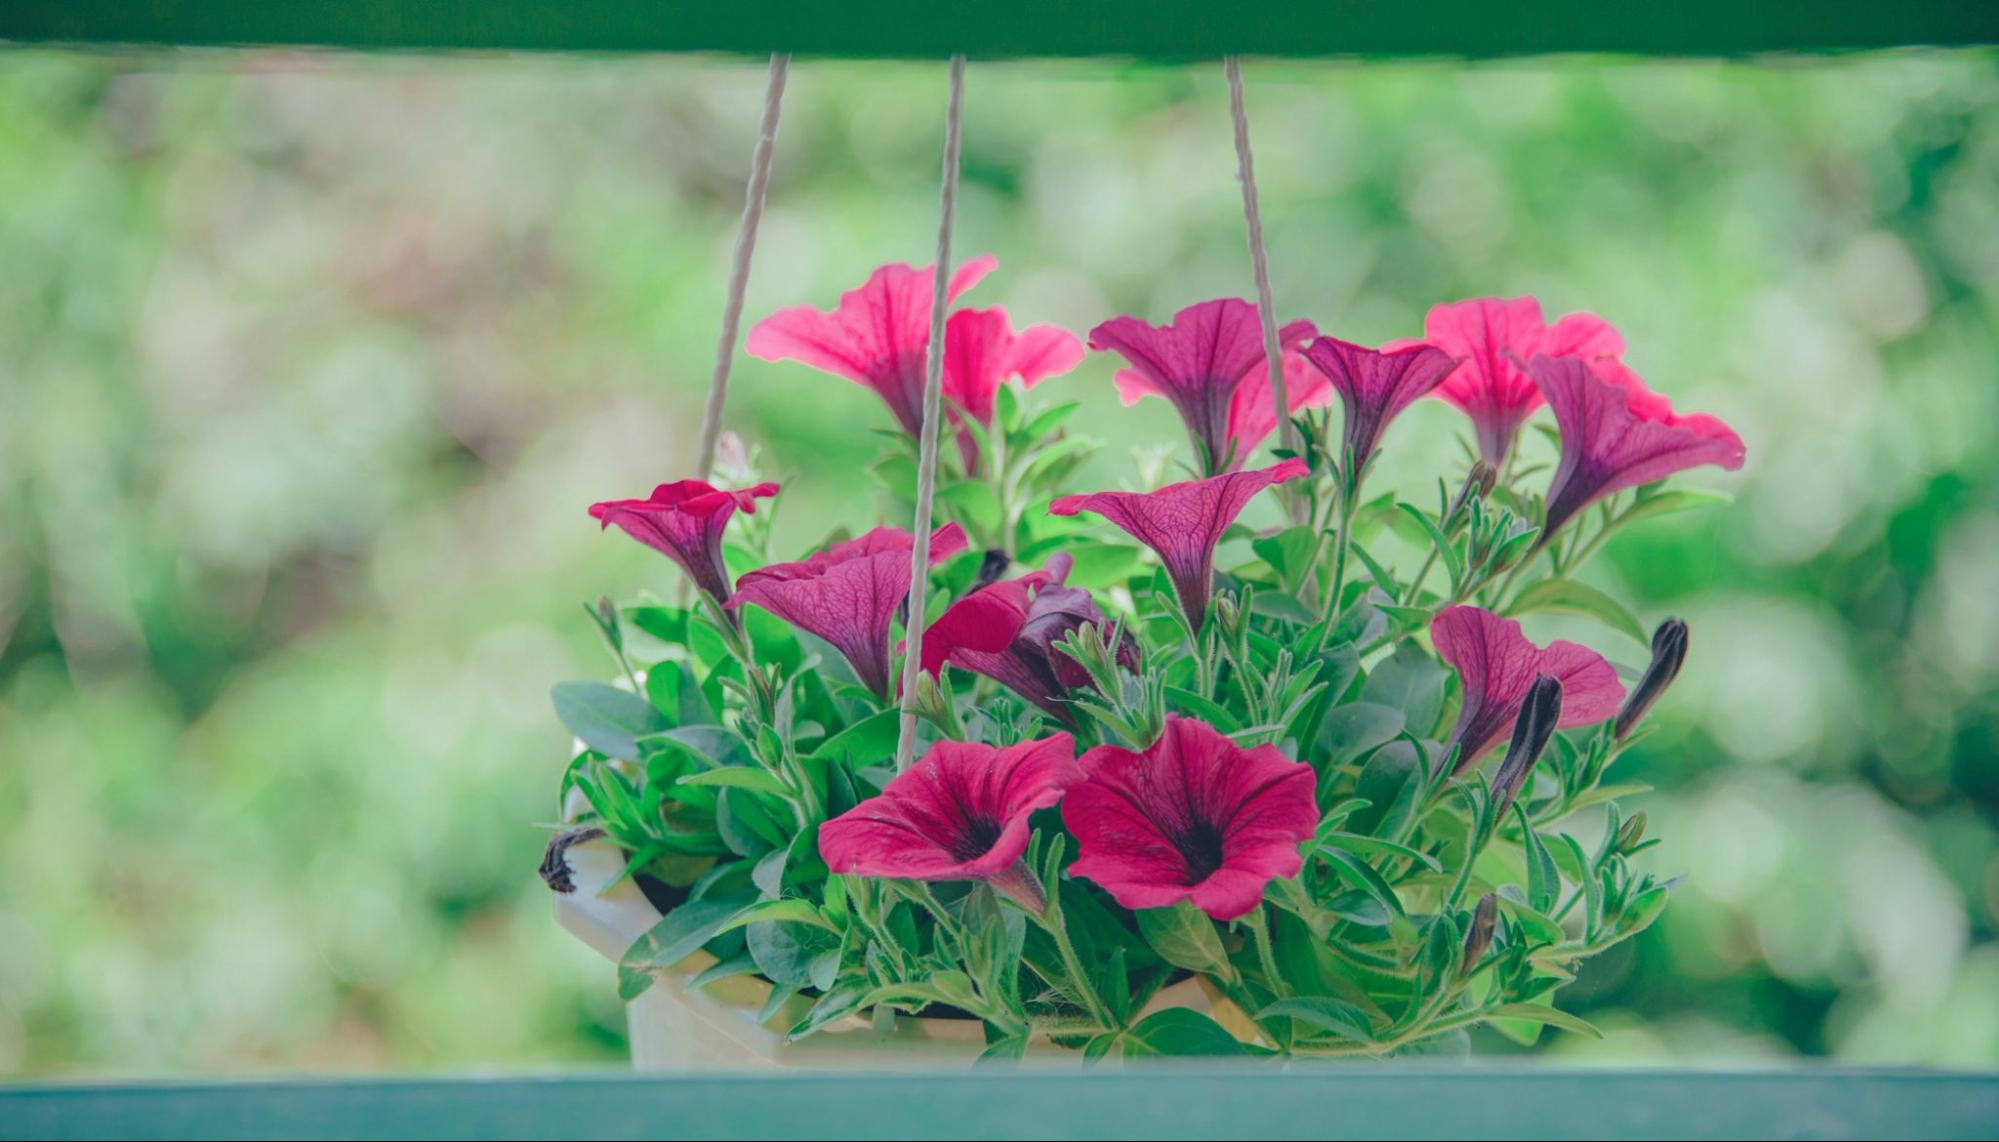
2. Picking the Perfect Flowers

Here’s where you can really get creative! You can make a statement by committing to a single color, or you can mix it up by choosing a variety of colors and textures. It really depends on whether you want your hanging basket to be a subtle addition to your yard, or if you want it to be bolder, immediately drawing the eye. If you need some inspiration, check out Laura from Garden Answer’s 2022 arrangements.

It’s also important to consider whether your basket will hang in the sun or shade, and what type of weather conditions the plants will be exposed to. Choose blooms that will grow well where you choose to hang your basket so that it lasts all the way through the end of the summer.
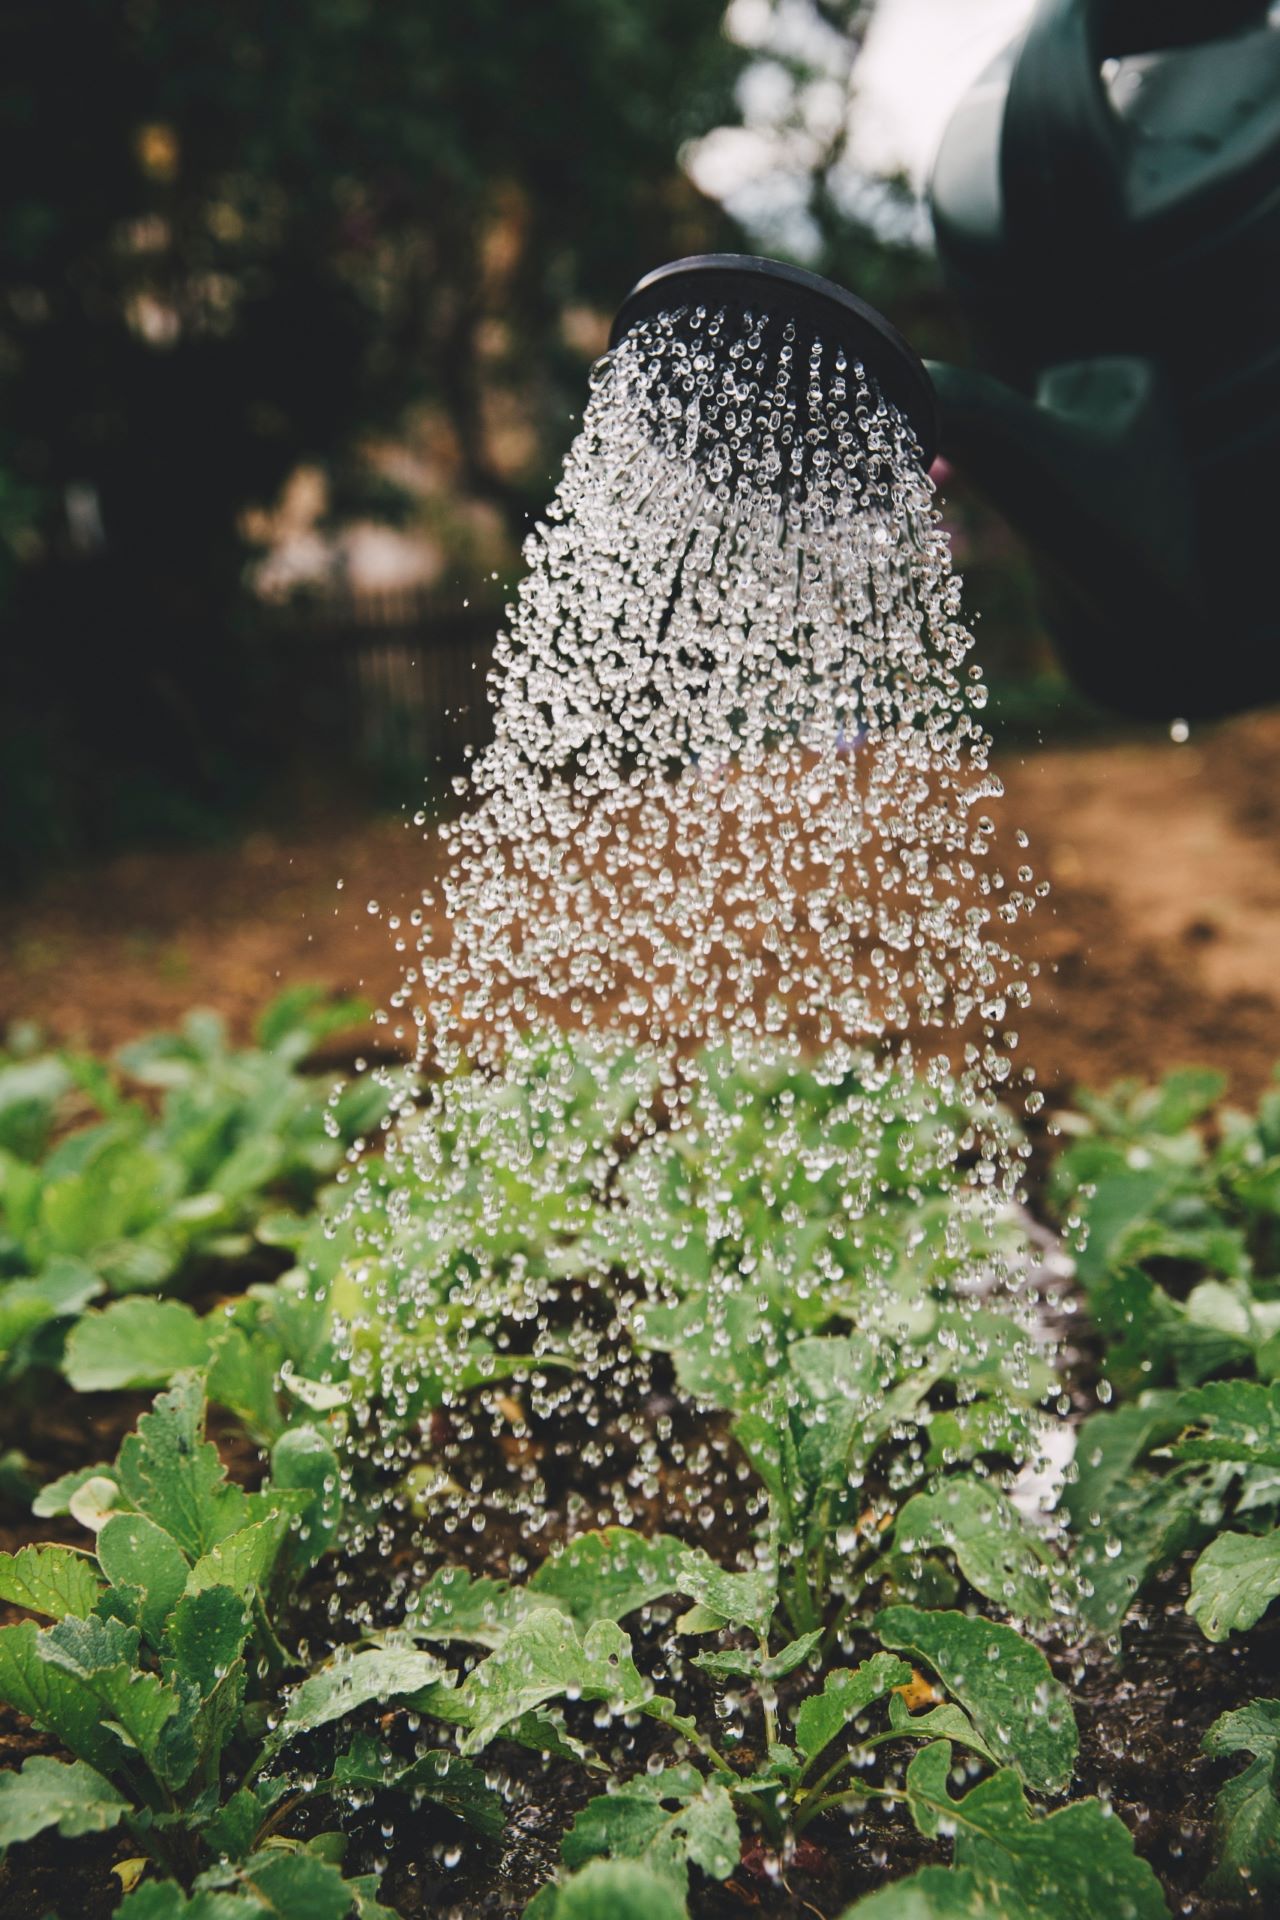
3. Watering

Consistency is key! Be sure to regularly water your plants at the same time each day, as irregular watering may add unneeded stress to your basket. Since hanging baskets aren’t rooted in the soil, they are dried out much more easily by the sun and wind, and a regular watering routine is especially important.

It’s also helpful to get in the habit of watering your plants early in the morning. The water will be less likely to evaporate and your plants will be well-equipped to handle the afternoon heat.

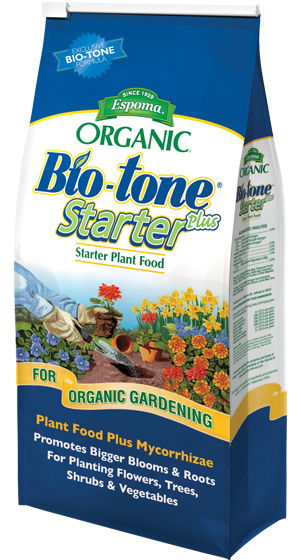
4. Choosing the Appropriate Soil and Fertilizer

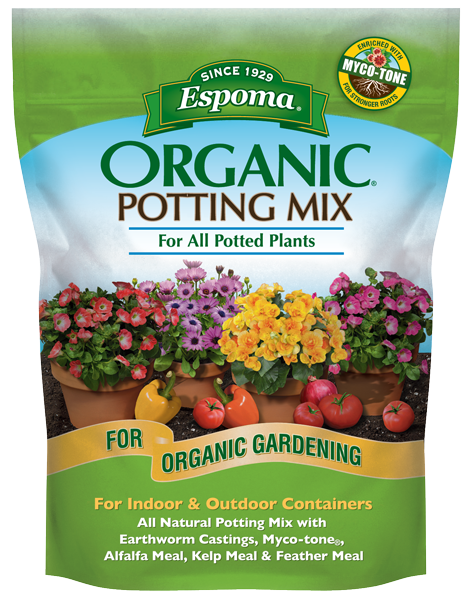
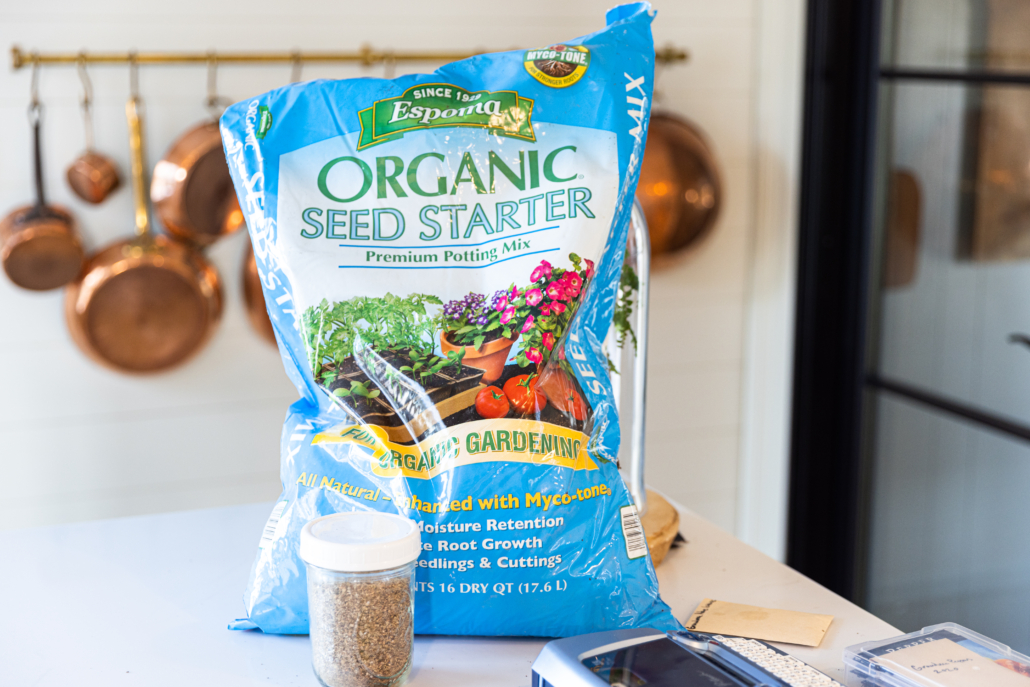
It’s important to choose a high-quality potting mix to keep your blooms bright and beautiful all summer long. Try some of our organic potting soils, like our Moisture Mix, or Potting Mix, which are both perfect for use on all container plants.

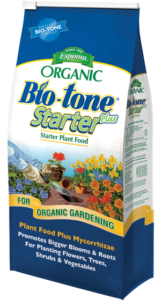
Remember, to make your baskets last long, it’s important to make sure the plants aren’t outgrown by early summer. Apply fertilizer slowly and steadily, rather than in heavy doses. Liquid fertilizers are a great way to achieve this. Check out our organic Flower-tone, which can be mixed with water and used every 2 to 4 weeks to feed your hanging plants the microbes they need to thrive.

5. Perfect Pruning

If there are dying blooms in your basket, it’s time to cut them off! Not only do they distract from the beauty of your healthy blooms, but they also use up vital resources in your soil. This is as simple as pinching where the flower meets the stem. Regularly removing dead bulbs ensures that the nutrients in your soil are going towards creating new blooms to keep your hanging plant flourishing.

With these tips, you’re sure to have a beautiful hanging basket that will last you through the summer. Happy planting!


Where to Buy
https://www.espoma.com/wp-content/uploads/2021/07/image5.jpg 1142 1999 Danielle Kirschner https://www.espoma.com/wp-content/uploads/2023/05/espoma-logo340w-1.png Danielle Kirschner2021-07-06 11:48:392021-08-17 10:11:55Prepare the Perfect Hanging Baskets

Video: Planting Lilies with Garden Answer!

July 6, 2021/in Espoma Videos, Flowers, Garden Answer, Gardening, Summer Gardening

Watch as Laura from @GardenAnswer plants a variety of lilies with the help of Espoma!

Featured:

Where to Buy
https://www.espoma.com/wp-content/uploads/2021/07/Thumbnail.jpg 1080 1920 Danielle Kirschner https://www.espoma.com/wp-content/uploads/2023/05/espoma-logo340w-1.png Danielle Kirschner2021-07-06 11:14:032021-07-06 13:42:09Video: Planting Lilies with Garden Answer!

Video: Planting Roses with Garden Answer

June 25, 2021/in Blog, Flowers, Garden Answer

Laura from @Garden Answer plants some new roses in her backyard with the help of some Espoma products! Follow along and learn some tips to ensure your roses are in tip-top shape!


Featured Products:


Where to Buy
https://www.espoma.com/wp-content/uploads/2021/06/Screen-Shot-2021-06-25-at-3.01.46-PM.png 1034 1950 Danielle Kirschner https://www.espoma.com/wp-content/uploads/2023/05/espoma-logo340w-1.png Danielle Kirschner2021-06-25 15:04:472021-06-25 15:04:47Video: Planting Roses with Garden Answer

Starting Seeds Indoors

June 25, 2021/in Gardening Projects

11 Tips to Seed Starting Success


Start seeds 4 to 6 weeks before you plant in the garden. Cool-season crops like broccoli or lettuce can go into the garden before the last frost. Warm-season crops like tomatoes & peppers should not be planted until all danger of frost is past. Almost anyone can succeed by following the guidelines below.

Sowing Seeds indoors

1. Fresh is best. Always start with fresh, high-quality seeds.

2. Plastic is fantastic. You can purchase plastic trays and kits designed specifically for starting seeds. They’re clean and free of pathogens, keep the soil uniformly moist and allow for adequate drainage.

3. Use a magical mix. Good mixes, like Espoma Organic Seed Starter, ensure that you’ve got a lightweight, clean and sterile medium without insects, fungus or weeds. Moisten the mix with a little water (damp, not soggy).

4. Packets know best. Plant your seeds according to the depth and spacing directions on the seed packet. Cover the seeds with soil mix and tamp down to ensure that the seeds are held in firm contact with the soil.

Watering can watering greens

5. Bottom’s up. It can be challenging to apply the right amount of water to freshly sown seeds by pouring, sprinkling or spraying. It’s better to water from the bottom. That means placing the planting container into a larger pan of shallow water for a short time (few seconds to a couple of minutes).

6. Take cover. Loosely cover with plastic wrap after watering to retain moisture. Check the moisture daily and watch for germination. As soon as the seeds germinate, remove the plastic wrap.

7. Stay warm. For most seeds, sprouting requires a minimum temperature of about 65° to 75°F. If the ambient temperature is less than that, you can position a space heater nearby. Just make sure that the soil doesn’t dry out.

8. Let the sun shine in. Most seeds need about 12 to 16 hours of sunlight each day. Place your seed containers in a sunny location such as a window with southern exposure. Once the seeds sprout, turn the container a little each day. This will prevent seedlings from overreaching in one direction toward the light.

9. The need to feed. Don’t use fertilizer on seedlings until they have sprouted! In the very early growth stage, the seed provides its own nourishment, but once leaves develop, it’s time for a little liquid fertilizer like Espoma Organic Grow!

10. Harden them off. Your sheltered seedlings need to get ready for the outdoors. For 7 to 10 days, put your plants outside for a few hours each day, increasing their exposure to sunlight & wind. Cut back on watering a bit, too. Your plants will become heartier and better prepared for transplanting.

seedling being planted

11. No stripping. Slowly, and gently remove plants from their containers without stripping the roots naked or tearing them. Plant them in the ground and mix in a really good starter plant food like Espoma Organic Bio-tone Starter Plus in with the soil.

Now that the plants are safely in the ground, there’s just one last step. Give yourself a big pat on the back for a job well done—and look forward to enjoying the fruits (or flowers and veggies) of your labor later in the season.

*****

Download our complete guide here: Download PDF


Featured Products:


Where to Buy

https://www.espoma.com/wp-content/uploads/2021/06/starting-seeds.jpg 800 1203 Kevin Pyles https://www.espoma.com/wp-content/uploads/2023/05/espoma-logo340w-1.png Kevin Pyles2021-06-25 13:38:482024-10-18 09:02:10Starting Seeds Indoors

Let Us Grow Lettuce

June 25, 2021/in Gardening Projects

Download PDF

shutterstock_114573622Let Us Grow Lettuce

There are many different types of lettuce, but all of them do best in cool temperatures, between 45 and 75 degrees—well suited for Spring and Fall weather. Many gardeners plant several kinds of lettuce at intervals throughout the growing season to enjoy a steady harvest with variety.

Lettuce Begin
Spring lettuce in 5 easy steps

  1. Plants or Seeds? Some gardeners do both and start seeds indoors ahead of time. To learn how, see our seed starting primer. Seeds can go directly in the ground about two weeks before your typical last Spring frost date.
  2. Prepare the Soil. Keep location in mind,as lettuce likes full sun. If you’re using a container, select a high-quality potting media, such as Espoma Potting Mix. In the garden, till or work the soil to about 4” to 6” deep and fortify it by mixing in a rich, organic garden soil like Espoma Organic Vegetable & Flower Garden Soil and plant food such as Garden-tone®.
  3. Plant. Transplant seedlings as early as the ground can be worked, or plant seeds according to instructions on the package. Space plants roughly 8” apart and kick-start seedlings with a shot of Garden-tone ten days after planting. Keep an eye on the temperature until frost danger has passed. Seedlings can survive 20-degree temps if protected by a little sheet of plastic.
  4. Water. Depending upon rainfall, lettuce needs a deep watering once per week. Mulching with some straw will help conserve moisture.
  5. Enjoy! Lettuce types mature at different rates, but you can harvest lettuce as soon as leaves form. Trim heads off at the base, or just trim off the outer leaves on loose-leaf, if you’d like to keep plants going longer.

Choose your Lettuce

(it’s not ready to pick yet) The type of lettuce you select will fall into one of 5 categories:

  • Loose leaf – Like the notebook. These grow in clusters of leaves instead of a head.
  • Butterhead – But you probably know it as Bibb or Boston. Small, tender heads with loose outer leaves offer a mild, pleasing flavor.
  • Crisphead – Sounds more like a heavy- metal band, but it’s an accurate description. Think iceberg – round, crunchy heads that keep well in the fridge.
  • Romaine – Sturdy vertical heads with crisp, nutritious dark leaves and white hearts.
  • Batavian – If this was a dress, your mom wouldn’t let you wear it. These loose and sexy spiral heads have shiny, sometimes frilly leaves that can range from deep green to red.

This year, give Spring lettuce a try. It’s a great way to spring into the gardening season — and the perfect way to get a head!

https://www.espoma.com/wp-content/uploads/2021/06/lettuce.jpg 797 1202 Kevin Pyles https://www.espoma.com/wp-content/uploads/2023/05/espoma-logo340w-1.png Kevin Pyles2021-06-25 11:54:512021-07-14 16:28:56Let Us Grow Lettuce

Berry Good Advice for Gardeners

June 25, 2021/in Gardening Projects

imageLet’s run through a berry quick overview to help you decide which berry to grow.

Strawberries

Strawberries are perennials (they come up every year). With so many varieties, there’s sure to be a strawberry that thrives in your region. Plant in early Spring. You can also grow them in a container. Obtain plants from your favorite local garden center; they know which varieties do well in your area. Space plants about 18″ apart. Bury the roots, but not the center crown – it needs lots of light and fresh air and add mulch to retain moisture and discourage weeds. Expect ripe berries about 30 days after the blossoms are pollinated by bees. Strawberries multiply by sending out “runners” or long vine-like shoots.

Raspberries (and blackberries)

Again, get healthy, vigorous plants from a local garden center. Plant in early Spring, spaced about 3 feet apart. Because raspberries send long canes upward as they grow, they will need support. Plant them next to a fence or create a simple support alongside the row with some stakes and wire.

Feed raspberries and blackberries in the Spring and Fall with a high-quality, organic plant food like Holly-tone. Water at a rate of about an inch per week and spread organic mulch three to four inches deep around plants. Raspberries ripen Summer through Fall and once they get going, raspberries can produce fruit for years – maybe even indefinitely.

Blueberries

Besides being delicious, blueberries are just what the doctor ordered – they’re loaded with healthy antioxidants. Blueberries require soil that is very acidic. You can easily increase the acidity of your soil with safe, non-toxic Espoma Soil Acidifier. Blueberry plants come in high bush, low bush or rabbit eye varieties. Space them 6, 2 and 15 feet apart, respectively. Plant in early Spring. Set each plant slightly deeper than it was in its pot. Right after planting, spread a three-inch layer of organic mulch over the ground. Apply two inches of water weekly. Blueberries ripen mid to late Summer.

No matter which berry is your favorite, all of them like rich, well-drained, acidic soil (very acidic for blueberries), full sun, organic mulch and about 2″ of water per week. Even if you haven’t decided which berry to grow yet, getting started is as easy as one-two-three. Four and five, too.

  1. Select a growing area with full sun.
  2. Work the soil 8 to 10 inches deep and add in Espoma Organic All Purpose Garden Soil.
  3. Mix in lots of rich organic compost– especially if you have sandy or clay soil.
  4. Feed with a high-quality organic plant food in the area around the root zone, such as Espoma Holly-tone®.
  5. Pick when ripe and bursting with flavor– and enjoy.

That covers the basics – but there is one more thing. Remember, you’re not the only one who likes berries. You can keep birds away by hanging shiny objects like foil strips or old CDs nearby. When it comes to neighbors and family, you’re on your own.

https://www.espoma.com/wp-content/uploads/2021/06/strawberries.jpg 798 1200 Kevin Pyles https://www.espoma.com/wp-content/uploads/2023/05/espoma-logo340w-1.png Kevin Pyles2021-06-25 11:44:192021-07-14 16:17:59Berry Good Advice for Gardeners

A Slice of Advice: The Best Tomatoes for your Garden

June 25, 2021/in Gardening Projects

Download PDF

Pick Before you Plant: Choosing the Best Tomato for your Garden

img class=”alignright size-medium wp-image-22203″ src=”https://www.espoma.com/wp-content/uploads/2016/02/early-girl-cropped-300×244.jpg” alt=”early-girl-cropped” width=”300″ height=”244″ />There are more than 700 kinds of tomatoes to choose from, so let’s just review the basic types. Take a look at this short list of just a few to see how many you know and love (and are in your garden):

Globe: Big, round and oh, so red. These are the all-purpose tomatoes that most people think of for slicing. Tasty varieties like Beefsteak, Rutgers and Brandywine range from typical palm-size up to two pounds.

Plum Tomatoes: The name describes shape and size. These “saucy” beauties offer a tangy taste, fewer seeds, and meatier texture. Try good old Roma, the classic sauce and paste tomato. You won’t be disappointed.

Cherry (or Pear): Roughly cherry size, sweet and juicy, these tomatoes are aptly named and produce clusters of delicious fruit that’s almost like candy. Try the Sweet 100 variety!

Heirloom or Hybrid? It’s not too complicated. Heirloom tomatoes are old varieties that produce viable seeds you can grow more of the same tomatoes from. Some say they have the absolute best flavor when picked at the right time. Hybrid varieties have been specially developed for desirable characteristics. Either way, you can’t go wrong.

Vine or Bush? It’s a matter of space – vines ramble. What suits your garden?

Early or Late-Season Varieties? Heartier plants that can go into the ground sooner, let you harvest earlier. Choose both kinds and harvest well into Autumn!

After you select the types of tomatoes you like best, follow these easy tips to get the best from them:

Know the line-up? Start the rotation. Like baseball, except this part: don’t plant tomatoes over and over in the same spot. It tends to promote plant diseases.

Bright is right. Don’t skimp on the sun – you won’t have it made in the shade. Tomatoes need sun all day.

Start with a healthy appreciation. Buy plants that are healthy. Not ones that are slightly yellow, partially withered, overgrown or stunted. Things typically get worse, not better.

Plant in succession. Unless you like getting buried with ripe tomatoes all at once. Plant at three week intervals in the Spring. You’ll get a longer, more controlled harvest.

Pinch off those little suckers. Get rid of useless little shoots at the base of the plant that won’t flower or produce. They just sap the plant.

Feed ’em right. Some chemical fertilizers blast your tomatoes with super doses of nitrogen. This will produce overgrown, spindly plants with fewer fruit. Use a safe, slow-release, organic plant food with the right blend of essential nutrients to promote growth and resistance, such as Espoma Tomato-tone®.

Be O.K. with an occasional drink. Directly and fully soak the soil when you water – not the foliage. And not at night, which can foster disease. Don’t water every day if the soil is staying too wet or mushy.

Raise the stakes. Support is good. It keeps stems and vines from kinking or collapsing, lets air circulate and provides better access to fruit. Put stakes or cages in early when it’s easier and safer for the plant.

Pick when it’s just ripe. Not too green and not beyond fully red. That’s the key to real flavor.

Thanks for reading our “best tomato” tips. It’s time to choose yours and hard to go wrong. No matter how you slice it, nothing tastes as great as tomatoes from your own garden.

https://www.espoma.com/wp-content/uploads/2016/04/vegetable-874028_1920.jpg 960 1280 Kevin Pyles https://www.espoma.com/wp-content/uploads/2023/05/espoma-logo340w-1.png Kevin Pyles2021-06-25 11:36:102021-07-14 16:27:57A Slice of Advice: The Best Tomatoes for your Garden

Hydrangeas: True Blue or Tickled Pink?

June 25, 2021/in Gardening Projects

Download PDF

iStock_000013581721XSmall
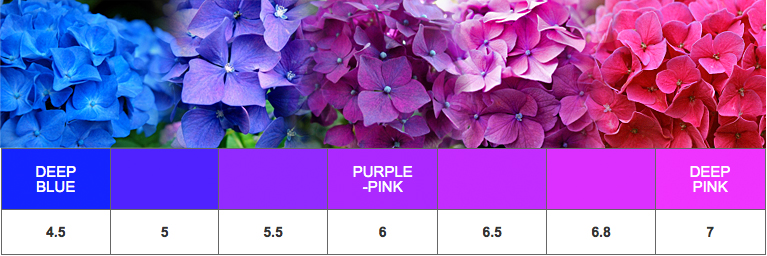
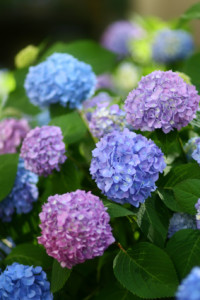
There are very few plants that you, the gardener, can actually choose the color you want them to be in your garden. Hydrangeas happen to be one of them. With some simple amendments to our soil, you can choose between making the blooms blue or pink. And while it doesn’t happen overnight, the magical blooms are well worth the wait!

The most important thing that influences the color of hydrangeas is soil pH – that’s the level of soil acidity. That means you may want to start with a soil test. You can either get a soil test kit from your favorite garden center or you can send your soil to your local cooperative extension office.

In general, more acidity makes hydrangeas turn blue, less acidity (or more alkaline soil) promotes pink – that is, unless we’re talking about white hydrangeas, which alas, are limited to white.

Take a look at our pH color guide to get closer to the color you prefer.

Hydrangea Color Preference

chart

Okay, so how do you actually change soil pH?

To lower pH and turn hydrangeas blue, we recommend adding Espoma Soil Acidifier to the soil. It’s safe, long-lasting, and approved for organic gardening. Use 2 1/2 cups around the plant’s drip line every sixty days, until you reach the desired shade of blue.

Prefer pink? Then use Espoma Garden Lime. Sprinkle about 21⁄2 to 5 lbs. per 100 sq. ft. in the Spring or the Fall.

5 Colorful Tips

  • Consider container gardening for hydrangeas as an easier way to control soil pH. Some of the newer varieties of hydrangeas feature huge flowers on compact plants which are ideal for containers.
  • Feeding hydrangeas well results in healthier plants with more saturated color. Espoma Holly-tone is an excellent choice for blue hydrangeas since it contains sulfur to lower pH. Espoma Plant-tone is ideal for feeding pink hydrangeas since it does not contain the additional sulfur.
  • Water hydrangeas steadily, especially in the hottest part of the summer to keep them from wilting. Mulch to keep roots cool and conserve moisture.
  • Hydrangea color can be affected by lime leaching out of concrete walkways or patios nearby, making blue a real challenge. Keep this in mind when considering where to plant.
  • A word of caution: not all plants like acidic soil. Be careful about what’s growing near your hydrangeas. Not sure which plants like acidic soil? Click here to see a list of Acid Loving Plants.

We hope this information about hydrangeas serves you well. Yes, changing soil pH takes a little time and effort, but the satisfaction it delivers will add beautiful color and variety to your hydrangeas – and your garden!

https://www.espoma.com/wp-content/uploads/2016/04/hydrangeas-177317_1920.jpg 960 1280 Kevin Pyles https://www.espoma.com/wp-content/uploads/2023/05/espoma-logo340w-1.png Kevin Pyles2021-06-25 11:33:292021-07-14 16:32:50Hydrangeas: True Blue or Tickled Pink?

Don’t Be a Couch Tomato – Grow Your Own Tomatoes!

June 25, 2021/in Gardening Projects

Nothing tastes more delicious than home grown tomatoes. If you’ve never grown your own, now is the time. It’s easy, fun, saves you plenty of money, and it’s a great way to introduce kids to gardening.

Read more
https://www.espoma.com/wp-content/uploads/2016/02/image.jpg 380 380 Kevin Pyles https://www.espoma.com/wp-content/uploads/2023/05/espoma-logo340w-1.png Kevin Pyles2021-06-25 10:55:402021-07-14 16:35:25Don’t Be a Couch Tomato – Grow Your Own Tomatoes!

Video: Planting Vegetable with Garden Answer

June 23, 2021/in Blog, Fruits & Vegetables - None, Garden Answer, Summer Gardening, Vegetable Gardening

It’s time to plant some corn, beans, and tomatoes at the @Garden Answer household! Tag along to see how Laura gets her vegetable gardening done with some Espoma products.


Featured Products:

Where to Buy
https://www.espoma.com/wp-content/uploads/2021/06/Screen-Shot-2021-06-23-at-11.47.34-AM.png 536 962 Danielle Kirschner https://www.espoma.com/wp-content/uploads/2023/05/espoma-logo340w-1.png Danielle Kirschner2021-06-23 11:55:262021-06-23 11:55:26Video: Planting Vegetable with Garden Answer
Page 4 of 8«‹23456›»
Where to Buy

Get News & Updates

Recent Posts

  • VIDEO: Prune & Feed Trees Like a Pro with Wyse Guide 🌳
  • VIDEO: Planting Strawberry Raised Beds 🍓🌱 with Garden Answer
  • VIDEO: How to Plant a Raised Bed Like a Pro with Farmer Nick
  • VIDEO: Transplanting Magnolias 🪴🌺 with Wyse Guide
  • VIDEO: How to Care for Roses 🌹 & Hydrangeas 🌸 with Garden Answer

Tags

All-Purpose Potting Mix bio-tone Bio-tone Starter Bio-tone Starter Plus cactus and succulents Cactus Mix caring for houseplants Container Gardening DIY project Espoma espoma grown espoma organic Espoma Organics Espoma Video fall gardening flower garden flowers garden Garden Answer Gardening gardening tips gardens grow holly-tone houseplants Indoor! indoor gardening indoor plants Kaleb Wyse organic organic fertilizer Organic Gardening organic plant food Organic Potting Mix Outdoor Gardening Planting plants Potting Mix potting soil Spring Gardening succulents summer rayne oakes vegetable garden Vegetable Gardening Wyse Guide

Espoma. A Family Tradition Since 1929.

Espoma Organic logo
  • Espoma Dealer
  • Espoma Pro
  • Garden Club
  • Privacy Policy

Scroll to top