VIDEO: CREATING A CREVICE CONTAINER WITH HOMESTEAD BROOKLYN!
Have you ever heard of crevice gardening? Follow along as Summer Rayne Oakes of Homestead Brooklyn shows us how to get it done in a container with the help of Espoma.
Featured:
Cool Down with Warm Season Vegetables
5 Reasons to Cool Down with Warm Season Vegetables
- Saves you lots of money
- Fun to do with the kids
- Gets you outside into the fresh air & sunshine
- Provides the best flavor, freshness & nutrition
- Satisfaction of growing your own food
With thousands of varieties of vegetables available, you can plant any vegetable you like in your garden. Ah, but success – well, that’s a different story. Choosing the right veggies will make a big difference for your garden.
First Thoughts
Here are some other important things to think about that will also help you narrow down your choices:
Location, location, location. Full sun is best (or at least 6 hours of it). Without it, you need to choose veggies that appreciate shade.
Garden Size and Design. Less space doesn’t always mean less yield. Planting in traditional rows takes a lot of room, but “square foot gardening” maximizes the amount of plants (and produce) in a small space.
The seed of an idea – consider plants. Choosing plants is less work than starting seeds, but seeds offer more variety. Remember to allow enough time to start seeds indoors. Plants or seeds, learn as much as you can about them before planting.
That’s rich: good organic soil. If you don’t have good garden soil, fortify it with compost or a good garden soil like Espoma Planting Mix, available at garden centers.
Big and small appetites – Heavy feeders, such as cabbage family crops, coexist better with less demanding plants.
Narrow it down
Make a short list. Start first with your favorite vegetables, or look online or at a seed catalog for inspiration. Then identify your priorities. Do you want a long harvest? Big quantities? Easy to grow? Speedy harvest? Perhaps it’s just the incredible homegrown flavor of a few favorites that inspire you. If you’re still having trouble deciding, here’s some of our warm season favorites.
Our Six Favorite Warm Season Vegetables:
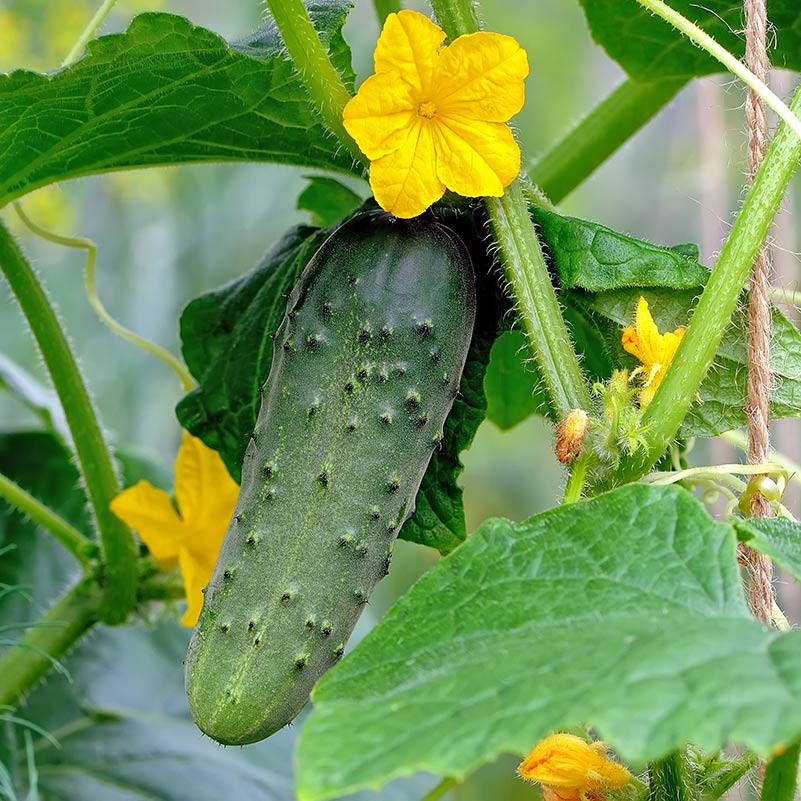
Cucumbers
Coolest of them all. And Juicy. Popular for eating fresh or for making pickles.
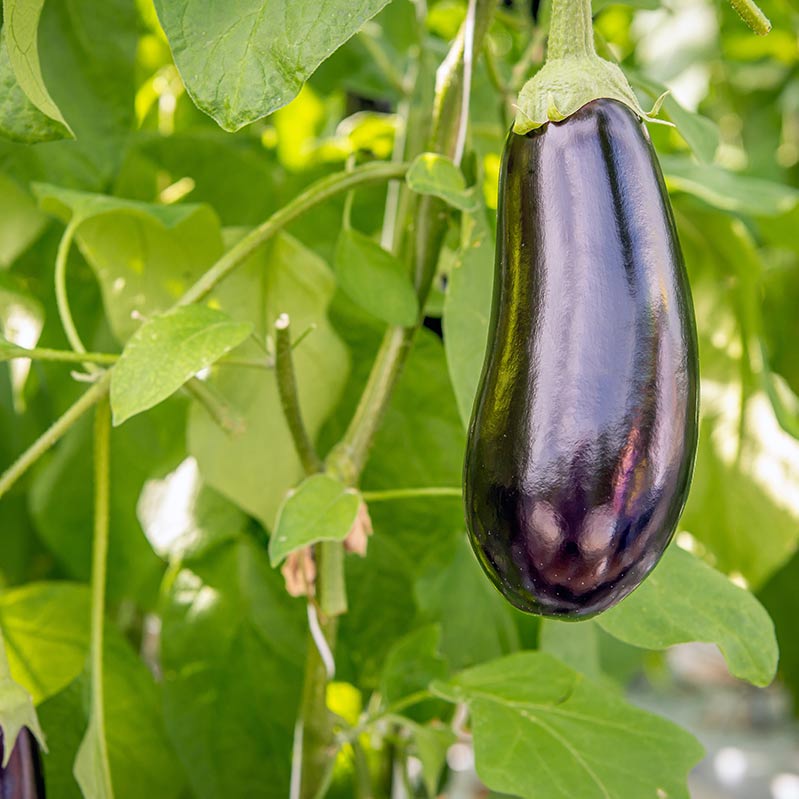
Eggplant
Deep Purple Glossy Beauty. Have a pleasantly bitter taste and a spongy texture.
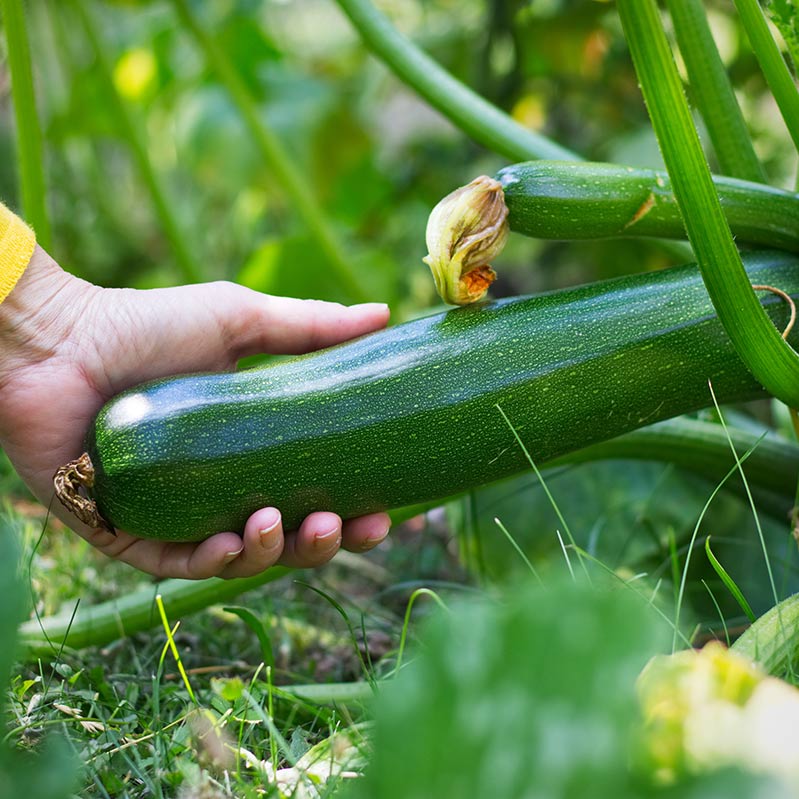
Zucchini Squash
Cylindrical, smooth & dark green – and oh yeah – abundant. Has a creamy white tender flesh. The bush-like plants are vigorous and the fruits are best when 6-8″ long.
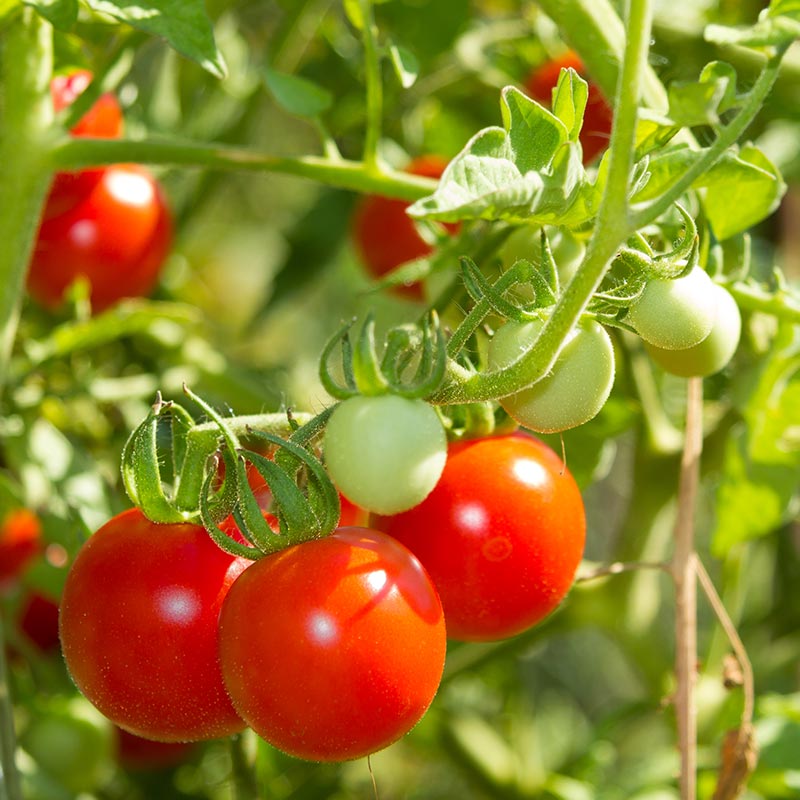
Tomatoes
Tomato, tomahto – however you say it – they come in all shapes and sizes. Whether for sauces or slicing, we grow tomatoes for one mouthwatering reason: the fruit.

Bell Peppers
There’s a suggestion that rings true. Sweet & Crisp. Plants produce fruits in different colors, including red, yellow, orange, green, chocolate/brown, vanilla/white, and purple.
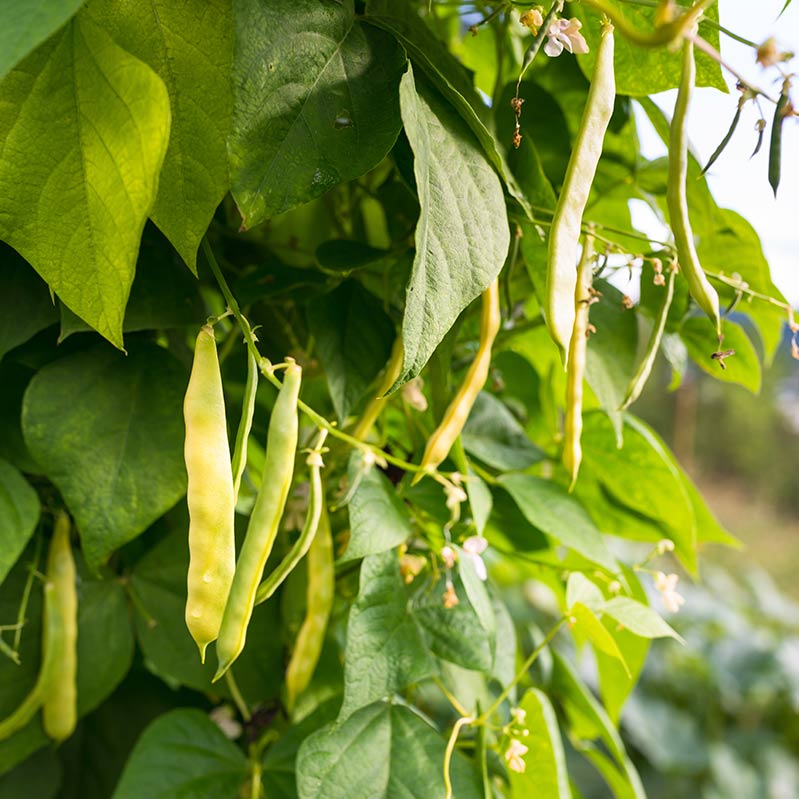
Bush String Beans
A Snap to Grow. Bush beans stand erect without support. They produce juicy, tender pods.
Tasty Tips
- Feeding. Fertilizing your crops is critical to getting the most produce. But remember, overdosing plants with synthetic fertilizers can burn them or create tall, spindly plants that actually produce less. Use a high-quality organic plant food like Espoma’s Garden-tone® or Tomato-tone®.
- Form follows function. Watering Employ a consistent (and thorough) watering schedule. Water plants at the base, not the foliage. But remember, vegetables don’t grow well in swamps.
- Pest control. Consider organic methods to control garden pests. Remove larger insects and caterpillars by hand. Espoma Insecticidal Soap is an effective way to control harmful bugs. If you do use pesticides – always follow directions carefully.
- Harvest. If it looks ready, give it a try. With many vegetables, the more you pick, the more will be produced. And bring the kids – it’s their favorite part.
- Well-tended is well-intended. Defeat weeds as soon as they start. They will compete with vegetable plants.
Thanks for reading our overview on warm season vegetables. We hope this information is helpful. The way we see it, why pick and choose, when you can choose and pick?
Caring for Acid-Loving Plants
For Sweet Results, Feed Acid Loving Plants
Imagine enormous pink rhododendrons, evergreens that are vigorous and deep green without any yellowing, and sweet blueberries fresh from your garden. These popular plants and many more seem to have nothing in common, but actually, they share an important characteristic – they’re all acid-loving.
Take a look at this short list of just a few to see how many you know and love (and are in your garden):
Amaryllis
Andromeda
Aster
Azalea
Bayberry
Bleedingheart
Blueberry
Camellia
Dogwood
Evergreens
Ferns
Fir
Gardenia
Heath
Heather
Hemlock
Holly
Huckleberry
Hydrangea
Inkberry
Juniper
Leucothoe
Lily-of-the-Valley
Lupine
Magnolia
Marigold
Mountain-ash
Mountain-laurel
Oak
Pacheysandra
Phlox
Pieris
Pine
Raspberry
Rhododendron
Spruce
Strawberries
Whitecedar
Woodsorre
5 Steps to Give Your Acid-Loving Plants a Boost
- First, test your soil. It’s not a big deal and it will tell you a lot. Get an inexpensive kit from your local garden center or a meter with a probe that you can poke into the ground and take a reading. It will make you feel like a very important scientist. Or space alien. Either way, these tests will provide you with a pH number. 7.0 is neutral – a lower number is more acidic, a higher number more alkaline. Set a goal of 5.5. Simple, eh?
- Adjust the pH if necessary. If the test says soil is too alkaline, add a product that contains sulfur such as Espoma Soil Acidifier. It’s safe, long lasting and better than aluminum sulfate. If the test says it’s too acidic, add a safe, pelletized lime product like Espoma Garden Lime. Always follow application instructions
- The Need for Feed. Feed all of these plants with a rich, organic plant food specially formulated for acid-loving plants; one that will spur deep evergreen color and dynamic blooms like Espoma Organic Holly-tone®
- Hot and Sour? Watering requirements vary depending for each plant, but be certain to keep acid-loving plants well watered at the root zone during hot Summer months.
- Too mulch is never too much. Add mulch a couple of inches deep around shallow roots for protection against hot or cold weather.
What Does Acid-Loving Mean?
Don’t worry. The term “acid-loving plants” shouldn’t strike terror in your heart. It simply identifies certain plants that need a more
“sour” (or acidic) soil to thrive. “Sweet” and “sour” refer to the acidity/alkalinity of the soil, also called the pH level. Most plants like a slightly acidic soil, around 6.5 to 7, but acid-loving plants need a lower number closer to 5.5. The reason this matters is that acid-loving plants can’t take the nutrients they need from the soil if it isn’t in the proper acidity range. The good news is that you can adjust the acidity in your soil.
That covers the easy basics of what you need to know to help your acid-loving plants thrive. Hopefully this information alleviated any anxiety you may have had about caring for your acid-loving plants—or at least it neutralized the excess acid!
Keep It Cool with Pansies
Don’t let those cute little faces fool you — pansies are tougher than they look —and unafraid of a little cold weather. However, pansies are not tough to grow and offer a lot of cool season color while asking only a little in return. Growing pansies is an easy, early way to start the Spring celebration, and you’re invited!Here’s how…
Start smart.
Pansies actually do best in cooler weather, and therefore are usually planted in Spring or Fall. You can start pansies from seed, but it’s much more convenient to buy bedding plants at your favorite garden center. When you do, choose plants that are compact, bushy and dark green with plenty of buds.
You don’t have to contain yourself.
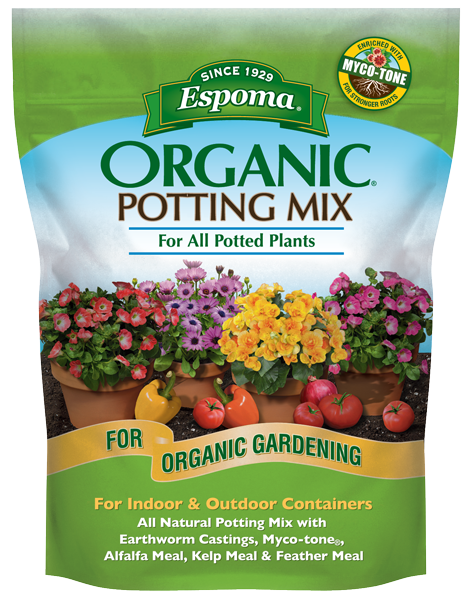
You can plant pansies directly into flowerbeds in the landscape or in containers. If you’re unfamiliar with container gardening, watch our video. For best results start with a high-quality potting medium, such as Espoma Organic Potting Mix. If flowerbeds are your thing, pansies can go into the ground just as soon as the soil is workable.
Keep it light.
Choose a site with full sun. This keeps them warm when temperatures are cool and helps them produce the colorful blooms they are famous for. Planting in an area with too much shade will hurt the bloom.
Make sure they’re well-grounded.
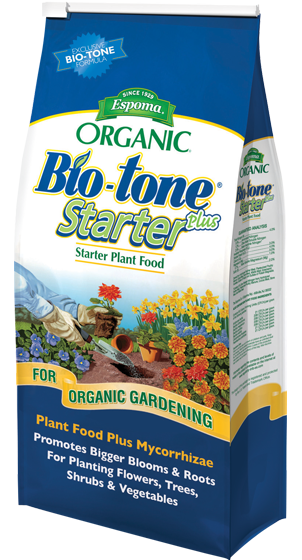
Pansies are not fussy, but prefer a moist, slightly acidic soil with good drainage. Plant your seedlings about six to eight inches apart and mix in an organic starter plant food into the soil while you are planting. We recommend Espoma Bio-tone® Starter Plus. Later in the season, feed them once again with Espoma Flower-tone®.
A thirst for beauty.
In the Spring, there is typically enough rain to help the plants become well established —about an inch per week. If not, water the plants to make up the difference. NEVER water pansies in late afternoon or evening — this will encourage disease.
Don’t miss mulch.
Mulch around pansies to conserve moisture and reduce weeds; especially if you cut them back in the hottest part of summer. Use a couple of inches of organic material or compost.
Off with their heads.
To extend the bloom, remove old flowers once they fade. This is known as “dead heading.” All good things…
Sorry, but pansies decline with hot weather. You can cut them back and mulch them to keep your hopes alive for Fall. Or, painful as it may be, you can just replace them with summer-flowering annuals. The good news is that you can plant more pansies as the weather cools —probably September. The plants should over-Winter nicely and be there to greet you with smiling faces in Spring.
5 Reasons to Plant Pansies this Spring:
- They’re great for beginners
- Offer many varieties and colors
- Produce wonderful color in cool seasons
- Some have a sweet fragrance
- Great for containers and flowerbeds
It’s no wonder that pansies have been a favorite for generations. They’re beautiful, versatile and easy to grow. If you follow our simple guidelines, we’re confident that pansies will reward you with the spectacular display of early Spring color you deserve after a long Winter.
Have No Fear, Orchids Are Here!
Orchids 1-2-3
There’s no reason for green thumbs to turn pale at the idea of growing orchids. True, some orchids are demanding, but others, not so much. Those are the ones we recommend. Our 5-point recipe for success provides easy and sound advice to take care of your orchid’s needs without putting yourself into therapy. Just think in these simple terms: light, water, temperature, soil and food.
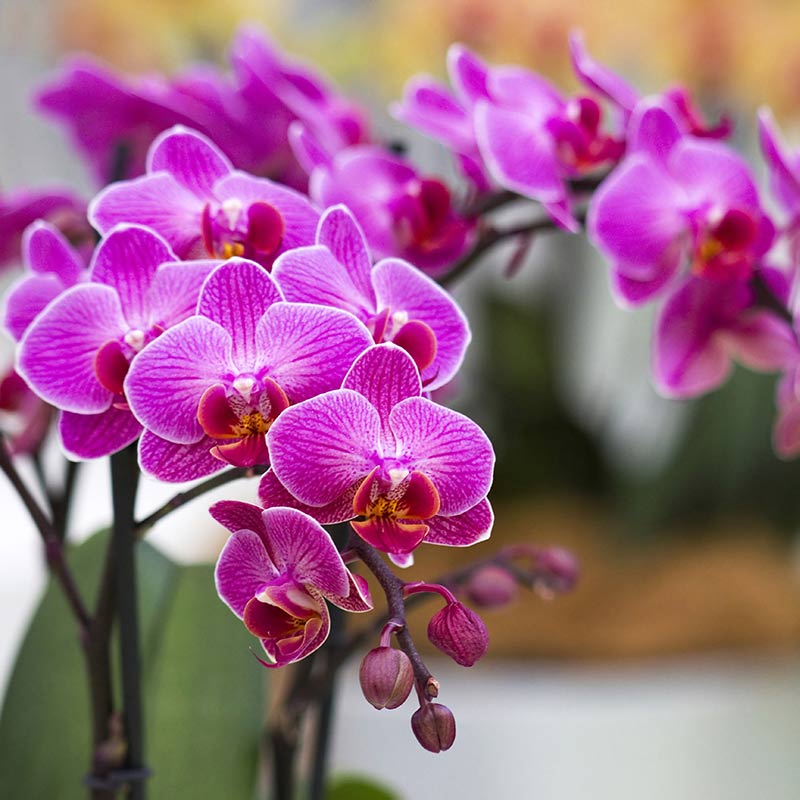
Phalaenopsis
Also called Moth Orchids because their flowers look like colorful moths in flight. Long-lasting, long-blooming and easy on the purse, get yours today in shades of white, pink, red, green, yellow, orange, or purple. Moth orchids add elegance to their surroundings no matter where you put them. With a little care, you’ll be treated to several blooms a year.
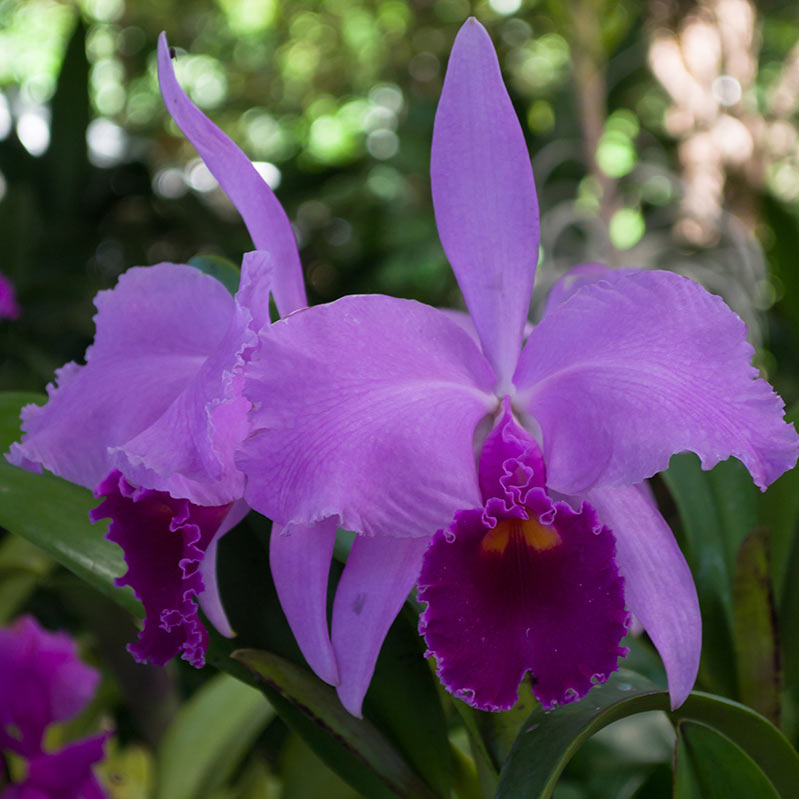
Cattleya
Typically, when people hear the word “orchid”, they picture a cattleya. This classic orchid with its lovely fragrance might bring back the only good memory from your prom—the corsage. They come in red, pink, white, yellow, and orange—some with beautiful markings in other colors.
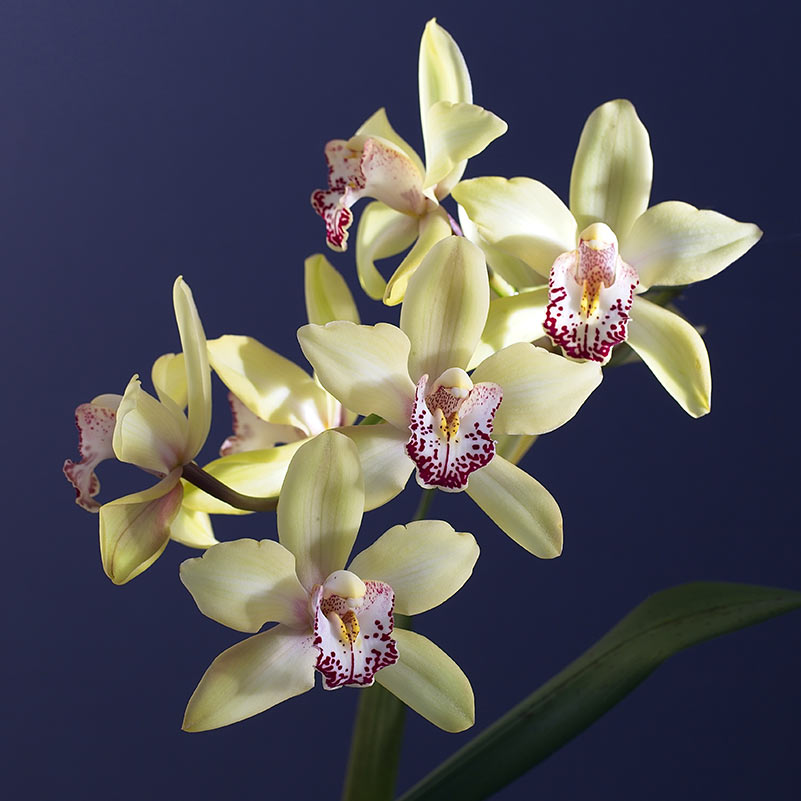
Cymbidum
Sounds more like something from the periodic table of elements than a very popular orchid, doesn’t it? Waxy, long-lasting flowers and a fantastic range of color make the cymbidium a favorite, but beautiful blooms in the dead of winter make it a spectacular choice.
5-point recipe for success.
Orchids are beautiful, but growing them remains a mystery to lots of people. We’re here to tell you that if you can grow a houseplant, there are a number of orchids well suited for you. Just follow our simple, 5-point recipe for success.
1. Let there be light.
From above. And lots of it — 12 to 14 hours per day, year-round. Usually a south or east-facing window is best. Some gardeners use fluorescent lights instead, positioned about 8″ above the foliage.
2. Stay out of hot water.
Or cold. Just use clean (but not softened), room-temperature water to avoid shocking orchid roots. About once a week, water thoroughly and let the pot drain over the sink. Never allow an orchid sit in a saucer of water. With orchids, slightly dry is always better than soggy. Humidity is always good during the winter months. Use a gravel tray with water, but make sure the pot is sitting on the gravel, not in the water.
3. Keep it warm.
Mostly. 70–80 degrees in the daytime is ideal, but do not bake orchids in the sun. Move them to a cooler window if they get too hot. Temperature can fall as low as 55–60 degrees at night. A couple of weeks’ worth of cooler nighttime temps in the spring and fall actually help the orchid bloom.
4. Don’t dish the dirt.
In nature, some orchids grow in the ground, some in the branches of trees. At home, a special potting media is needed. The answer is to use a high-quality mix specially formulated for orchids— one that improves drainage and aeration — like Espoma Organic Orchid Mix. Never use ordinary soil from the garden.
5. Give them regular meals.
Orchids need more nutrients than are usually found in potting mix. A good rule of thumb is to feed one quarter strength weekly but not in mid-winter when plants aren’t actively growing, or right after repotting. We recommend a rich, high-quality, organic plant food like Espoma Gro-tone®, which feeds gently and naturally.
Plant Fall Bulbs to Brighten Your Spring
The chill of Winter finally begins to subside. After months of gray skies, sunlight slowly begins to warm the earth. Your heart warms, too, because the bulbs you planted last Fall are just starting to emerge. At least, that’s what ought to happen. And why shouldn’t it? Bulbs are so easy to plant, and so worthwhile when they bloom. What are you waiting for? Get inspired by our favorites and get started by following a few simple steps.
6 Bulbs That Turn Us On
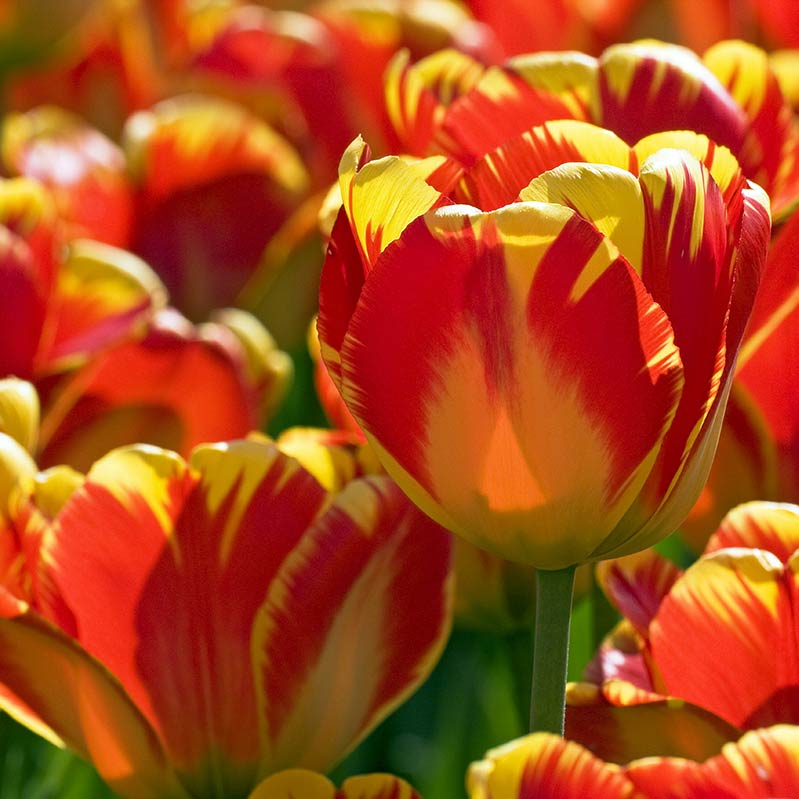
Darwin Hybrid Tulip is a Natural Selection.
It’s a very large tulip with the classic shape that comes to mind when you think of tulips. Most are reddish-orange, but you can also find them in pink, yellow, and white.
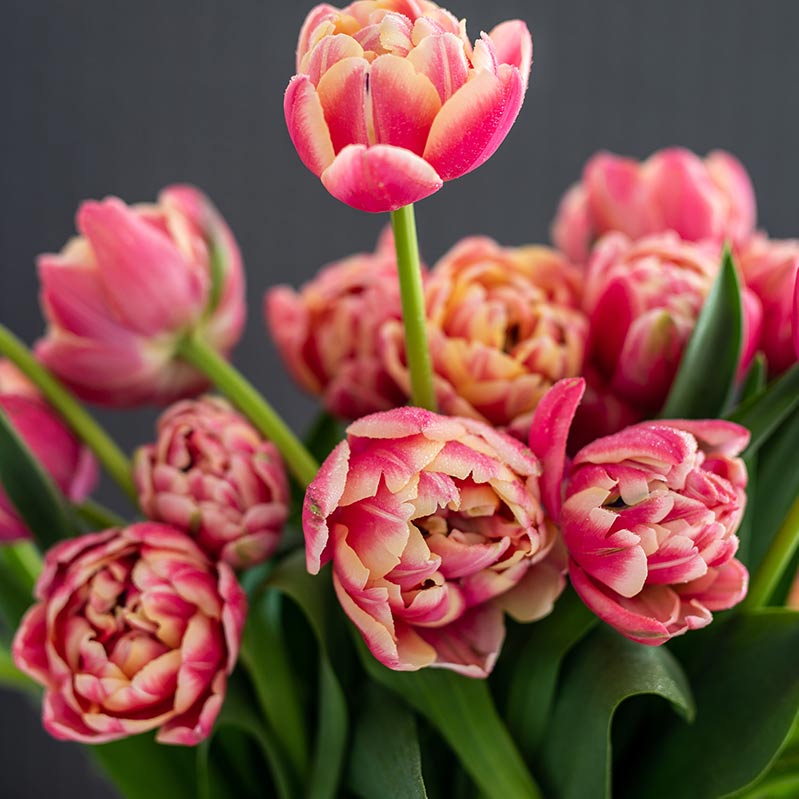
Parrot Tulips are All the Talk.
We just had to mention these. Like the birds, they come in all kinds of beautiful, vibrant colors, and their curly, frilly petals wave like feathers in the breeze. Huge blooms hold up well.

Nothing Daffy About Daffodils.
Nearly everyone loves to see these sunny yellow or white flowers. Daffodils stand up to the cold and are always among the first flowers to send shoots upward in the Spring.
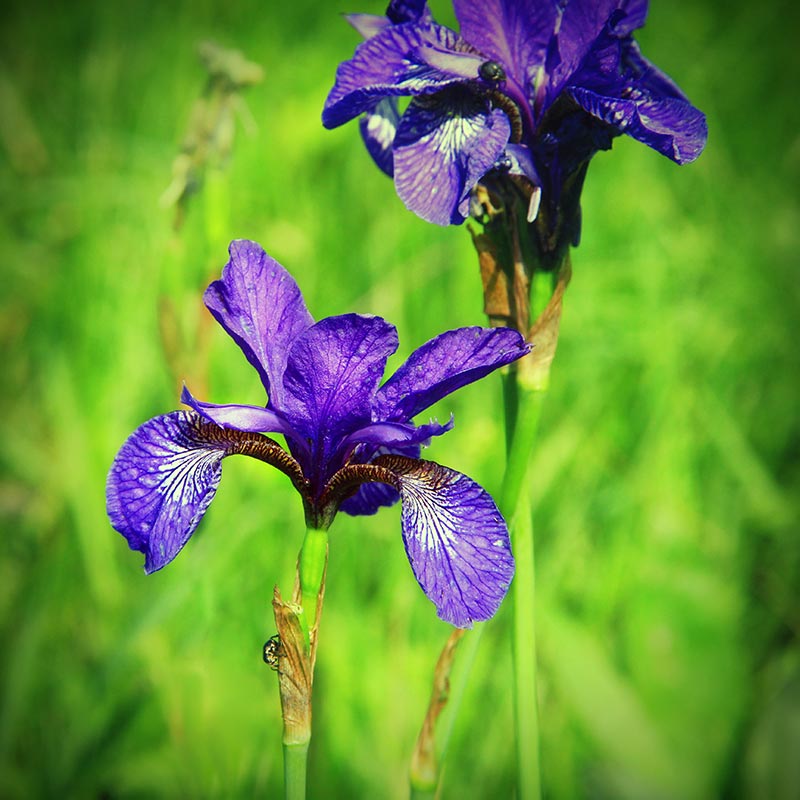
Let’s Go Dutch – Iris, That is
Dutch Irises are a favorite because they are just so dependable. Flower petals luxuriously drape over their sides, and the blooms come in a wide variety of intense colors.
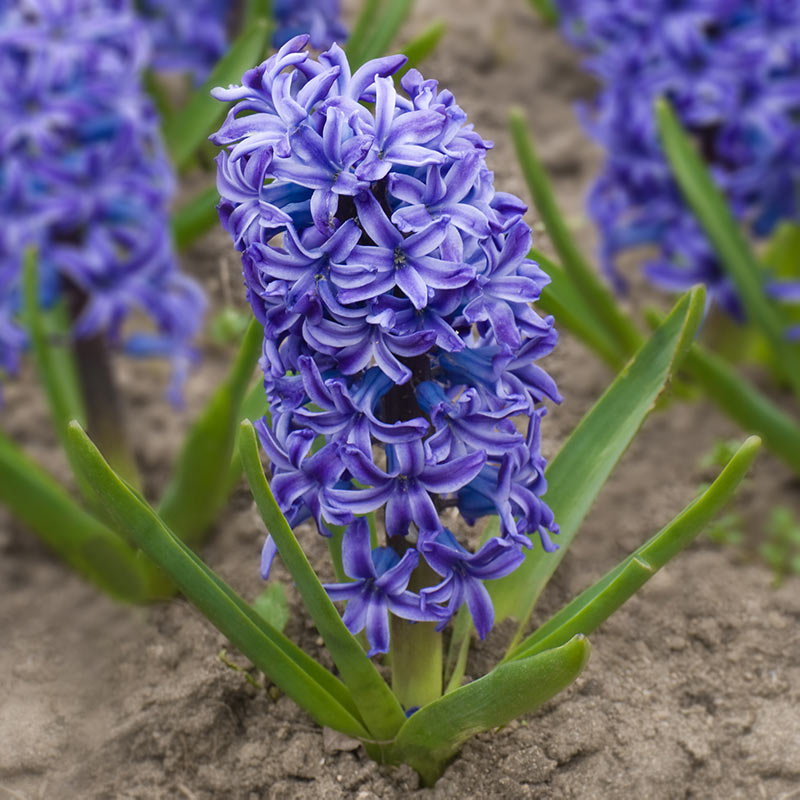
Wow, a New, All-Time Hy–Hyacinth
Sweet fragrance and flower clusters stemming from low plants are characteristics of this perennial spring beauty.
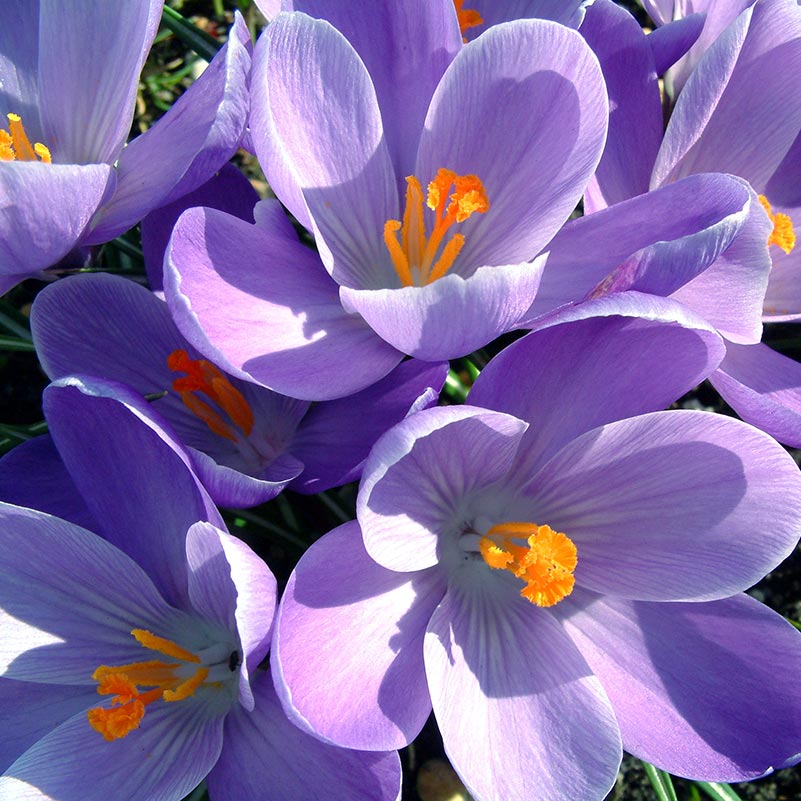
Crocus Pocus.
Almost like magic, these lovely little perennials (2-4 inches tall) are always among the first signs of spring. Crocuses come in many colors – red, orange, pink, purple, and more. A side benefit: pesky critters don’t seem to attack them.
7 Steps to Fall Bulb Planting
1. Be Picky. Specifically, about your bulbs and where you’re going to plant them. At your garden center, choose bulbs that are free from obvious physical damage, mold, or mildew.
2. Timing Isn’t Everything. But it’s pretty doggoned important. Plant your bulbs when the soil has cooled, but well before the ground freezes. Late September and October are normally just about right.
3. Get in Deep. There are exceptions, but here’s a good rule of thumb: dig a hole about three times deeper than the bulb is tall. So, a 3-inch bulb needs a 9 inch hole. Sandy soil? Go slightly deeper. Clay soil go slightly shallower. Choose a well-drained spot for planting that will get at least six hours of sun each day. Constantly wet, mushy ground is a good way to rot bulbs.
4. Don’t Miss the Point. When you plant bulbs, ALWAYS do so with the point facing up.
5. Get Good Dirt on the Subject. Bulbs like well-aerated, well-drained soil rich in organic matter. If you have poor soil — too sandy or too much clay — add amendments to improve it. Be sure to add 1-1/2 heaping teaspoons of Espoma Bulb-tone® or Bio-tone Starter Plus® into the planting hole with the bulb, where the roots can find it. This rich, organic, slow-feeding plant food is especially formulated to meet the nutritional needs of bulbs. Feed again at the same rate when plants are about six inches high.
6. After Dinner Drink. After covering the bulbs with rich organic soil, water well to help them become established before winter.
7. To Mulch is Enough. Adding a 3-inch layer of mulch over the surface of the soil will help insulate and protect the bulbs against freeze and thaw conditions. If you’re worried about the shoots finding their way through it in the Spring, you can always pull back the mulch in April.
Other Bulbous Tips
- If you have destructive pests like voles and squirrels, you may need to plant bulbs in a cage. Bulb cages may be purchased at garden centers or fashioned by hand with a bit of wire mesh or chicken wire.
- Consider planting bulbs in groups or random order, keeping in mind that some will not sprout. This will create a more natural-looking appearance than a regimented, straight line.
- Consider planting low bulbs in front of high, or layering bulbs to create striking combination arrangements when they bloom.
- Bulbs don’t usually need to be dug up at the end of the first year. After the second year, watch for signs of crowding, like smaller blooms. That’s a signal it’s time to dig bulbs up, dry them out for a few days, divide and replant them.
- For fun, try planting bulbs in containers.
There you have it, a short primer on Fall bulb planting. Give it try. It’s fun, easy, and a great excuse to play in the dirt this Autumn. Best of all, after a long Winter, you’ll be rewarded with beautiful new growth springing up around you – a very pleasant reminder of why you undertook the effort in the first place.
*****
Featured Products:


Bring Outdoor Beauty Indoors
If you gave your houseplants a Summer vacation outdoors, it’s time to start thinking about the return trip. As much as you hate to be a killjoy, it’s time to think about preparing those plants for the return trip indoors. What’s there to think about, you ask? Here are few simple tips to ensure a healthy transition. Plus, this is also a good time to think about repotting.
Travel Advisory.
Plants can be shocked by sudden dramatic changes in temperature, light or humidity. The transition from outdoors to indoors can pose all three risks. Plants that have been outside for the Summer months may also harbor insects and pests that must be removed. Consider these guidelines for a happy transition.
When?
Good question. There is latitude here, but some plants suffer damage when night time temperatures fall below 40 degrees F, and a few others at 50. When you notice that temperatures are consistently dipping below 60 degrees, it’s probably a safe time to make a move.
Spread the Sunshine.
Transition your plants to indoor light by moving them from sunlight to partial shade to shade before bringing them inside. Try to locate plants indoors where they will receive light that is comparable to what they received outside. Clean your windows to maximize the light coming in. \
Nobody Likes a Pest.
Check your plants and soil carefully for hitchhikers. You can spray plants with a safe, fast acting insecticide for indoor use, such as Earth-tone® Insect Control, from Espoma. You can also use a gentle hose spray to thoroughly rinse them off.
Start Over.
Repotting gives plants a fresh start and encourages new growth. Repotting also helps to remove pests living in the old soil. Even if you don’t see roots protruding from the bottom of the pot, making the move indoors is a good time to consider repotting.
Repotting Revisited: 7 Simple Steps
1. Soften Up.
A day or two before you repot, give the plant a thorough watering. This will make removal easier.
2. Sweeten the Pot.
Select a new pot a few inches bigger in diameter than the old pot. Be sure it has drainage holes. Place a saucer underneath to catch any excess water and to protect your floors. It’s best to thoroughly wash the inside of the pot. If it’s an old pot, use a 10% bleach solution to destroy any traces of fungus then rinse thoroughly.
3. Set it Free.
Remove the plant by turning it upside down, with your hand over the top and the plant stem between your fingers. If it doesn’t budge, you may be able to use a butter knife to free the outside edge of the soil from the pot – gently so as not to damage the roots. Once removed, hold by the root ball.
4. Get On the Ball.
Check the root ball. Clip off any dead or rotten roots. If the root ball is compacted, you can tickle the roots to loosen them up a bit.
5. Get in the Mix.
Center the plant in the container and fill in around it with an all-natural potting mix, like Espoma Organic Potting Mix – a premium blend enhanced with Myco-tone®, our proprietary blend of mycorrhizae, to promote root growth and reduce the amount of watering required. Also, Espoma Organic Potting Mix doesn’t clump or over-compact. Make sure the roots are covered, and lightly press down the soil to support the plant.
6. No Fast Food.
Give your indoor plants a boost every 3-4 weeks or so with a natural liquid plant food such as Espoma Gro-tone®. 7. Hold Your Water. Soil doesn’t dry out as fast indoors, so only water when soil feels dry to the touch.
We hope this information provides you with helpful information to take your plants from outdoors to indoors where they will brighten your home throughout the Winter months. Before you know it, it will be spring once again. In the meantime, you’ll have beautiful plants indoors to remind you.
Don’t Fall Short. Time to Feed Your Lawn!
Congratulations! Give yourself a big pat on the back, because once you’ve finished, you’ve made it through the year with a completely chemical-free lawn!
Video: Repotting Fiddle Leaf Fig with Garden Answer
Follow along as Laura from @Garden Answer takes care of her new fiddle leaf fig cuttings with the help of Espoma!
Featured: