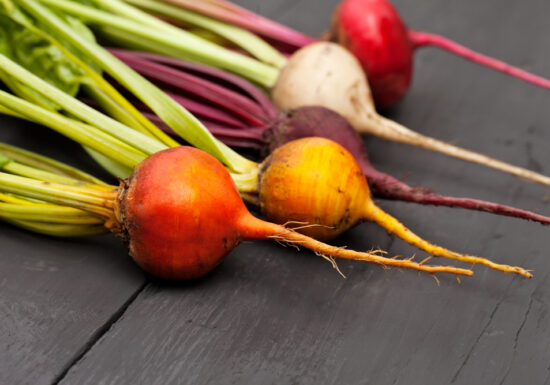
Guide to Starting Root Vegetable Seeds
Who’s ready to start digging in the garden? Us too. Root vegetable crops can often be planted as soon as…
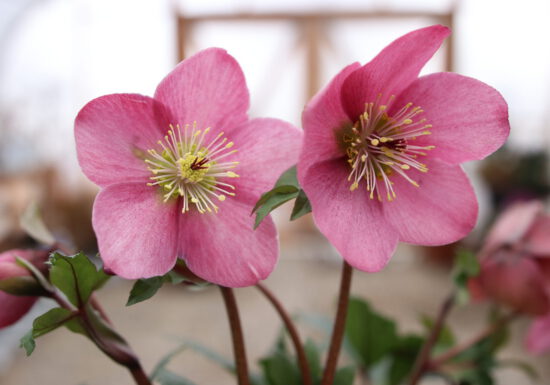
Hellebore Care Guide
These long-blooming, low-maintenance flowers really brighten up winter landscapes. Laura from Garden Answer shows how to care for winter hellebores…
3 Common Seed Starting Problems and How to Fix Them
Keywords: starting plants indoors, can you grow tomatoes indoors, growing vegetables indoors Starting seeds indoors is great way to make…
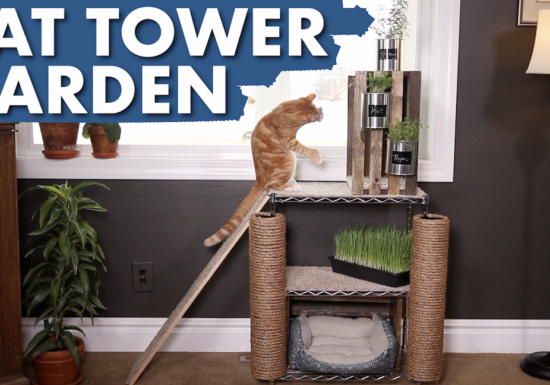
DIY Indoor Cat Tower Garden with Instructions
Even cats need a garden! Watch as Laura from Garden Answer explains how she selected the materials for and built…
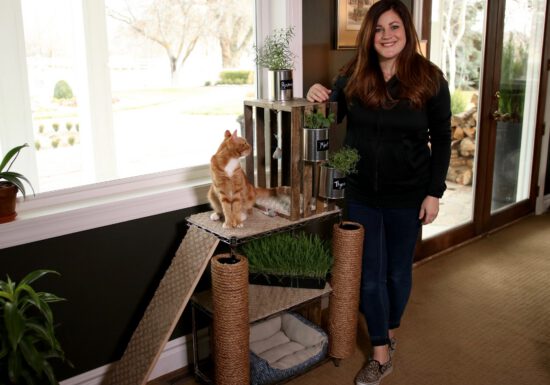
DIY Cat Tower Garden
Find out how Laura from Garden Answer makes this clever indoor cat tower garden! Laura uses Espoma’s Organic Seed Starter…
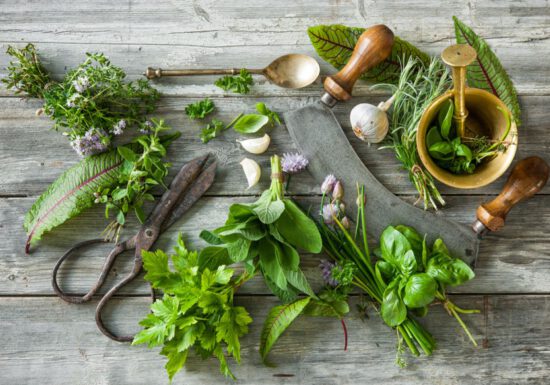
Spice Up Your Life – Start an Indoor Herb Garden
Add an extra special kick to homemade dishes by incorporating fresh herbs from your kitchen garden. It’s especially easy when…
5 Romantic Red Houseplants
On Valentine’s Day, there’s always a lot of pressure to find the perfect gift, so we made it simple. Give…
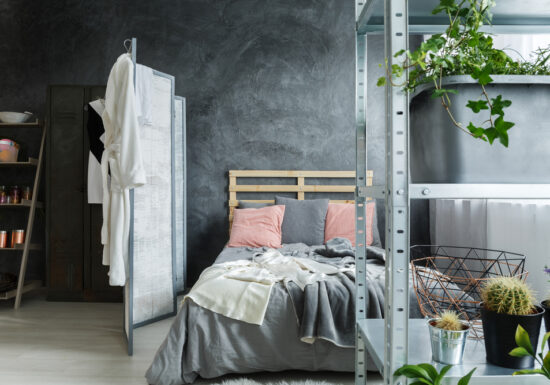
Houseplants for the Bedroom
Your bedroom should be a sanctuary. The place to go at the end of a day and unwind, relax and…
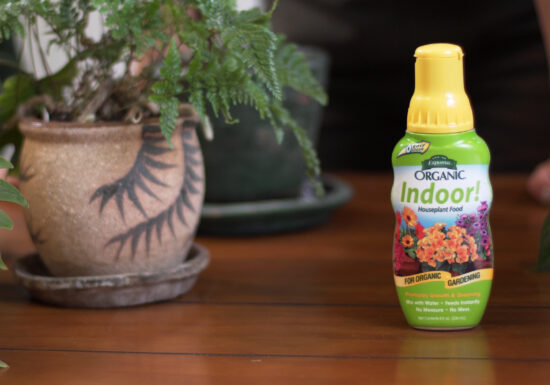
How to Fertilize Houseplants with Homestead Brooklyn
Find out how Summer Rayne of Homestead Brooklyn cares for and fertilizes her houseplants. Summer is using Espoma’s Indoor! liquid…
7 Tricks for Starting Tomato and Peppers Seeds Indoors
Dreaming of juicy, flavorful tomatoes and ripe, spicy peppers? Grow them yourself in only a few months. If you’re as…
Best Houseplants for the Kitchen
Sometimes we find a beautiful houseplant and have no idea where to put it. Other times we have a space…
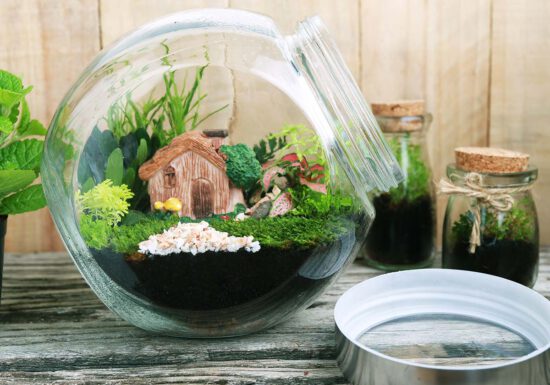
How To Make An Easy Terrarium
Terrariums make great additions to any room. There are endless options for variety, decorations and plants. They can be assembled…