Plant A Fall Container
Laura from Garden Answer shows you how to plant a fall container that will add beauty to your landscape all season long.

Laura from Garden Answer shows you how to plant a fall container that will add beauty to your landscape all season long.
Going back to school is equal parts nervous jitters and genuine excitement for what could be. Remember what it was like to have a new backpack, a fresh outfit that makes just the right statement and your stack of empty notebooks waiting to be filled?
It feels like anything is possible at this time of year!
Molbak’s Garden + Home is here to help teach you gardening basics. Already an experienced gardener? Now is the time brush up on your lessons.
Espoma’s Gardening School 101
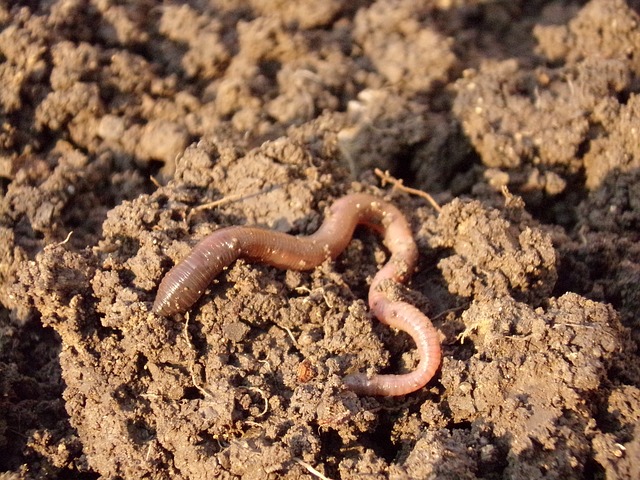
1. Build a Foundation for Success. For a garden to be great, superior soil is a must! Perform a quick soil test, study the results and your garden will be A+ in no time!
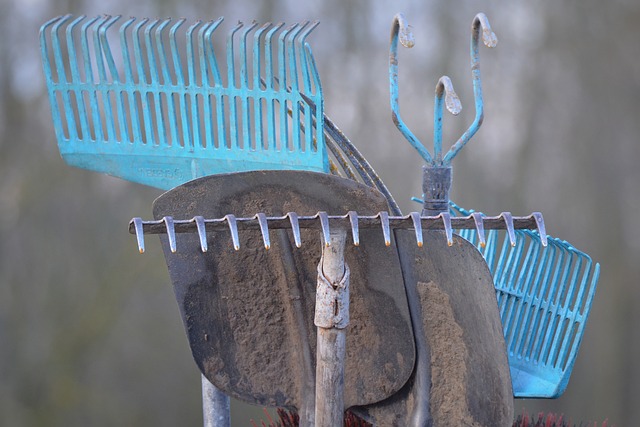
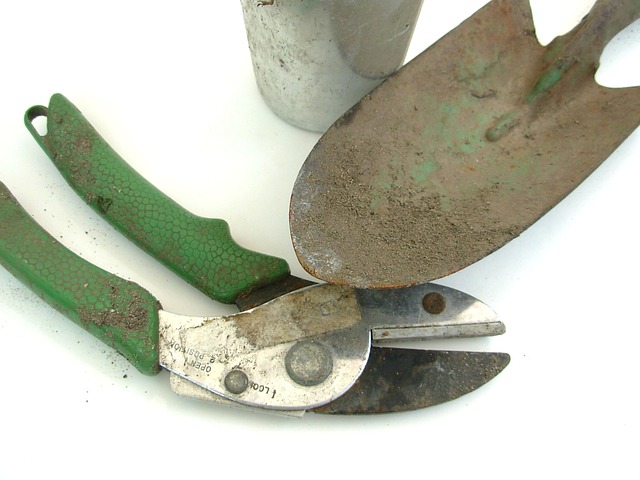
2. Back to School Shopping. Examine your garden equipment to see what should stay — and what needs to go. Look for cracked handles, rust and missing or loose parts. Then, go shopping for replacements.
3. Get a Whole New Look. A new school year means it’s time to reveal your new look. Do you want to be refined? Edgy? Colorful and bold? Sweet and simple? Define your garden look and do your homework — then start pinning!
4. Make a Plan for Success. The only way to improve this year’s performance is to analyze the successes and failures of last year’s garden. Your assignment: create a new garden plan.
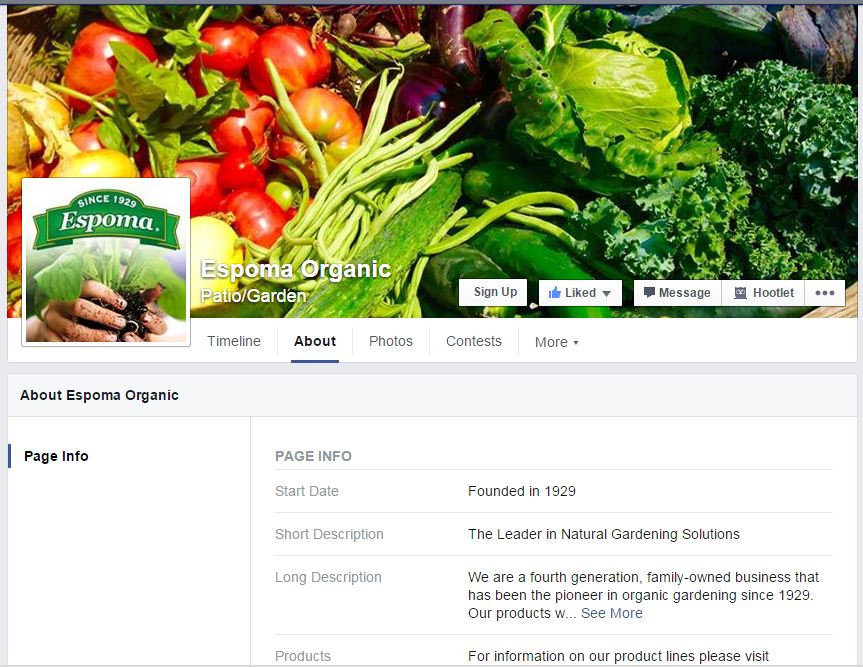
5. Meet the Teacher. Hi! It’s a pleasure to see you! At Espoma, we’ve been teaching organic gardening practices since 1929. Comment with questions below, post them to Facebook or tweet us. We’re here to make you the best gardener you can be.
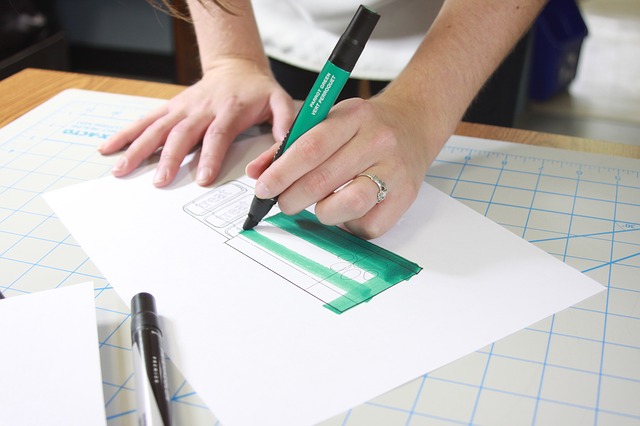
 6. Sharpen Pencils. Clean and sharpen your garden tools to get them ready for the new season! You can DIY or take them to your local garden center.
7. Find New Friends. Follow us on Facebook and check out our posts to find gardeners who are just as passionate about organic growing as you are.

Patio Party photo by Proven Winners
Throw your cap (or gardening gloves) up in the air! You passed the Back to Gardening School Class! Your garden will thank you for it later!
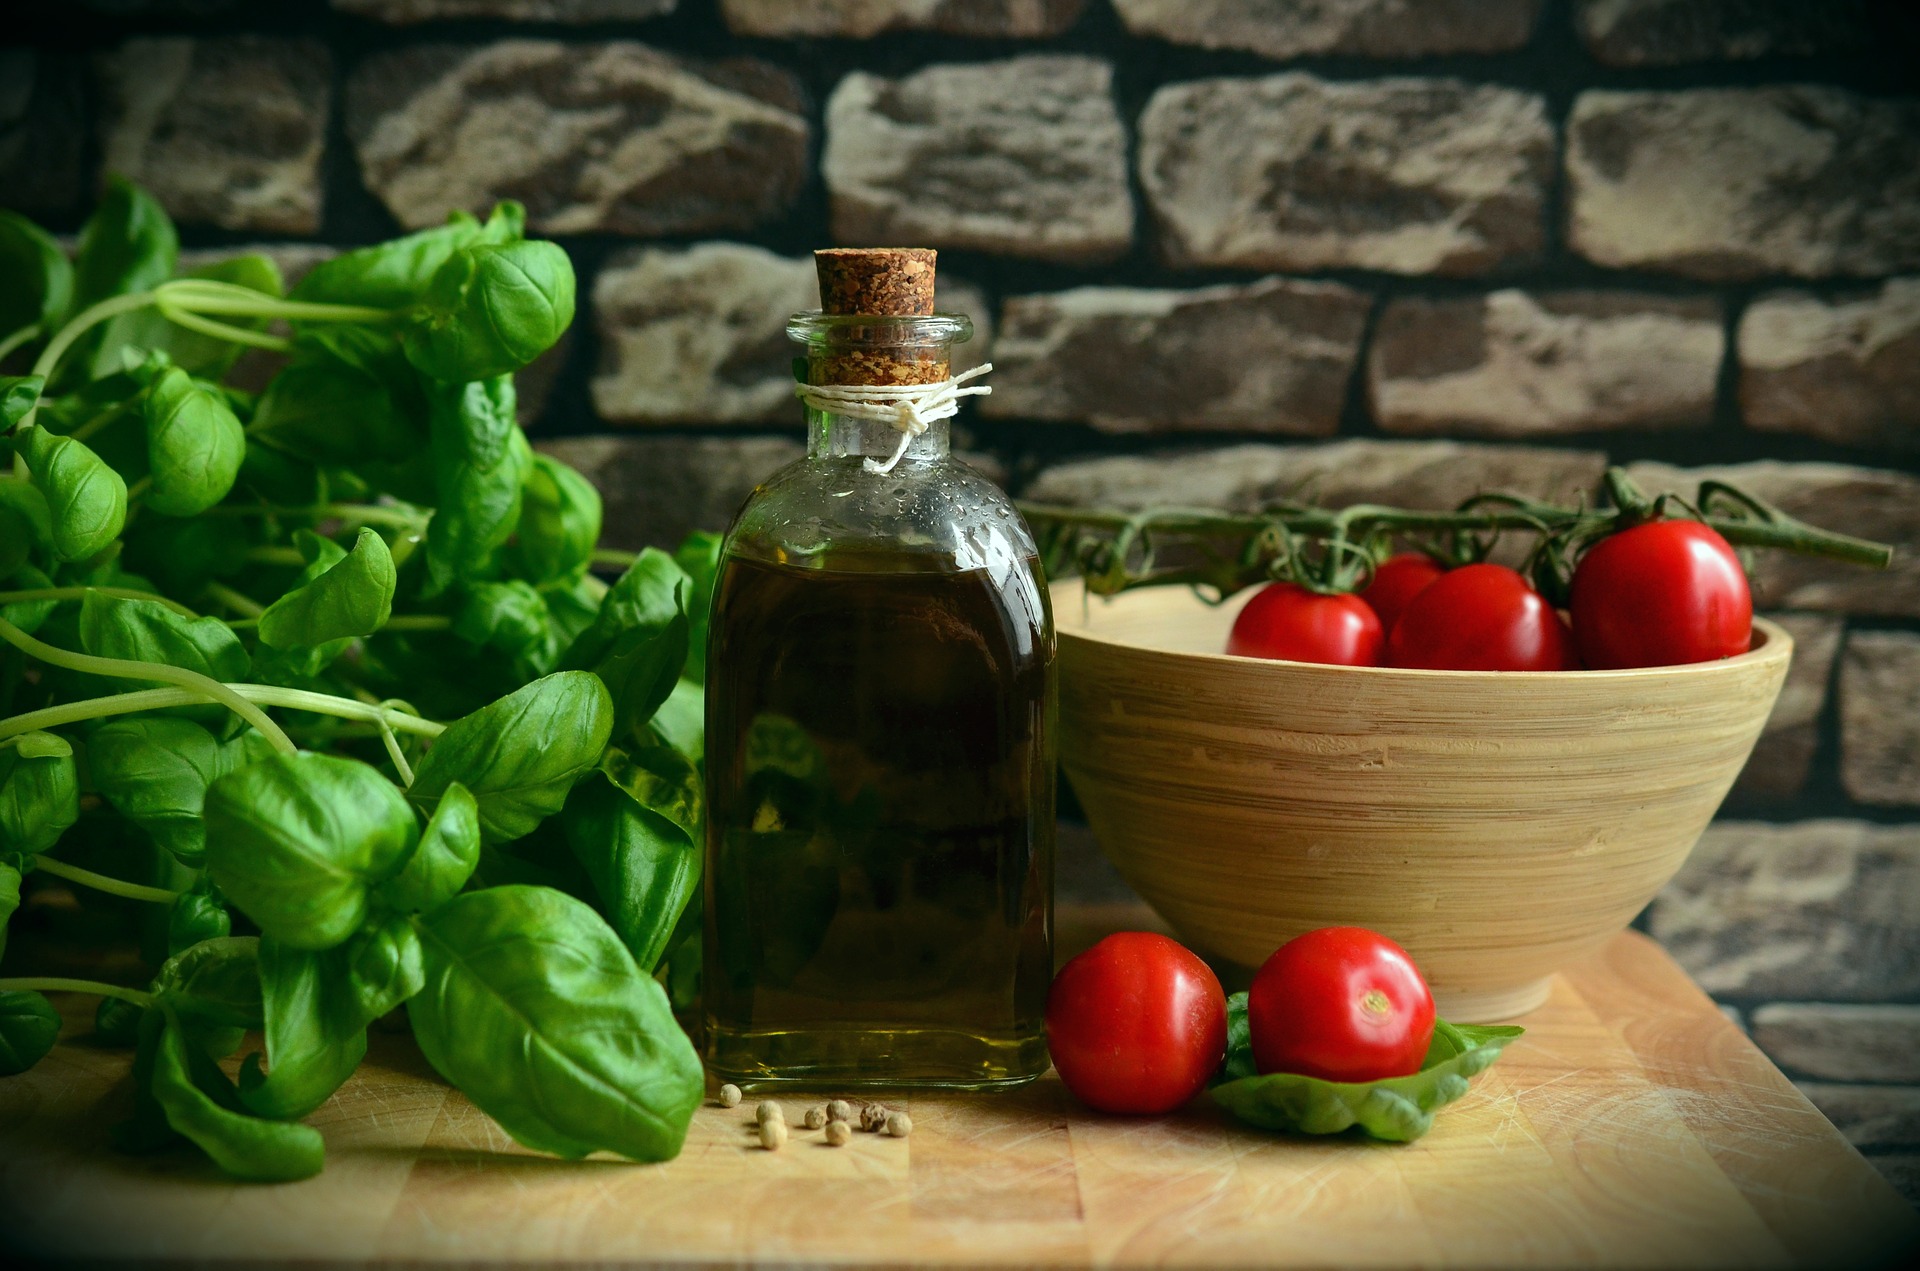
You’ve had a great season tending to your tomato plants! But with the summer winding down and chilly days coming soon, you may be wondering what to do with your tomato plants now.
Get a head start on spring by preserving the seeds from your tomatoes.
Tomato seeds might be available at the store year-round, but saving your own is satisfying and easy. Luckily, September is the perfect time to begin planning for next year!
How do I pick which seeds to preserve?
The general rule of thumb is to only take ‘open-pollenated’ seeds or heirlooms. Hybrid plants often produce sterile seeds. Or, they do not produce seed with the same desirable traits of the parent plant.
Harvest seeds from tomatoes that are healthy and embody the characteristics you’re interested in preserving. For example, you could pick seeds from the juiciest tomatoes, or the ones with the most interesting colors. It’s your choice, but make sure you pick from healthy plants. Unhealthy plants could carry illnesses.
If possible, save seeds from multiple plants.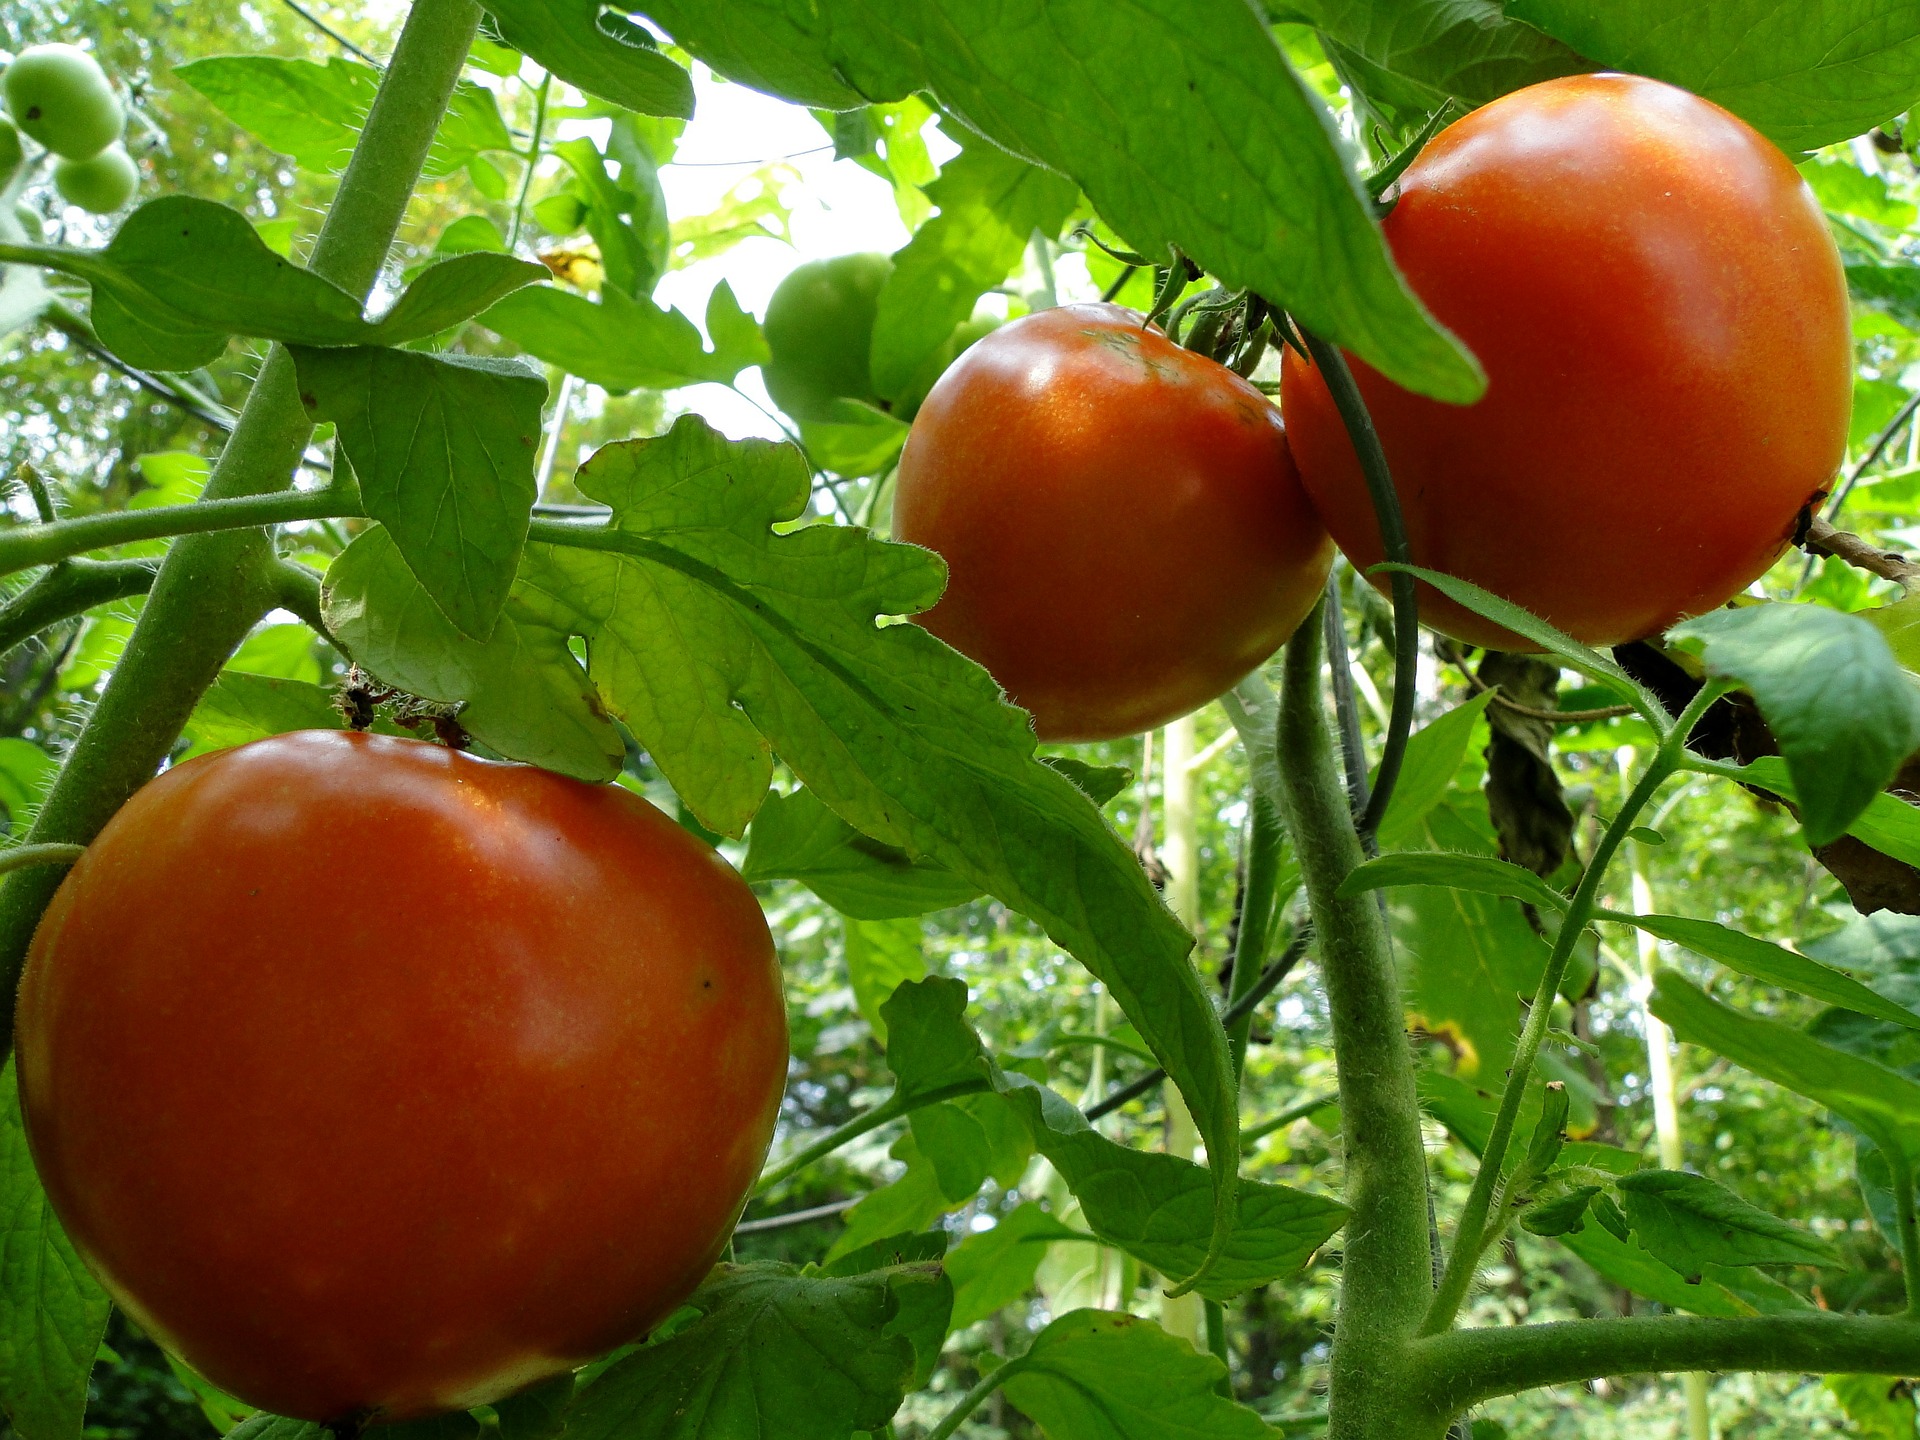
Method 1: Air-dry
This method is pretty simple. Open the tomato and remove the seeds, squeeze them onto a paper towel, wait for the seeds to air dry and then store them in a jar, an envelope or even the same napkin. This method is quick and straightforward.
Method 2: Ferment
It’s not absolutely necessary to ferment your tomato seeds, but fermenting makes it easier to completely separate seeds from the gel that surrounds them. Fermenting also eliminates the bad seeds and reduces the possibility of seed-borne disease for next season.
1. Wash the tomatoes. Slice each in half across the middle (not the end with the stem). Squeeze the seeds and juice into a (labeled) glass or plastic container.
2. Set containers aside when half-full. Place containers in an area that is out of direct sunlight and out of the way, so the fruit flies and odor will not bother you.
3. Let the seeds sit for three to five days or until the surface of the container shows a whitish mold. This is a good thing! The seeds should be floating at this point. In warmer climates, you may need to add some water to keep the seeds afloat.
4. Gently scrape the mold off with a spoon. Do not remove the seeds.
5. Fill the container with water and then stir it. The seeds you want will sink to the bottom.
6. Pour off the excess to remove floating seeds and pulp.
7. Repeat the process until the good seeds, at the bottom, are cleaned.
8. Pour the good seeds into a strainer, then rinse and drain them.
Storage
An airtight container works best for storage. When packaged correctly, tomato seeds remain usable for up to six years!
You can place the seeds in the refrigerator or freezer, but the seeds will last even when stored at room temperature. When you’re ready to use the seeds, if they’ve been chilling in a refrigerator or freezer, let them adjust to room temperature first to prevent excess condensation from creating any damage.
Be sure to visit us on our Facebook page or Twitter page and tell us how you plan to preserve your tomato seeds!
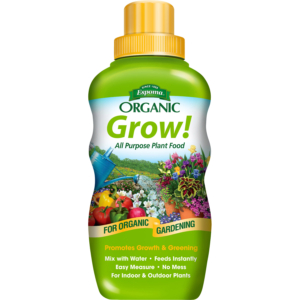
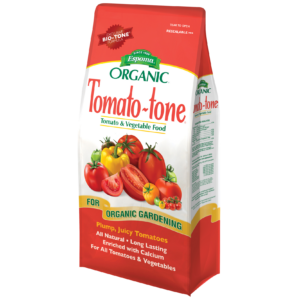
Featured Product:

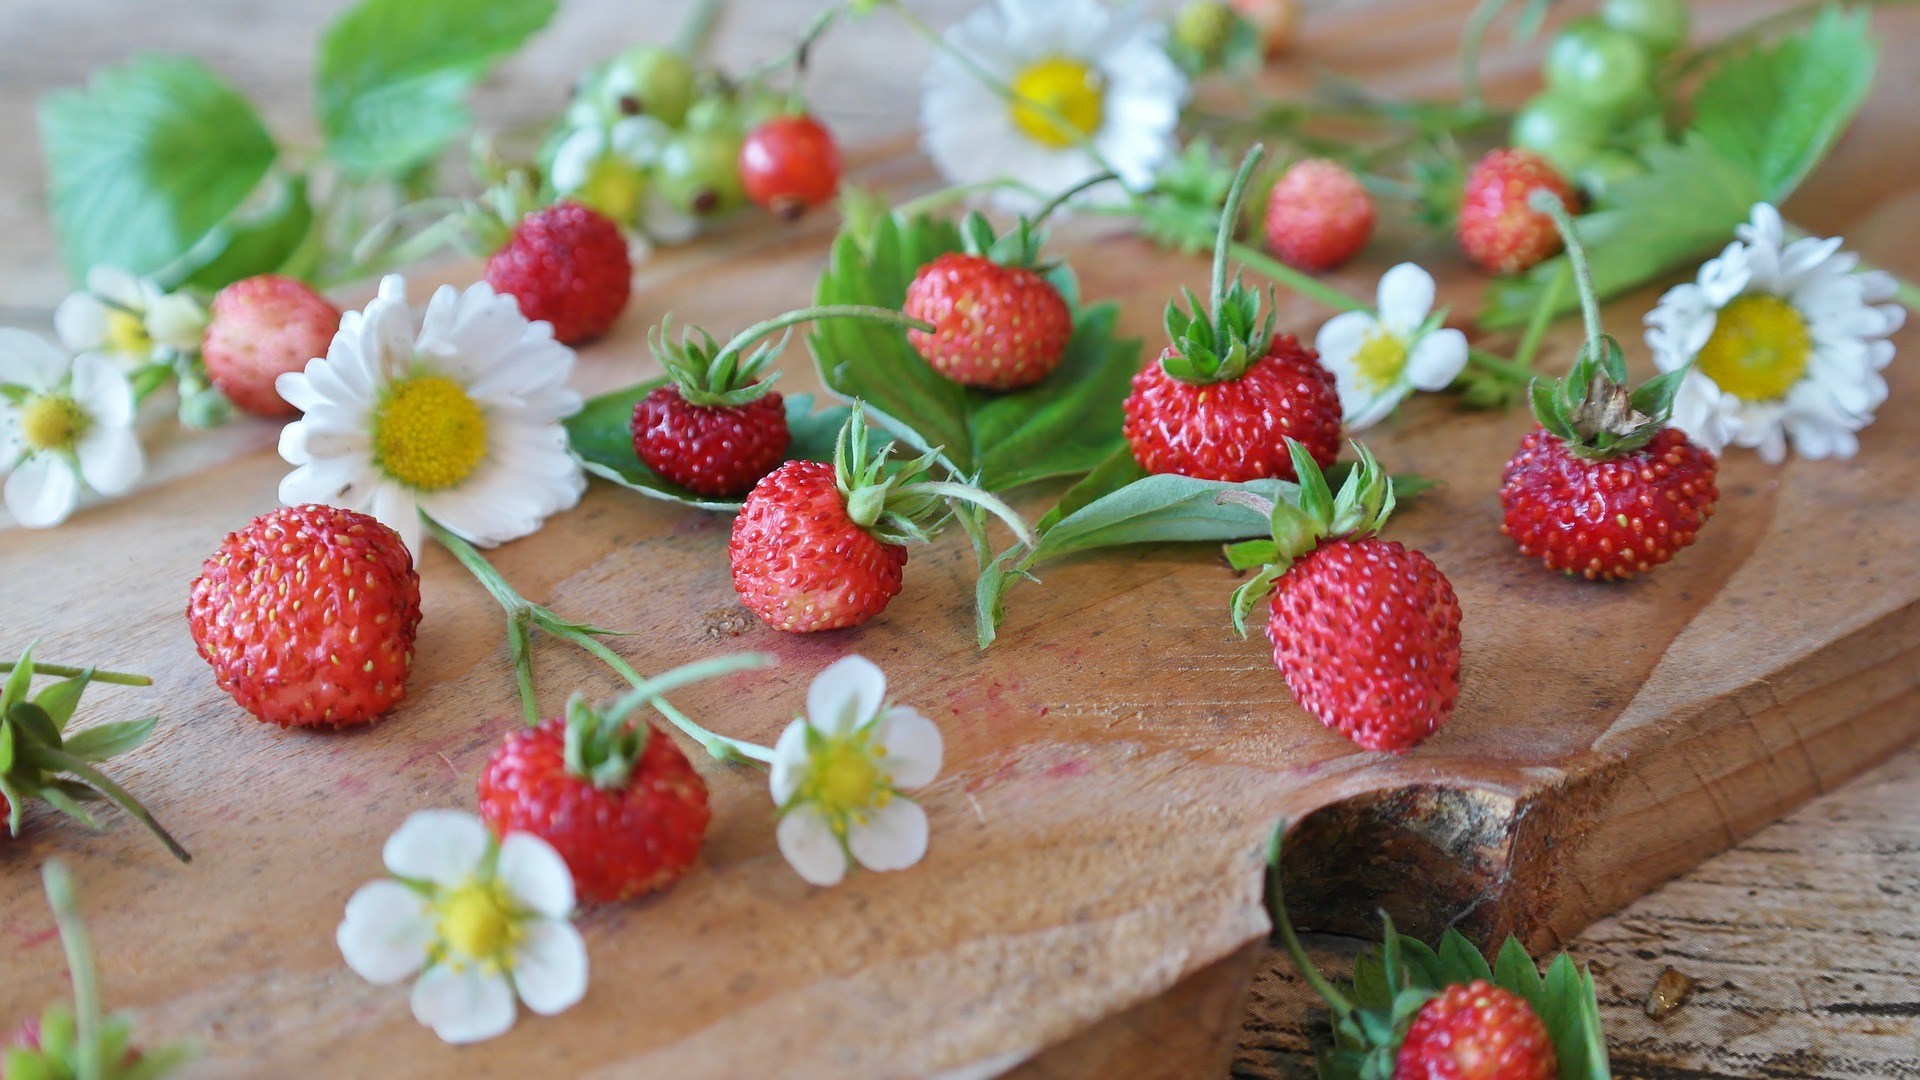
It’s almost September and your strawberry plants are still yielding fresh, summer-ripened fruit!
Strawberries are delicious and versatile. They can be used in desserts, smoothies or anything that’s cooked or pureed. They can also be frozen and made into jams. Where there’s a strawberry, there’s a way! But first, you have to know how to pick.
Prepare for Picking
In September, many strawberry plants will be busy developing latent buds for next spring’s flowers. Some will rest during late summer, only to be perk up in the middle of fall. Make sure to take advantage of your strawberry plants while they’re still producing fruit! (And remember, they’ll be back next year.)
Pick strawberries in the morning, before the sun gets too hot. Immediately after picking, place strawberries in the refrigerator. Be sure to rinse them before consuming, or before preparing a dish.
If you decide to not eat your strawberries right away or make them into a recipe, you can still freeze, dry or can them.
Our Favorite Recipes
Ingredients:
Blend ingredients together using a food processor until the consistency of the dressing is smooth.
Leftovers? Store extras in the refrigerator for up to 4 days.
Ingredients:
Preheat oven to 425◦.
Combine dry ingredients in large mixing bowl. Combine eggs and oil in a separate small mixing bowl.
Mix the strawberries into egg mixture.
Blend in flour mixture until thoroughly combined.
Spoon into greased muffin tins until nearly full.
Bake at 425◦ for 5 minutes. After that, reduce heat to 350◦ and bake an additional 15-19 minutes, or until a toothpick inserted in center comes out clean.
Ingredients
Preheat oven to 400◦.
Place asparagus on a baking sheet and drizzle with olive oil.
Roast asparagus for 8-10 minutes, until just tender.
Boil. While the asparagus is roasting, boil the balsamic vinegar until reduced to about ¼ cup.
Serve and divide asparagus amongst plates and top with sliced berries, basil, and salt and pepper. Use a spoon to drizzle each serving of asparagus with the balsamic syrup and serve!
For more great berry recipes and other ideas, check out our Pinterest board and our ultimate berry growing guide!
Have a great strawberry recipe you want to share? Drop by our Facebook page!
There is nothing better than the taste of fresh picked produce, except maybe when its fall, and you expected your garden to be put to bed by now!
Even though leaves are starting to change, your organic veggie garden has plenty of time left to produce. Help your fall garden thrive with these four tips from Behnke’s Garden Center.
Fall is For Planting: Four Tips for Growing a Cool-Season Organic Veggie Garden
What are you growing in your fall garden? Let us know in the comments!
Behnke Nurseries garden center in Beltsville, MD has provided plants, ceramic pots, and gardening supplies to gardeners since 1930. Behnke’s offers a very wide selection of perennials, annuals, shrubs, trees and houseplants, and the experienced staff will advise you on the best options for your garden. The Holiday Shop provides a charming Christmas experience and carefully chosen accents for year ’round, while the selection of bonsai by Ducky Hong is unsurpassed. Behnke’s welcomes gardeners of all levels of expertise: come and learn at their frequent free lectures.
Every gardener knows it. Fall is for planting. From the cooler weather and heaps of rain to fewer pests, diseases and weeds, fall has distinct planting benefits.
Throughout the fall we will identify some of the best plants and activities to do in fall. Stay tuned for our expert tips, guest blog posts and giveaway’s.
But in the meantime, learn why planting in fall can make spring gardening much, much easier.

6 Reasons Why Fall is the Best Time to Garden
1. Work is Easier on Plants… And You
The cooler air temperatures are easier on both plants and gardeners. Neither of you need to suffer through the intense summer heat. Yet, in fall, the soil is still warm enough for roots to thrive. They will grow and get established until the ground freezes.
2. There is More Time in Fall
There are more good days for planting in fall than in spring, when bad weather can make being outside impossible. Plus, you have more free time as a gardener than during the spring rush.
Note: The window for fall planting ends six weeks before your average hard frost, usually September or October.
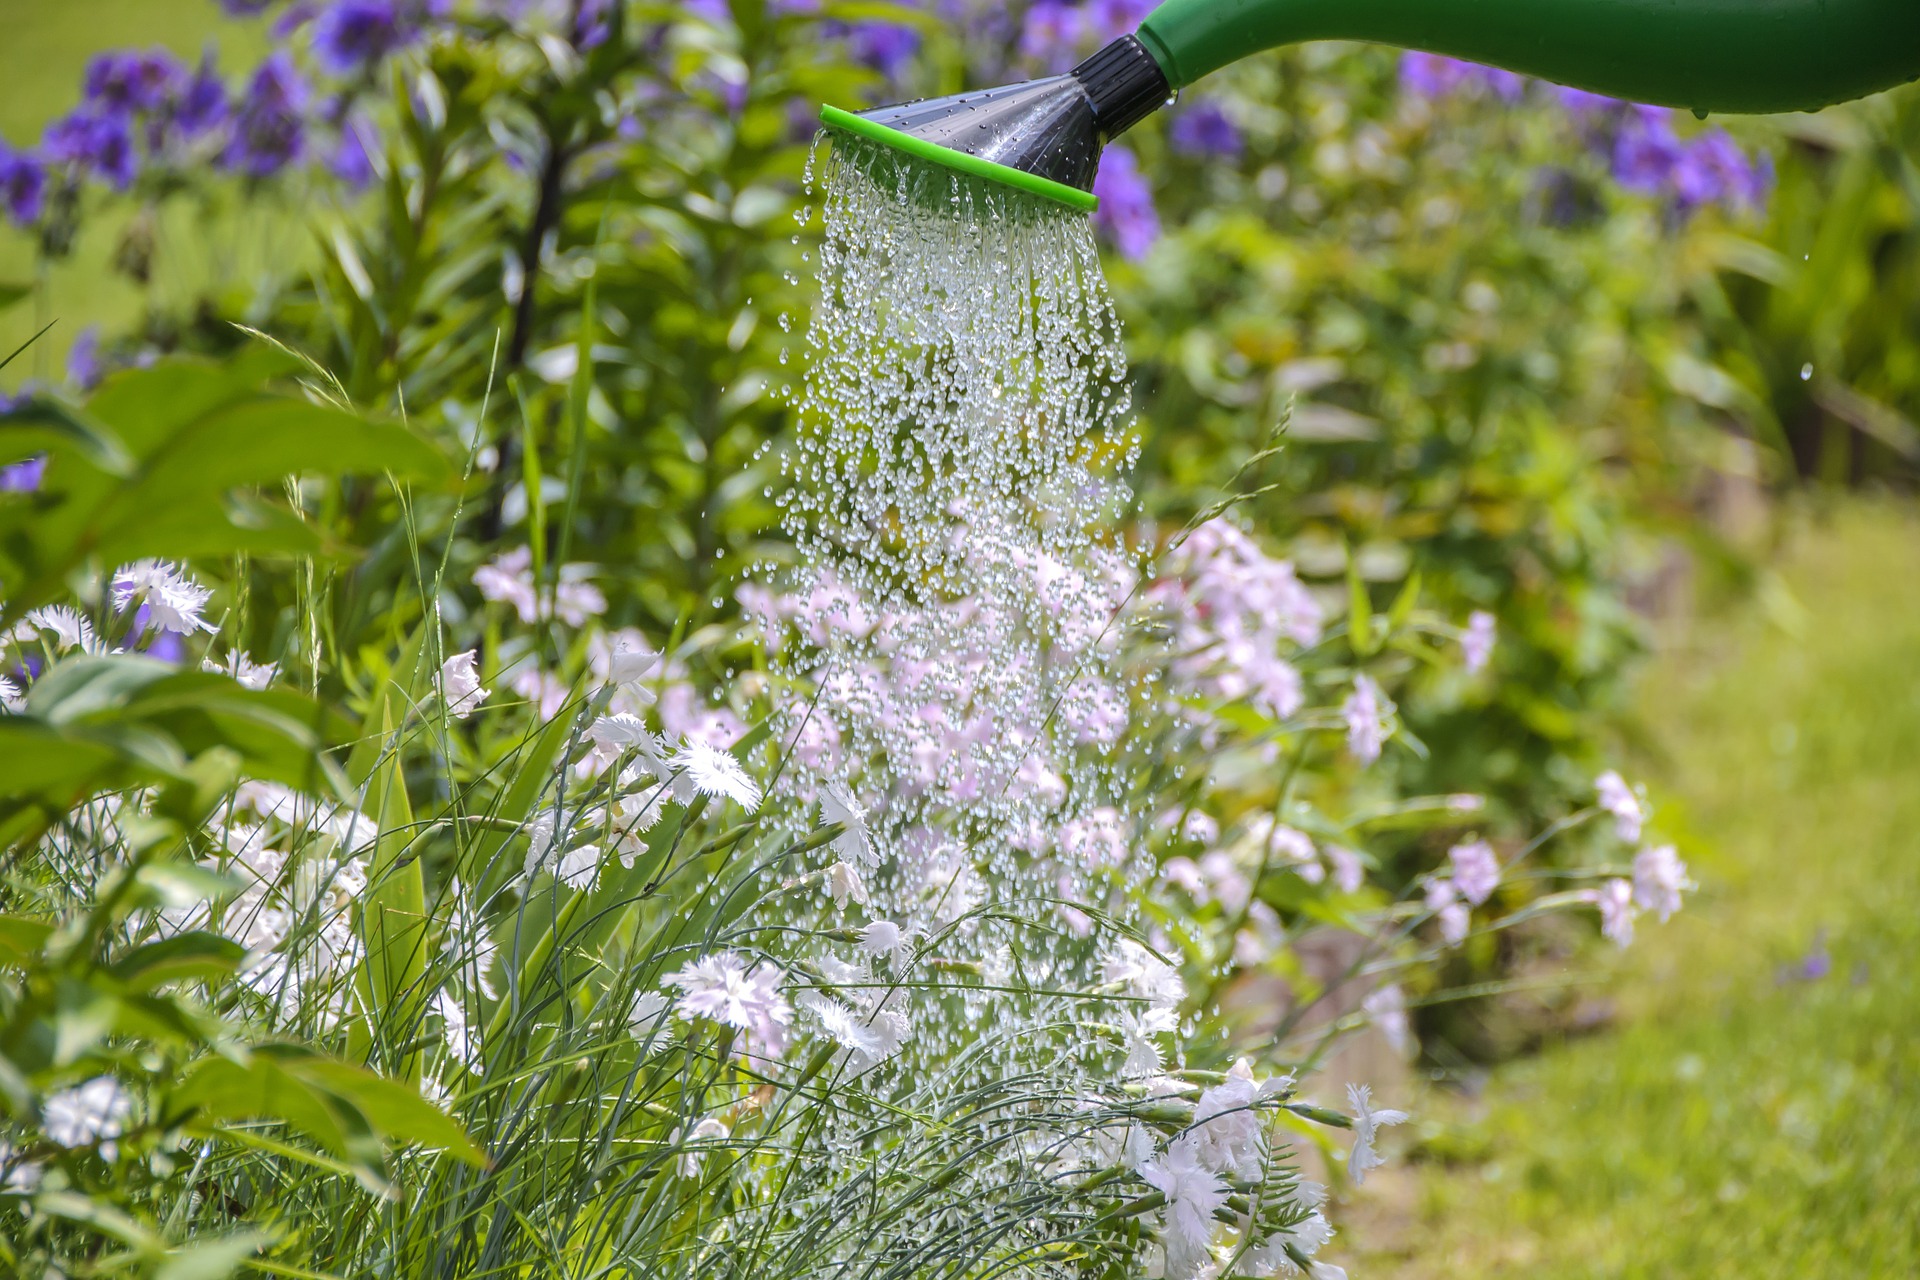
3. Mother Nature Does the Watering for You
In many regions of the country, fall showers happen often. You might not ever have to water new plantings, which means less maintenance for you. However, due to the cooler temperatures, it’s a cinch to water plants if it doesn’t rain at least 1” per week.
4. Easier Weed Control
In the fall, weed seeds are dormant, i.e., they don’t grow. So any weeds that do grow up in your flowers are easily removed when they first appear as sprouts in spring.
5. Bye-Bye Pests and Diseases
Pests and diseases are less prevalent in the fall. Most of the bugs are either dead or preparing to hibernate in fall. Plus, the humidity that promotes many diseases fades away.
6. Fall Planting Results in Earlier Blooms
Like fall-seeded lawns, fall-planted wildflower seed has a chance to “settle” into your site during the winter, and is ready to burst into growth in early spring. This is why fall-planted wildflower seed is up and in bloom about two weeks earlier than spring-planted seed.
While all of these make compelling reasons to garden in the fall, the season also means bargain time at garden centers. Check back often for the best deals.
Have a picture of your fall garden that you want to share? Drop by our Facebook page!
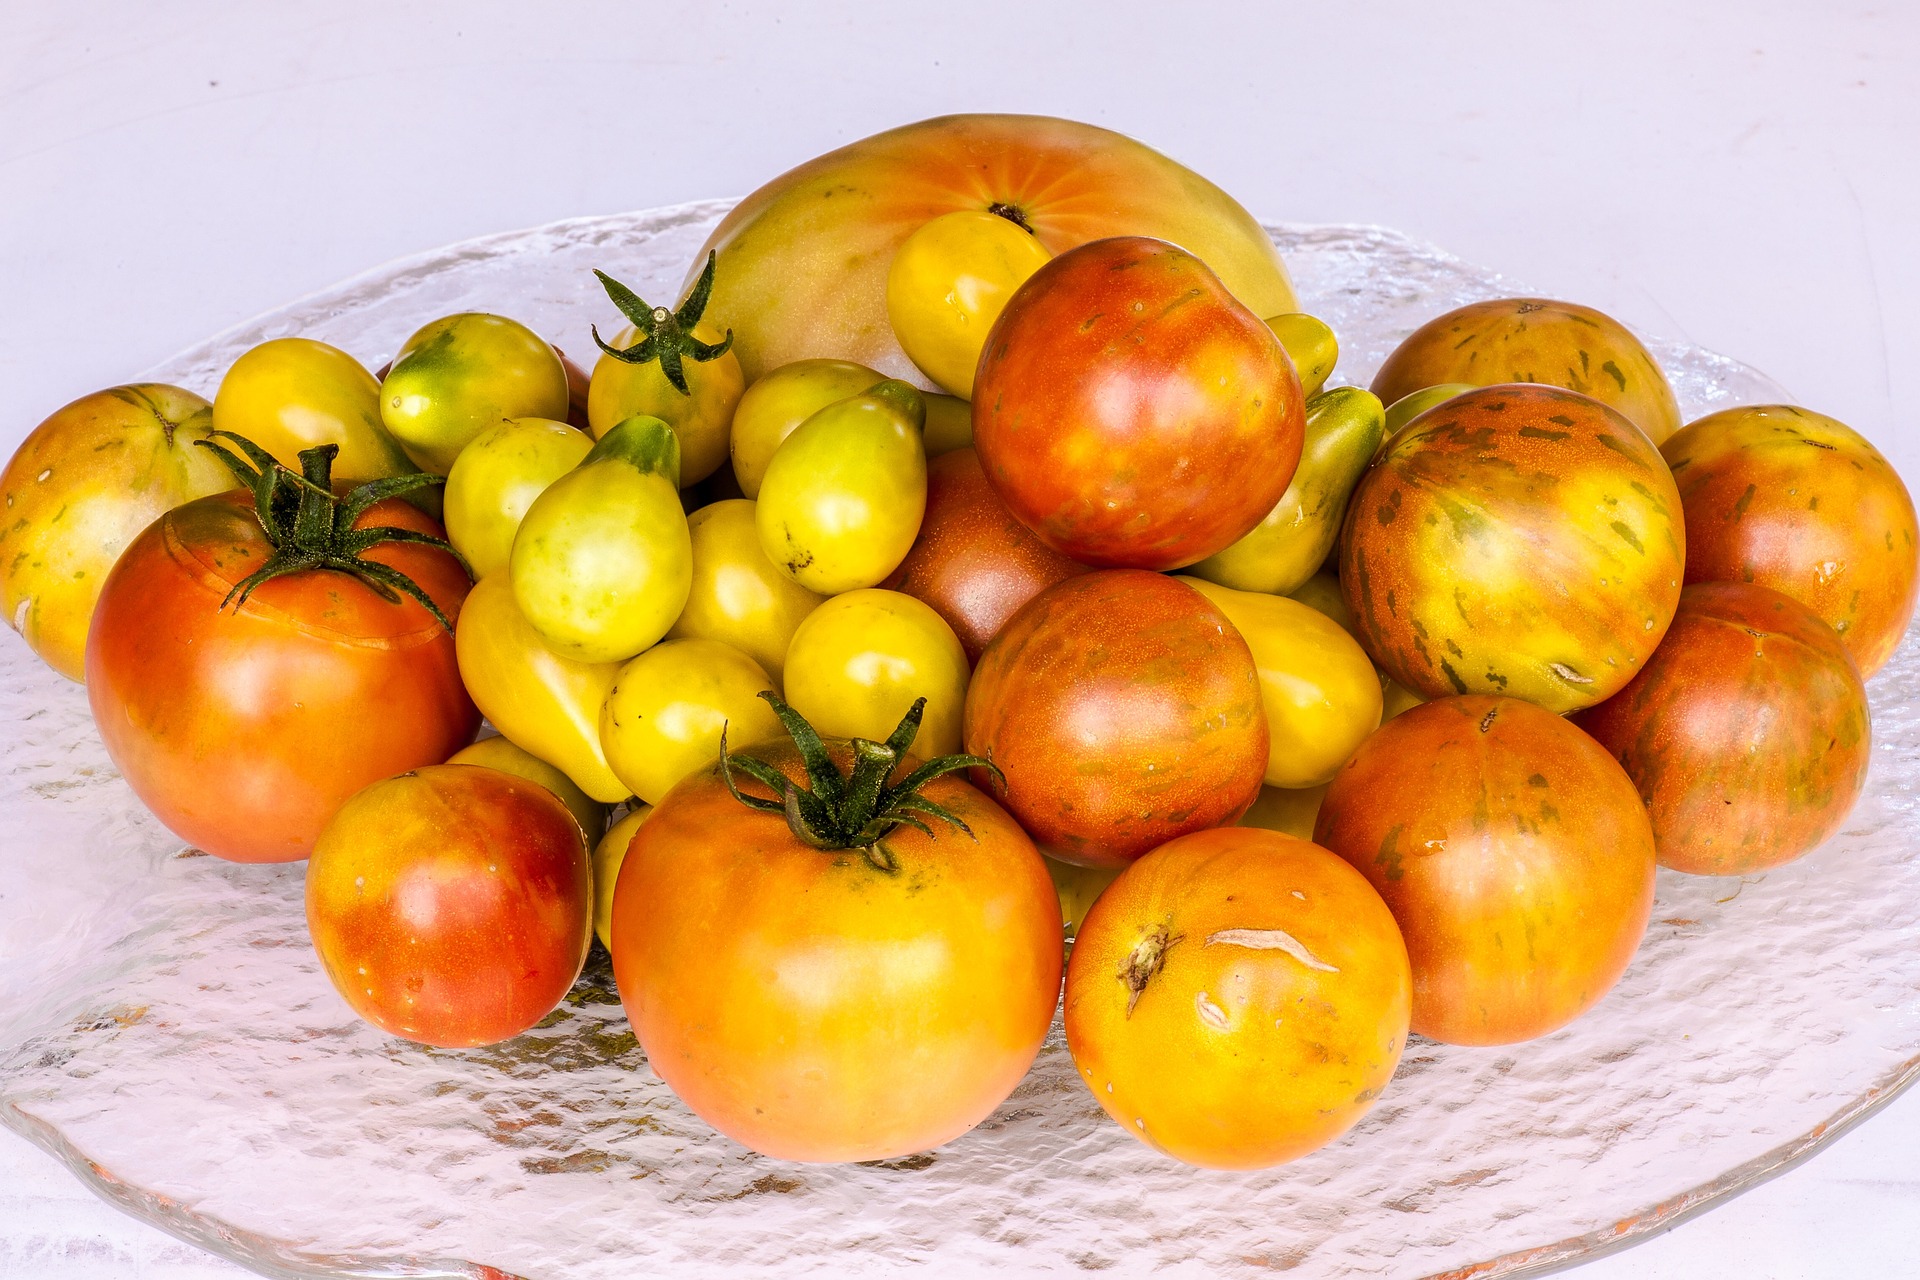
We cannot get enough of fresh summer produce! Whether you started tomato plants from seeds or seedlings, we bet your tomatoes are full of summer flavor.
Whether red, purple, green, yellow or orange, tomatoes are our favorite summer fruit. While some tomatoes are good for canning and preserving, others taste best when used freshly-picked. Try these new recipes to amplify the already amazing summer flavor of your tomatoes.
10 Tomato Recipes You Must Try
1. Tomato and sweet onion salad: Make this salad ahead of time for superb flavor come dinner. Bonus points if made with onions and basil also picked from your garden.
2. Risotto stuffed tomatoes: You’ll want to turn on the oven for this one. Use firmed tomatoes that’ve just been picked off the vine.
3. Eggplant, tomato and smoked mozzarella tart: Try this recipe for a twist on the usual Caprese salad. Crispy crust and tender vegetables make this recipe a keeper.
4. Tomato jam: Steer away from tomato sauce by making jam. Enjoy with crackers and cheese for a delicious appetizer.
5. Classic roasted salsa: Jalapenos give this salsa just the right amount of heat. You’ll never buy store-bought again after you’ve made your own salsa.
6. Grilled Green Tomato Tostadas: Green tomatoes don’t always have to be fried, although they certainly are delicious. Black beans, avocadoes and cilantro combine to make these satisfying tostadas.
7. Pasta with sun gold tomatoes: Yellow tomatoes standout in this beautiful pasta dish. Serve with crispy bread and a garden salad for a complete meal.
8. Best Gazpacho: NYTimes offers up this recipe from Seville, Spain. Serve this creamy, orange version in chilled glasses for a refreshing sip.
9. Sliced tomatoes with corn and feta: A simple no-cook meal to enjoy when the nights are warm. Arugula and oregano give this salad a spicy kick.
The list could go on and on. What’s your favorite way to use your freshly-picked tomatoes? Tell us in the comments or share your pictures on our Facebook page!
There’s nothing more refreshing than the taste of summer berries, and in August your berries are still prime for picking!
Many berries ripen around mid-summer, so by now you already may have some practice with harvesting. Now that summer is starting to wind down, try these new recipes to prolong that sweet seasonal freshness.
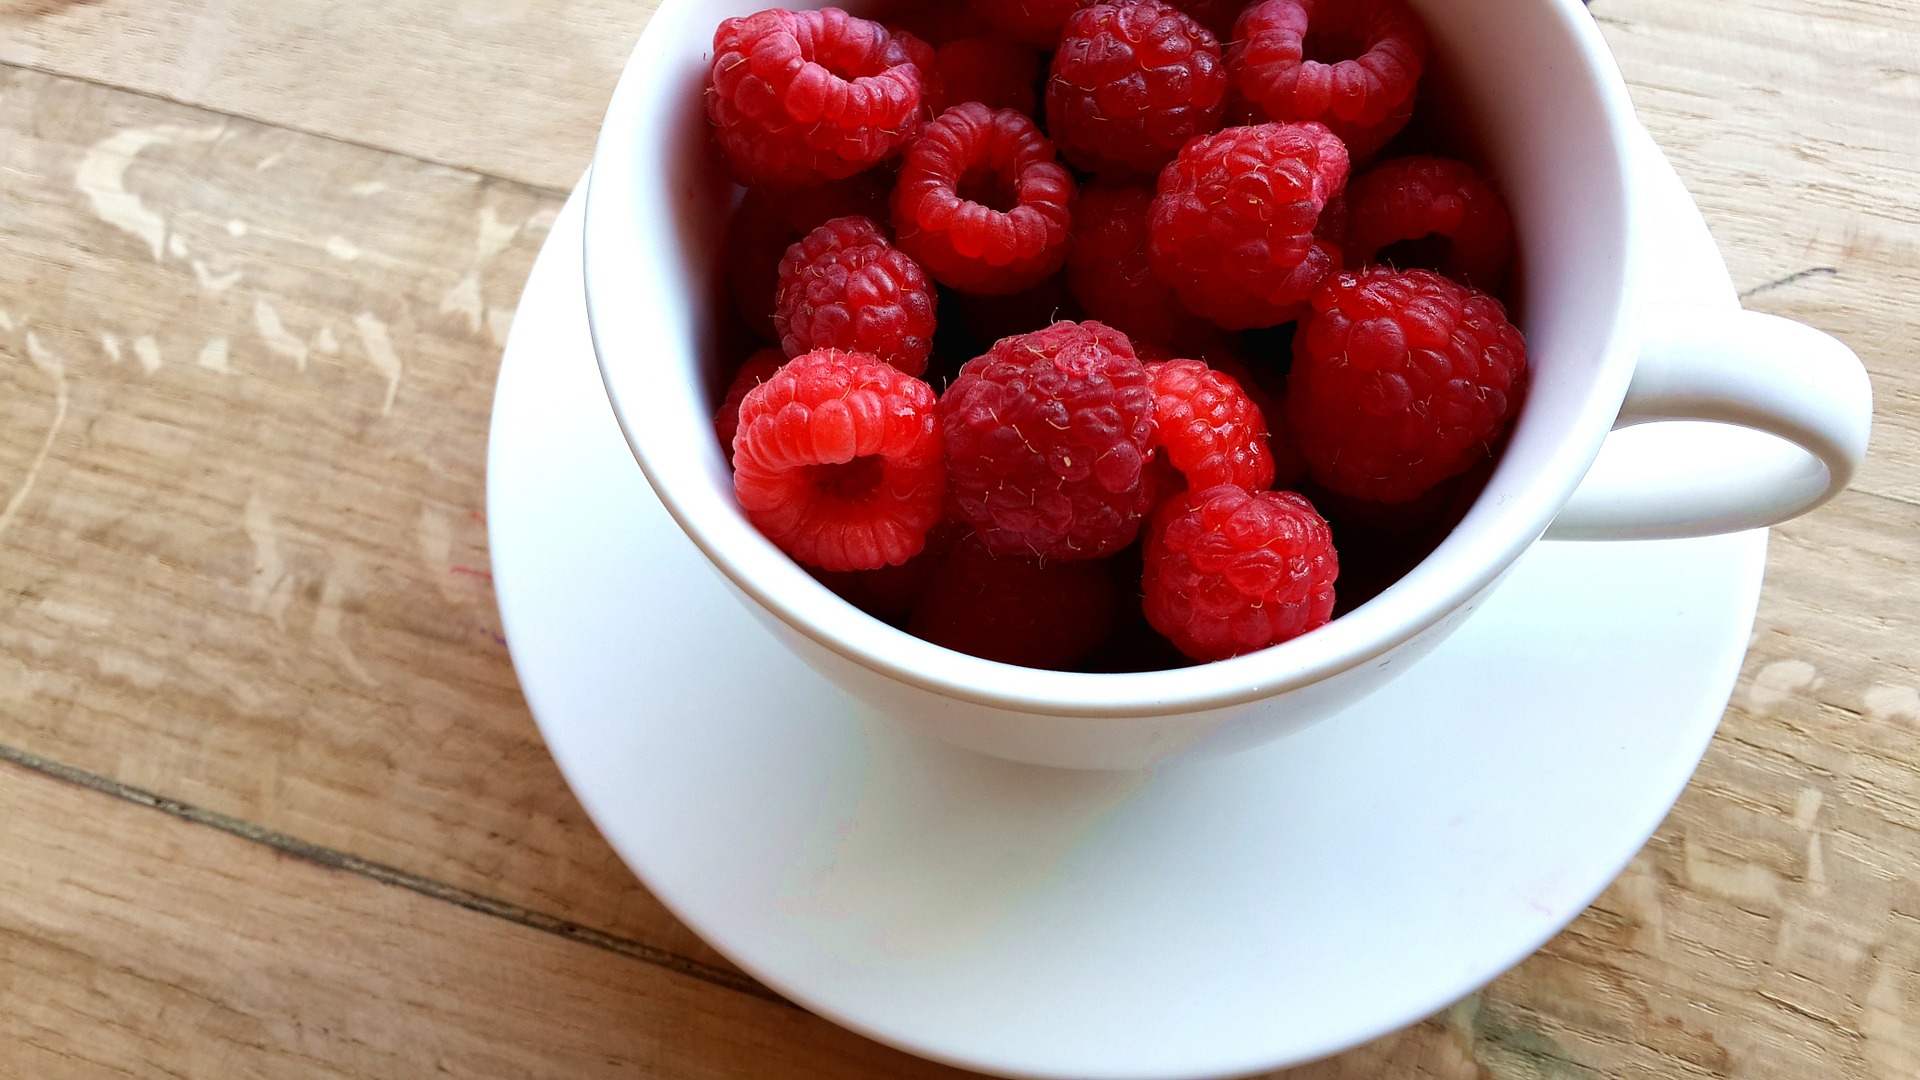
“First, how can I tell when my berries are ready?”
For more information on taking care of your organic garden, check out our Berry Growing Guide!
Once you’ve collected your berries, take them to the next level with these easy and delicious recipes!

1. Slow cooker granola berry crisp: A perfect summertime dessert, made with your choice of berries from the garden. This recipe is light, fresh and healthy—a true seasonal staple!

2. Summer berry cheesecake salad: With just five ingredients, this recipe combines the sweetness of berries with all the great flavor of cheesecake filling. Makes for a sublime summer fruit salad!

3. Red berry vanilla almond smoothie bowl: Great for breakfast (or any other time of the day), this treat is fewer than 300 calories and takes five minutes to make. It’s a great way to add an extra summery punch to your regular breakfast routine.
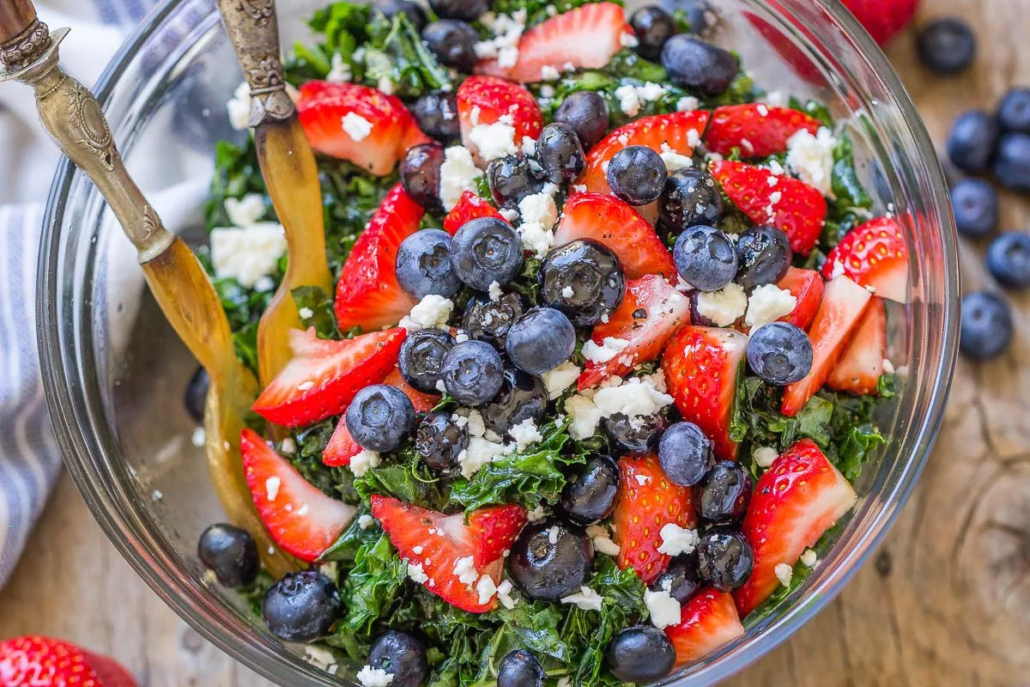
4. Summer berry kale salad: This summer salad, combines signature vibrant and tropical flavors in one quick, easy dish!
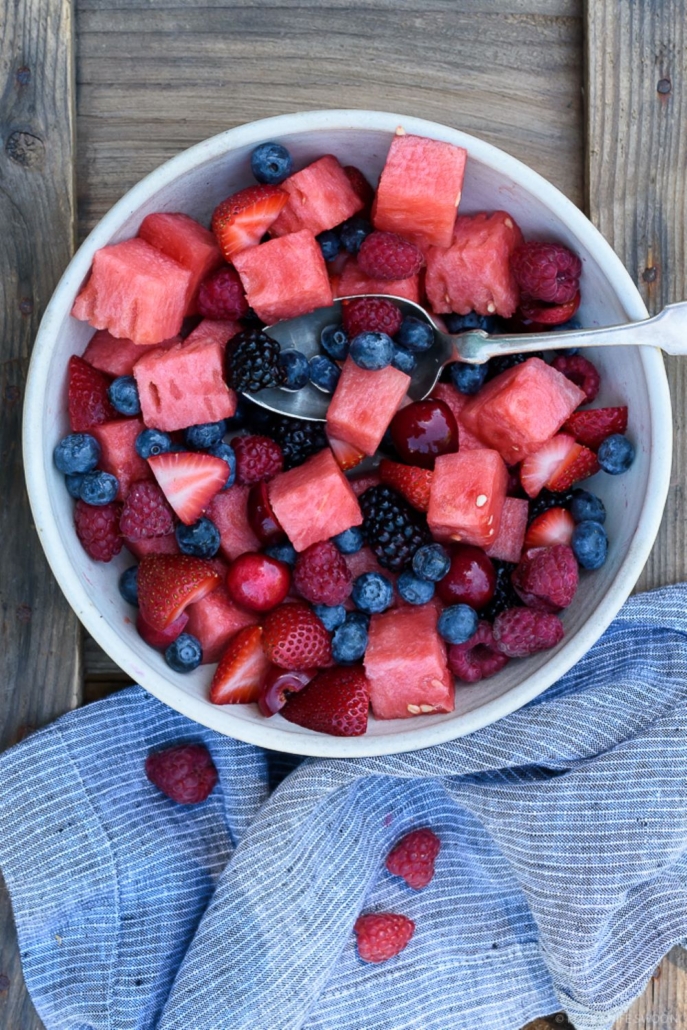
5. Berry watermelon fruit salad: A classic take on combining peak season fruit. You can make this fruit salad well into September. Bonus tip: add a light sprinkle of lime juice before eating!

6. Mini summer berry galettes: You’ve already got your berries ready to go! Just fold your fruits into the pie crust and bake. Now you’ve got a healthy, sweet summer treat!
*****
What is your favorite way to prepare fresh berries in the kitchen? Try any of these recipes share your experience with us on our Facebook page!
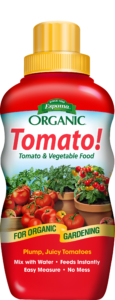
Featured Products:
![]()

Your summer veggie garden is in full bloom, and your tomatoes are doing great. The only problem? Your garden may be producing more tomatoes than you can eat! (What a catastrophe!)
Don’t waste your harvest.
Preserve tomatoes now to enjoy the sweet rewards of your summer veggie garden long after harvest season is over.
Step-by-step Instructions to Can, Save and Preserve Tomatoes:
Perfect Picking for Preservation
You’ll want to allow tomatoes to ripen on the vine, so they reach peak flavor.
Harvest when they have colored evenly and are a tiny bit soft when squeezed. Remember, tomatoes stop ripening in temperatures above 86º F. If your area is consistently warm, tomatoes may stop ripening when they reach an orange/yellow color. So, don’t wait for them to turn completely red before picking.
To remove tomatoes from the vine, grasp them gently and firmly. Twist the tomato until it snaps off the vine, or slice the stem close to the fruit.
Freeze Tomatoes
Can Tomatoes
Dehydrate Tomatoes
August is an exciting time. After all, your flower beds are radiant and your vegetable garden is thriving!
Although it may seem like watering and weeding are your only tasks this month, there’s still a lot to do. Help your garden beat the heat and prep for fall at the same time.
Keep your garden beautiful during August:
Maintenance and Preparation

Looking Ahead
Congratulations on all your hard work on the August garden!
How will you and your garden be celebrating the end of summer? Let us know in the comments!
*****
Featured Products:
![]()