Follow along with Summer Rayne Oakes as she repots and cares for agave plants and succulents, including cold-hardy varieties that can withstand Zone 5 conditions (–20°F). She highlights the importance of using high-quality organic soils and fertilizers—like those from Espoma Organic—to help these resilient plants thrive.
Key Planting and Repotting Tips for Agave:
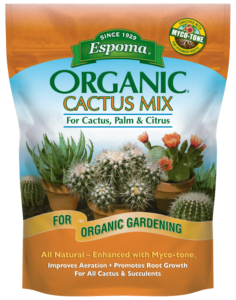
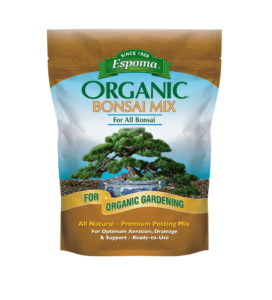
Soil Mix: Summer recommends blending Espoma Organic Cactus Mix with Espoma Organic Perlite and Espoma Organic Bonsai Mix to create a gritty, well-draining soil that helps prevent root rot.
Container Choice: Choose terracotta or fluted-edge pots to promote airflow and support strong root development.
Watering: Allow the soil to dry completely between waterings to prevent overwatering.
Fertilizing: Summer prefers high-quality organic fertilizer like Espoma Organic Cactus! Liquid Fertilizer for steady, healthy growth and vibrant plants.
Take a cue from Summer and give your agaves the best start with Espoma Organic.
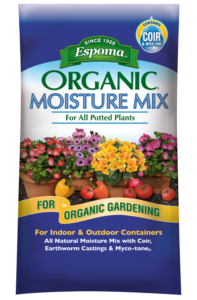
Watch Skye Hamilton @hamiltonhousedesigns as she shares her go-to strategy for full, eye-catching hanging baskets in spaces with dappled or minimal sunlight. She adds a creative twist on the classic “thriller, filler, spiller” method—think filler, spiller, and longer spiller! Skye recommends using a strong, high-quality organic potting soil like Espoma Organic Moisture Mix to help retain moisture, as hanging pots can dry out quickly.
While Moisture Mix is Skye’s go-to for hanging baskets, Espoma Organic Potting Mix is also a fantastic option for all container planting.
Skye’s top tips for successful shade baskets:
1) SKyle likes to use 16” baskets and adds a plastic liner (snip a drainage hole) to help retain moisture.
2) Choose shade-loving annuals—these plant types can thrive in shady conditions and often have smaller root systems, letting you plant more closely.
3) Aim for 5–7 plants per basket to create a full, cascading look.
4) Focus on “fillers, spillers, and longer spillers” to build depth and interest.
5) Let trailing plants cascade over the sides for that overflowing feel.
6) Water consistently and use soil that helps with moisture retention, like Espoma Organic Moisture Mix.
Bonus Tip:
When planting, Skye adds Espoma OrganicBio-tone Starter Plus to provide the nutrients needed for strong root growth and big, beautiful blooms.
https://www.espoma.com/wp-content/uploads/2025/07/Hanging-Baskets-for-SHADE.jpg19201080Matt Dauphinaishttps://www.espoma.com/wp-content/uploads/2023/05/espoma-logo340w-1.pngMatt Dauphinais2025-07-08 16:34:202025-07-08 16:34:20VIDEO: Hanging Baskets for Shade 🌿🌸 with Skye Hamilton
Skye Hamilton @hamiltonhousedesigns shares her secret to achieving multiple flushes of gorgeous rose blooms—feeding them with Espoma Organic Rose-tone! In this video, Skye walks us through her process, showing exactly how to apply Rose-tone to keep roses healthy, vibrant, and blooming repeatedly throughout the season.
Skye’s top tips for feeding roses:
1) Fertilize & Prune Regularly: Consistent pruning and fertilization encourage repeat blooming and healthier plants.
2) Monthly Feeding: For the most spectacular blooms, feed your roses at least once every month during the growing season.
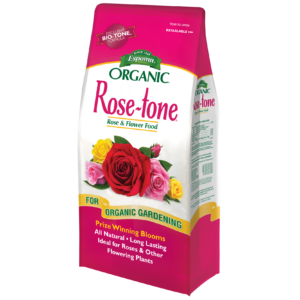
3) Choose a Quality Fertilizer: Skye recommends Espoma Organic Rose-tone, specially formulated for roses. Rose-tone is a granular, slow-release organic fertilizer enriched with humates and beneficial microbes, providing a rich blend of natural and organic ingredients that promote bigger, more beautiful blooms.
4) Apply Around the Dripline: Skye emphasizes applying fertilizer around the dripline of the plant. The dripline is the area directly beneath the outer circumference of the plant’s branches, where rain naturally drips off the leaves. This is the most effective spot for feeding, as the feeder roots, which absorb nutrients, are concentrated in this location.
5) Water Thoroughly: After applying Rose-tone, water it in thoroughly to ensure nutrients penetrate deep into the soil and reach the roots.
Ready to give your roses the royal treatment? Try Espoma Organic Rose-tone for roses that flourish all season long!
https://www.espoma.com/wp-content/uploads/2025/07/SKYE_Rose-tone_Edited.jpg19201080Matt Dauphinaishttps://www.espoma.com/wp-content/uploads/2023/05/espoma-logo340w-1.pngMatt Dauphinais2025-07-08 12:59:202025-07-08 12:59:20VIDEO: How to Fertilize Roses 🌹 with Skye Hamilton
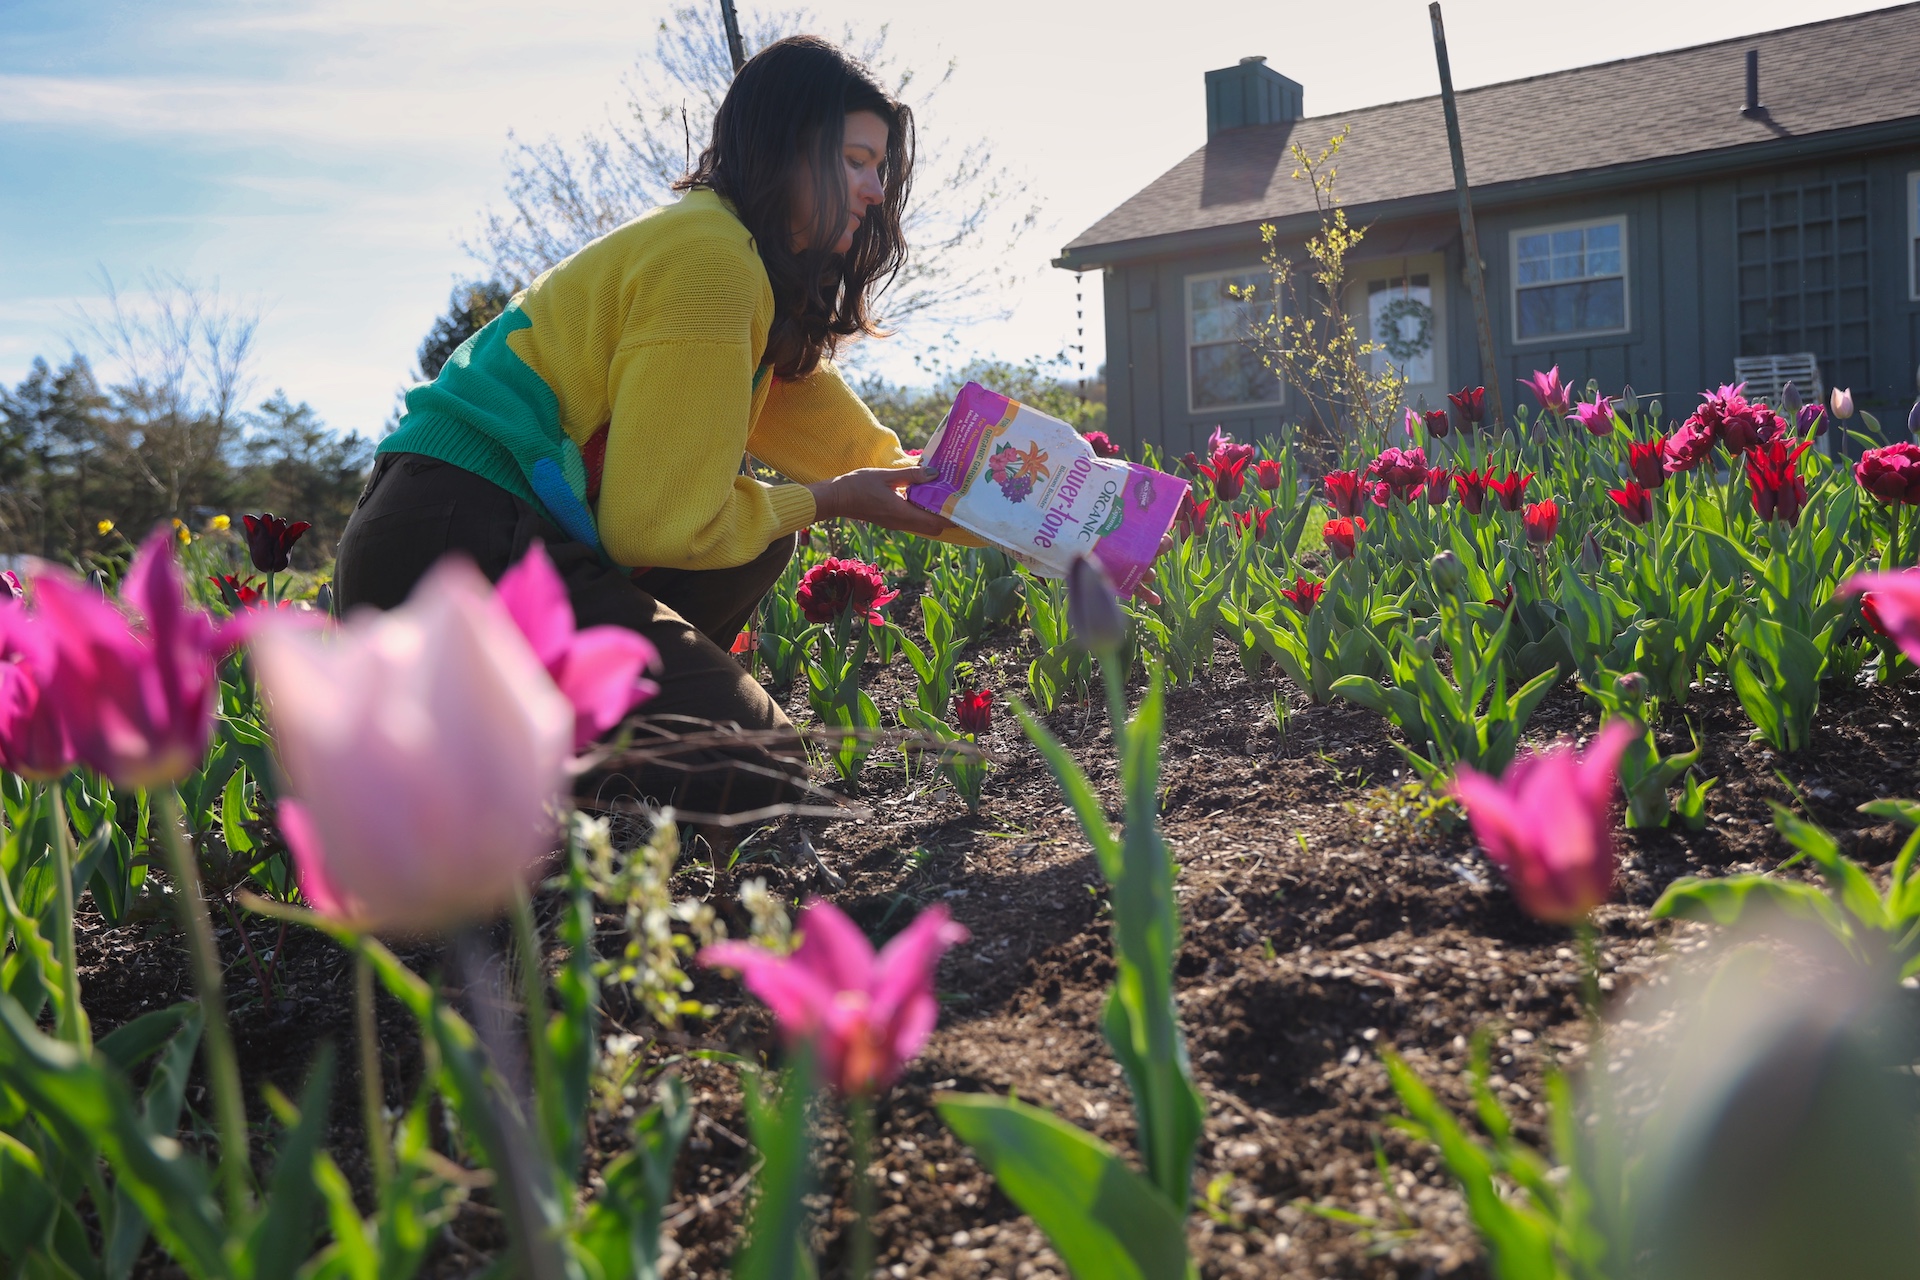
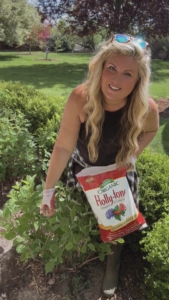
Watch as Summer Rayne Oakes of Flock Finger Lakes takes us on a tour of her stunning tulip garden at her Meadow House Gardens. Last fall, Summer planted over 4,000 tulip bulbs using Espoma OrganicBulb-tone, and today her garden bursts with color from more than 100 tulip cultivars.
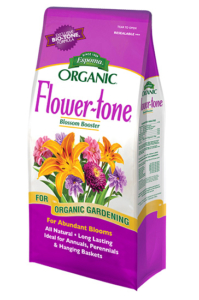
In this video, Summer showcases her favorite tulips, including the elegant ‘Sarah Raven,’ captivating ‘Flaming Flag,’ and dreamy ‘Ume no Murasaki.’ She also demonstrates how she feeds her tulips with Espoma Organic Flower-tone, ensuring healthy, vibrant blooms all season.
Summer’s Tips for Planting and Caring for Tulips:
Plant bulbs in the fall using a high-quality organic fertilizer like Espoma Organic Bulb-tone for optimal nutrition.
Water bulbs thoroughly after planting to help establish roots.
Feed tulips after sprouting with a high-quality organic fertilizer like Espoma Organic Flower-tone for lush blooms.
Avoid fertilizer contact with blooms or foliage to prevent burning.
Consider naturalizing tulip varieties that are known to return each spring.
Bonus Tip: In addition to tulips, Summer planted a variety of perennials throughout her garden beds. Summer recommends planting with a high-quality organic starter fertilizer like Espoma Organic Bio-tone Starter Plus to reduce transplant shock and help promote strong, healthy roots for big, beautiful blooms.
Join Summer Rayne Oakes as she repots her beautiful Euphorbia plants to prepare them for the summer outdoors. While Euphorbias and cacti may look similar with their spines and upright growth, they belong to entirely different plant families. Euphorbias are part of the Euphorbiaceae family and exude a white, often toxic latex sap. Cacti, part of the Cactaceae family, do not produce this sap and typically have areoles (small, cushion-like structures) from which spines, flowers, and new growth emerge—something Euphorbias lack. Often mistaken for cacti, Euphorbias are succulents native to Africa and require specific care.
Repotting:
Summer creates a well-draining soil mix using Espoma Organic Cactus Mix combined with Espoma Organic Perlite (70% Cactus Mix, 30% Perlite) to ensure excellent aeration and drainage, reducing the risk of root rot. To nourish the plants through the growing season, she applies Espoma Organic Cactus! Liquid Fertilizer every 4–6 weeks.
As a final touch, she tops off the containers with Espoma Organic Bonsai Mix, which helps protect the soil surface, reduces moisture loss, and adds a clean, finished look to each pot.
Summer also explains a common condition called “corking,” a natural process where the stems of Euphorbias become woody at the base due to aging, which is not a sign of disease.
Summer’s Euphorbia Care Tips:
Wear gloves when repotting to avoid skin and eye irritation.
Inspect roots and prune away dead or damaged areas.
Water thoroughly, then allow the top 1–2 inches of soil to dry out.
Fertilize regularly during the growing season, pausing in winter.
With Summer’s guidance and Espoma’s organic products, your Euphorbias will thrive outdoors this summer!
There’s something hopeful about planting a new tree—especially when you know you’ve set it up to thrive. In this video, Kaleb Wyse from Wyse Guide walks us through planting a stunning Northwind Maple and shares the steps he takes to ensure long-term success. His secret? Espoma Organic Bio-tone Starter Plus, the must-have planting partner for strong root development and vigorous growth.
The Tree Planting Process: Kaleb carefully prepares the site by loosening soil and checking for good drainage. After removing the tree from its container and scarifying the roots (to prevent circling), he sprinkles Espoma Organic Bio-tone Starter Plus into the planting hole. The blend of mycorrhizae, beneficial microbes, and organic nutrients helps reduce transplant shock and promotes deeper, stronger root growth.
Kaleb’s 6 Tree Planting Tips:
Site before you plant: Walk around and view the tree from different perspectives.
Check the root flare: Make sure the base of the trunk sits at or just above soil level.
Loosen compacted roots: Lightly score or cut rootbound roots to encourage outward growth.
Amend your soil: Always plant with a high-quality organic starter fertilizer like Espoma Organic Bio-tone Starter Plus to help promote strong establishment.
Always plant above grade: Kaleb recommends planting slightly high since the soil will settle.
Water deeply after planting: Soak the tree well to eliminate air pockets and promote strong establishment.
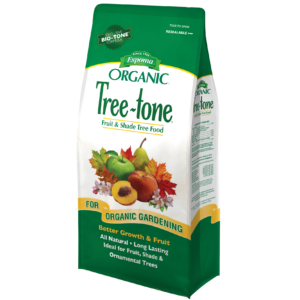
Bonus tip: Kaleb recommends following up with a maintenance feeding later in the season using an organic fertilizer like Espoma Organic Tree-tone, specifically formulated to provide trees with the essential nutrients needed to grow strong, healthy roots.
Kaleb finishes the project by installing a beautiful fountain nearby—bringing structure, color, and sound to his garden space. The result is a calming, cohesive area that’s rooted in good planning and organic care.
Ready to plant your own tree? Don’t forget the Bio-tone Starter Plus! It’s Kaleb’s go-to for everything from perennials to maples—and the results speak for themselves.
https://www.espoma.com/wp-content/uploads/2025/06/Planting-a-New-Tree.jpg7201280Matt Dauphinaishttps://www.espoma.com/wp-content/uploads/2023/05/espoma-logo340w-1.pngMatt Dauphinais2025-06-11 16:57:532025-06-11 16:57:53VIDEO: Planting a NEW Tree 🌳 🍁 with Wyse Guide!
Who says you need acres of land to grow fresh veggies? Maria, from Growing Joy with Maria, proves you can cultivate an entire salad—including tomatoes, cucumbers, peppers, lettuce, and even edible flowers—all in a single pot! Her compact, balcony-friendly approach uses Espoma Organic products to ensure vibrant growth and delicious harvests.
Maria’s Top Tips & Espoma Essentials:
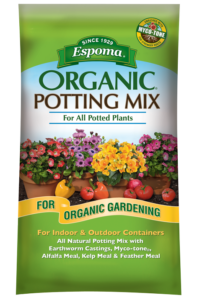
1) Use Quality Soil: Maria fills her container with an organic potting soil mix like Espoma Organic Potting Mix, creating a loose, nutrient-rich environment perfect for thriving plants.
2) Kickstart Healthy Roots: She incorporates an organic starter fertilizer like our Espoma Organic Bio-tone Starter Plus directly into the soil to enhance root growth and minimize transplant shock, thanks to a rich blend of natural and organic ingredients plus it’s enhanced with beneficial microbes, humates, and mycorrhizae.
3) Continuous Feeding: Maria ensures her plants have steady nutrition throughout the growing season by using Espoma Organic Garden-tonethe ultimate organic fertilizer formulated for feeding all your favorite herbs and vegetables!
4) Companion Planting: Adding edible flowers like violas, snapdragons, and sweet alyssum attracts beneficial pollinators, ensuring a beautiful and productive container.
5) Choose the Right Container: A large, self-watering pot with a trellis allows her microdwarf veggies to flourish vertically, maximizing space.
Try Maria’s easy, organic method to transform your balcony into a lush, productive garden space with Espoma Organic!
https://www.espoma.com/wp-content/uploads/2025/05/Thumbnail-1.jpg7201280Matt Dauphinaishttps://www.espoma.com/wp-content/uploads/2023/05/espoma-logo340w-1.pngMatt Dauphinais2025-05-16 16:21:462025-06-05 16:43:25VIDEO: How to 🌱 Grow a Whole Salad 🥗 in One Pot! 🪴 | Growing Joy with Maria
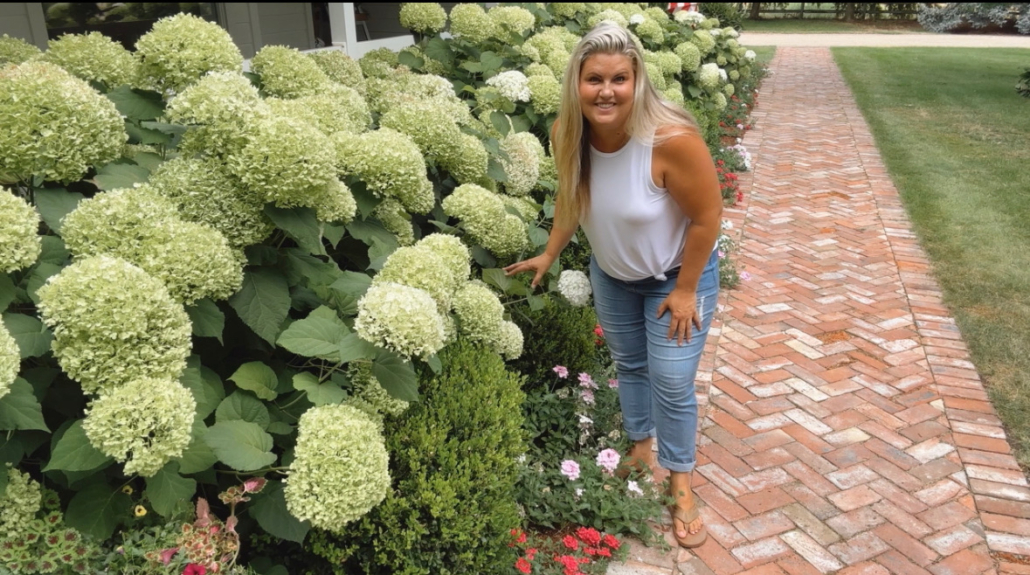
When it comes to hydrangeas, proper fertilizing is key to ensuring beautiful blooms and overall plant health. Skye Hamilton, gardening enthusiast and hydrangea expert, stresses the importance of fertilizing these stunning plants with a high-quality organic fertilizer as a smart investment in your garden. Unlike synthetic fertilizers, which often contain excessive nitrogen that encourages foliage growth at the expense of blooms, Skye recommends using Espoma Organic Holly-tone.
How to Fertilize in the Spring 🌸:
How to Fertilize in the Summer ☀️:
Why Holly-tone? Because it’s an organic fertilizer specially formulated for acid-loving plants like hydrangeas. Its slow-release formula ensures steady nutrient availability, promoting vibrant, plentiful blooms rather than just leafy growth.
Here’s Skye’s quick guide for successful hydrangea fertilizing:
Fertilize twice a year: once in mid to late spring and again in mid-summer.
Your first application should occur after leaves emerge but before blooms appear.
Apply the second round no later than July to avoid disrupting bloom cycles.
Missed spring fertilizing? Early summer application still benefits your plants.
Apply fertilizer during mild weather or in the evening shade to prevent root burn.
Distribute fertilizer along the drip line of your hydrangeas and gently work it into the soil surface.
Always water thoroughly after fertilizing to ensure nutrients reach the roots effectively.
With Espoma Organic Holly-tone, your hydrangeas receive exactly what they need, resulting in lush blooms and healthier plants overall. Go organic, bloom better!
https://www.espoma.com/wp-content/uploads/2025/04/IMG_5813.jpg20951179Matt Dauphinaishttps://www.espoma.com/wp-content/uploads/2023/05/espoma-logo340w-1.pngMatt Dauphinais2025-04-29 11:46:202025-07-30 15:59:43VIDEO: Boost Your Blooms: 🌸 Fertilizing Hydrangeas the Organic Way with Skye Hamilton
If you’re looking to transplant hydrangeas like a pro, Skye Hamilton has you covered. In this informative short video, Skye walks us through a method that’s both plant-friendly and results-driven.
When to Transplant?
Skye recommends making the move in late winter to early spring, a period when hydrangeas are dormant. This timing reduces stress and sets the stage for robust root development.
Soil Prep and Planting
She doesn’t just dig a hole—she prepares it like a home. Skye amends the soil with Espoma Organic Land & Sea Compost, creating a nutrient-rich environment. She also incorporates a high quality organic fertilizer like Espoma Organic Bio-Tone Starter Plus to boost root growth and reduce transplant shock.
Final Touches
Once planted, a deep watering helps the soil settle around the roots. Skye’s method ensures your hydrangea gets the best possible start in its new spot.
With her approach, you’re not just moving a plant—you’re setting it up to thrive.
Balcony gardening is a rewarding but sometimes tricky endeavor, especially for beginners. In this video tutorial, Maria shares six common mistakes that she and many others have made while gardening in containers on balconies. She also highlights how Espoma Organic products can help prevent these pitfalls and ensure healthy, thriving plants.
1: Choosing the Wrong Plant Varieties
Many beginners choose plants that are too large for container growth. Maria advises selecting micro, dwarf, or patio-specific varieties like ‘Patio Baby’ eggplant or ‘Tidy Treats’ cherry tomatoes. These are bred to be compact and manageable, ideal for small balcony spaces.
2: Using the Wrong Potting Mix
Standard garden soil is not suitable for containers as it can be too dense and poorly aerated. Maria recommends using Espoma Organic Potting Mix, which includes perlite and wood bark for proper aeration. This ensures that roots receive enough air and water, crucial for healthy plant growth.
3: Inconsistent Watering
Balcony plants need regular watering, and failing to plan can lead to wilted or dead plants. Maria suggests using self-watering planters or multiple watering cans to maintain consistency. This strategy, along with early morning watering, ensures plants get the hydration they need.
4: Not Fertilizing Regularly
Container soil loses nutrients quickly. Maria uses Espoma Organic Bio-tone Starter Plus, an organic starter fertilizer at the time of planting to minimize transplant shock and boost initial growth. Throughout the season, she fertilizes monthly with Espoma’s specialized granular or liquid fertilizers such as Garden-tone, Flower-tone,Grow, or Tomato! liquid plant food.
5: Forgetting Plant Tags
Keeping track of which plant varieties perform best is essential. Maria emphasizes saving plant tags or using aesthetically pleasing labels. This simple step helps replicate success in future seasons.
6: Misunderstanding Light Exposure
Light availability is often overestimated. Balcony gardeners must consider shadows from buildings, railings, and trees. Maria advises using a compass to determine the direction of exposure and observing the balcony throughout the day to identify sunlight duration. Southern-facing balconies get the most sun, while northern ones are more limited.
Maria’s guidance is a blend of heartfelt experience and practical advice. By using Espoma Organic products and being mindful of these six common mistakes, balcony gardeners can transform small spaces into a gardening paradise. With the right organic soil, fertilizer, and planning, even a modest balcony can yield joy and an abundance of plants.
https://www.espoma.com/wp-content/uploads/2025/04/GJWM_6-Container-Gardeing-Mistakes_Thumbnail-.jpg7201280Matt Dauphinaishttps://www.espoma.com/wp-content/uploads/2023/05/espoma-logo340w-1.pngMatt Dauphinais2025-04-10 11:47:272025-04-10 11:56:58VIDEO: 6 Container Gardening MISTAKES | Growing Joy with Maria