How to Use Succession Planting in Your Fall Garden
Did you finish harvesting your summer crops and find yourself wondering what to do next? There’s still plenty of time to get a fall and winter garden going before the first frost! Try planting one vegetable right as another one finishes. This is a process many gardeners use called succession planting and will maximize your harvest all season long. Here are four different ways to do it!
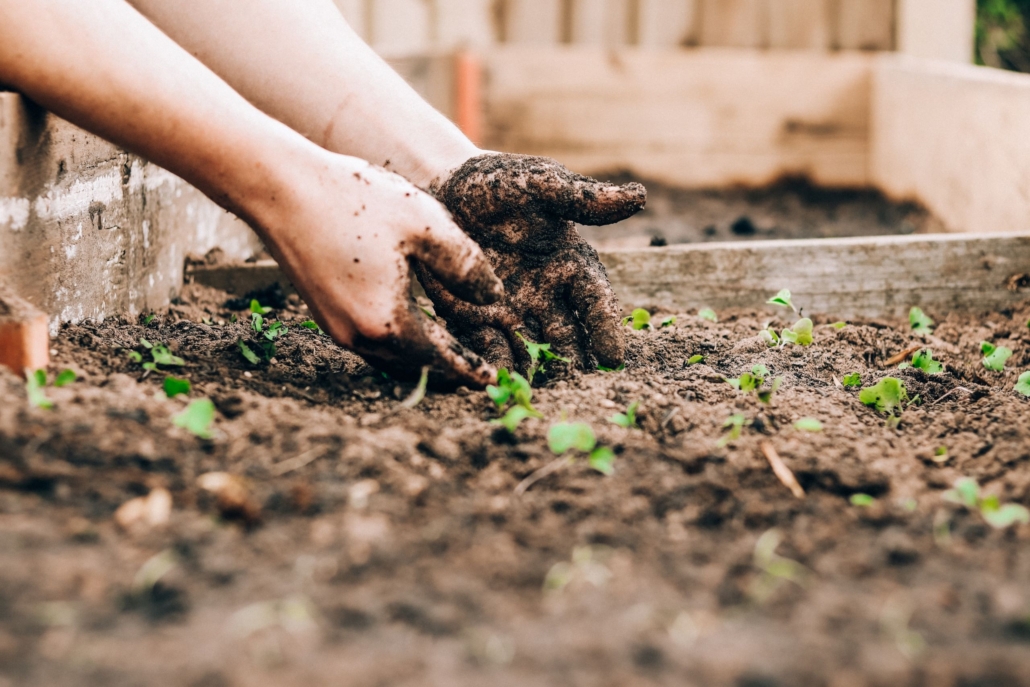
Harvest and replant
Go ahead and harvest your veggies that are ready to go. When you’re done, plant another set of vegetables with a shorter maturity date in that same plot in your garden. Replacing leafy greens with potatoes is a great example of this method.
Be sure to plan accordingly here! Growing based on maturity can be a little tricky if you aren’t planning for your region. Make sure to check the seed packet or plant tag to find out how long the plant will take to mature and what temperature in which it will grow best. Also be sure you have enough seeds to keep you going through the season.
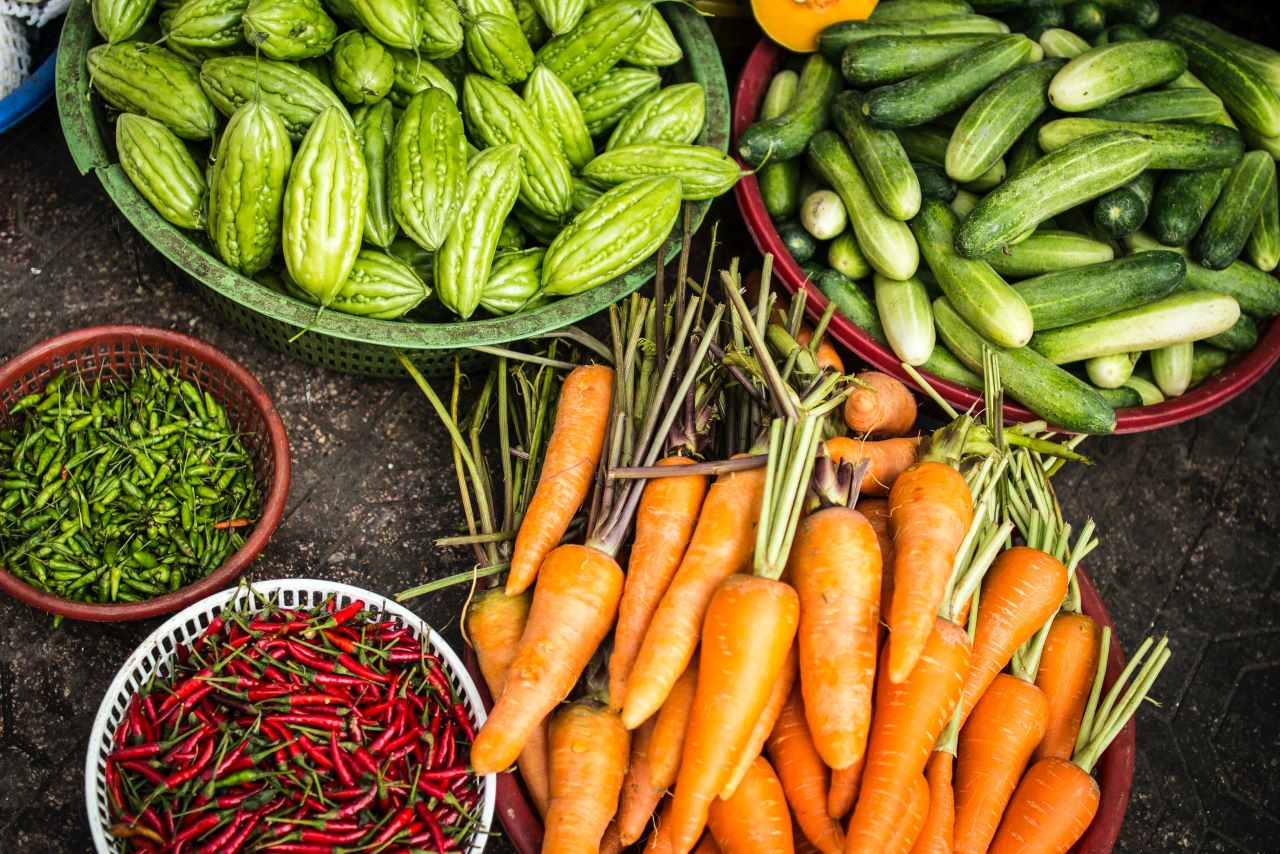
Companion crops
This method involved planting two or more crops with varying maturity dates around each other. This way, even after you harvest the first crop, your garden will continue to flourish! Radishes next to cucumbers are a perfect example of this since radishes will be harvested before the cucumbers start to produce too much shade.
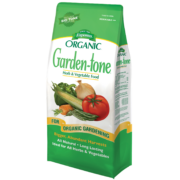
Remember to feed all your crops at their varying stages of growth to keep them moving along. Espoma’s Garden Tone will keep the soil rich in order for your crops to continue thriving as the weather gets colder. And don’t hesitate to pull plants that are reducing or ceasing harvest in order to make room for new crops!
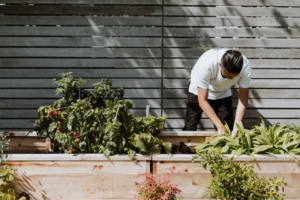
Staggered crops
Try planting the same crop every few weeks in order not to be bombarded by the entire crop at once. For example, tomatoes and peas would work well in small batches throughout the entire season.
Just one crop
Lastly, you can always keep things simple by planting the same crop with different maturity dates. Seed packets will often display the days to maturity for you. Broccoli, for example, is a crop with various maturity dates.
Don’t forget that you can always start your seeds indoors in order to speed up the growing process outdoors! This allows you to harvest and quickly plant to keep your garden at an optimum level throughout the fall and winter season.
Ready to get out there and start succession planting? We can’t wait to see your endless harvests all season long! Get started by making a list of veggies it’s not too late to plant.
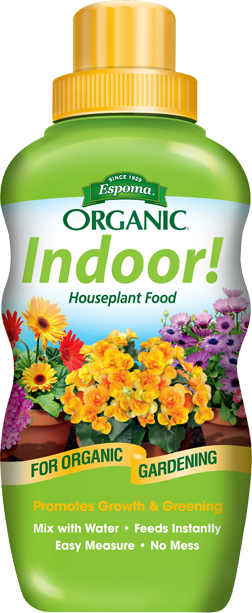
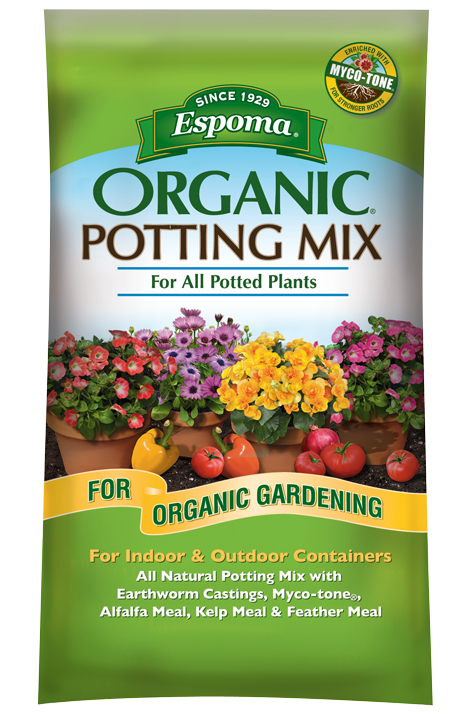
Featured Products: